Introduction
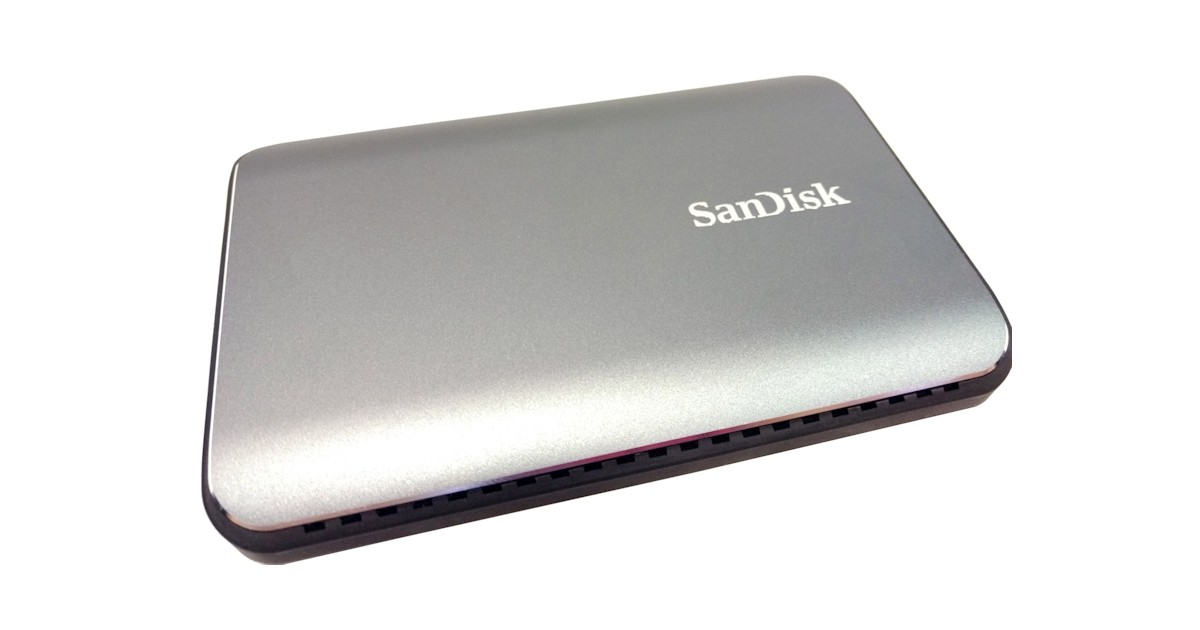
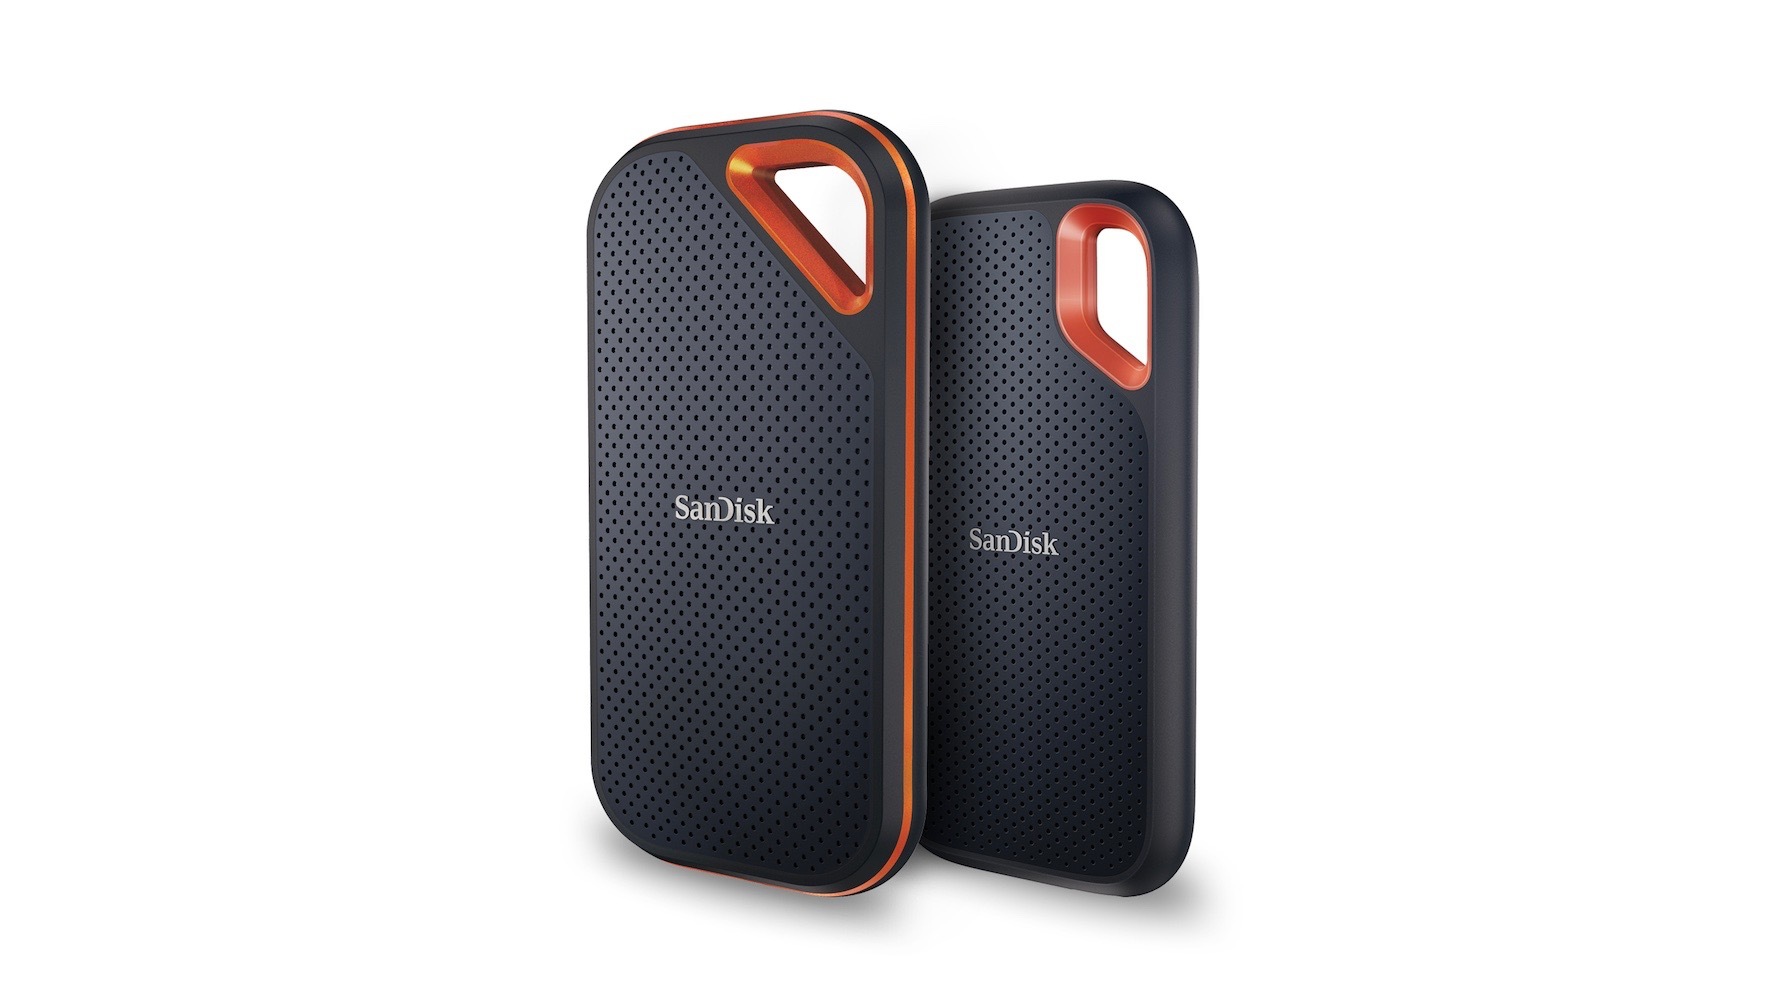
Welcome to our guide on how to password protect your SanDisk Extreme Portable SSD on Mac. Your portable SSD is a valuable storage device that may contain sensitive personal or professional data. Password protecting it adds an extra layer of security, ensuring that only authorized individuals can access your files.
SanDisk provides a convenient software called SanDisk SecureAccess that allows you to create a password-protected vault on your device. This vault acts as a secure container where you can store your sensitive files. In this guide, we will walk you through the process of installing the SanDisk SecureAccess software, creating a vault, and setting a strong password for it.
By following the steps outlined in this guide, you will be able to confidently secure and protect your important files on your SanDisk Extreme Portable SSD. The process is straightforward and can be completed in just a few minutes.
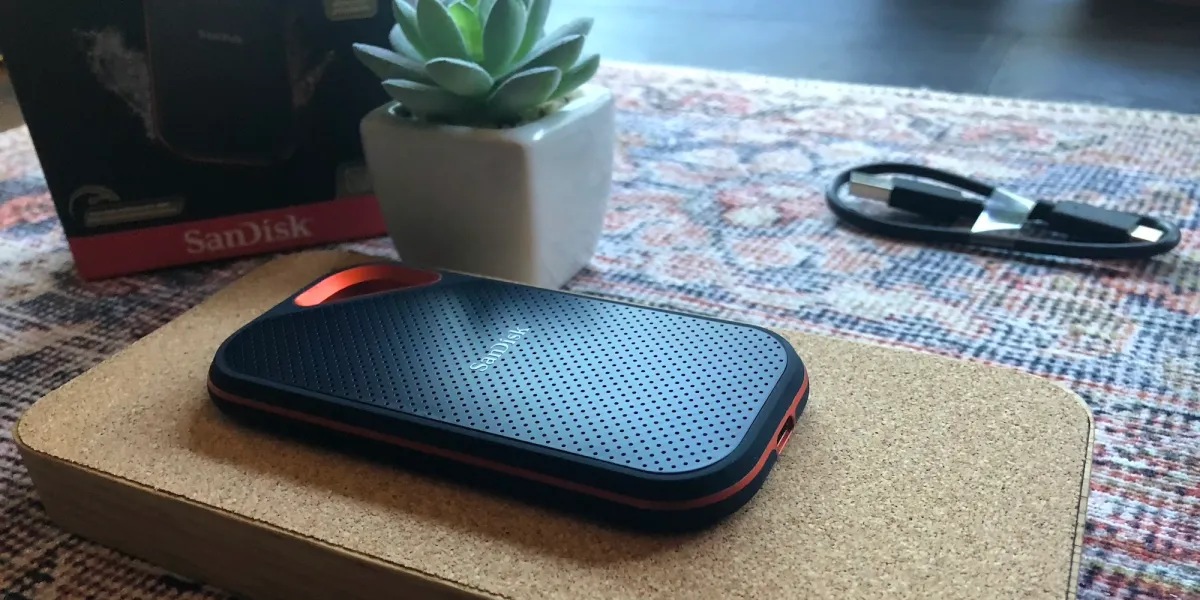
Before we begin, make sure you have your SanDisk Extreme Portable SSD connected to your Mac and that you have administrative privileges. Now, let’s get started with step one: installing the SanDisk SecureAccess software.
Step 1: Install SanDisk SecureAccess software
The first step in password protecting your SanDisk Extreme Portable SSD on Mac is to install the SanDisk SecureAccess software. This software is specifically designed to create a secure vault for your files and allows you to set a password for accessing them.
To install the SanDisk SecureAccess software, follow these steps:
- Open your preferred web browser and navigate to the SanDisk website.
- Go to the “Support” or “Downloads” section of the website.
- Search for the SanDisk SecureAccess software compatible with your Mac operating system.
- Click on the download link for the software.
- Once the download is complete, locate the installation file in your Downloads folder, and double-click on it to start the installation process.
- Follow the on-screen instructions to complete the installation.
After the installation is complete, you will find the SanDisk SecureAccess application in your Applications folder. Now you are ready to move on to the next step: launching the SanDisk SecureAccess software.
Remember, it is important to always download software from trusted sources, such as the official SanDisk website, to ensure the security and integrity of your files. Now that you have installed the SanDisk SecureAccess software, let’s proceed to the next step.
Step 2: Launch SanDisk SecureAccess
Once you have successfully installed the SanDisk SecureAccess software on your Mac, it’s time to launch the application and begin setting up your password-protected vault. Follow these steps to launch the SanDisk SecureAccess software:
- Locate the SanDisk SecureAccess application in your Applications folder.
- Double-click on the application icon to launch it.
After launching the SanDisk SecureAccess software, you will be prompted to create a new vault or open an existing one. Since this is your first time using the software, select the option to create a new vault.
The SanDisk SecureAccess software provides a user-friendly interface that allows you to manage your password-protected vaults effortlessly. Once you have launched the software and selected the option to create a new vault, you are ready to move on to the next step: creating a new vault to store your files.
Now that you have successfully launched the SanDisk SecureAccess software, you are one step closer to protecting your files with a password. In the next step, we will guide you through the process of creating a new vault where you can securely store your sensitive files. Let’s proceed to step three.
Step 3: Create a new vault
With the SanDisk SecureAccess software launched on your Mac, it’s time to create a new vault where you can securely store your files. Follow these steps to create a new vault:
- In the SanDisk SecureAccess software, click on the “Create New Vault” button or select the option to create a new vault from the menu.
- Choose a name for your vault. This can be anything that helps you identify its contents.
- Select a location on your SanDisk Extreme Portable SSD where you want the vault to be created. Ensure that you have enough free space to accommodate your files.
- Click on the “Create Vault” button to initiate the creation process.
Once you have successfully created the vault, it will appear in the SanDisk SecureAccess software interface, ready for you to start adding files. It is important to note that the vault is an encrypted container that can only be accessed with the password you will set in the next step.
By creating a new vault, you have established a secure and dedicated space on your SanDisk Extreme Portable SSD to protect your confidential files. In the next step, we will guide you through the process of setting a strong password for your vault. Let’s proceed to step four.
Step 4: Set a strong password for the vault
Now that you have created a new vault in the SanDisk SecureAccess software, it’s time to set a strong password to protect your files. Follow these steps to set a strong password:
- In the SanDisk SecureAccess software, select the newly created vault.
- Click on the “Set Password” button or select the option to set a password from the menu.
- Enter a strong and unique password for your vault. Make sure to use a combination of upper and lowercase letters, numbers, and special characters.
- Re-enter the password to confirm it and click on the “Set Password” button.
It is vital to choose a password that is not easily guessable but is memorable to you. Avoid using common words, personal information, or sequential patterns as part of your password. Additionally, consider using a password manager to securely store and generate strong passwords.
Once you have set a strong password for your vault, it’s important to remember it or keep it in a secure place. Losing or forgetting the password will result in permanent loss of access to your files within the vault.
Now that you have successfully set a strong password for your vault, you have added an additional layer of security to your sensitive files. In the next step, we will guide you through the process of transferring files to your password-protected vault. Let’s proceed to step five.
Step 5: Transfer files to the vault
With your vault created and password set, it’s time to transfer your files to the password-protected vault on your SanDisk Extreme Portable SSD. Follow these steps to transfer files:
- In the SanDisk SecureAccess software, select the vault where you want to add files.
- Click on the “Add Files” button or select the option to add files from the menu.
- Navigate to the files or folders you want to transfer to the vault.
- Select the files or folders and click on the “Add” or “Open” button.
The SanDisk SecureAccess software enables you to transfer individual files or entire folders to your vault easily. You can add multiple files and folders to organize your data securely. The transferred files will be encrypted and protected by the password you have set.
It is important to note that the original files you transfer to the vault will still remain on your SanDisk Extreme Portable SSD as unencrypted versions. However, the files within the vault will be securely encrypted, offering an extra layer of protection.
Now that you have successfully transferred your files to the password-protected vault, your sensitive data is more secure and inaccessible to unauthorized individuals. In the next step, we will guide you through the process of locking and unlocking the vault. Let’s proceed to step six.
Step 6: Lock and unlock the vault
Once you have transferred your files to the password-protected vault, it’s important to know how to lock and unlock the vault to control access to your data. Follow these steps to lock and unlock the vault:
- In the SanDisk SecureAccess software, select the vault you want to lock or unlock.
- Click on the “Lock” or “Unlock” button, depending on the current state of the vault.
- If you click “Lock,” the vault will be locked, and access to the files within it will be restricted.
- If you click “Unlock,” you will be prompted to enter the password you set for the vault.
- Enter the correct password and click on the “Unlock” button to gain access to the files within the vault.
Locking the vault ensures that no one can access or view the files without entering the correct password. It is essential to lock the vault whenever you are not actively using it or when you need to step away from your computer.
If you forget to lock the vault, the SanDisk SecureAccess software will automatically lock the vault after a certain period of inactivity, further enhancing the security of your files.
Now that you know how to lock and unlock the vault, you have greater control over accessing your sensitive files. In the next step, we will guide you through the process of properly ejecting the SanDisk Extreme Portable SSD. Let’s proceed to step seven.
Step 7: Eject the SanDisk Extreme Portable SSD
After you have completed your work with the SanDisk Extreme Portable SSD and secured your files within the password-protected vault, it is important to properly eject the device from your Mac. Follow these steps to safely eject the SanDisk Extreme Portable SSD:
- Make sure all file transfers and operations involving the SanDisk Extreme Portable SSD are complete.
- Locate the SanDisk Extreme Portable SSD icon on your desktop or in the Finder sidebar.
- Right-click on the icon, or click and hold, to bring up a context menu.
- Select the “Eject” option from the context menu.
- Wait for a message or notification confirming that it is safe to disconnect the SanDisk Extreme Portable SSD.
- Once you receive confirmation, you can safely remove the USB cable connecting the device to your Mac.
By properly ejecting the SanDisk Extreme Portable SSD, you ensure that all data transfers and write operations have been completed and that there is no risk of data corruption or loss. It is a good practice to always eject external storage devices before physically disconnecting them from your computer.
Now that you have successfully ejected the SanDisk Extreme Portable SSD, you can safely store or transport your password-protected storage device without the risk of data integrity issues. Your files remain securely protected within the vault, ready for you to access whenever needed.
Congratulations! You have successfully learned how to password protect your SanDisk Extreme Portable SSD on Mac. By following the steps outlined in this guide, you have added an extra layer of security to your sensitive files, ensuring that only authorized individuals can access them.
Remember to keep your password confidential and secure, and always practice good password hygiene. Regularly update your password and avoid using the same password for multiple accounts or devices. By doing so, you can maintain the integrity and security of your files on the SanDisk Extreme Portable SSD.
Conclusion
Securing your sensitive files is of utmost importance, and password protecting your SanDisk Extreme Portable SSD on Mac provides an effective solution to safeguard your data. By following the steps outlined in this guide, you have learned how to install the SanDisk SecureAccess software, create a new vault, set a strong password, transfer files to the vault, lock and unlock the vault, and properly eject your storage device.
The SanDisk SecureAccess software offers a user-friendly interface that makes it easy to manage your password-protected vaults. The encryption technology employed ensures that your files remain secure and protected, even if your SanDisk Extreme Portable SSD falls into the wrong hands.
Remember to choose a strong and unique password for your vault, and avoid using common or easily guessable passwords. It is also crucial to keep your password confidential and to remember it or securely store it in a trusted password manager.
By following these steps, you have taken proactive measures to enhance the security of your sensitive files and protect them from unauthorized access. With the power to password protect your SanDisk Extreme Portable SSD on Mac, you can have peace of mind knowing that your data is secure, whether you are at home, at the office, or on the go.
We hope that this guide has been helpful in assisting you with password protecting your SanDisk Extreme Portable SSD on Mac. By implementing these security measures, you can confidently carry your portable storage device, knowing that your files are safe and inaccessible to anyone without the correct password. Stay vigilant and practice good password management to ensure the ongoing security of your digital assets.