Introduction
Welcome to the world of solid state drives (SSDs) and the remarkable possibilities they bring for virtual disk space. In this digital era, the demand for storage solutions is ever-growing, and traditional hard disk drives (HDDs) are starting to give way to the superior performance of SSDs. If you’re looking to expand your virtual disk space or enhance the speed and efficiency of your computer, then using an SSD is a game-changer.
SSDs utilize flash memory technology, which provides lightning-fast data access times and significantly boosts the overall performance of your computer. Virtual disk space, on the other hand, allows you to create additional storage partitions on your SSD, effectively increasing the available storage without physically adding more drives.
In this article, we will delve into the world of using an SSD for virtual disk space. We will explore the benefits of using an SSD for virtual disk space, guide you through the process of choosing the right SSD, and provide step-by-step instructions for setting up and configuring virtual disk space on your SSD. Additionally, we’ll cover optimizations to further enhance the performance of your virtual disk space.
Whether you’re a professional requiring more storage for intensive video editing projects or a gaming enthusiast desiring faster load times, utilizing an SSD for virtual disk space offers a multitude of benefits. Say goodbye to limitations and hello to seamless storage expansion and improved performance.
What is a Solid State Drive (SSD)?
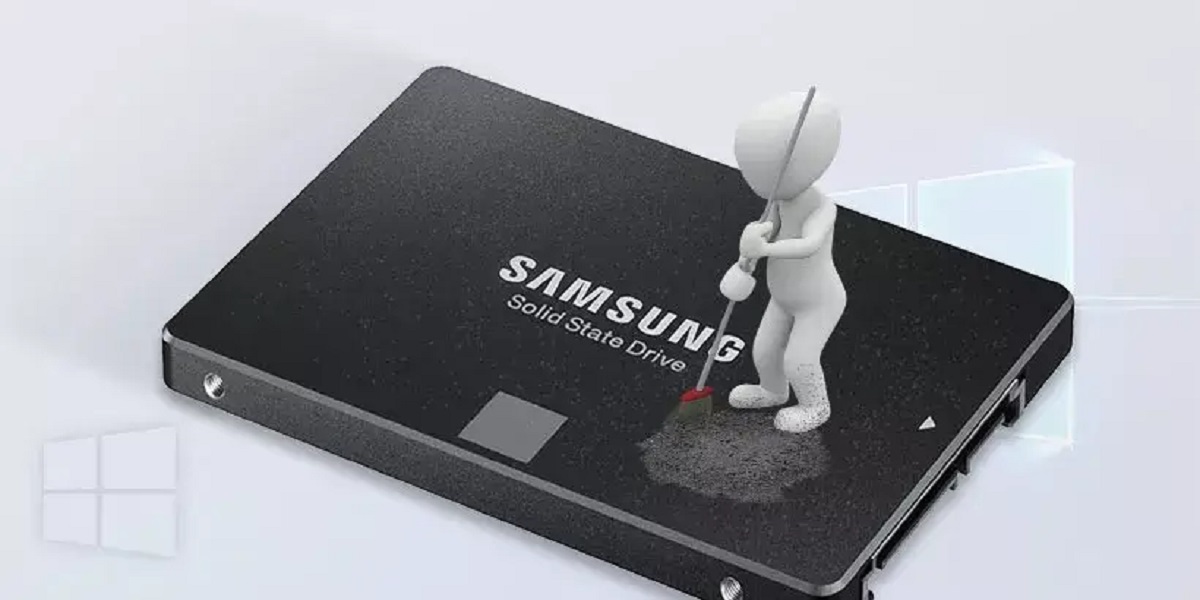
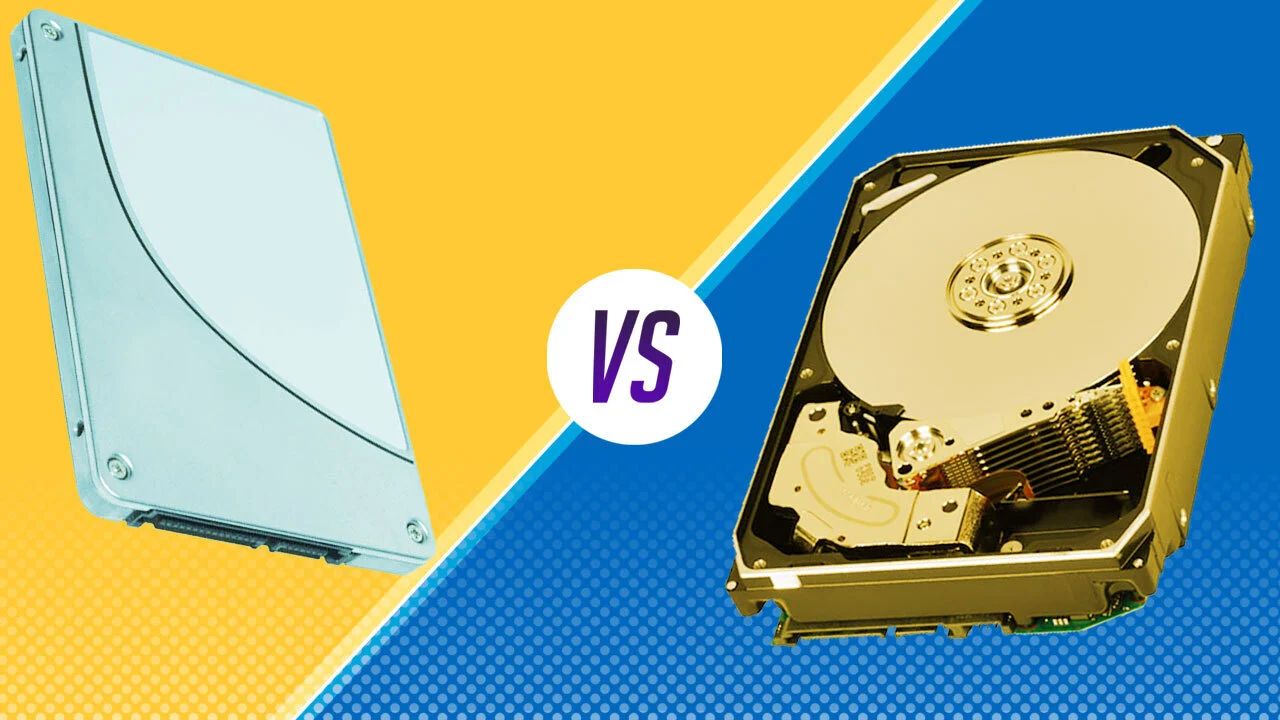
A solid state drive, commonly referred to as an SSD, is a storage device that uses flash memory to store and access data. Unlike traditional hard disk drives (HDDs) that rely on mechanical components and spinning disks, SSDs have no moving parts, which makes them faster, more durable, and more reliable.
SSDs are constructed with integrated circuits that retain data even when the power is turned off, providing non-volatile storage solutions. These drives utilize NAND flash memory, which allows for high-speed data transfer and quicker access times compared to HDDs.
One of the main advantages of SSDs is their exceptional performance. Due to the absence of moving parts, data can be accessed and written to an SSD at a significantly faster rate. This results in reduced boot times, faster application launches, and improved overall system responsiveness. Tasks that used to take minutes can now be completed in seconds.
Another key advantage of SSDs is their reliability. With no mechanical components, there is a lower risk of failure due to physical damage or wear and tear. SSDs are less susceptible to shock or vibration, making them ideal for portable devices such as laptops or external drives.
Additionally, SSDs consume less power than traditional HDDs, making them more energy-efficient and preserving the battery life of laptops and other mobile devices. This also results in less heat generation, contributing to a cooler operating environment for your computer.
While SSDs generally have a higher price point compared to HDDs, the benefits they offer in terms of speed, reliability, and power efficiency make them a worthwhile investment. As technology advances and prices continue to decline, SSDs are becoming more accessible and affordable for a broader range of users.
In summary, a solid state drive (SSD) is a storage device that uses flash memory to store and access data. Its lack of moving parts, faster performance, improved reliability, and energy efficiency make it an ideal choice for users seeking enhanced storage solutions.
Why use an SSD for Virtual Disk Space?
When it comes to virtual disk space, using an SSD offers several advantages that make it the preferred choice for many users. Let’s explore some of the key reasons why an SSD is the ideal option for expanding your virtual storage:
1. Speed: SSDs are known for their exceptional speed and responsiveness. Virtual disk space on an SSD allows for faster access times and quicker data transfers compared to traditional hard drives. This means that applications and files stored in the virtual disk space can be accessed and utilized without the delay typically associated with traditional spinning drives.
2. Performance: The increased speed of an SSD directly translates to improved overall system performance. With virtual disk space on an SSD, you can expect faster boot times, reduced application loading times, and smoother multitasking. This is particularly beneficial for resource-intensive tasks, such as video editing, gaming, or running virtual machines.
3. Reliability: SSDs are more robust and durable than traditional hard drives. They don’t have any moving parts, making them less susceptible to mechanical failures caused by physical shocks or jolts. This reliability is particularly important when it comes to storing important files and applications in your virtual disk space.
4. Efficiency: SSDs are energy-efficient, consuming less power and generating less heat compared to traditional hard drives. When using an SSD for virtual disk space, you can enjoy longer battery life for laptops and reduced power consumption for desktop computers. Additionally, the minimal heat produced by an SSD contributes to a cooler operating environment, which further enhances the stability and longevity of your system.
5. Scalability: Virtual disk space on an SSD offers flexibility and scalability in terms of storage expansion. As your storage needs grow, you can easily increase the size of your virtual disk space without investing in physical hard drives. This saves costs and provides a hassle-free solution for expanding your storage capacity.
6. Data Security: Virtual disk space on an SSD provides an added layer of data security. Since SSDs are less prone to physical damage, your important files and applications stored in the virtual disk space are better protected. In addition, some SSD models come with built-in encryption capabilities, ensuring that your data remains safe and secure.
In summary, using an SSD for virtual disk space offers numerous benefits, including speed, performance, reliability, efficiency, scalability, and data security. Whether you’re a professional demanding high-performance storage or a casual user seeking a seamless storage expansion solution, an SSD for virtual disk space is a wise investment.
Choosing the Right SSD for Virtual Disk Space
When selecting an SSD for virtual disk space, there are several factors to consider to ensure you choose the right drive that meets your needs. Here are some key considerations:
1. Capacity: The capacity of the SSD determines the amount of virtual disk space you can allocate. Assess your storage requirements based on the types of files and applications you plan to store in the virtual disk space. Consider future growth and choose an SSD with sufficient capacity to accommodate your needs.
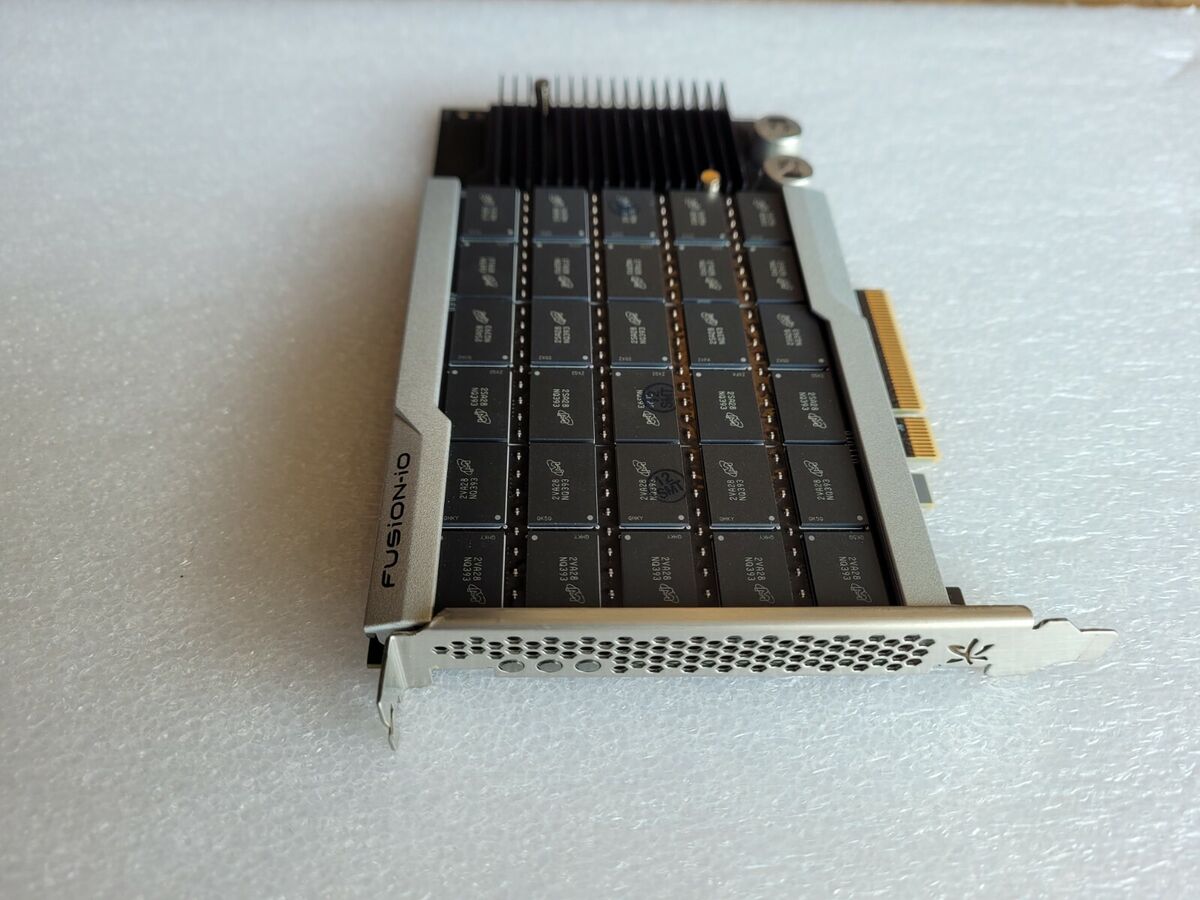
2. Speed and Performance: Look for an SSD with high read and write speeds to ensure fast and responsive performance. Consider the interface and technology used by the SSD, such as SATA III, NVMe, or PCIe, as they can significantly impact the speed and performance of the drive.
3. Reliability and Endurance: Consider the reliability and endurance ratings of the SSD. Look for drives with a high mean time between failures (MTBF) and a high total bytes written (TBW) rating to ensure durability and longevity. SSDs with advanced error correction and wear-leveling technologies are also desirable.
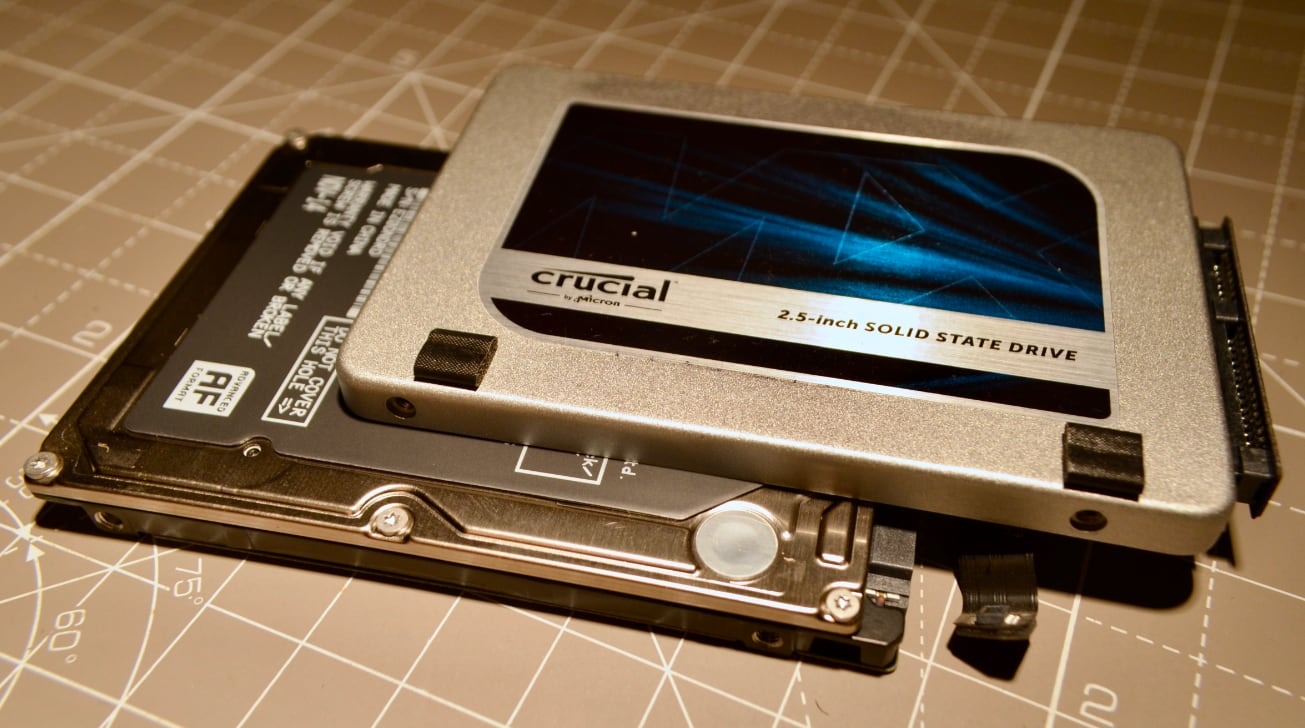
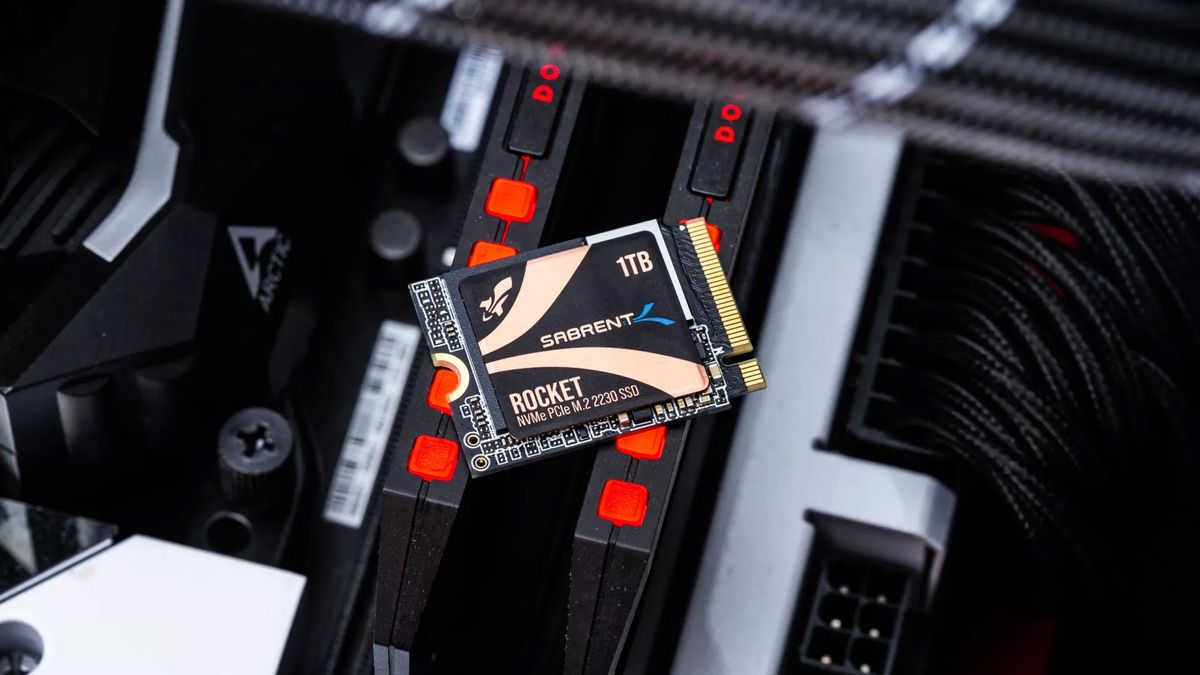
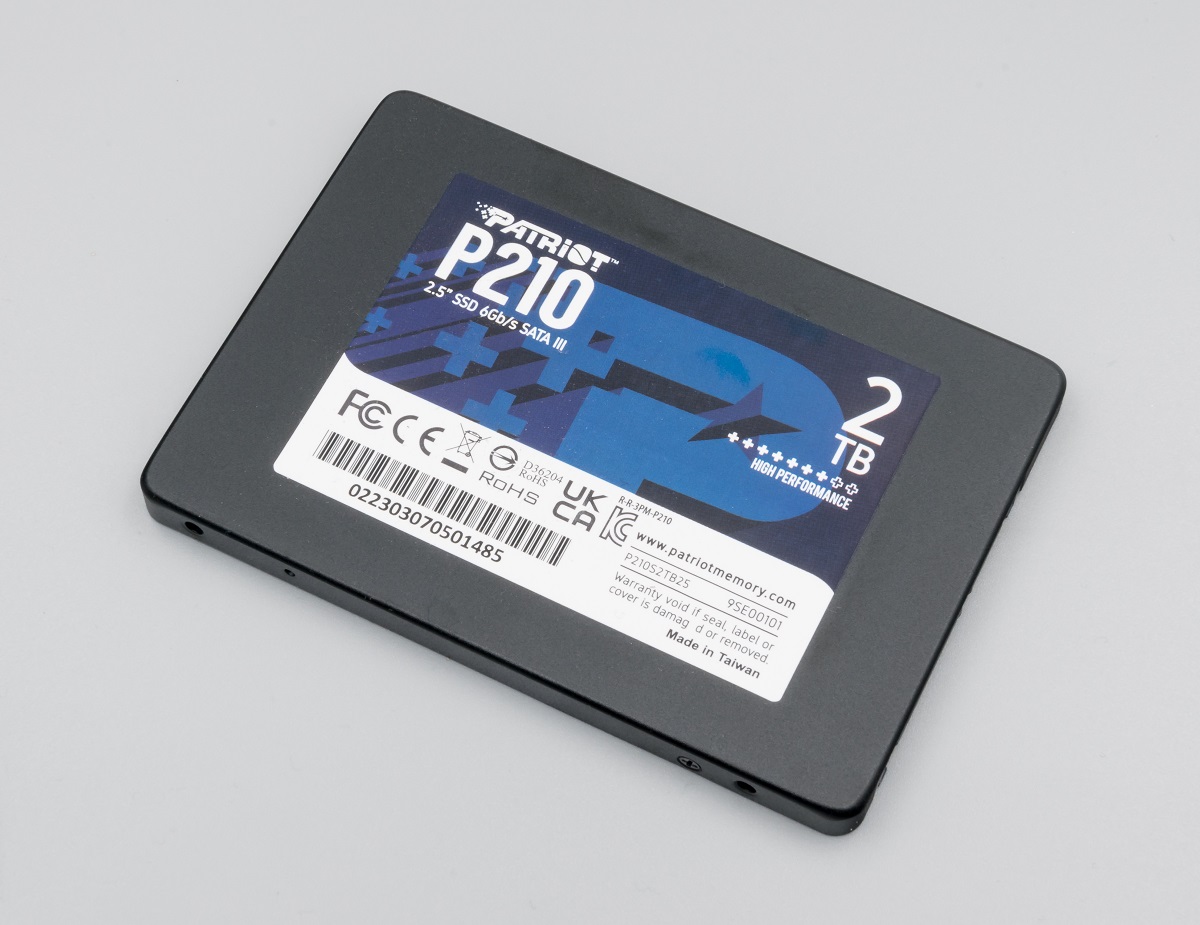
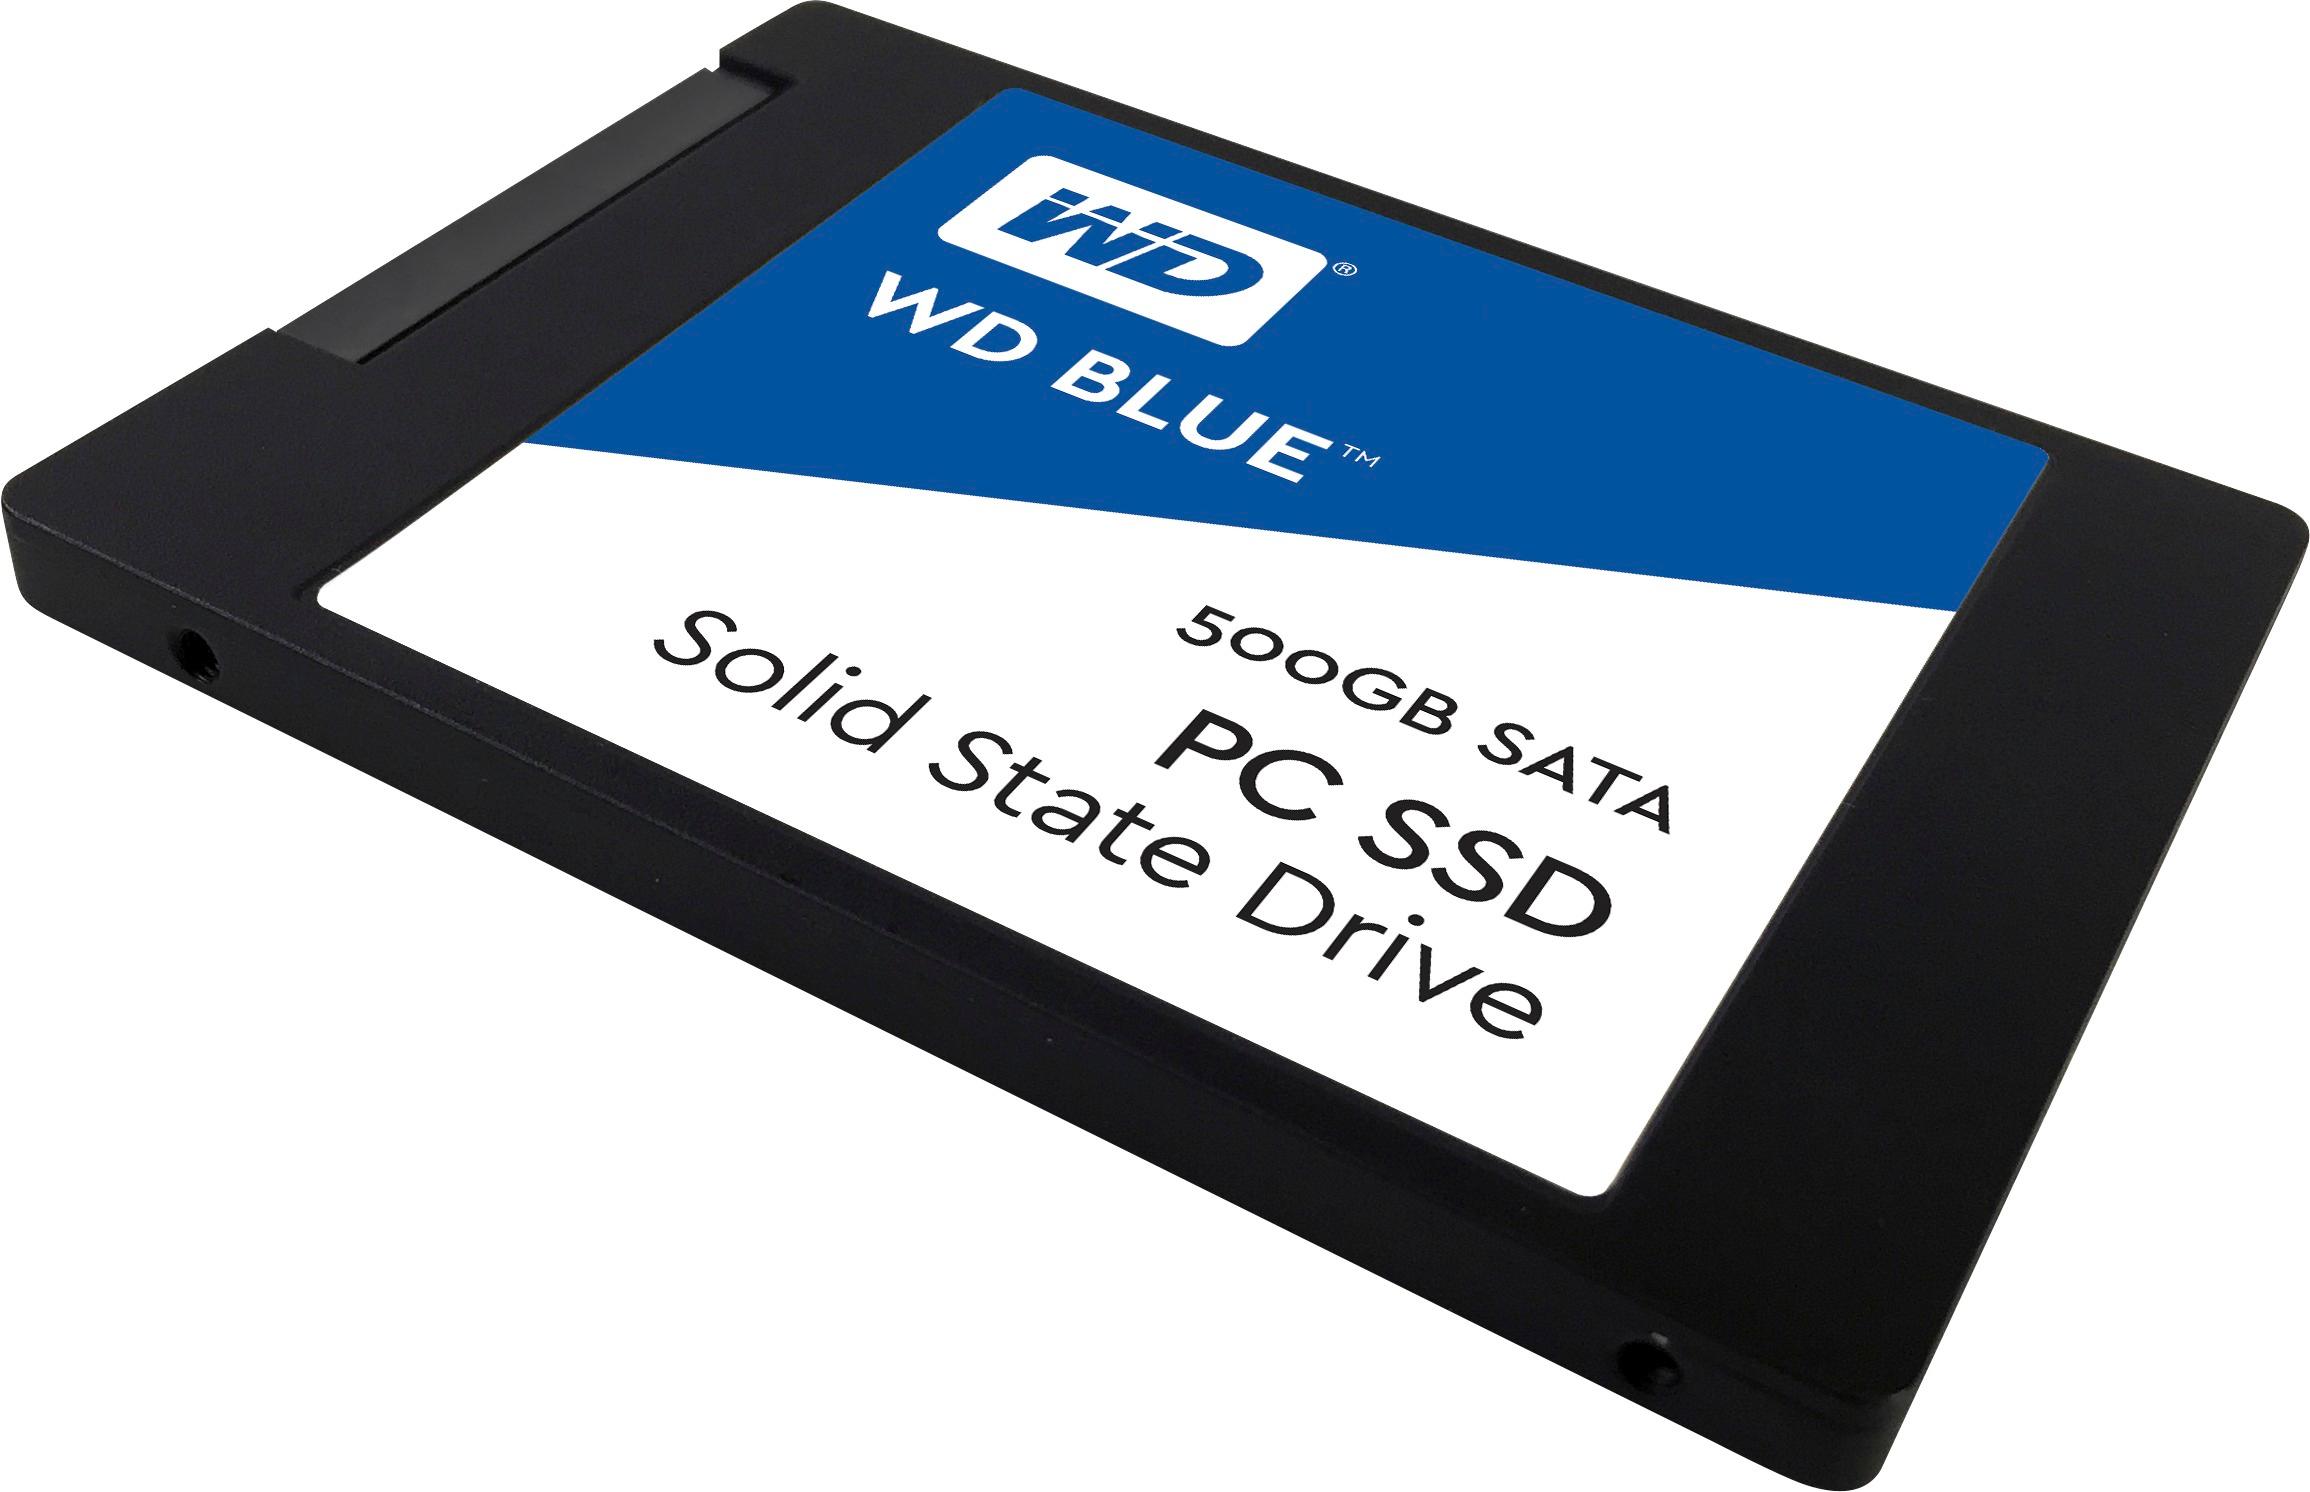
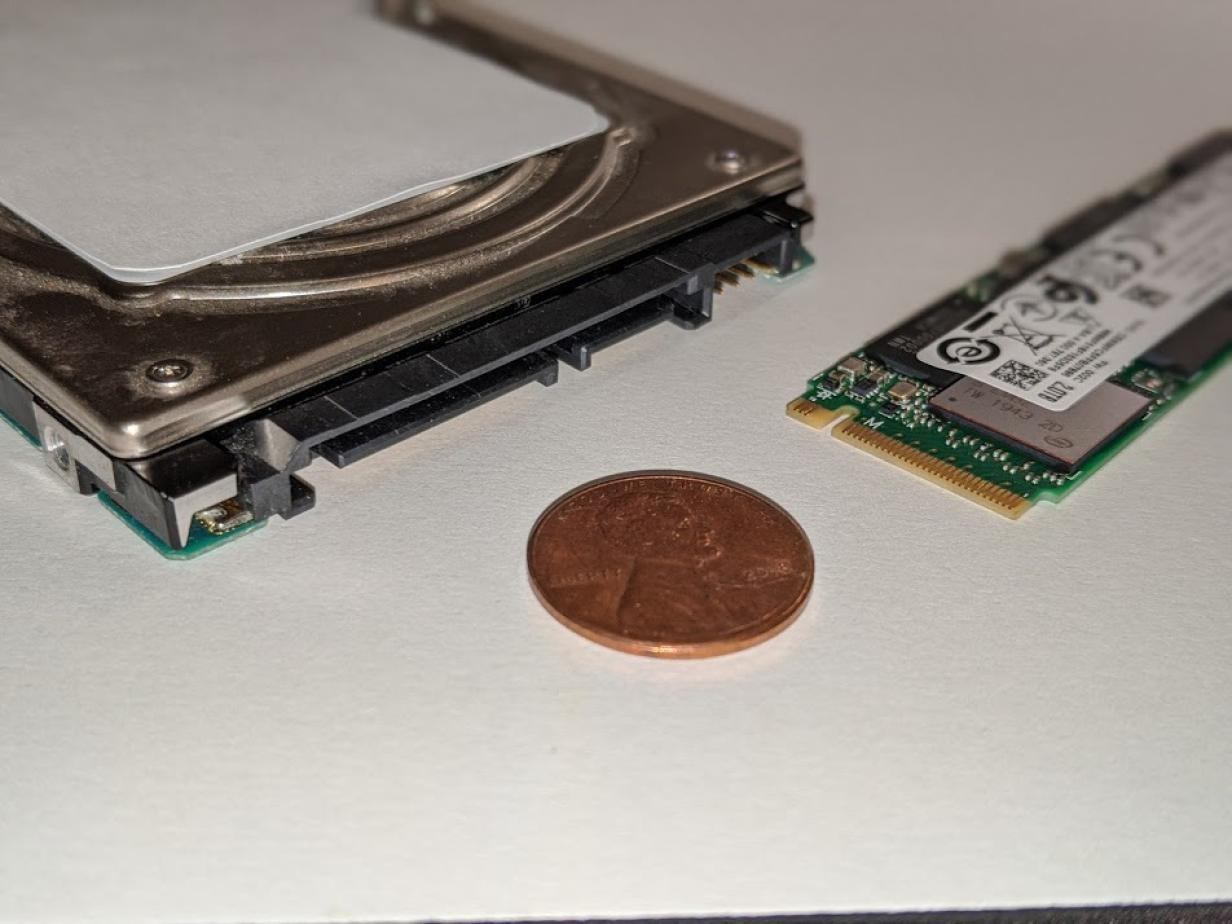
4. Form Factor and Compatibility: Consider the form factor of the SSD and ensure compatibility with your computer or device. Common form factors include 2.5-inch, M.2, and U.2. Check the interface requirements (SATA, PCIe) and ensure your motherboard or expansion card supports the SSD.
5. Budget: SSDs come in various price ranges, so it’s important to balance your budget with your requirements. Consider the overall value and performance offered by the SSD and choose one that fits within your budget without compromising your needs.
6. Brand and Reputation: Opt for reputable SSD brands known for their quality and performance. Research customer reviews, professional benchmarks, and reliability ratings to gain insights into the performance and reliability of different SSD models.
7. Warranty and Support: Check the warranty period offered by the SSD manufacturer. A longer warranty period indicates confidence in the drive’s reliability. Additionally, consider the support provided by the manufacturer in case you encounter any issues or require assistance.
By carefully evaluating these factors, you can choose an SSD that provides the right combination of capacity, speed, reliability, compatibility, and affordability for your virtual disk space requirements. Remember to consider your intended usage and future needs to ensure a suitable and long-lasting solution.
Installing the SSD in Your Computer
Once you’ve chosen the right SSD for your virtual disk space, the next step is to install it in your computer. The installation process may vary slightly depending on your computer’s make and model, but the general steps remain the same. Here’s a step-by-step guide to help you:
1. Gather the necessary tools: Before getting started, ensure you have the necessary tools, including a screwdriver (typically a Phillips-head or Torx), any cables or adapters required for the SSD installation, and an anti-static wrist strap to protect against electrostatic discharge.
2. Power down your computer: Shut down your computer completely and disconnect the power cable. It’s also a good practice to unplug any peripherals, such as a monitor or external devices.
3. Open your computer case: Remove the screws or clips that secure the computer case, and carefully slide off the side panel. This will give you access to the internal components of your computer.
4. Locate the storage drive bays: Identify the storage drive bays in your computer. These are typically metal brackets or slots designed to hold storage drives. If there are existing drives, you may need to remove them to make space for the new SSD.
5. Mount the SSD: Depending on the form factor of your SSD, use the appropriate mounting method. For a 2.5-inch SSD, you may need to attach it to a drive bracket or use screws to secure it directly to the drive bay. For M.2 SSDs, they usually slot directly into a dedicated M.2 slot on the motherboard.
6. Connect the cables: If you’re installing a 2.5-inch SSD, connect a SATA data cable to the SSD and the corresponding SATA port on the motherboard. Additionally, connect a SATA power cable from the power supply unit to the SSD. For M.2 SSDs, you won’t need any extra cables as they connect directly to the motherboard.
7. Secure the SSD: Once the SSD is properly connected, carefully secure it in place using screws or any locking mechanisms provided by your computer case. Ensure it is firmly attached to prevent any movement or damage during operation.
8. Close the computer case: Place the side panel back on your computer case and secure it with the appropriate screws or clips. Ensure it is properly aligned and fastened to maintain a secure enclosure.
9. Power up your computer: Reconnect the power cable and any peripherals you previously disconnected. Power on your computer and check if the new SSD is detected in the system’s BIOS or UEFI. If it’s recognized, you can proceed to format and configure the SSD for use.
It’s worth noting that if you’re not comfortable with hardware installations, it’s recommended to seek assistance from a professional or refer to your computer’s user manual for specific instructions.
By following these steps, you can successfully install the SSD in your computer, preparing it for the next stage of setting up virtual disk space.
Setting up Virtual Disk Space on your SSD
Once you have installed the SSD in your computer, it’s time to set up virtual disk space on the drive. Follow these steps to create and allocate virtual disk space on your SSD:
1. Initialize the SSD: If your SSD is brand new and has not been initialized, you’ll need to do so before setting up virtual disk space. Open the Disk Management utility on your computer (accessible through the Control Panel or by right-clicking the Start button). Locate the SSD, initialize it, and assign a drive letter to it.
2. Create a partition: Once the SSD is initialized, you’ll need to create a partition on it for virtual disk space. In the Disk Management utility, right-click on the unallocated space of the SSD and select “New Simple Volume.” Follow the on-screen instructions to create the partition, allocate the desired size for the virtual disk space, and assign it a drive letter.
3. Format the partition: After creating the partition, you’ll need to format it to prepare it for use. Right-click on the newly created partition and select “Format.” Choose the desired file system (such as NTFS) and allocation unit size, and give it a suitable name. Click “OK” to format the partition.
4. Extend the partition (optional): If you have allocated a specific size for the virtual disk space but later wish to increase it, you can extend the partition. Simply right-click on the partition, select “Extend Volume,” and follow the prompts to increase the size using the available unallocated space on the SSD.
5. Assign a drive letter: After formatting the partition, you’ll need to assign a drive letter to the virtual disk space. Right-click on the partition and select “Change Drive Letter and Paths.” Click “Add,” choose a drive letter from the available options, and click “OK.” The drive letter will now be associated with the virtual disk space.
6. Test the virtual disk space: To ensure the virtual disk space is working correctly, open the File Explorer on your computer and locate the drive letter assigned to the virtual disk space. Try copying, deleting, or accessing files within the virtual disk space to verify its functionality.
Once you have completed these steps, your virtual disk space is ready to be used. You can start transferring files, installing applications, or utilizing the virtual disk space as additional storage on your SSD.
Note that the specific steps to set up virtual disk space may differ slightly depending on your operating system or SSD management software. Consult the documentation provided by your operating system or the SSD manufacturer for any unique instructions or features.
By following these steps, you can easily create and allocate virtual disk space on your SSD, expanding your storage options and making the most out of your solid-state drive.
Configuring the Virtual Disk Space
Once you have set up virtual disk space on your SSD, it’s important to configure it to optimize its performance and suitability for your specific needs. Consider the following configurations to make the most out of your virtual disk space:
1. File System: Choose the appropriate file system for your virtual disk space. While NTFS is commonly used for Windows operating systems, consider other file systems like exFAT or APFS based on your requirements and compatibility.
2. Cluster Size: When formatting the virtual disk space, select an appropriate cluster or allocation unit size. Larger cluster sizes are recommended for handling large files, while smaller cluster sizes are more efficient for smaller files. Choose a cluster size that aligns with your typical file sizes and usage.
3. Compression and Encryption: Depending on your needs, you may want to enable compression or encryption for your virtual disk space. Compression reduces the file size, allowing for more efficient use of storage, but it may impact performance. Encryption, on the other hand, helps secure sensitive data stored in the virtual disk space.
4. Drive Letter Management: If you have multiple virtual disk spaces or drives, you may want to consider managing their drive letters for better organization. Assigning meaningful drive letters or using drive letter management tools can simplify access and navigation within the virtual disk space.
5. Backup and Recovery: Implement a regular backup strategy for your virtual disk space to safeguard against data loss due to hardware failure, system crashes, or accidental deletion. Backup solutions can include cloud storage, external drives, or system restore points, ensuring the integrity of your valuable files and applications.
6. Monitoring and Optimization: Utilize monitoring tools to keep an eye on the performance and health of your virtual disk space. SSD management software or built-in system utilities can provide insights into the usage, temperature, and overall condition of the SSD, allowing you to proactively address any potential issues and optimize performance.
7. Organization and Maintenance: Develop a file and folder structure within the virtual disk space that supports easy access and organization. Categorize files and applications into appropriate directories to streamline navigation and simplify maintenance. Regularly clean up and delete unnecessary files to free up storage and ensure optimal performance.
Remember, the specific configuration options may vary depending on your operating system, SSD management software, and personal preferences. Consult the documentation or user guides provided by your operating system or SSD manufacturer for specific instructions and recommendations.
By configuring your virtual disk space appropriately, you can ensure optimal performance, organization, and data safety. Take the time to fine-tune the configurations to best suit your requirements and make the most out of your virtual disk space on your SSD.
Transferring Files and Applications to the Virtual Disk Space
Now that you have set up and configured virtual disk space on your SSD, it’s time to start transferring files and applications to make use of the expanded storage capacity. Here are some steps to efficiently transfer your data:
1. Evaluate and organize: Begin by assessing your storage needs and determining which files and applications you want to transfer. Consider the size and importance of the data to decide what should be moved to the virtual disk space.
2. Copy or move files: To transfer files to the virtual disk space, you can use the simple drag-and-drop method. Open the File Explorer or Finder and navigate to the location of the files you wish to transfer. Select the files or folders, and then drag them to the virtual disk space drive letter or folder you created in the previous steps.
3. Reinstall or migrate applications: If you want to move applications to the virtual disk space, some may require reinstalling on the new drive. Check with the application provider for instructions on how to reinstall or migrate the software to the virtual disk space. Some applications may offer migration or relocation tools to simplify the process.
4. Update file paths: After transferring files and applications, it’s important to update any references or shortcuts that may be pointing to the old storage locations. Update the file paths to point to the virtual disk space drive letter or folder, ensuring seamless access to your data and applications.
5. Test accessibility and functionality: Once the transfer is complete, verify that your files and applications are accessible and functioning properly from the virtual disk space. Open files, launch applications, and perform any necessary tasks to ensure everything is working as intended.
6. Delete or archive duplicate files: After successfully transferring files and applications to the virtual disk space, it’s a good idea to review your original storage location and delete any duplicate files to free up space and avoid confusion. Alternatively, you can archive the duplicate files as a backup before deleting them.
7. Regularly back up the virtual disk space: To ensure the safety of your data, establish a regular backup routine for your virtual disk space. Create backup copies of important files and applications on external drives or cloud storage to protect against data loss due to unforeseen events.
Take the time to organize your files and applications within the virtual disk space, creating a logical folder structure that facilitates easy access and efficient data management. Regularly review and clean up the virtual disk space to maintain optimal storage performance.
By following these steps, you can seamlessly transfer your files and applications to the virtual disk space on your SSD, freeing up space on your primary storage drive and taking full advantage of the expanded storage capacity.
Optimizing Performance for Virtual Disk Space on an SSD
To ensure optimal performance and maximize the benefits of using virtual disk space on your SSD, consider implementing the following optimization techniques:
1. Enable TRIM: Verify that TRIM is enabled on your SSD. TRIM is a command that allows the operating system to inform the SSD about blocks of data that are no longer in use, helping to maintain optimal performance and extend the lifespan of the drive. Most modern operating systems automatically enable TRIM, but it’s worth double-checking to ensure it’s active.
2. Disable indexing: By default, operating systems often index files on storage drives to speed up search results. However, for SSDs, this constant indexing can lead to unnecessary read and write operations that can affect performance. Disable indexing specifically on the virtual disk space drive to reduce these overhead operations.
3. Allocate sufficient free space: Leave an adequate amount of free space on your SSD, including the virtual disk space partition. Having free space allows the SSD to optimize performance and maintain longevity by distributing data evenly across memory cells. Aim to keep at least 10-20% of the SSD’s total capacity free for optimal performance.
4. Regularly update firmware and drivers: Manufacturers often release firmware updates and driver improvements for SSDs that can enhance performance and address any bugs or compatibility issues. Check for updates regularly and apply them to keep your SSD running at its best.
5. Disable disk defragmentation: SSDs do not benefit from traditional disk defragmentation processes, as they do not suffer from fragmentation issues like mechanical hard drives. In fact, defragmentation can cause unnecessary wear and tear on the SSD. Disable automatic defragmentation and exclude the virtual disk space drive from any manual defragmentation processes.
6. Optimize power settings: Adjust power settings on your computer to ensure optimal performance for the SSD. By default, operating systems may prioritize power savings over performance. Look for power plans that are designed specifically for SSDs, which can disable power-saving features that may impact performance.
7. Utilize storage optimization tools: Take advantage of built-in storage optimization tools offered by your operating system or SSD management software. These tools can optimize performance, perform garbage collection, and provide information about the health and status of your SSD.
8. Monitor drive health: Regularly monitor the health of your SSD using the manufacturer’s monitoring software or third-party tools. Keep an eye on indicators such as temperature, read/write cycles, and the SMART status to identify any potential issues before they impact performance.
By implementing these optimization techniques, you can ensure that your virtual disk space on the SSD performs at its best. Regular maintenance and monitoring will help maintain the SSD’s performance and longevity, ensuring a smooth and efficient user experience.
Frequently Asked Questions (FAQs) about Using an SSD for Virtual Disk Space
Here are some commonly asked questions and answers about using an SSD for virtual disk space:
Q1: Can virtual disk space be used as the primary storage for my operating system?
A1: While it is technically possible to install your operating system on virtual disk space, it is generally recommended to install the operating system on a separate physical drive or partition for optimal performance and reliability.
Q2: Can I have multiple virtual disk spaces on my SSD?
A2: Yes, you can create multiple virtual disk spaces on your SSD. The number of virtual disk spaces you can have depends on the available space and the limitations of your operating system.
Q3: Can I resize or delete virtual disk spaces?
A3: Yes, you can resize or delete virtual disk spaces. However, keep in mind that resizing may require advanced partition management tools, and deleting a virtual disk space will permanently erase all the data stored within it, so ensure you have backup copies of any important files before performing these operations.
Q4: Will using virtual disk space on an SSD affect its lifespan?
A4: Using virtual disk space on an SSD will not significantly affect its lifespan. SSDs have a limited number of write cycles, but modern SSDs have wear-leveling and other technologies designed to maximize their lifespan. With regular use, an SSD should last for many years.
Q5: Can I use virtual disk space on an external SSD?
A5: Yes, you can use virtual disk space on an external SSD. However, ensure that the external SSD is connected via a suitable interface, such as USB 3.0 or Thunderbolt, to ensure optimal data transfer speeds.
Q6: Can I access virtual disk space on different operating systems?
A6: Virtual disk space created on an SSD can be accessed by different operating systems as long as the file system is compatible. Ensure that the file system used for the virtual disk space is supported by the target operating system to avoid any compatibility issues.
Q7: Can I use virtual disk space on an SSD for gaming or resource-intensive applications?
A7: Absolutely! An SSD provides fast data access speeds, making it an excellent choice for gaming or running resource-intensive applications. By storing games or applications on virtual disk space on your SSD, you can experience faster load times and smoother performance.
Q8: Can I convert an existing partition into virtual disk space on an SSD?
A8: Unfortunately, converting an existing partition to virtual disk space is not possible. You need to create a new partition specifically for virtual disk space on the SSD.
These FAQs provide important information about using an SSD for virtual disk space. If you have further questions or concerns, consult the documentation provided by your operating system or SSD manufacturer for specific guidance.
Conclusion
Using a solid-state drive (SSD) for virtual disk space offers numerous benefits in terms of speed, performance, reliability, and scalability. With the ability to expand storage capacity and leverage the lightning-fast performance of SSDs, virtual disk space opens up new possibilities for storage solutions.
In this article, we explored what an SSD is and why it is the preferred choice for virtual disk space. We discussed the factors to consider when choosing the right SSD for your needs and provided a step-by-step guide for installing the SSD in your computer.
We also covered the process of setting up and configuring virtual disk space on your SSD, ensuring optimal performance, data organization, and ease of access. Additionally, we discussed the importance of transferring files and applications to the virtual disk space efficiently.
Furthermore, we explored various optimization techniques to maximize the performance of your virtual disk space on an SSD, including enabling TRIM, allocating sufficient free space, and monitoring drive health.
Lastly, we addressed frequently asked questions to provide clarity on using an SSD for virtual disk space, including considerations for primary storage, multiple virtual disk spaces, lifespan concerns, and accessing virtual disk space on different operating systems.
By utilizing an SSD for virtual disk space, you can unlock the full potential of your storage solutions. With increased speed, reliability, and scalability, you can enjoy faster access times, improved performance, and seamless storage expansion.
Whether you’re a professional needing more storage for intensive projects or a casual user desiring faster load times for gaming or applications, incorporating virtual disk space on an SSD is a transformative choice.
Embrace the power of SSD technology and harness the advantages of virtual disk space to enhance your computing experience and streamline your storage capabilities.


