Introduction
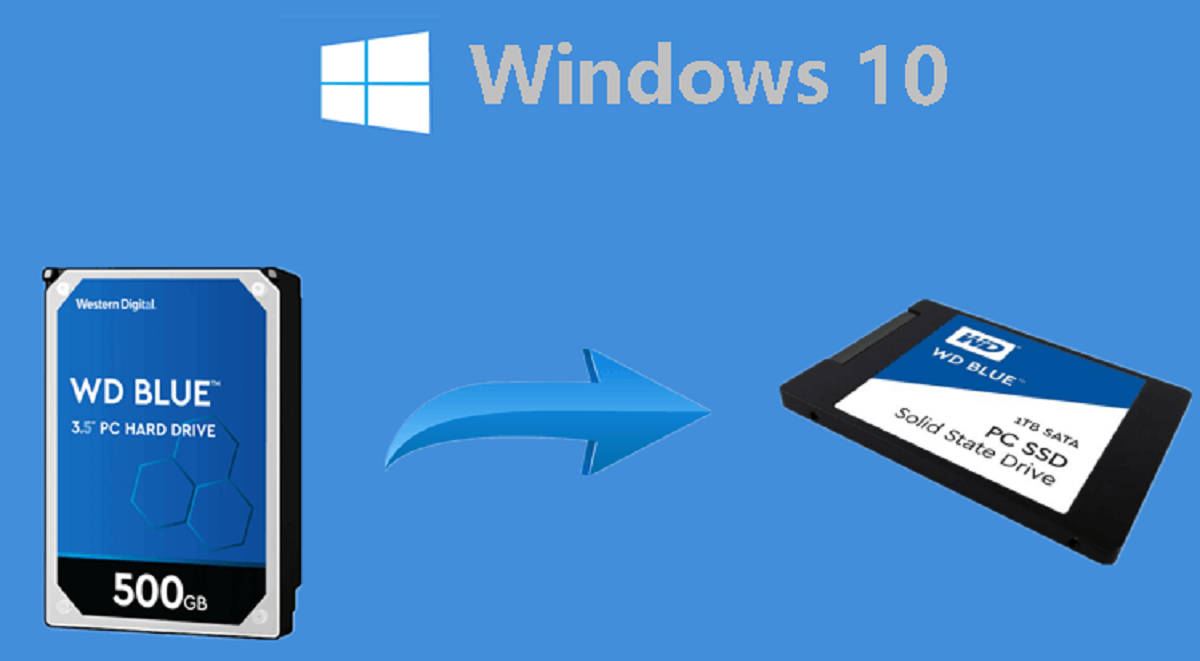
These days, solid state drives (SSDs) have become increasingly popular due to their faster performance and improved reliability compared to traditional hard drives. If you’re still relying on a conventional hard drive for your operating system, you might be missing out on the full potential of your computer. One of the most effective ways to upgrade your system’s speed and responsiveness is by transferring Windows 10 to a solid state drive.
By making this simple switch, you can enjoy faster boot times, quicker application launches, and improved overall system performance. But how exactly can you transfer your Windows 10 operating system to an SSD? In this article, we will guide you through the process, step by step.
It’s worth noting that while the process of transferring Windows 10 to an SSD can greatly enhance your system’s performance, it does require careful planning and execution. It’s important to understand the potential risks and challenges that come with this process, as well as the necessary precautions to take to ensure a smooth transition.
In the following sections, we will discuss the reasons why transferring Windows 10 to an SSD is beneficial, as well as the important considerations to keep in mind before you begin the process. We will then provide you with a comprehensive checklist and step-by-step instructions to ensure a successful transfer of your operating system to the new solid state drive. So, let’s dive in and get started!
Why Transfer Windows 10 to a Solid State Drive?
Upgrading your system by transferring Windows 10 to a solid state drive (SSD) offers numerous benefits that can greatly enhance your computing experience. Let’s explore the top reasons why you should consider making the switch:
- Improved Performance: One of the main advantages of an SSD is its significantly faster data transfer speeds compared to a traditional hard drive. This results in shorter boot times, quicker application launches, and overall snappier system performance. Your computer will feel more responsive, allowing you to work more efficiently and enjoy a smoother user experience.
- Enhanced Reliability: Unlike mechanical hard drives, SSDs have no moving parts, which means they are more resistant to physical shocks and vibrations. This makes SSDs less prone to failure and data loss, ensuring a more reliable and stable computing environment.
- Reduced Power Consumption: Solid state drives consume considerably less power than traditional hard drives. This is particularly advantageous for laptops, as it can extend battery life and help you get more out of your device when working on the go.
- Increased Storage Efficiency: SSDs are typically smaller in physical size but offer larger storage capacities than traditional hard drives. This is because SSDs are able to store data in a more compact and efficient manner. Upgrading to an SSD allows you to have more storage space while taking up less physical space in your computer.
- Noisy-Free Operation: With no mechanical parts, SSDs operate silently, eliminating the annoying noise often produced by spinning hard drive disks. This creates a quieter and more peaceful working environment, especially if you value a noise-free workspace or use your computer in a quiet setting.
By transferring your Windows 10 operating system to an SSD, you can unlock the full potential of your computer and enjoy improved performance, reliability, power efficiency, storage efficiency, and noise-free operation. It’s a worthwhile upgrade that can breathe new life into your system and enhance your overall computing experience.
Important Considerations Before Transferring
Before diving into the process of transferring Windows 10 to a solid state drive (SSD), there are several important considerations to keep in mind. These factors will help ensure a smooth and successful transition without any data loss or system issues. Here are some key points to consider:
- Backup Your Data: Before proceeding with any major changes to your system, it is crucial to create a backup of all your important files and data. This provides a safety net in case anything goes wrong during the transfer process.
- Check Compatibility: Ensure that your computer’s hardware, specifically the motherboard, supports SSDs. Check the manufacturer’s documentation or website for compatibility information or consult with a professional if you’re unsure.
- Sufficient Storage Space: Make sure your SSD has enough storage capacity to accommodate all your files and the Windows 10 operating system. Consider the amount of data you currently have and any potential growth in the future.
- Backup Activation Key: If Windows 10 was pre-installed on your computer, locate and save your product key or activation information. This will be needed when setting up Windows on the new SSD.
- Update Windows and Drivers: Before the transfer, ensure that your Windows 10 operating system and all device drivers are up to date. This helps prevent any compatibility issues and ensures a smoother transition.
- Research SSD Migration Software: Investigate and select a reliable SSD migration software tool that will assist in transferring your Windows 10 installation to the new SSD. There are several reputable options available, such as Acronis True Image, EaseUS Todo Backup, or Macrium Reflect.
- Allocate Time: Transferring Windows 10 to an SSD requires time and patience. Set aside ample time to complete the process without interruptions to minimize the risk of errors or data loss.
By considering these important factors before transferring Windows 10 to an SSD, you can ensure a smooth and hassle-free transition. Taking the necessary precautions will help safeguard your data and prevent any potential issues that may arise during the transfer process.
Checklist for Transferring Windows 10 to an SSD
Before embarking on the process of transferring your Windows 10 operating system to a solid state drive (SSD), it’s essential to have a checklist at hand. This checklist will help ensure that you cover all the necessary steps and have everything in order for a successful transfer. Here’s a comprehensive checklist to guide you:
- Backup Your Data: Create a backup of all your important files and data to an external storage device or cloud storage. This ensures that your data is safely preserved in case of any unforeseen issues during the transfer process.
- Choose the Right SSD: Research and select an SSD that meets your storage capacity and performance needs. Ensure compatibility with your computer’s hardware specifications.
- Prepare Your SSD: Follow the manufacturer’s instructions to properly prepare and initialize the SSD for use with your computer. This may involve formatting the drive or installing any necessary firmware updates.
- Create a Bootable USB Drive: Download the Windows 10 installation media from the official Microsoft website and create a bootable USB drive. This will be used to install Windows on the new SSD.
- Clone Your Windows 10 Installation: Use a reliable SSD migration software tool to clone your existing Windows 10 installation from the old hard drive to the new SSD. This will copy all your files, settings, and applications.
- Replace Your Old Hard Drive with the SSD: Physically install the SSD in your computer, replacing the old hard drive. Follow the manufacturer’s instructions for proper installation and connection.
- Boot from the SSD and Verify Success: Power on your computer and ensure it boots from the SSD. Verify that Windows 10 loads successfully and that all your files and applications are intact.
Following this checklist will help you stay organized and ensure that you complete each step thoroughly. It’s important to take your time and double-check each task to minimize the risk of errors or data loss during the transfer process. By following these guidelines, you’ll be on your way to enjoying the improved performance and benefits that come with transferring Windows 10 to an SSD.
Step 1: Backup Your Data
Before embarking on the process of transferring your Windows 10 operating system to a solid state drive (SSD), the first and most crucial step is to create a backup of all your important data. This ensures that your files are safely preserved and protected in case anything goes wrong during the transfer process. Here’s how you can backup your data:
- Identify Important Files: Take the time to identify the files and folders that are critical to you. These may include documents, photos, videos, music, and any other important data that you want to transfer to the new SSD.
- Choose a Backup Method: There are several backup methods you can choose from, depending on your preferences and available resources:
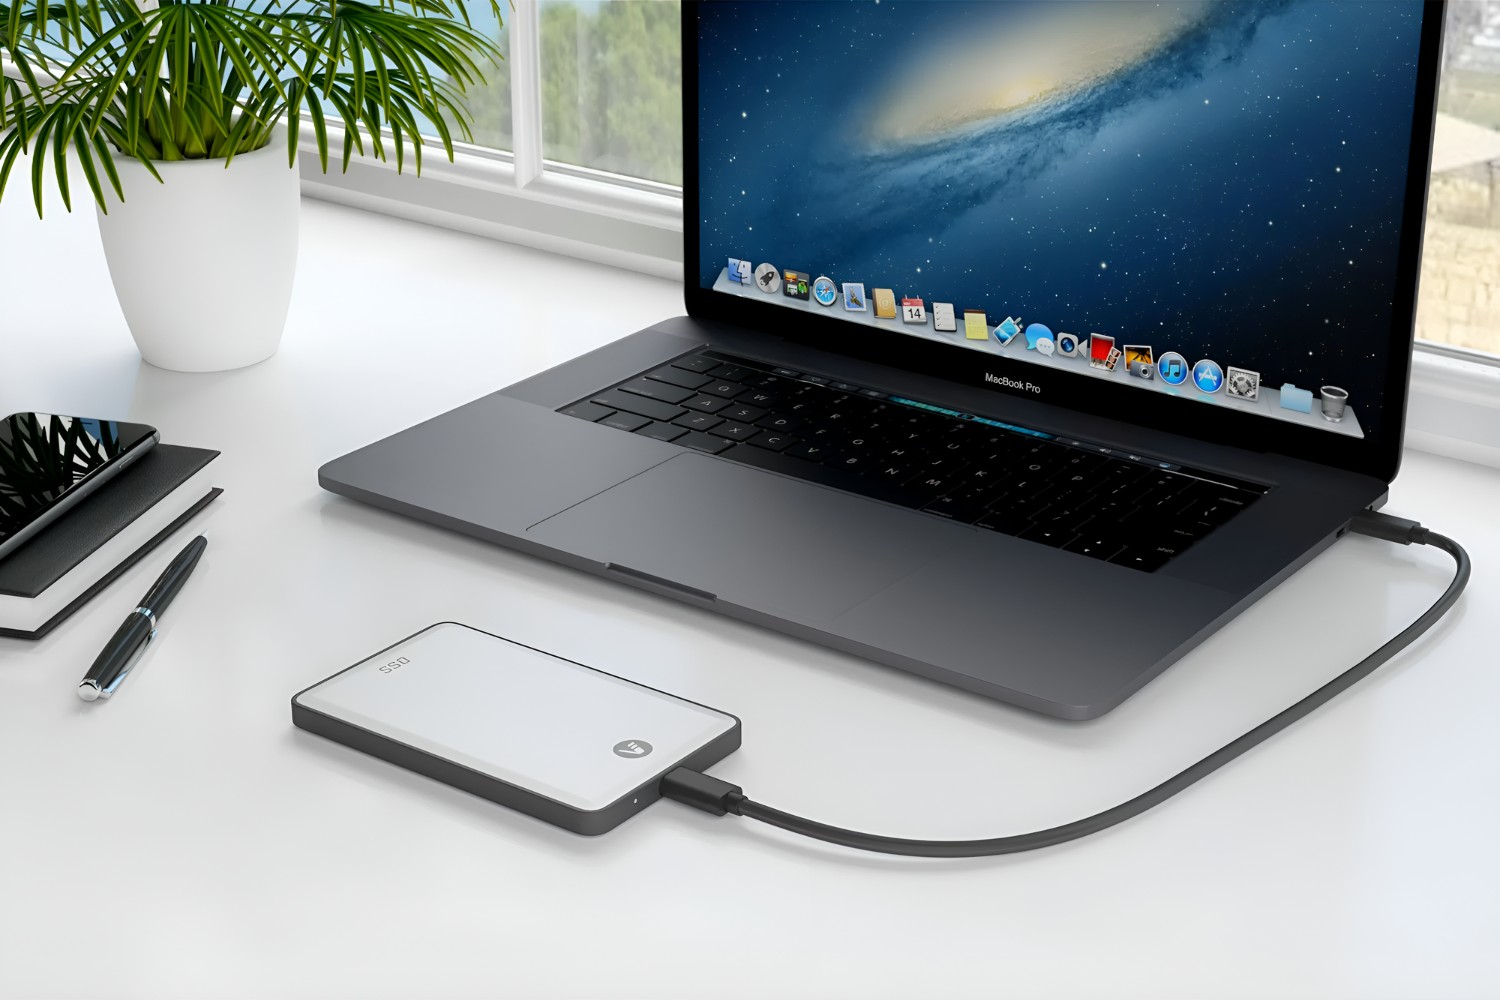
- External Storage Device: Connect an external hard drive or USB flash drive to your computer and copy your important files to it. Ensure that the external device has sufficient storage capacity to accommodate all your data.
- Cloud Storage: Sign up for a cloud storage service such as Google Drive, Dropbox, or OneDrive. Upload your important files to the cloud, where they will be securely stored and accessible from anywhere.
- Backup Software: Consider using backup software such as Acronis True Image, EaseUS Todo Backup, or Macrium Reflect. These tools offer more comprehensive backup options and features, including incremental backups and automatic scheduling.
- Organize and Transfer Data: Once you have chosen your backup method, organize your files into logical folders for easy retrieval later. Transfer the files to the external storage device or upload them to your chosen cloud storage platform.
- Verify the Backup: After the transfer is complete, verify that all your important files have been successfully backed up. Double-check that they are accessible and intact on the external storage device or in your cloud storage account.
By following this first step and backing up your data, you can have peace of mind knowing that your important files are safely preserved. In case anything goes wrong during the transfer process, you can easily restore your data and resume normal operations without losing any valuable information. This step sets a solid foundation for the rest of the process and ensures a smooth and worry-free transition to your new SSD.
Step 2: Choose the Right SSD
Choosing the right solid state drive (SSD) for your Windows 10 transfer is crucial to ensuring optimal performance and compatibility. With a wide range of SSD options available on the market, it’s important to consider several factors when making your selection. Here’s what you should keep in mind when choosing the right SSD:
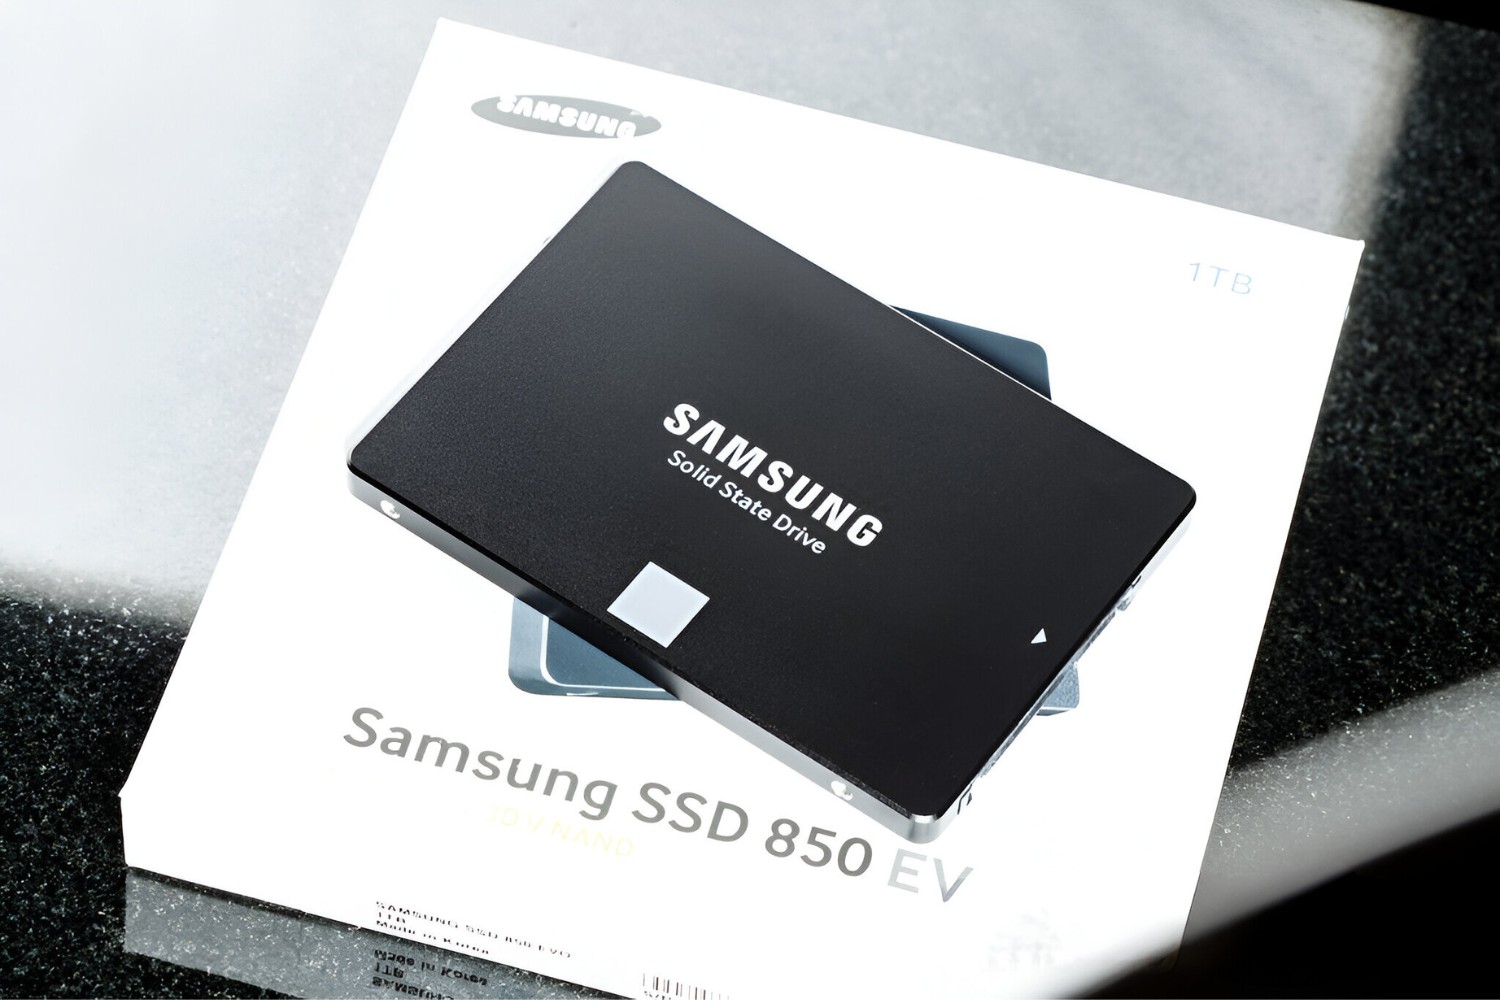
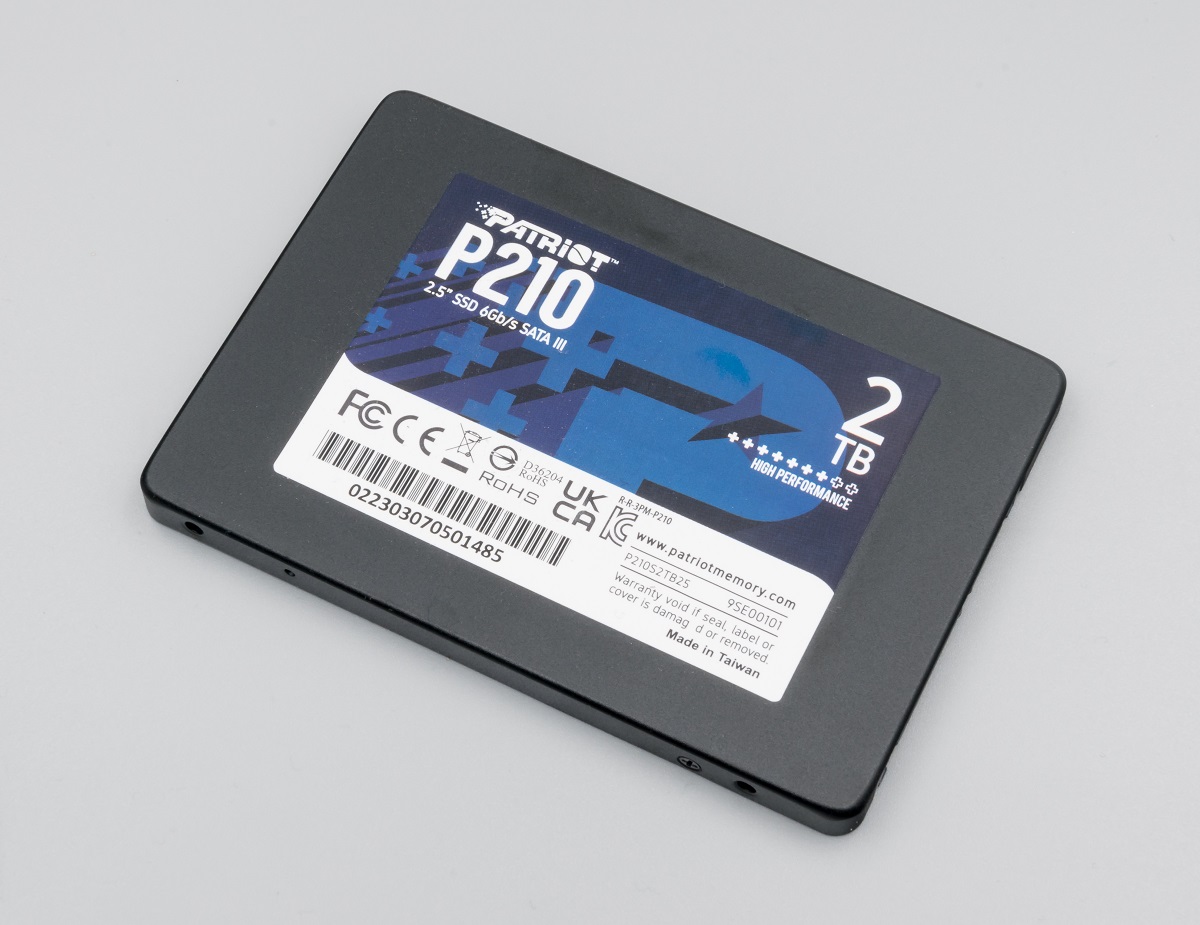
- Storage Capacity: Determine your storage needs based on the amount of data you currently have and any anticipated future growth. SSDs come in various capacities, ranging from 128GB to multiple terabytes. Consider your storage requirements to choose an SSD with sufficient space for all your files and the Windows 10 operating system.
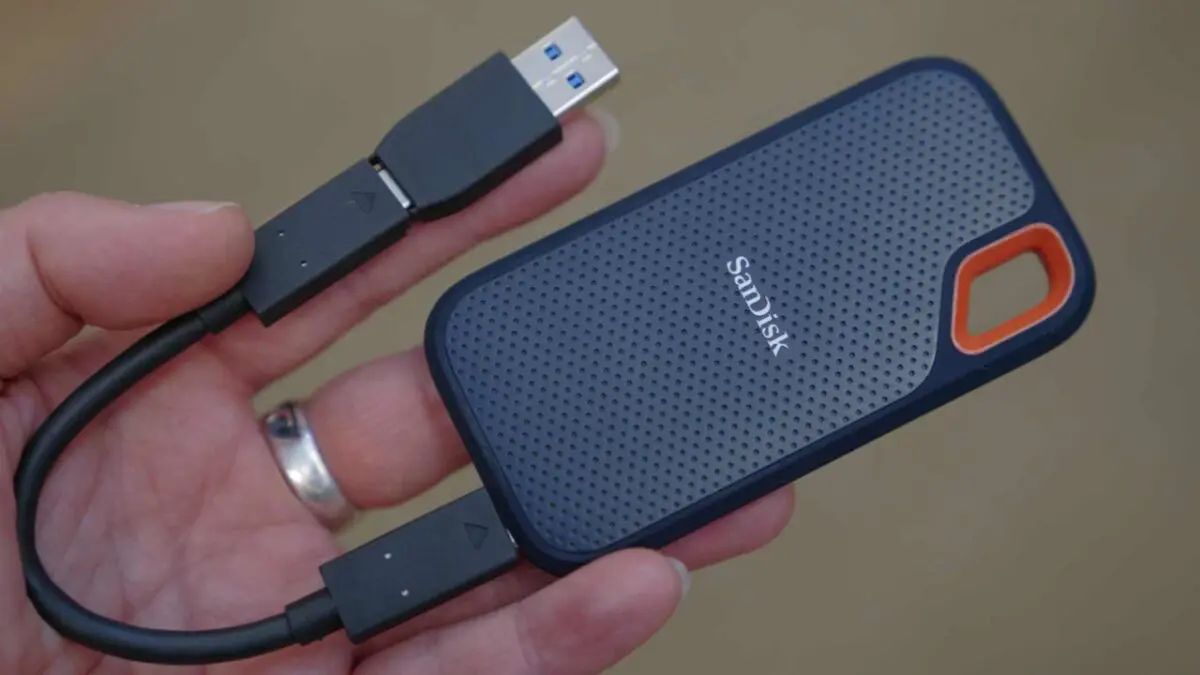
- Interface and Form Factor: Check your computer’s specifications to ensure compatibility between the SSD’s interface and your computer’s motherboard. The most common interfaces for consumer SSDs are SATA (SATA III, in particular) and NVMe (M.2 or PCIe). Additionally, consider the physical form factor of the SSD and whether it will fit into your computer’s drive bay.
- Read/Write Speeds: Pay attention to the SSD’s read and write speeds, as they directly impact the drive’s performance. Higher speeds result in faster data transfers and improved system responsiveness. Look for SSDs with faster sequential and random read/write speeds to enhance your overall computing experience.
- Endurance and Reliability: Consider the endurance and reliability of the SSD, as you want a drive that will last and provide consistent performance over time. Look for SSDs with higher Terabytes Written (TBW) ratings and features such as error correction, wear-leveling, and power-loss protection.
- Brand and Reputation: Stick to well-known and reputable SSD brands that have a proven track record for reliability and customer satisfaction. Research and read reviews to get a better understanding of the brand’s reputation and the longevity of their SSDs.
- Price-Performance Ratio: Compare the prices of SSDs that meet your requirements and analyze their price-to-performance ratio. Consider the balance between the SSD’s features, performance, reliability, and the price tag. Look for SSDs that offer the best value for your budget.
By carefully considering these factors, you can select the right SSD that will seamlessly integrate into your system and provide the performance boost you desire. Remember to research different models, read reviews, and compare specifications to make an informed decision. Choosing the right SSD sets the stage for a successful Windows 10 transfer and ensures a smoother and more efficient computing experience on your new solid state drive.
Step 3: Prepare Your SSD
Preparing your solid state drive (SSD) properly is an essential step before transferring your Windows 10 operating system. This involves formatting the SSD, updating its firmware if necessary, and configuring it for optimal performance and compatibility. Follow these steps to prepare your SSD:
- Read the Manufacturer’s Instructions: Carefully read the documentation provided by the SSD manufacturer. Familiarize yourself with any specific instructions, recommendations, or precautions regarding the preparation process.
- Check Firmware Updates: Visit the manufacturer’s website to check for any available firmware updates for your SSD model. Updating the firmware can bring performance improvements and address any known issues or compatibility concerns. Follow the manufacturer’s instructions to update the firmware if necessary.
- Backup Existing Data: If you’ve already used the SSD and it contains data, make sure to back up all the files on it since the formatting process will erase everything. You can transfer the backed-up data to your new SSD or an external storage device.
- Format the SSD: Format the SSD using the appropriate file system. For Windows, the recommended file system is NTFS. You can format the SSD by right-clicking on it in the File Explorer, selecting “Format,” and following the on-screen instructions. Make sure to select the correct file system and perform a full format.
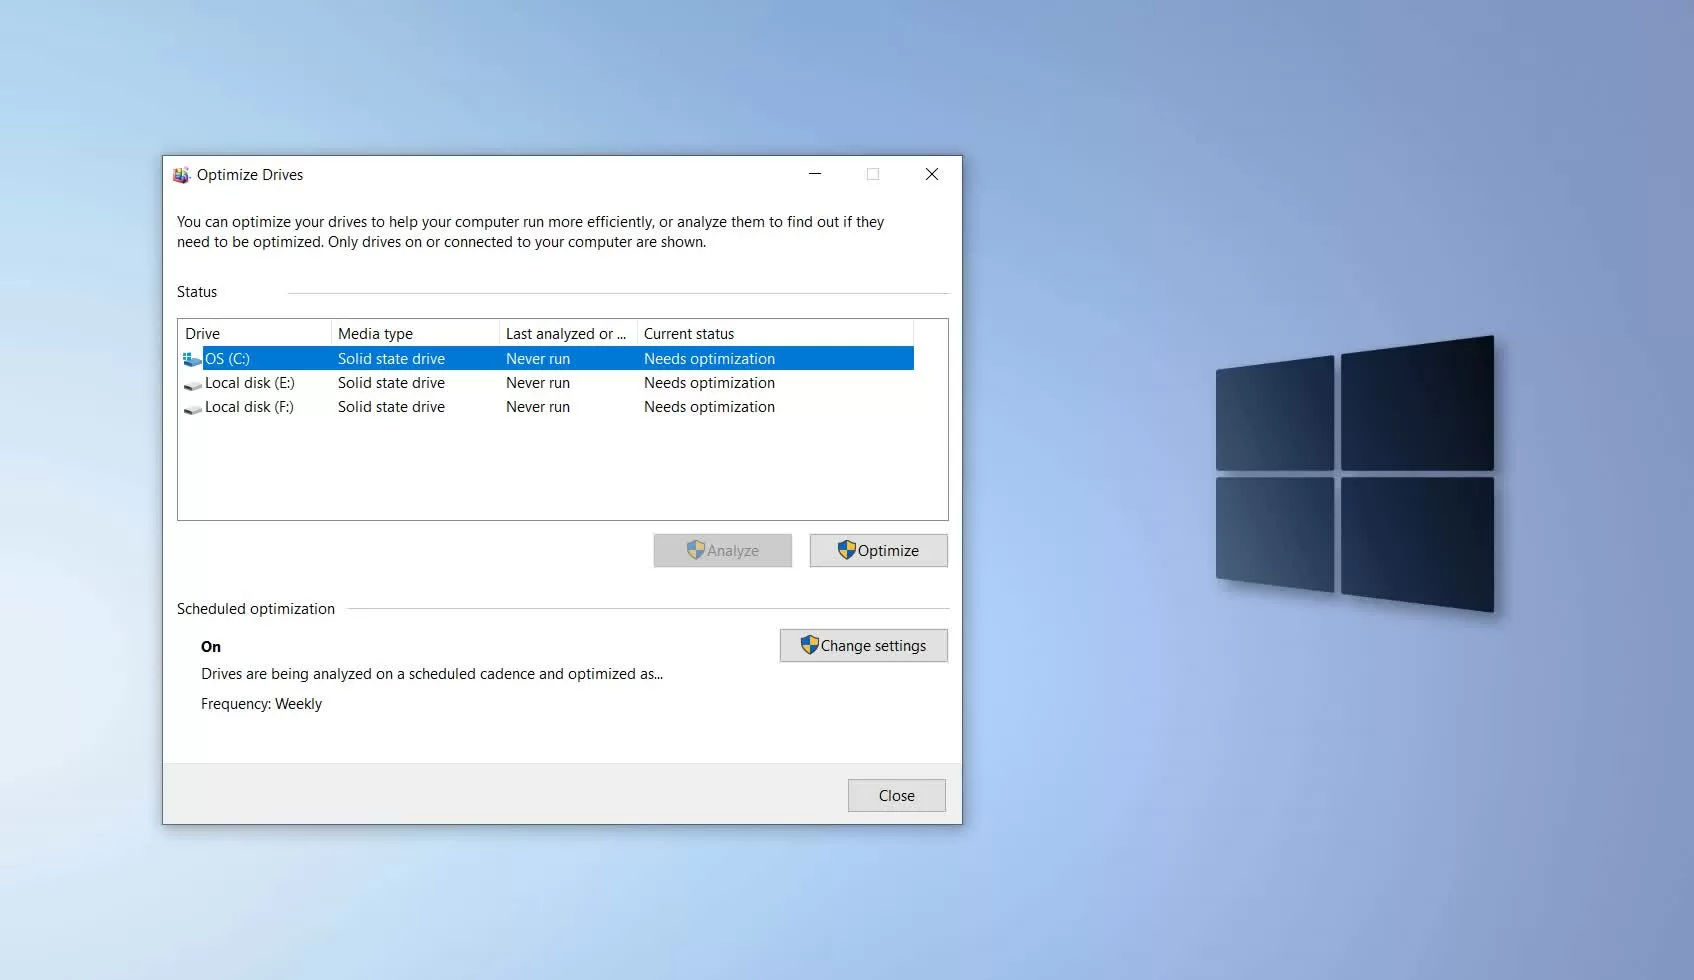
- Enable TRIM (if applicable): TRIM is a feature that helps maintain SSD performance over the long term by marking blocks of deleted data as empty. In Windows, TRIM is usually enabled by default, but it’s good practice to double-check. Open the Command Prompt with administrative privileges and enter the command “fsutil behavior query disabledeletenotify” to verify that TRIM is enabled. If it’s not enabled, enter “fsutil behavior set disabledeletenotify 0” to enable it.
- Verify Proper SSD Detection: Ensure that your computer correctly detects the SSD. Check the BIOS settings to verify that the SSD is recognized as a connected device. Proper detection confirms that the SSD is installed correctly and is ready for the next steps of the transfer process.
By properly preparing your SSD, you ensure its compatibility with your system, optimize its performance, and eliminate any potential issues that may arise during the Windows 10 transfer. Following these steps will help establish a solid foundation for a seamless and successful migration of your operating system to the new SSD.
Step 4: Create a Bootable USB Drive
Creating a bootable USB drive is an important step in the process of transferring your Windows 10 operating system to a solid state drive (SSD). A bootable USB drive allows you to install Windows on the new SSD and ensures a smooth transition. Follow these steps to create a bootable USB drive:
- Download the Windows 10 ISO: Visit the official Microsoft website and download the Windows 10 ISO file. Ensure that you choose the correct edition and language that matches your existing Windows 10 installation.
- Prepare a USB Drive: Connect a USB flash drive with at least 8GB of storage capacity to your computer. Keep in mind that all existing data on the USB drive will be erased during the creation process, so back up any important files beforehand.
- Create a Bootable USB with Windows Installation Media: Use a reliable tool to create a bootable USB drive with the Windows 10 installation media. One of the popular tools is the “Windows USB/DVD Download Tool” provided by Microsoft, which simplifies the process. Alternatively, you can use third-party software like Rufus or UNetbootin to achieve the same result.
- Launch the Tool and Select the ISO: Open the USB tool and choose the Windows 10 ISO file you downloaded earlier. Select the connected USB drive as the destination for the bootable media.
- Create the Bootable USB Drive: Follow the instructions provided by the tool to create the bootable USB drive. This process may take some time depending on the speed of your system and USB drive.
- Verify the Bootable USB Drive: After the creation process is complete, ensure that the bootable USB drive is working properly. Restart your computer and access the boot menu (usually by pressing a specific key during startup, such as F12 or ESC). Select the USB drive as the boot device and verify that it successfully boots into the Windows 10 installation.
Creating a bootable USB drive allows you to install Windows 10 on your new SSD and proceed with the transfer process. It ensures that you have a reliable and convenient method to install the operating system and helps facilitate a seamless transition to your new solid state drive.
Step 5: Clone Your Windows 10 Installation
Cloning your existing Windows 10 installation is a crucial step in the process of transferring your operating system to a solid state drive (SSD). Cloning allows you to create an exact replica of your current setup, including all files, settings, and applications. Follow these steps to clone your Windows 10 installation:
- Choose a Reliable SSD Migration Software: Select a reputable SSD migration software tool that supports Windows 10 and is compatible with your SSD. There are several options available, such as Acronis True Image, EaseUS Todo Backup, and Macrium Reflect, which offer user-friendly interfaces and reliable cloning capabilities.
- Install and Launch the Migration Software: Install the chosen SSD migration software on your computer and launch it.
- Select the Source and Destination Drives: In the migration software, choose your existing hard drive (the source) as the drive to clone from, and select your new SSD (the destination) as the drive to clone to.
- Configure Settings: The migration software will typically provide options to configure the cloning process. These options may include adjusting partition sizes, selecting specific partitions to clone, or enabling features like sector-by-sector cloning. Review and modify the settings as needed.
- Initiate the Cloning Process: Start the cloning process in the software and allow it to complete. This process may take some time, depending on the size of your Windows 10 installation and the speed of your drives.
- Verify the Cloning Success: Once the cloning process is complete, verify that the new SSD contains an exact copy of your Windows 10 installation. You can check the file structure, settings, and applications to ensure everything has been successfully transferred.
Cloning your Windows 10 installation eliminates the need for reinstalling the operating system and all your applications. It allows you to seamlessly transfer your entire system setup to the new solid state drive, saving you time and effort. By following these steps and using reliable SSD migration software, you can effectively clone your Windows 10 installation and proceed to the next stage of the transfer process.
Step 6: Replace Your Old Hard Drive with the SSD
Once you have cloned your Windows 10 installation onto the new solid state drive (SSD), the next step is to physically replace your old hard drive with the SSD. Follow these steps to ensure a successful replacement:
- Power Off Your Computer: Shut down your computer completely and disconnect the power cord. This will prevent any accidental damage and ensure your safety during the drive replacement process.
- Open Your Computer Case: Depending on the computer model, you may need to remove screws, slide panels, or access latches to open the computer case. Consult the manufacturer’s documentation or the support website for instructions specific to your computer.
- Locate the Old Hard Drive: Identify the location of your old hard drive within your computer. It is usually installed in a drive bay and connected to the motherboard with a SATA or IDE cable.
- Disconnect the Old Hard Drive: Carefully disconnect the data and power cables connected to the old hard drive. Take note of how the cables are connected so that you can easily reconnect them to the new SSD.
- Remove the Old Hard Drive: If the old hard drive is secured with screws or brackets, remove them to release the drive. Gently slide the old hard drive out of the drive bay.
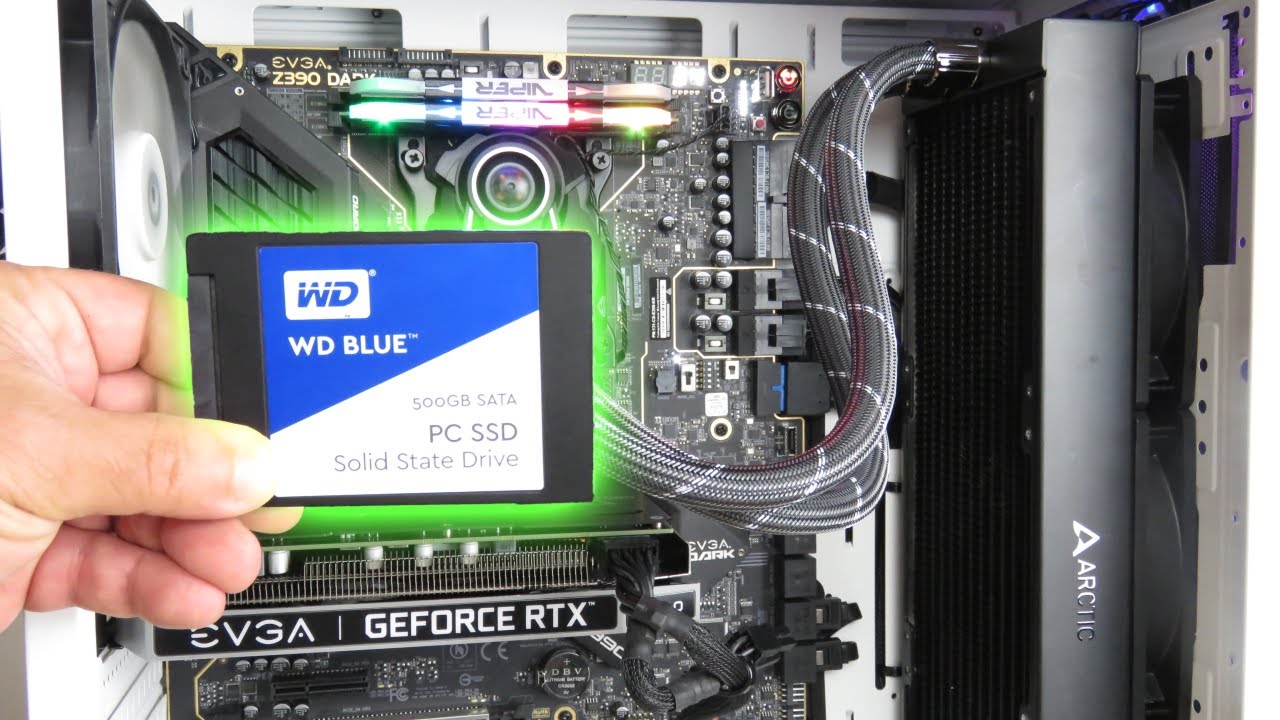
- Insert the SSD: Take your new SSD and carefully insert it into the vacant drive bay. Ensure that it is properly aligned with the screw holes or brackets, if applicable. Push the SSD all the way in until it is securely positioned.
- Connect Cables to the SSD: Attach the SATA or IDE data and power cables to the appropriate connectors on the new SSD. Refer to the previous connection positions on the old hard drive as a guide for correct cable placement.
- Secure the SSD: If necessary, secure the SSD in place using screws or brackets to prevent it from moving or vibrating during use.
- Close the Computer Case: Carefully put the computer case back together, ensuring that all panels and screws are secured properly. Make sure the case is closed tightly and securely so that it provides adequate protection.
By following these steps, you can successfully replace your old hard drive with the new SSD. It’s important to handle the SSD with care and ensure all cables are properly connected to avoid any potential damage or improper functioning. Once the replacement is complete, you can proceed to the final step of the transfer process and boot your computer using the new SSD.
Step 7: Boot from the SSD and Verify Success
After successfully replacing your old hard drive with the new solid state drive (SSD), the final step in transferring your Windows 10 operating system is to boot your computer from the SSD and verify that the transfer was successful. Follow these steps to ensure a smooth transition and confirm the success of the transfer:
- Power On Your Computer: Connect the power cord to your computer and power it on. Make sure that all cables are securely connected and that the computer’s case is closed properly.
- Access the BIOS/UEFI Settings: During the computer’s startup process, you may need to press a specific key, such as F2, F10, or Del, to access the BIOS/UEFI settings. Consult your computer’s manual or the manufacturer’s website for the correct key to press.
- Change the Boot Order: Once in the BIOS/UEFI settings, navigate to the “Boot” or “Boot Order” section. Change the boot order so that the SSD is the first boot device in the list. Save any changes made and exit the BIOS/UEFI settings.
- Restart the Computer: Restart the computer to initiate the boot process from the SSD. Your computer should now load the Windows 10 operating system from the new SSD.
- Verify Windows 10 Booting: After the restart, monitor the screen to ensure that Windows 10 successfully boots from the SSD. The familiar Windows 10 login screen should appear, allowing you to enter your credentials and access the desktop.
- Check File and Application Accessibility: Once logged into Windows, take a few moments to navigate through different files and applications to confirm that everything is accessible and functioning correctly. Open some of your commonly used programs to ensure they launch quickly and respond smoothly.
- Verify System Performance: Evaluate the overall system performance and responsiveness after booting from the SSD. You should notice a significant improvement in boot times, application loading times, and overall system responsiveness compared to your previous hard drive.
By following these steps and successfully booting your computer from the new SSD, you can verify that the transfer of your Windows 10 operating system was successful. Take the time to ensure that everything is functioning as expected and enjoy the improved performance and benefits that come with upgrading to an SSD.
Conclusion
Transferring your Windows 10 operating system to a solid state drive (SSD) can bring about a significant improvement in your computer’s performance, speed, and overall responsiveness. Through the steps outlined in this guide, you can successfully make the transition to an SSD and enjoy the benefits it offers.
Starting with the important considerations and checklist, you were able to ensure that you have everything in place before beginning the transfer process. By backing up your data, choosing the right SSD, and preparing it properly, you set the stage for a smooth transfer.
With a bootable USB drive created, you were able to clone your Windows 10 installation onto the new SSD. This step eliminated the need for a fresh installation and allowed you to retain all your files, settings, and applications.
Finally, by replacing your old hard drive with the SSD and booting from it, you could verify the success of the transfer. The improved performance, faster boot times, and snappier application launches validate the benefits of the upgrade.
It’s important to remember that the process of transferring Windows 10 to an SSD requires careful planning and execution. Take the necessary precautions, follow the step-by-step instructions, and refer back to this guide whenever needed.
By embarking on this journey, you have unlocked the full potential of your computer and optimized your Windows 10 experience. Enjoy the enhanced speed, reliability, and efficiency that come with a solid state drive, and take your computing performance to new heights.
Congratulations on successfully transferring your Windows 10 operating system to an SSD. Embrace the benefits of the upgrade and continue to make the most out of your technology.


