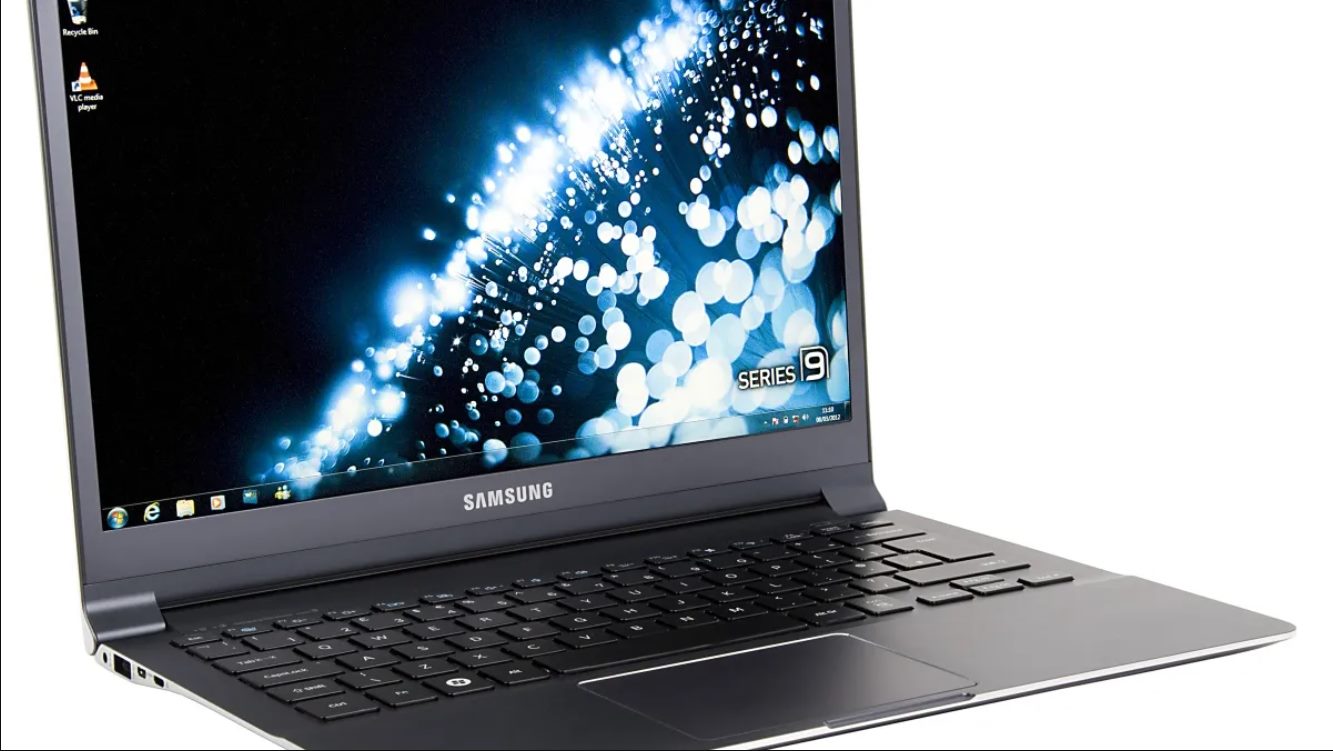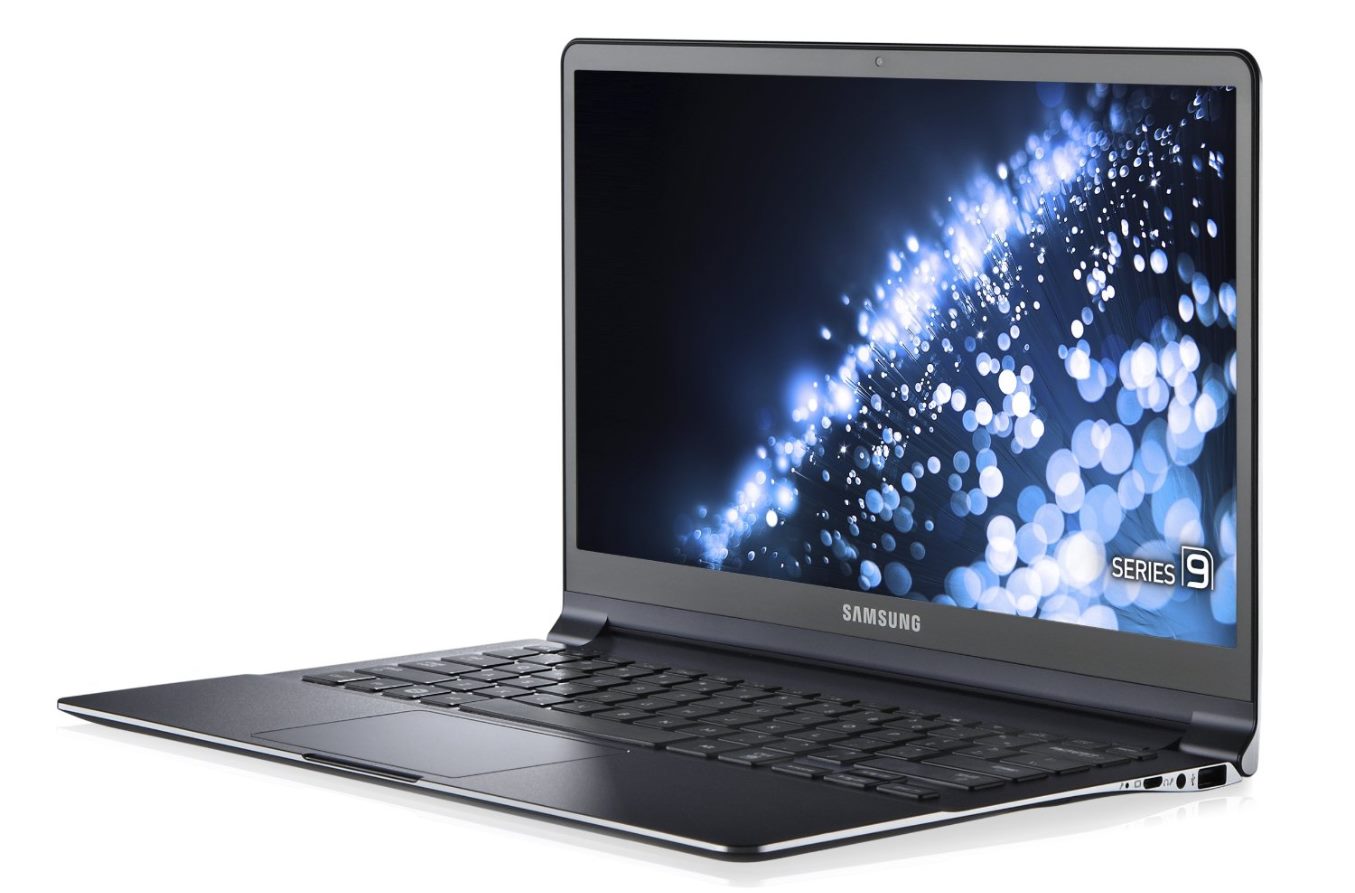
Introduction
When it comes to enhancing your productivity and multitasking capabilities, using multiple displays can be a game-changer. And if you own a Samsung Ultrabook Series 5, you’re in luck! With the right setup and configuration, you can easily connect and utilize multiple displays to increase your workspace and customize your workflow. In this article, we will guide you through the process of setting up and using multiple displays with your Samsung Ultrabook Series 5.
Having multiple displays offers numerous benefits, especially for professionals who need to work with multiple windows, applications, or documents simultaneously. With the extra screen real estate, you can have one application open on one display while keeping another application on the other. This flexibility allows for improved efficiency and smoother multitasking, ultimately boosting your productivity.
Whether you’re a content creator, programmer, designer, or simply someone who enjoys a more streamlined workflow, using multiple displays can revolutionize the way you work and interact with your Ultrabook. By expanding your workspace, you can organize your tasks and data more effectively, reducing the need for constant tab switching or window resizing.
Before diving into the process of setting up multiple displays, it’s important to ensure that your Samsung Ultrabook Series 5 is compatible. Most recent models of the Samsung Ultrabook Series 5 support multiple display connections, but it’s always a good idea to check the specifications or consult the user manual provided by Samsung. Once you have confirmed compatibility, you’re ready to proceed with the setup.
Benefits of Using Multiple Displays
Using multiple displays with your Samsung Ultrabook Series 5 brings an array of benefits that can greatly enhance your work and overall computing experience. Here are some of the key advantages:
- Increased Productivity: One of the most significant benefits of using multiple displays is the boost in productivity. With more screen real estate, you have the ability to view and work with multiple applications, documents, and websites simultaneously without the need for constant switching. This allows for efficient multitasking and a smoother workflow.
- Enhanced Organization: Having multiple displays provides you with the ability to keep different tasks and projects on separate screens, making it easier to stay organized and focused. You can have your email client open on one display, a spreadsheet on another, and a web browser on a third. This separation of tasks reduces clutter and makes it easier to navigate through your work.
- Better Collaboration: If you often collaborate with colleagues or clients, using multiple displays can greatly facilitate the process. You can share one display for presentations or demonstrations while keeping your main work on another. This enables everyone involved to have a clear view of the content being shared, leading to more productive and engaging collaboration sessions.
- Improved Visualization: Whether you’re working on graphic design, video editing, or any visually-intensive task, multiple displays provide a significant advantage. You can have your primary workspace on one screen while using the other for tools, timelines, or reference materials. This allows for a smoother workflow and better visualization of the project at hand.
- Customized Viewing Experience: Using multiple displays gives you the flexibility to customize your viewing experience. You can arrange the displays in various configurations to suit your needs, including extending your desktop or mirroring the same content on all screens. This level of customization ensures that you can work in the way that feels most comfortable and efficient for you.
By harnessing the power of multiple displays, you can take your productivity and efficiency to new heights. The benefits mentioned above are just a glimpse of how this setup can revolutionize your work environment and enhance your overall computing experience with the Samsung Ultrabook Series 5.
Checking the Compatibility of Your Samsung Ultrabook Series 5
Before diving into setting up multiple displays on your Samsung Ultrabook Series 5, it’s essential to ensure that your device is compatible. Most recent models of the Samsung Ultrabook Series 5 support multiple display connections, but it’s always a good idea to double-check. Here’s how you can check the compatibility of your Ultrabook:
- Review the User Manual: The first step is to consult the user manual provided with your Samsung Ultrabook Series 5. The manual contains detailed information about the specifications and capabilities of your device, including whether it supports multiple displays. Look for any references to HDMI, DisplayPort, Thunderbolt, or any other video connectivity options that indicate compatibility with external monitors.
- Inspect the Ports: Take a close look at the ports available on your Ultrabook. Look for any HDMI, DisplayPort, or Thunderbolt ports. These are the most common ports used to connect external monitors. If you find these ports, it’s a strong indicator that your Ultrabook supports multiple displays.
- Visit the Samsung Support Website: If you’re still uncertain about the compatibility of your Ultrabook, visit the official Samsung support website. Look for your specific model and navigate to the specifications or features section. Here, you can find detailed information about the supported displays and video connectivity options.
- Online Discussions and Forums: Online discussions and forums can be a valuable resource for finding answers regarding compatibility. Search for discussions related to your specific Samsung Ultrabook Series 5 model or reach out to other users who have successfully used multiple displays with their Ultrabook. They can provide insights and experiences that may help confirm compatibility.
- Contact Samsung Support: If you’ve exhausted all other options and still have uncertainties, don’t hesitate to reach out to Samsung support for clarification. They have the expertise to provide accurate information regarding the compatibility of your Samsung Ultrabook Series 5 with multiple displays.
Remember, ensuring compatibility is crucial before investing in additional display equipment or attempting to set up multiple displays. By verifying compatibility, you can proceed with confidence and make the most of the expanded workspace that multiple displays offer with your Samsung Ultrabook Series 5.
Setting Up Multiple Displays on Your Ultrabook
Now that you have confirmed the compatibility of your Samsung Ultrabook Series 5 for multiple displays, it’s time to set up your additional monitors. Follow these steps to get started:
- Gather the necessary equipment: You will need the display cables (such as HDMI, DisplayPort, or Thunderbolt) and any adapters required to connect your external monitors to the Ultrabook. Make sure you have the appropriate cables for your specific monitor models.
- Power off your Ultrabook: Before you connect the external monitors, it’s advisable to shut down your Ultrabook. This ensures a stable connection when you start the setup process.
- Connect the displays: Depending on the available ports on your Ultrabook and the input ports on the external monitors, connect the cables one by one. Ensure a secure connection by verifying that the cables are plugged in snugly.
- Power on your Ultrabook: After connecting the external monitors, power on your Ultrabook. It will detect the new displays and automatically adjust the settings accordingly.
- Configure display settings: Once your Ultrabook is powered on, you may need to configure the display settings to optimize the use of multiple displays. Press the Windows key + P on your keyboard to open the display settings. This will allow you to choose one of the following options:
- PC screen only: This option will display the content only on your Ultrabook’s screen, disabling any external monitors.
- Duplicate: Selecting this option will mirror the content of your Ultrabook’s screen onto the external monitors. This is useful for presentations or when you want to display the same content on all displays.
- Extend: Choose this option to extend your desktop across multiple displays. This allows you to have different applications or documents on each screen, effectively increasing your workspace.
- Second screen only: This option switches off your Ultrabook’s screen and displays the content only on the external monitors. This can be useful when you want to use your Ultrabook as a portable workstation with larger external displays.
Once you have selected the desired display mode, your Ultrabook will adjust the resolution and other display settings accordingly. If needed, you can further customize the display settings by right-clicking on the desktop, selecting “Display Settings,” and making adjustments to resolution, orientation, and other display preferences.
Setting up multiple displays on your Samsung Ultrabook Series 5 is relatively straightforward and can be done in just a few steps. By expanding your workstation with additional monitors, you can enjoy a more immersive and productive computing experience.
Configuring Display Settings for Optimal Use
Once you have set up multiple displays on your Samsung Ultrabook Series 5, it’s important to configure the display settings to ensure optimal performance and an enhanced user experience. Here are some key steps to follow:
- Adjust the screen resolution: The screen resolution determines the clarity and sharpness of the content displayed on your Ultrabook and external monitors. To adjust the resolution, right-click on the desktop and select “Display Settings.” From there, you can choose the desired resolution for each connected monitor. It’s recommended to use the native resolution of your monitors to ensure the best display quality.
- Set the screen orientation: If your external monitors have different orientations (e.g., landscape or portrait), you can adjust the screen orientation to match your preferred setup. Navigate to the “Display Settings” window and select the desired orientation for each monitor. This allows for a more seamless visual transition between screens.
- Arrange the displays: Depending on the physical positioning of your monitors, you may want to arrange them in a specific order to match their physical arrangement on your desk. In the “Display Settings” window, you can click and drag the monitor icons to align them according to your desired layout. This ensures a more intuitive and ergonomic experience when moving between screens.
- Select color profiles: Color profiles determine how colors are displayed on your screens. Depending on your work requirements or personal preferences, you can choose different color profiles to optimize the visual output. To access the color profiles, navigate to the “Color Management” section in the Control Panel and select the appropriate profiles for each connected monitor.
- Adjust brightness and contrast: If your external monitors have built-in controls for brightness and contrast, take advantage of these settings to fine-tune the visual experience according to your needs. You can access these adjustments on the physical controls of your monitors or through the on-screen display (OSD) menus accessible via buttons on the monitor itself.
By configuring the display settings in this manner, you can ensure that your Samsung Ultrabook Series 5 and external monitors are optimized for better visuals, improved productivity, and a more enjoyable computing experience. Experiment with different settings to find the arrangement and preferences that suit your specific needs.
Note: Depending on the operating system version and specific Ultrabook model you have, the steps to configure display settings may vary slightly. Consult the user manual or Samsung’s support website for detailed instructions specific to your Ultrabook model.
Extending Your Desktop Across Multiple Displays
One of the key features of using multiple displays on your Samsung Ultrabook Series 5 is the ability to extend your desktop. This allows you to have different applications, documents, or websites open on each monitor, effectively expanding your workspace. Here’s how you can extend your desktop across multiple displays:
- Ensure your monitors are connected: Make sure that all your external monitors are properly connected to your Ultrabook and powered on.
- Access the display settings: Right-click on the desktop and select “Display Settings” from the context menu. Alternatively, you can press the Windows key + P to quickly access the display settings.
- Choose the “Extend” option: In the display settings window, under the “Multiple displays” section, select the “Extend desktop to this display” option for each connected monitor.
- Arrange the displays: If the monitors are not arranged in the desired physical position on your desk, you can rearrange them by clicking and dragging the monitor icons in the display settings window. Align them according to your preferred layout to match their physical position.
- Adjust resolution and scaling: Depending on the specific monitors you are using, you may need to adjust the resolution and scaling to ensure that the content appears correctly on each screen. You can do this by selecting each monitor in the display settings window and adjusting the resolution and scaling options accordingly.
- Apply the settings: Once you have configured the display settings to extend your desktop, click on the “Apply” button to save the changes. The Ultrabook will automatically configure the displays and extend your desktop.
- Use your extended desktop: With your desktop extended across multiple displays, you can now open applications or documents and drag them between monitors. You can have your email client open on one screen, a web browser on another, and a spreadsheet on a third. This expanded workspace allows for improved multitasking and a more efficient workflow.
Remember to experiment with different arrangements and configurations to find the setup that works best for your needs. You can always return to the display settings to make further adjustments if necessary.
Extending your desktop across multiple displays on your Samsung Ultrabook Series 5 provides you with a larger workspace and increased productivity. Take advantage of this feature to organize your tasks, utilize multiple applications simultaneously, and work with improved efficiency.
Mirroring Your Ultrabook Display on an External Monitor
If you need to share your Samsung Ultrabook Series 5 screen with a larger audience or want to duplicate the display on an external monitor for any other reason, you can easily enable the mirroring feature. Mirroring allows you to display the same content on both your Ultrabook and the external monitor simultaneously. Here’s how you can mirror your Ultrabook display:
- Ensure your monitor is connected: Make sure that the external monitor is properly connected to your Ultrabook and powered on.
- Access the display settings: Right-click on the desktop and select “Display Settings” from the context menu. Alternatively, you can press the Windows key + P to quickly access the display settings.
- Select the “Duplicate” option: In the display settings window, under the “Multiple displays” section, select the “Duplicate desktop on 1 and 2” option. This will duplicate your Ultrabook display to the external monitor.
- Adjust resolution and scaling if necessary: Since the external monitor may have different resolution and scaling settings compared to your Ultrabook, you may need to adjust these settings to ensure proper display. Simply select the external monitor in the display settings window and make the necessary changes in the resolution and scaling options.
- Apply the settings: Once you have configured the display settings to enable mirroring, click on the “Apply” button to save the changes. The Ultrabook will now mirror its display onto the external monitor.
- Use the mirrored display: With mirroring enabled, any content displayed on your Ultrabook screen will also appear on the external monitor. This is particularly useful when giving presentations, sharing content with a larger audience, or simply using a larger screen for a more comfortable viewing experience.
Remember to adjust the screen resolution and scaling as necessary to ensure that the content appears correctly on the external monitor. Once you are done using the mirrored display, you can return to the display settings and switch to your preferred display mode, such as extending the desktop or using the external monitor as the primary display.
Mirroring your Ultrabook display on an external monitor provides you with versatility and flexibility in how you use your Samsung Ultrabook Series 5, allowing you to easily share your work or enjoy a larger display for a range of purposes.
Adjusting Display Settings to Match Resolutions and Orientations
When using multiple displays on your Samsung Ultrabook Series 5, it’s crucial to ensure that the resolutions and orientations are properly configured for optimal viewing. By adjusting these display settings, you can align the visuals across all connected monitors and create a seamless and cohesive workspace. Here’s how you can adjust the display settings to match resolutions and orientations:
- Access the display settings: Right-click on the desktop and select “Display Settings” from the context menu. Alternatively, you can press the Windows key + P to quickly access the display settings.
- Adjust the resolution: In the display settings window, you will see a list of connected monitors. Select the monitor you want to adjust and click on the “Resolution” dropdown menu. Choose the desired resolution that matches your monitor’s native resolution. It’s recommended to use the native resolution for the best display quality and clarity.
- Configure the orientation: If you have monitors with different orientations, such as landscape or portrait, you can adjust the orientation settings for each monitor. In the display settings window, select the monitor you want to adjust and click on the “Orientation” dropdown menu. Choose the desired orientation that matches your monitor’s physical position.
- Arrange the displays: If your monitors are not physically arranged in the order they appear in the display settings window, you can rearrange them. Click and drag the monitor icons in the display settings window to align them according to your preferred layout. This ensures a more intuitive and seamless transition between screens.
- Apply the settings: Once you have made the necessary adjustments, click on the “Apply” button to save the changes. The Ultrabook will automatically configure the displays according to your chosen resolutions and orientations.
- Verify the setup: Take a moment to review the visuals on each connected monitor and ensure that the resolutions and orientations are correctly applied. If needed, make further adjustments until you are satisfied with the alignment and appearance of the content.
By adjusting the display settings to match resolutions and orientations, you can eliminate any visual inconsistencies or misalignments when working with multiple monitors. This ensures a seamless and cohesive workspace, allowing you to fully utilize the expanded screen real estate of your Samsung Ultrabook Series 5.
Remember to revisit the display settings if you make any changes to your monitor setup, such as adding or removing displays. This will allow you to readjust the resolutions, orientations, and arrangement of the monitors to maintain optimal visual compatibility.
Troubleshooting Common Issues with Multiple Displays
While using multiple displays with your Samsung Ultrabook Series 5 can greatly enhance your productivity, you may occasionally encounter some common issues. Fortunately, many of these issues can be resolved with simple troubleshooting steps. Here are some common problems and their corresponding solutions:
- No display on external monitor: If your external monitor is not displaying anything, first ensure that it is powered on and properly connected to your Ultrabook. Check the cables and connections to make sure they are secure. If the issue persists, try pressing the Windows key + P on your keyboard to access the display settings and select the appropriate display mode (e.g., extend or duplicate).
- Resolution or scaling issues: If the visuals on the external monitor appear distorted, blurry, or improperly scaled, it could be due to incorrect resolution or scaling settings. Access the display settings, select the external monitor, and adjust the resolution and scaling options to match the recommended settings for your specific monitor model.
- Monitor order mismatch: Sometimes, the order of the monitors displayed in the settings may not match their physical order on your desk. This can lead to confusion when trying to arrange the displays or set them up for a specific use. To resolve this, click and drag the monitor icons in the display settings window to align them in the desired order.
- Monitor not detected: If your Ultrabook fails to detect an external monitor, ensure that the cables are securely connected and the monitor is powered on. Try using a different cable or port, as there may be compatibility issues. You can also try restarting both your Ultrabook and the external monitor to refresh the connections.
- Display flickering or black screens: If you experience flickering or black screens on your external monitors, it could be due to incompatible or outdated graphics drivers. Visit the official Samsung support website or the manufacturer’s website for your graphic card to download and install the latest drivers. Restart your Ultrabook after the installation to apply the changes.
If you encounter any other issues or the above troubleshooting steps do not resolve the problem, it is recommended to consult the user manual provided with your Ultrabook or contact Samsung support for further assistance. They can provide specific guidance based on your Ultrabook model and help you resolve any persistent issues you may be facing.
Remember that troubleshooting can vary depending on your specific Ultrabook model, operating system version, and external monitor setup. It’s always advisable to consult official documentation or seek support from the manufacturer for the most accurate and tailored troubleshooting steps.
Conclusion
Setting up and utilizing multiple displays with your Samsung Ultrabook Series 5 can significantly enhance your productivity and provide a more immersive computing experience. Whether you’re a professional who needs to multitask efficiently or someone who wants to expand their workspace, the benefits of using multiple displays are undeniable.
In this article, we discussed the importance of checking the compatibility of your Samsung Ultrabook Series 5 for multiple displays before proceeding with the setup. We also explored the process of setting up multiple displays, configuring display settings for optimal use, extending your desktop across multiple displays, mirroring your Ultrabook display on an external monitor, and adjusting display settings to match resolutions and orientations.
Additionally, we provided troubleshooting tips for common issues that may arise when working with multiple displays. By following these troubleshooting steps and seeking further assistance if necessary, you can overcome any challenges and achieve a seamless and efficient multi-monitor setup.
Remember that the specific steps and options may vary depending on your Ultrabook model, operating system version, and connected monitor setup. It’s always a good idea to consult the user manual or reach out to Samsung support for personalized guidance when needed.
By harnessing the power of multiple displays with your Samsung Ultrabook Series 5, you can unlock new levels of productivity, multitasking, and customization. Take advantage of the expanded workspace, optimized display settings, and troubleshooting resources to create an ergonomic and efficient computing environment that suits your unique needs and preferences.