Introduction
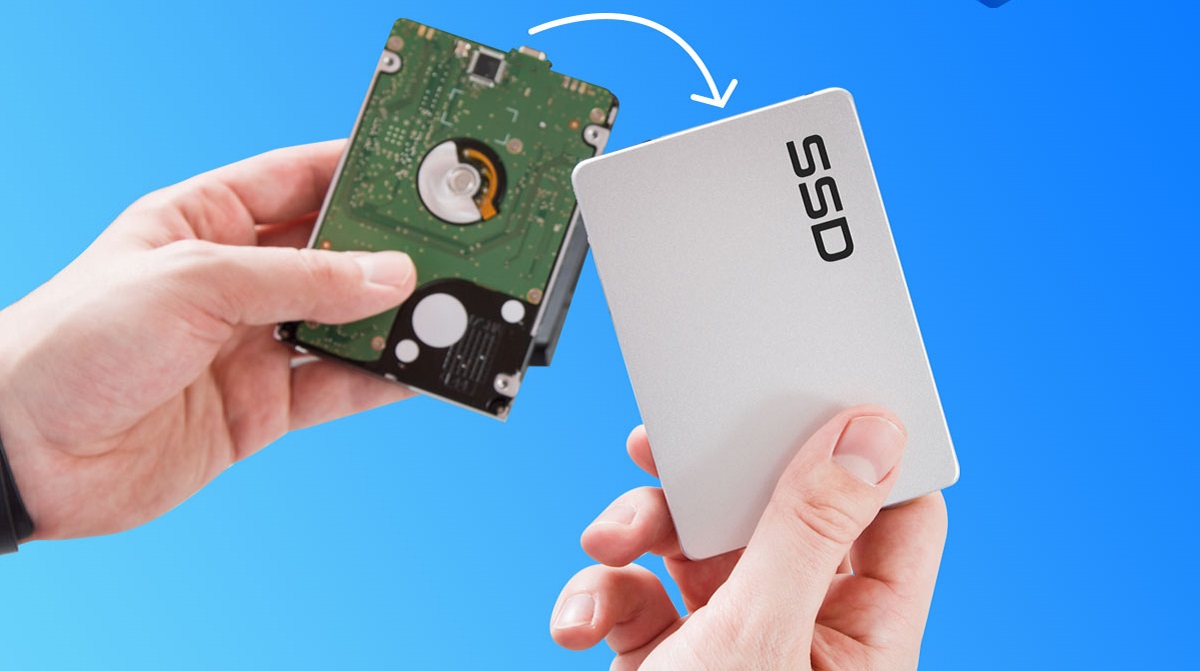
Welcome to our comprehensive guide on how to migrate your operating system (OS) to a Solid State Drive (SSD) for free. If you’ve been experiencing slow boot times and sluggish performance on your computer, upgrading to an SSD can significantly improve your overall computing experience. By transferring your OS to an SSD, you can enjoy faster startup times, quicker application loading, and smoother multitasking.
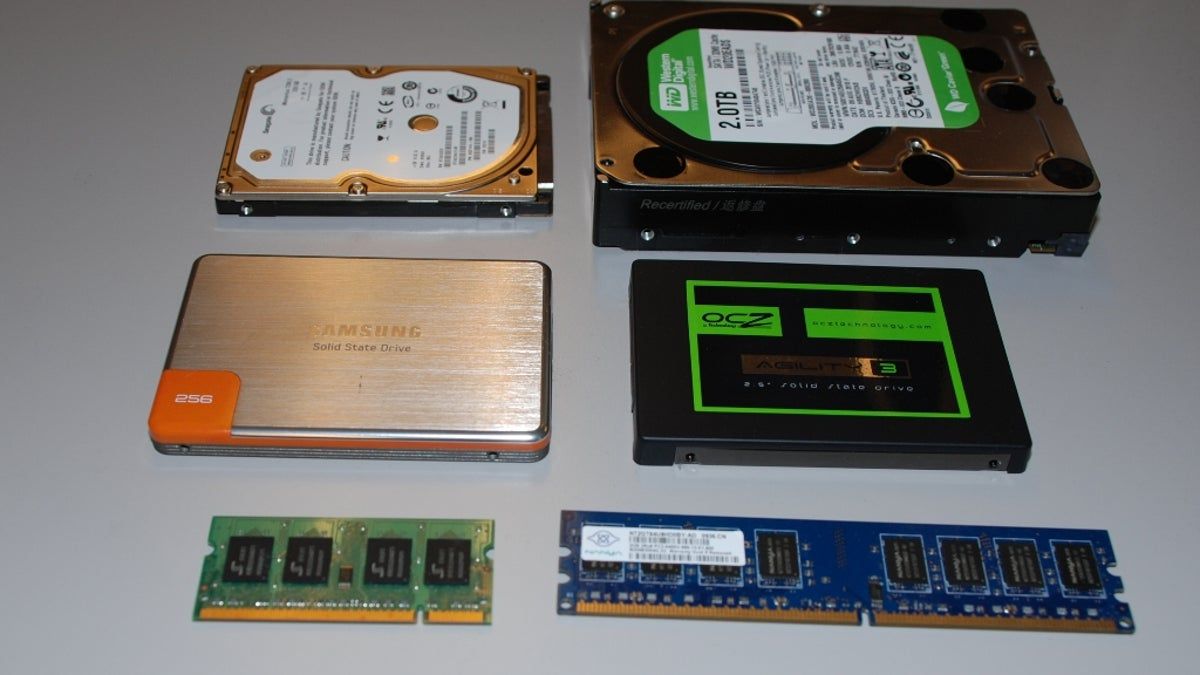
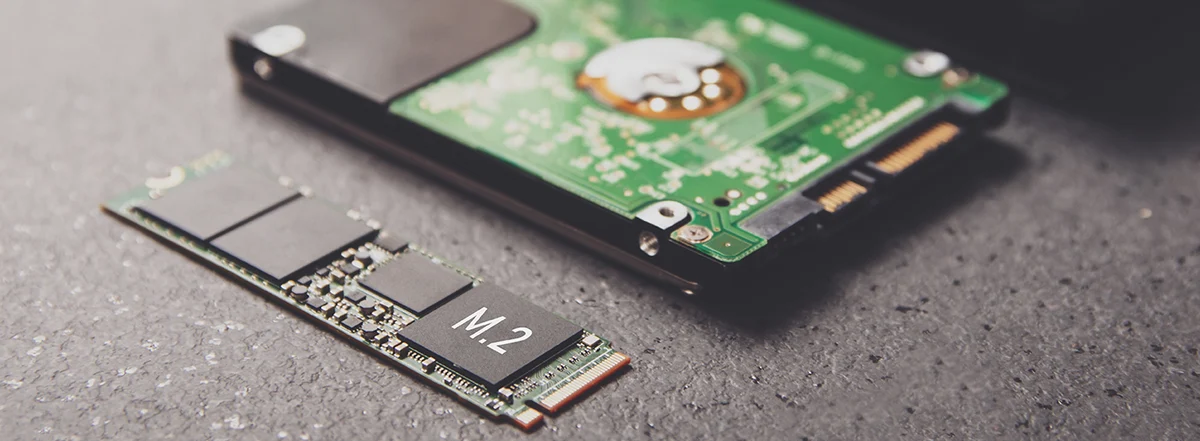
SSDs are becoming increasingly popular due to their numerous advantages over traditional Hard Disk Drives (HDDs). Unlike HDDs, SSDs utilize flash memory, resulting in faster read and write speeds, lower power consumption, and improved durability. Migrating your OS to an SSD allows you to take full advantage of these benefits, optimizing the performance of your computer.
Whether you are using a desktop or a laptop, migrating your OS to an SSD is a relatively straightforward process. In this guide, we will walk you through two methods for migrating your OS to an SSD: using free software and manual migration.
Before we dive into the step-by-step instructions, it’s important to note that migrating your OS to an SSD requires careful preparation and backup of your data. It is crucial to back up all your important files and documents before proceeding with the migration process to avoid any potential data loss.
In the next sections, we will explain how to properly prepare for the migration process and provide detailed instructions for both the software-based and manual migration methods. Additionally, we will address common issues you may encounter during the migration process and provide troubleshooting tips to resolve them.
So, if you’re ready to give your computer a performance boost, let’s get started on migrating your OS to an SSD for free!
Benefits of Migrating OS to SSD
Migrating your operating system to a Solid State Drive (SSD) offers a plethora of benefits that can significantly enhance your computing experience. Here are some of the key advantages of making the switch to an SSD:
- Improved Speed and Performance: One of the most noticeable benefits of migrating to an SSD is the dramatic increase in speed and overall performance. SSDs have faster read and write speeds compared to traditional Hard Disk Drives (HDDs), resulting in quicker boot times, reduced application loading times, and seamless multitasking. Tasks such as launching apps, opening files, and accessing data become much faster and more responsive.
- Enhanced Durability: Unlike HDDs, which consist of spinning disks and moving mechanical parts, SSDs have no moving components. This makes them more resistant to physical impact and less prone to mechanical failures. As a result, SSDs offer improved reliability and durability, ensuring that your data remains safe and accessible even in rugged conditions.
- Lower Power Consumption: SSDs consume less power than HDDs, making them more energy-efficient. This not only helps to reduce your electric bill but also extends the battery life of laptops and other mobile devices. With an SSD, you can enjoy longer usage time without compromising on performance.
- Quieter Operation: Another advantage of SSDs is their noiseless operation. Unlike HDDs, which produce spinning and clicking noises, SSDs operate silently due to the absence of mechanical parts. This makes for a quieter computing experience, especially if you value a peaceful work environment or enjoy watching movies or playing games without any distracting background noise.
- Compact Size: SSDs are typically smaller and lighter than HDDs. This makes them ideal for laptops and other portable devices with limited space. By migrating your OS to an SSD, you can not only enjoy the performance advantages but also save space and make your device more portable and convenient to carry.
With these compelling benefits, migrating your OS to an SSD is undoubtedly a worthwhile investment that can greatly enhance your computing experience. Whether you’re a professional requiring faster data processing or a casual user aiming for a smoother and more responsive system, migrating to an SSD provides a significant performance boost that will leave you impressed.
Preparing for the Migration Process
Before you begin the migration process of transferring your operating system (OS) to a Solid State Drive (SSD), it’s important to take a few preparatory steps to ensure a smooth and successful migration. Here are some essential tasks to consider before diving into the migration process:
- Backup Your Data: It is crucial to back up all your important files and data before starting the migration process. While the process itself typically doesn’t cause data loss, unexpected errors or issues could potentially occur. By creating a backup of your data, you can have peace of mind knowing that your valuable files are safely stored in case of any unforeseen circumstances.
- Check Compatibility: Before proceeding, ensure that your computer and SSD are compatible with each other. Check if your computer’s motherboard supports the SSD and if there are any specific requirements or limitations. Additionally, make sure you have the necessary cables or adapters to connect the SSD to your system.
- Clean Up Your Drive: Take the opportunity to declutter your current operating system drive. Remove unnecessary files, temporary files, and old applications that you no longer use. This will not only free up space on your current drive but also reduce the amount of data that needs to be migrated, making the process faster and more efficient.
- Gather Essential Tools: Depending on the method you choose for the migration process, you may need specific software or tools. If you opt for software-based migration, research and download a reliable and reputable software program designed for OS migration. If you choose to go for manual migration, ensure that you have a USB-to-SATA adapter or an external enclosure to connect your SSD to your computer.
- Prepare Your SSD: If you’re migrating to a new SSD, it’s important to prepare it for the migration process. You may need to initialize the SSD, create partitions, and format them appropriately. Review the manufacturer’s instructions or refer to the user manual to ensure proper setup and configuration of your SSD.
- Update Your System: Before starting the migration process, make sure your operating system and all the relevant drivers are up-to-date. Updating your system will help avoid any compatibility issues and ensure a smoother transition to the new SSD.
By completing these preparatory tasks, you’ll be well-equipped and ready to begin the migration process with confidence. These steps help minimize the chances of encountering any unexpected issues and ensure a successful migration of your operating system to the SSD, allowing you to fully unlock the performance benefits that an SSD can offer.
Step-by-Step Guide: How to Migrate OS to SSD
Migrating your operating system (OS) to a Solid State Drive (SSD) may seem like a daunting task, but it can be accomplished with the right steps and tools. Below, we provide a detailed step-by-step guide to help you successfully migrate your OS to an SSD:
- Choose the Migration Method: Decide whether you want to use free software or manually migrate your OS to the SSD. Each method has its pros and cons, so choose the one that best suits your needs and technical expertise.
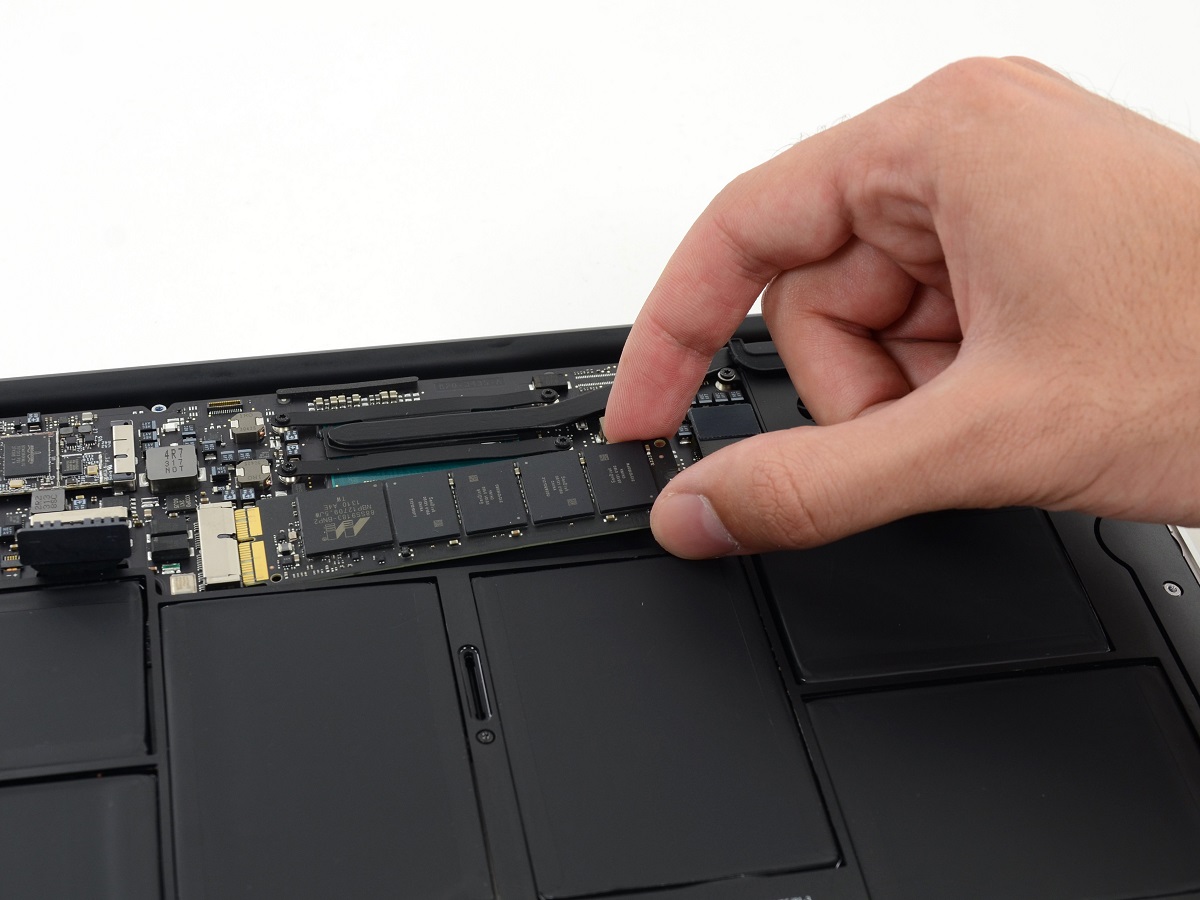
- Connect the SSD to Your Computer: If you’re using a desktop, power off your computer, open the case, and connect the SSD to an available SATA port using the appropriate cables. For laptops, you may need a USB-to-SATA adapter or an external enclosure to connect the SSD externally.
- Download and Install Migration Software: If you opt for the software-based migration method, download a reputable and reliable OS migration software program. Follow the instructions to install the software on your computer.
- Create a Full System Backup: Before proceeding with the migration process, create a complete backup of your system using the software you installed. This backup will serve as a restore point in case any issues occur during the migration process.
- Run the Migration Software: Launch the migration software and follow the instructions provided. Typically, you’ll be prompted to select the source drive (your current OS drive) and the destination drive (the SSD). Confirm the selections and start the migration process.
- Wait for the Migration Process to Complete: Depending on the size of your OS and the speed of your computer, the migration process may take some time. Be patient and let the software complete the migration. Avoid interrupting or shutting down your computer during this process.
- Set the SSD as the Boot Drive: Once the migration is complete, you’ll need to set the SSD as the boot drive in your computer’s BIOS or UEFI settings. Restart your computer and enter the BIOS/UEFI by pressing the appropriate key during startup. Locate the Boot Options or Boot Priority settings and select the SSD as the primary boot device.
- Verify the Migration Success: After setting the SSD as the boot drive, restart your computer and ensure that it boots up from the SSD. Double-check that all your files, settings, and applications are intact and functioning correctly.
- Clean Up the Old OS Drive: Once you’ve confirmed that the migration was successful, you can safely clean up and repurpose your old OS drive. Format it or use it as additional storage for files and documents.
Following these step-by-step instructions will guide you through the process of migrating your OS to an SSD. Whether you choose the software-based or manual migration method, it’s important to meticulously follow each step to ensure a successful and seamless transition to your new SSD.
Method 1: Using Free Software
If you prefer a hassle-free and user-friendly approach, using free software for migrating your operating system (OS) to a Solid State Drive (SSD) is a popular choice. Here, we outline the steps for using free software to migrate your OS to an SSD:
- Research and Download Reliable Migration Software: Begin by researching and choosing a reputable and reliable free software program specifically designed for OS migration. Look for software that supports your operating system and offers the features you require.
- Install the Migration Software: Once you’ve chosen the software, download it from a trusted source and follow the instructions to install it on your computer. Make sure to read and understand any terms or agreements before proceeding.
- Launch the Software: After the installation is complete, launch the migration software. Depending on the software, you may be greeted with a welcome screen or a home dashboard that provides various migration options.
- Select the Source and Destination Drives: Follow the on-screen instructions to select the source drive (your current OS drive) and the destination drive (the SSD). Ensure that you choose the correct drives to avoid any data loss or mistakes during the migration process.
- Configure Migration Settings: Some migration software programs offer additional customization options. You may be able to adjust the partition size, align partitions, or even clone the entire system drive. Take the time to review and configure these settings according to your preferences.
- Start the Migration Process: Once you’ve selected the source and destination drives and configured the settings, start the migration process. The software will begin copying all the necessary files and data from the source drive to the destination SSD. Depending on the size of your OS and the speed of your computer, this process may take some time.
- Monitor the Progress: During the migration process, monitor the progress displayed by the software. This will give you an estimate of how much time is remaining until the migration is complete. Avoid interrupting or shutting down your computer to prevent any potential data loss or issues.
- Verify the Migration Success: Once the migration process is finished, the software will notify you of the completion. Double-check that all your files, applications, and system settings are intact on the SSD. Restart your computer and ensure that it boots up from the SSD successfully.
- Perform Post-Migration Tasks: After verifying the success of the migration, you might need to perform some post-migration tasks. These may include updating drivers, reactivating software licenses, or adjusting system settings to optimize the performance of your new SSD.
By carefully following these steps, you can effectively use free software to migrate your OS to an SSD. Remember to choose reliable software, back up your data before starting the migration process, and be patient during the migration as it may take some time to complete. The free software approach can simplify the migration process while ensuring a smooth transition to your new SSD.
Method 2: Manual Migration
If you prefer to have more control and flexibility over the migration process, you can opt for manual migration to transfer your operating system (OS) to a Solid State Drive (SSD). While this method requires a bit more technical knowledge and effort, it allows you to customize the migration process according to your specific needs. Here is a step-by-step guide on how to manually migrate your OS to an SSD:
- Gather the Necessary Tools: Before you start the manual migration process, ensure that you have the necessary tools. You will need a USB-to-SATA adapter, an external enclosure, or a device that allows you to connect your SSD to your computer externally.
- Connect the SSD to Your Computer: Power off your computer and open the case. Connect the SSD to an available SATA port on your motherboard using the appropriate cables. If you are using a laptop, connect the SSD using the USB-to-SATA adapter or place it in the external enclosure.
- Create a Bootable USB Drive: Next, create a bootable USB drive with your OS installer. This will allow you to install a fresh copy of your OS onto the SSD. The process may vary depending on your operating system, but you can usually create a bootable USB using software like Rufus or the built-in tools in Windows or macOS.
- Boot from the USB Drive: Restart your computer and enter the BIOS or UEFI settings by pressing the appropriate key during startup. Configure the boot order to prioritize the USB drive, allowing your computer to boot from it.
- Install the OS on the SSD: Once your computer boots from the USB drive, follow the on-screen instructions to install the OS on the SSD. During the installation process, you may need to select the SSD as the installation destination and create partitions as desired.
- Install Device Drivers and Software: After the OS installation is complete, install the necessary device drivers for your specific computer model. These drivers can usually be downloaded from the manufacturer’s website. Additionally, reinstall any software applications you need on the new OS.
- Transfer Your Files and Data: Once you have a fresh OS installed on the SSD, transfer your files and data from the previous OS drive to the SSD. You can do this by manually copying and pasting the files or by using backup and restore tools to transfer your data seamlessly.
- Configure System Settings: Finally, configure the system settings on your new OS. This includes customizing preferences, adjusting power settings, installing updates, and setting up security features. You may also want to install any additional software and personalize your desktop environment.
By following these step-by-step instructions, you can manually migrate your OS to an SSD and have full control over the migration process. It is important to take your time, be cautious, and double-check each step to ensure a successful migration. Manual migration allows for a more customized experience and can be a rewarding endeavor for those looking to optimize their computing setup.
Troubleshooting Common Issues
While migrating your operating system (OS) to a Solid State Drive (SSD) is generally a straightforward process, you may encounter some common issues along the way. Here, we address a few potential problems that you may face during the migration process and provide troubleshooting tips to help resolve them:
- Migration Failure: If the migration process fails or encounters errors, double-check that you have followed the steps correctly and that all the necessary requirements are met. Ensure that both the source drive and the destination SSD are in good health and properly connected. If the issue persists, consider using a different migration software or seek support from the software manufacturer.
- Boot Issues: If your computer fails to boot from the newly migrated SSD, verify that the SSD is set as the primary boot drive in your computer’s BIOS or UEFI settings. Ensure that the OS installation on the SSD is complete and that the necessary device drivers are installed. If needed, consult your computer’s manufacturer or the SSD manufacturer’s support for specific troubleshooting steps.
- Data Loss: It is crucial to back up your data before starting the migration process to minimize the risk of data loss. However, if you accidentally lose important files during the migration, stop using the affected drive immediately to prevent overwriting the lost data. Utilize data recovery software or seek professional assistance from data recovery experts to recover the lost files.
- Incompatible Hardware: Sometimes, certain hardware components may not be compatible with the SSD or the migration process. Ensure that your computer’s motherboard and firmware support the SSD and the migration method you have chosen. Check for any firmware updates for your SSD and install them if available. If compatibility issues persist, consider consulting with a computer technician for further assistance.
- Insufficient Space on SSD: If you encounter limited space on the SSD while migrating your OS, review your files and remove any unnecessary data to make room for the OS and essential applications. You can also consider upgrading to a larger capacity SSD if needed.
- Slow Performance: If you notice slower-than-expected performance after migrating your OS to the SSD, ensure that the SSD is properly connected and configured. Verify that the operating system and drivers are up to date. Additionally, check for any background processes or unnecessary applications that may be consuming system resources and causing performance issues.
Remember that troubleshooting steps may vary depending on your specific hardware and software configurations. If you encounter any issues during the migration process that are not addressed here, consult the documentation and support resources provided by your SSD manufacturer or seek professional assistance. Taking the time to troubleshoot and resolve any issues will help ensure a successful migration to your new SSD and maximize the benefits of enhanced performance and efficiency.
Conclusion
Migrating your operating system (OS) to a Solid State Drive (SSD) can greatly improve the speed, performance, and overall computing experience of your computer. Whether you choose to use free software or manually migrate your OS, the benefits of upgrading to an SSD are undeniable. The increased speed, durability, lower power consumption, and compact size make SSDs a worthwhile investment.
In this comprehensive guide, we have provided step-by-step instructions for both free software-based migration and manual migration methods. We have also discussed the preparation process, troubleshooting common issues, and highlighted the benefits of migrating to an SSD. It’s crucial to back up your data before initiating the migration process and to follow each step carefully to ensure a successful migration.
Whether you’re a casual computer user seeking faster boot times and smoother multitasking or a professional looking to optimize your workflow, migrating your OS to an SSD is a practical and reliable solution. By following the instructions outlined in this guide, you can confidently migrate your OS to an SSD and unlock the full potential of your computer’s performance.
Remember to research and choose reliable software, verify compatibility, and back up your data before starting the migration process. In case you encounter any issues along the way, refer to the troubleshooting section or seek support from the SSD manufacturer or technical professionals.
With the improved speed, durability, and efficiency that an SSD provides, you’ll experience a noticeable difference in your computing experience. Enjoy faster boot times, quicker application loading, and smoother operations with your new SSD. Start the migration process today and embark on a journey to optimize your computer’s performance with the power of an SSD.