Prerequisites
Before you start the process of moving Windows 11 to an SSD, there are a few prerequisites that you need to meet. By ensuring you have these in place, you can avoid any potential issues and smoothly complete the migration.
1. Compatibility: Check if your computer supports SSD installation. Most modern computers are compatible, but it’s always a good idea to double-check your system’s specifications or consult the manufacturer’s documentation.
2. Windows 11: Make sure you are running Windows 11 on your current system. The migration process is specifically designed for Windows 11, and it might not work on previous versions of the operating system.
3. Free Space: Ensure that your current system drive has enough free space to accommodate the size of the files and data you want to transfer to the SSD. The required free space will depend on the size of your current data, applications, and Windows installation.
4. External Storage: Have access to an external storage device, such as an external hard drive or USB flash drive, with enough capacity to store your important files and data. This will allow you to create a backup before the migration process, ensuring that no data is lost in the event of any unforeseen issues.
5. Data Backup: Although the migration process is generally safe, it’s always recommended to back up your data before making any changes to your system. This includes creating a full backup of your current system drive, including files, documents, programs, and system settings. Having a backup ensures that you can restore your system to its previous state if anything goes wrong during the migration process.
By ensuring that you have met these prerequisites, you can proceed with confidence to the next steps of moving Windows 11 to an SSD. Remember, it’s always better to be prepared and take precautionary measures to protect your data and have a smooth migration experience.
Backup Your Data
Before you embark on the process of moving Windows 11 to an SSD, it’s crucial to back up your data. This step is essential to ensure the safety of your files and prevent any loss during the migration.
There are several ways to back up your data, depending on the size and nature of your files:
- External Hard Drive: Connect an external hard drive to your computer and use backup software, such as Windows Backup or third-party applications like Acronis True Image, to create a full system backup. This method enables you to restore your entire system if necessary.
- Cloud Storage: Utilize cloud storage services like Google Drive, Microsoft OneDrive, or Dropbox to upload important files and documents. This approach provides an extra layer of security by storing your data on remote servers.
- USB Flash Drive: For smaller file sizes, you can copy and paste your essential files onto a USB flash drive. This solution is handy if you only need to back up specific documents or files.
Remember to include everything you deem important, such as documents, photos, videos, and any other data you can’t afford to lose. Take your time and verify that the backup process has successfully captured all the necessary files.
Once you have completed the backup, take a moment to ensure that you can access and restore your backed-up data. This step is crucial, as it will give you peace of mind knowing that your files are protected and can be quickly recovered if needed.
Backup your data is a crucial step in the process of moving Windows 11 to an SSD. It safeguards your files and allows you to restore them in case anything goes wrong during the migration. Now that you have successfully backed up your data, you can proceed to the next steps with confidence.
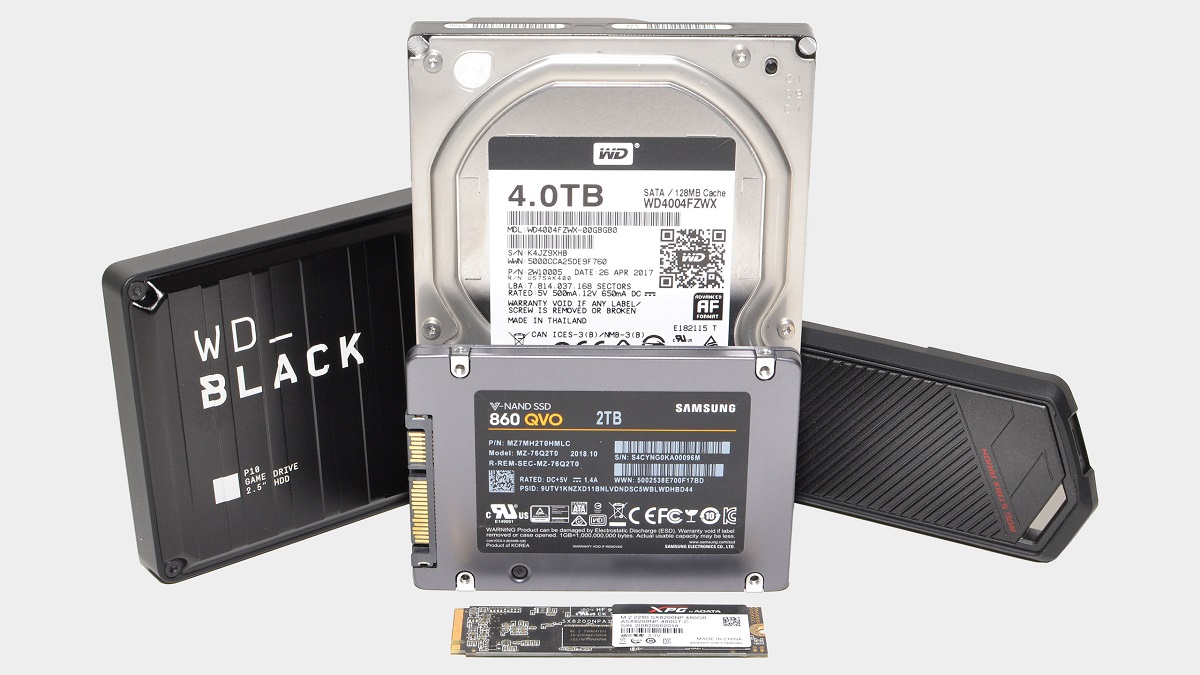
Choose the Right SSD
When moving Windows 11 to an SSD, it’s important to choose the right SSD that suits your needs and ensures optimal performance. There are several factors to consider when selecting an SSD:
1. Capacity: Determine how much storage space you require based on your data and program needs. SSDs are available in various capacities, ranging from 128GB to several terabytes.
2. Interface: Check your computer’s specifications and the available ports on your motherboard to ensure compatibility with the SSD interface. Common interfaces include SATA, PCIe, and NVMe.
3. Read and Write Speed: Consider the SSD’s read and write speeds, as these determine the overall performance and responsiveness of your system. Higher read and write speeds lead to faster data transfer and improved system boot times.
4. Reliability and Endurance: Look for SSDs from reputable manufacturers known for their reliability and endurance. Read reviews and check for warranty information to ensure you’re making a reliable investment.
5. Price: Finally, consider your budget and compare SSD options that offer the best value for your money. Keep in mind that while SSDs may be slightly more expensive than traditional hard drives, the performance benefits they offer are well worth the investment.
It’s also worth exploring additional features that SSDs may come with, such as built-in hardware encryption or power loss protection.
By taking these factors into account, you can choose an SSD that meets your storage needs and provides a significant performance boost to your system. Remember to read product specifications, compare different models, and make an informed decision based on your specific requirements.
Choosing the right SSD is a critical step in the process of moving Windows 11 to an SSD. Make sure to consider the capacity, interface, read and write speed, reliability, endurance, and price of the SSD to make an informed decision. With the right SSD in hand, you’re ready to proceed to the next steps and enjoy the benefits of a faster and more efficient system.
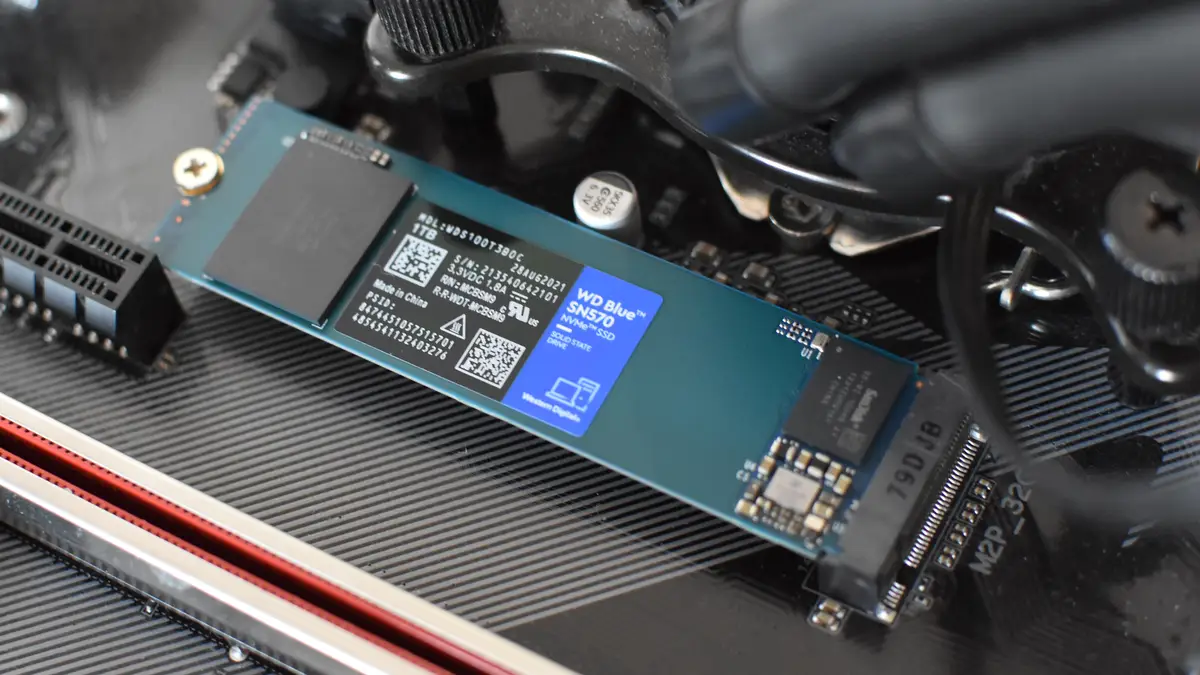
Physically Install the SSD
Once you have chosen the right SSD for your system, the next step is to physically install it in your computer. Here’s a step-by-step guide to help you through the process:
1. Gather the tools: Before you begin, make sure you have the necessary tools, such as a screwdriver, an antistatic wrist strap (optional but recommended), and any additional components that may be required for your particular installation.
2. Power off your computer: Shut down your computer and unplug it from the power source. This step is important to prevent any electrical mishaps during the installation process.
3. Locate the storage drive bays: Open your computer case and locate the storage drive bays. These are typically located near the front or back of the case and are designed to hold hard drives and SSDs. Refer to your computer’s manual or manufacturer’s website for specific instructions.
4. Remove the existing drive (if applicable): If you are replacing an existing storage drive with the new SSD, carefully disconnect the cables and remove the drive from its bay. Keep in mind that if you are adding the SSD as an additional drive, you can skip this step.
5. Mount the SSD: Depending on your computer case, you will either need to use screws to secure the SSD in the drive bay or slide it into a tool-less mounting bracket. Follow the instructions provided with your case or SSD for proper installation.
6. Connect the cables: Connect the necessary cables to the SSD. This usually includes a SATA data cable and a SATA power cable. Ensure that the cables are securely attached to both the SSD and the motherboard or power supply.
7. Close the computer case: Carefully close and secure the computer case. Double-check that all connections are secure and the SSD is properly mounted.
8. Power on your computer: Once the SSD is physically installed, plug in your computer and power it on. The system should recognize the new SSD, but you may need to access the BIOS settings to confirm the detection and make any necessary adjustments.
By following these steps, you can successfully physically install the SSD in your computer. Remember to handle the SSD with care, follow safety precautions, and refer to your computer’s manual or manufacturer’s instructions for any specific installation requirements.
Prepare the SSD for Migration
Once you have physically installed the SSD in your computer, it’s essential to prepare it for the migration process. These steps will ensure that the SSD is ready to receive the Windows 11 operating system and your data:
1. Format the SSD: If your SSD is brand new or has not been formatted, you will need to format it before proceeding with the migration. Formatting the SSD will prepare it for the installation of the operating system and create the necessary file system structure.
2. Partition the SSD (optional): You may choose to partition the SSD into multiple drives for organization or specific purposes. If you prefer to have multiple partitions, you can use the built-in Disk Management tool in Windows or third-party partitioning software.
3. Assign drive letters: Once the SSD is formatted and partitioned, you need to assign drive letters to the partitions. This will allow the operating system to recognize and access the specific partitions on the SSD.
4. Verify SSD health: Check the health and condition of your SSD using tools like CrystalDiskInfo or Samsung Magician. These tools provide information about the SSD’s performance, remaining lifespan, and any potential issues that may affect its usability.
5. Update SSD firmware (if applicable): Check the manufacturer’s website for any firmware updates for your SSD. Updating the firmware can improve performance, stability, and compatibility with the operating system. Follow the provided instructions carefully to perform the update.
6. Perform a test migration (optional): If you want to ensure a smooth migration process, you can perform a test migration to your SSD. This involves installing a test version of Windows 11 on the SSD and verifying that everything functions properly before proceeding with the actual migration.
By following these steps, you can adequately prepare your SSD for the migration process. Taking the time to format, partition, verify health, and update firmware will help ensure a smooth transition to Windows 11 on your new SSD.
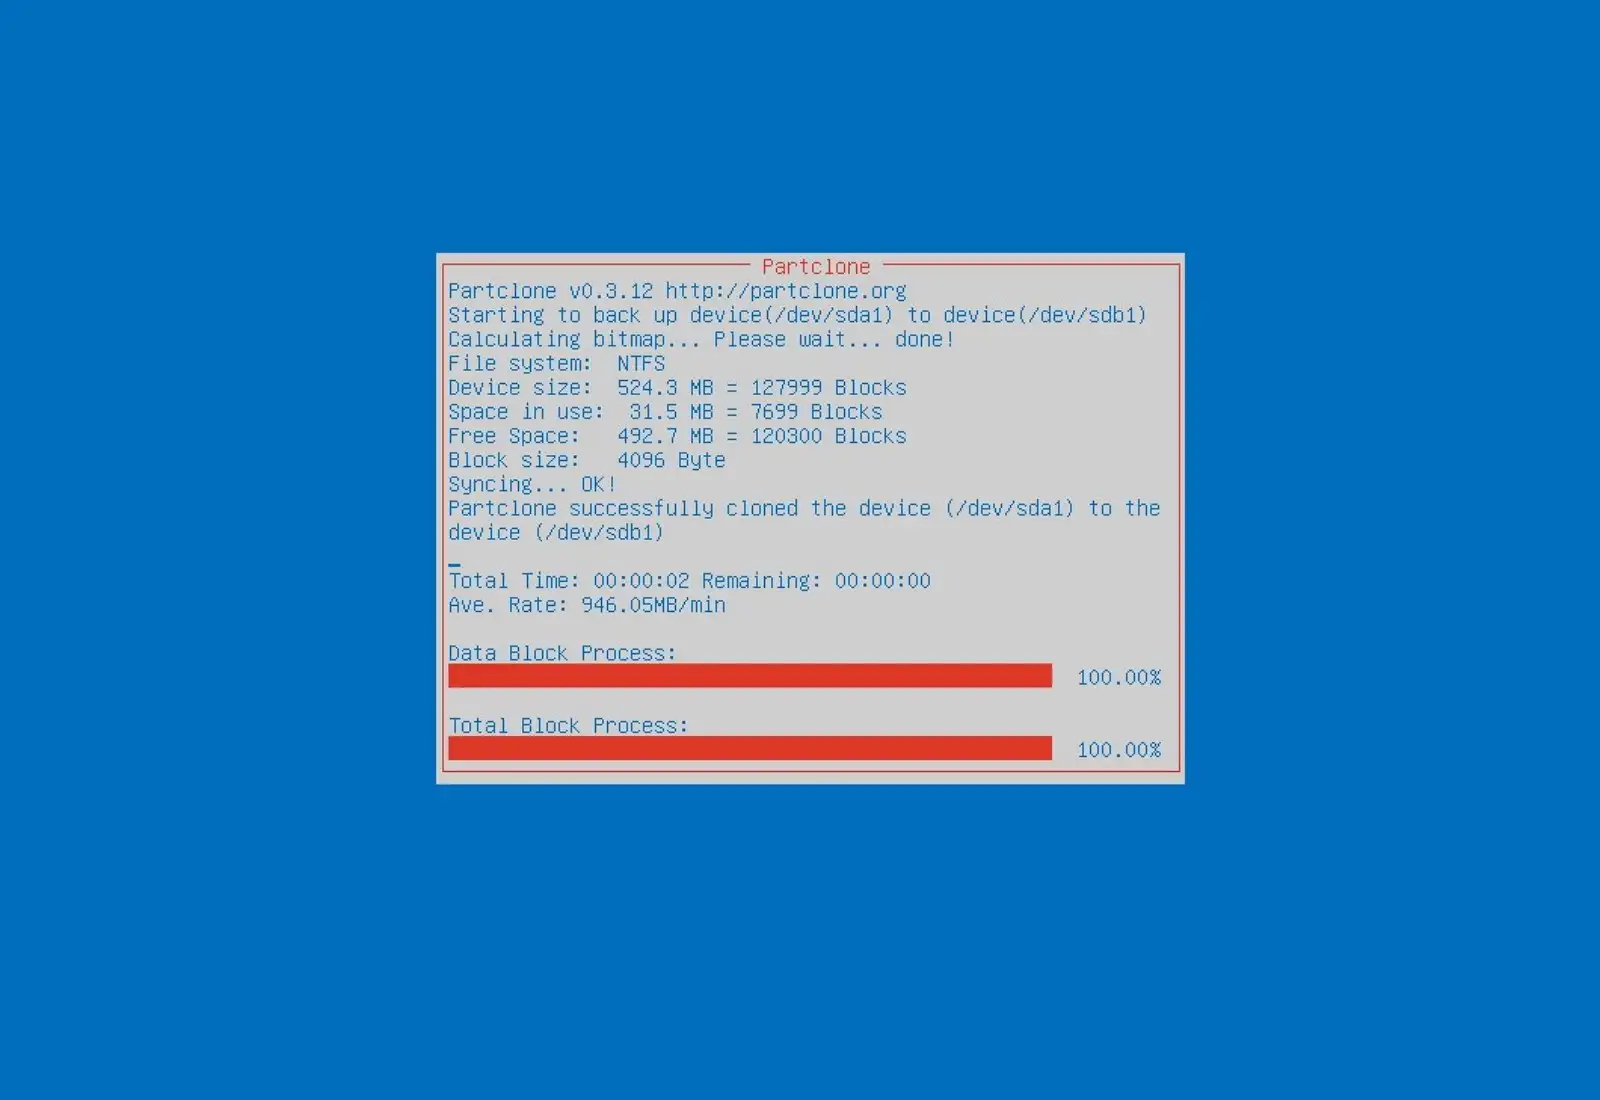
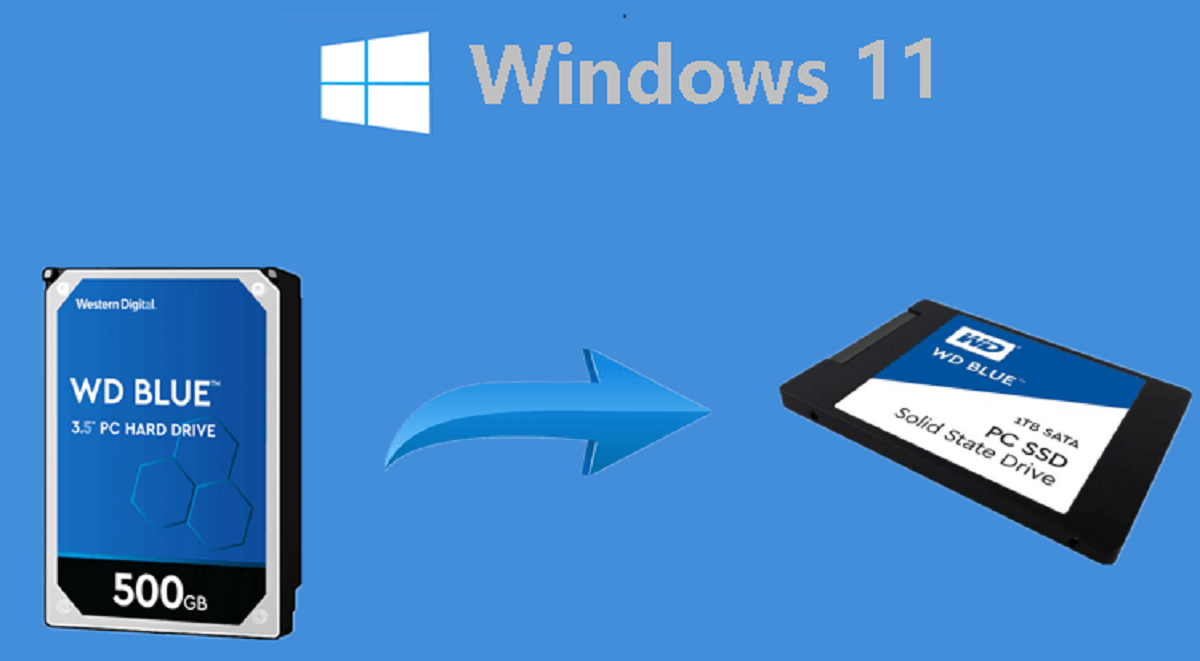
Migrate Windows 11 to SSD using Macrium Reflect
One of the most reliable and popular tools for migrating Windows 11 to an SSD is Macrium Reflect. Here’s a step-by-step guide on how to use it:
1. Download and install Macrium Reflect: Visit the Macrium website and download the free version of Macrium Reflect. Install the software on your computer.
2. Launch Macrium Reflect: Open Macrium Reflect from your desktop or Start menu.
3. Create a rescue media: Before proceeding with the migration, it’s crucial to create a rescue media that will help you recover your system in case of any issues. With Macrium Reflect open, select the “Other Tasks” tab and choose “Create Rescue Media.” Follow the prompts to create a USB or CD/DVD rescue media.
4. Select the source and destination: In the Macrium Reflect window, click on the “Clone this disk” option. Choose your current system drive (the one you want to migrate) as the source disk, and select your newly installed SSD as the destination disk.
5. Adjust partition sizes (optional): If desired, you can resize partitions on the destination disk by dragging the partition edges or entering specific sizes.
6. Review the summary: Macrium Reflect will display a summary of the cloning operation. Double-check that the source and destination disks are correct, and review any other options that may be available.
7. Start the clone process: Click “Next” and then “Finish” to start the cloning process. Macrium Reflect will begin copying all the data and partitions from the source disk to the destination SSD.
8. Wait for the cloning to complete: The cloning process may take some time, depending on the size of your data. Allow Macrium Reflect to complete the operation without interruptions.
9. Shutdown and disconnect the original drive: Once the cloning process is finished, shut down your computer and disconnect the power and data cables from the original system drive. This step ensures that the computer boots from the newly cloned SSD.
10. Boot from the SSD: Power on your computer and access the BIOS/UEFI settings. Set the SSD as the primary boot drive, ensuring that your computer boots from the newly created SSD with Windows 11.
By following these steps and utilizing Macrium Reflect, you can successfully migrate Windows 11 to your new SSD. Remember to create a rescue media, double-check your source and destination disks, and verify that the cloning process is successful before proceeding with the final boot settings.
Change Boot Order in the BIOS
After migrating Windows 11 to your new SSD, it’s crucial to change the boot order in the BIOS (Basic Input/Output System) settings to ensure that your computer boots from the SSD. Here’s how you can do it:
1. Restart your computer: Make sure your computer is powered on and restart it.
2. Access the BIOS: During the boot process, you will see a message indicating the key or keys to press to enter the BIOS settings. It is typically one of the function keys (e.g., F2, F10, or Delete). Press the designated key repeatedly until the BIOS settings appear.
3. Navigate to the boot order settings: Once inside the BIOS settings, navigate to the “Boot” or “Boot Order” section. The exact location and terminology may vary depending on your computer’s motherboard manufacturer.
4. Change the boot order: In the boot order settings, locate the entry for your original system drive (e.g., HDD or old SSD) and move it down the list or remove it from the boot order entirely. Then, select the entry for your newly installed SSD and move it to the top of the boot order list.
5. Save and exit: Once you have made the necessary changes to the boot order, save the settings and exit the BIOS. Ensure that you save the changes before exiting the BIOS, as this step is essential to make the new boot order active.
6. Restart your computer: Finally, restart your computer to apply the new boot order settings.
Upon restarting, your computer should now boot directly from the newly installed SSD, which contains Windows 11. If the boot order changes were successfully made, you will notice that your system now starts up faster and runs smoother due to the improved performance of the SSD.
In the event that you encounter any issues or are unsure about changing the boot order settings, it is advisable to consult your computer’s manual or reach out to the manufacturer’s support for guidance.
By following these steps and adjusting the boot order in the BIOS, you can ensure that your computer boots from the new SSD, allowing you to fully enjoy the benefits of a faster and more efficient Windows 11 system.
Verify and Optimize SSD Performance
After successfully migrating Windows 11 to your SSD, it’s important to verify and optimize the performance of your new drive. By following these steps, you can ensure that your SSD is functioning optimally:
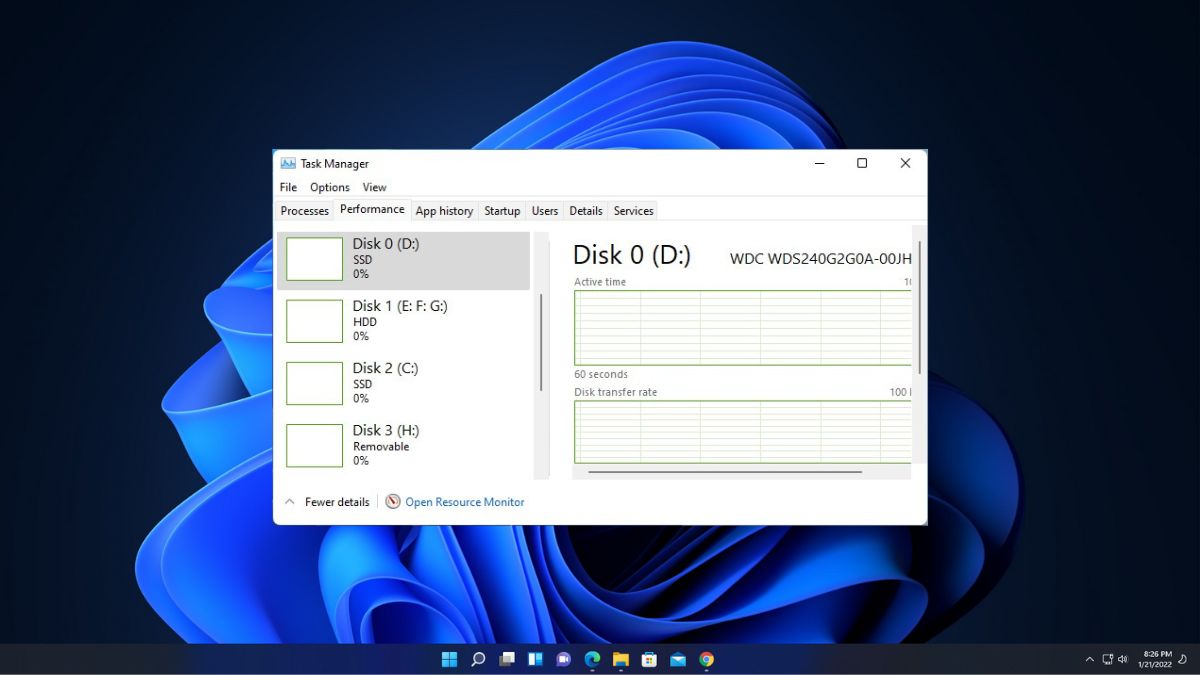
1. Verify SSD detection: Restart your computer and ensure that the SSD is correctly detected by the system. Go to the “Disk Management” tool in Windows and verify that the SSD is visible and identified as the primary system drive.
2. Enable TRIM: Trim is a feature that helps maintain the performance of SSDs over time. Ensure that TRIM is enabled in your Windows 11 settings. Open the Command Prompt or PowerShell with administrative privileges and enter the following command: fsutil behavior set DisableDeleteNotify 0.
3. Update SSD firmware (if available): Check the manufacturer’s website for any firmware updates for your specific SSD model. Keeping the firmware up to date can enhance performance and address any potential bugs or compatibility issues.
4. Disable defragmentation: Since SSDs already have fast access times, running regular defragmentation is unnecessary and can even reduce the lifespan of the SSD. In Windows 11, the operating system should automatically disable scheduled defragmentation for SSDs. However, double-check the settings to ensure it is disabled.
5. Enable AHCI mode: To maximize SSD performance, ensure that the Advanced Host Controller Interface (AHCI) mode is enabled in your system BIOS. AHCI allows the operating system to communicate more efficiently with the SSD.
6. Optimize power settings: Adjust the power settings in Windows 11 to optimize SSD performance. Go to the “Power & sleep” settings and set the “Power mode” to “High performance” to ensure your SSD receives sufficient power for maximum performance.
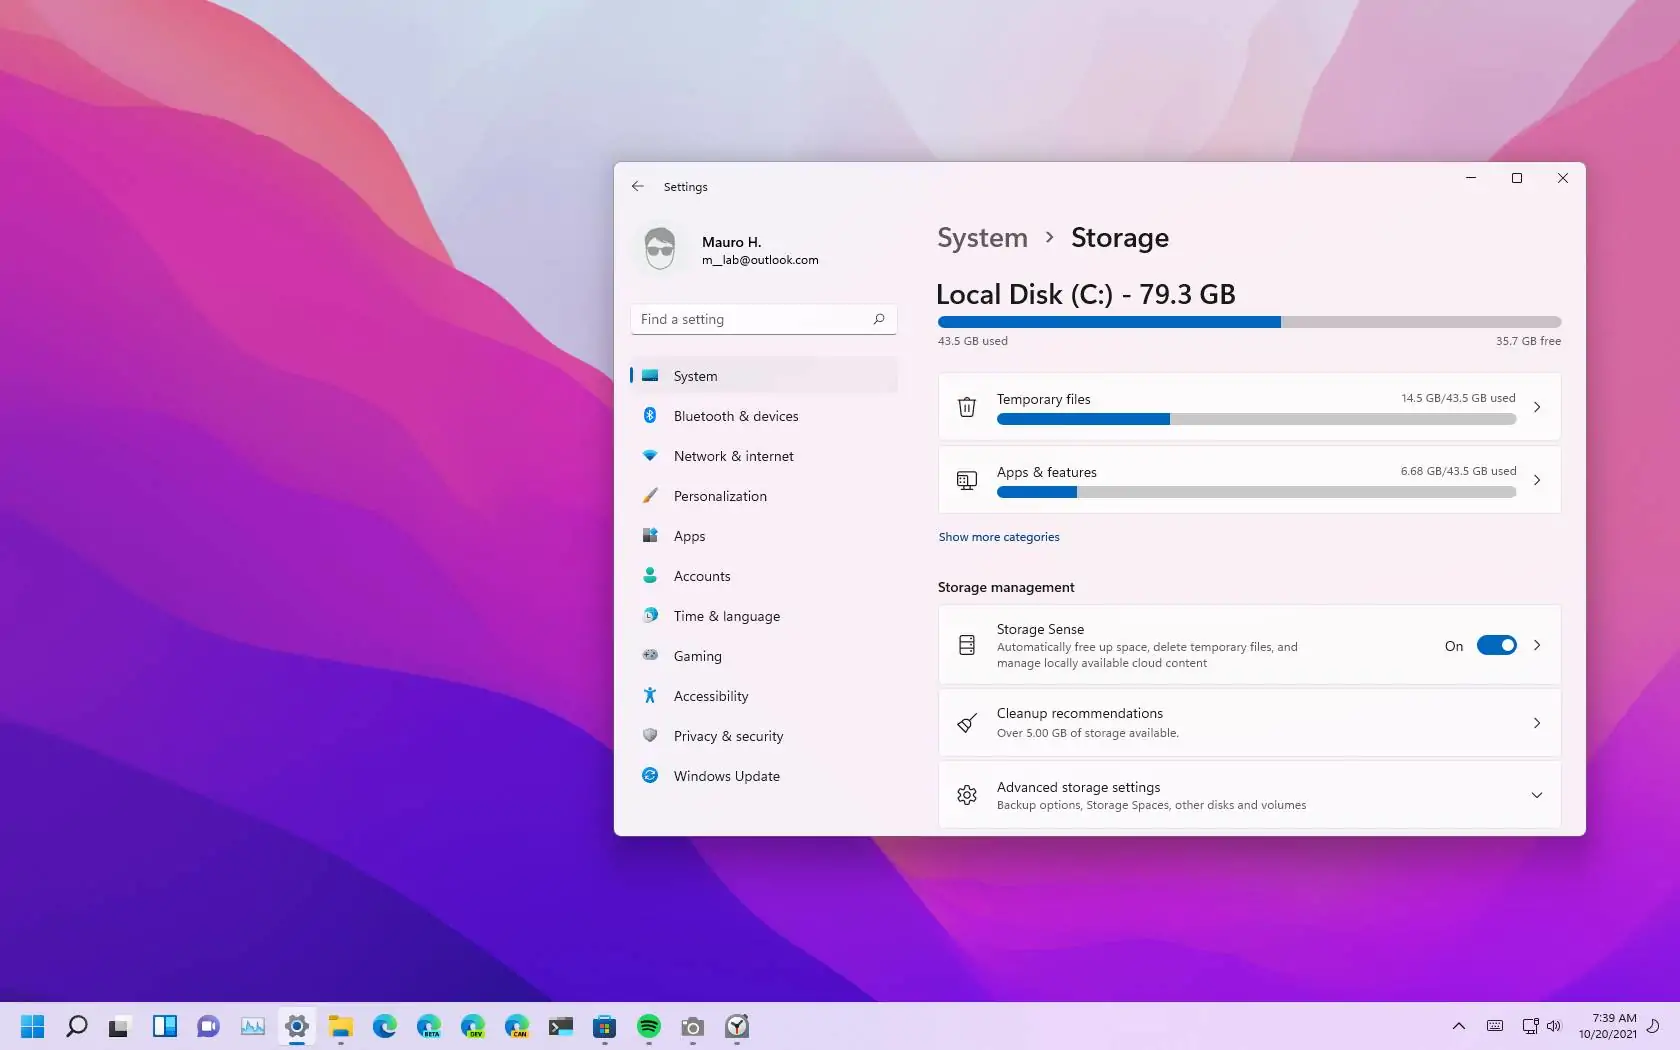
7. Regularly perform disk cleanup: Use the built-in Disk Cleanup tool in Windows to remove unnecessary files and free up space on your SSD. This helps maintain the performance of your drive by preventing it from becoming cluttered with temporary and unnecessary files.
8. Monitor SSD health: Use specialized software, such as CrystalDiskInfo or Samsung Magician, to monitor the health and performance of your SSD regularly. These tools provide information about the drive’s temperature, remaining lifespan, and any potential issues that may affect its performance.
By following these steps to verify and optimize your SSD’s performance, you can ensure that it functions at its best capacity, providing you with fast and efficient performance for your Windows 11 operating system.
Conclusion
Migrating Windows 11 to an SSD can bring significant performance improvements, faster boot times, and enhanced system responsiveness. By following the steps outlined in this guide, you can successfully move your operating system to an SSD and optimize its performance.
We started by discussing the prerequisites, including the importance of compatibility, data backup, choosing the right SSD, and having external storage for backups. These preparatory steps are crucial for a smooth migration process.
Next, we covered how to physically install the SSD in your computer, ensuring that it is securely mounted and connected with the appropriate cables.
Once the installation is complete, we moved on to preparing the SSD for migration. This involved formatting the SSD, partitioning if desired, verifying its health, and updating the firmware.
Using Macrium Reflect, we then explored the process of migrating Windows 11 to the SSD. This powerful tool allows for efficient cloning of the operating system and data from the source drive to the destination SSD.
After successfully migrating, we discussed the importance of changing the boot order in the BIOS. By setting the SSD as the primary boot drive, you ensure that your computer starts up directly from the new SSD.
Finally, we concluded by emphasizing the need to verify and optimize SSD performance. Enabling necessary features such as TRIM, updating firmware, adjusting power settings, and performing regular disk cleanup play important roles in maintaining the performance of your SSD.
With the successful migration and optimization of Windows 11 to an SSD, you can now benefit from faster system performance, quicker boot times, and improved overall responsiveness. Enjoy the enhanced experience that your new SSD brings to your computing activities.