Introduction
Welcome to the world of Windows 11! With its sleek design, innovative features, and improved performance, many users are eager to upgrade their operating system. If you’ve just purchased a new SSD (Solid State Drive) or planning to upgrade your existing hard drive to an SSD, this guide will walk you through the process of installing Windows 11 on your new SSD.
Upgrading to an SSD can significantly enhance your computer’s speed and responsiveness. Windows 11, with its optimized features, is the perfect match for your new SSD. But before diving into the installation process, there are some essential preparations you need to make.
In this guide, we will cover the steps required to install Windows 11 on a new SSD. From preparing the necessary items to completing the installation, we’ve got you covered. So, grab your tools and let’s get started!
Before we begin, please note that installing a new operating system can result in data loss, so it’s crucial to back up your important files and documents. Additionally, make sure you have a stable internet connection and enough power supply throughout the installation process.
Now, let’s move on to the first step: preparing the necessary items.
Step 1: Prepare the necessary items
Before you begin the installation process, it’s essential to gather all the necessary items. Here’s a list of what you’ll need:
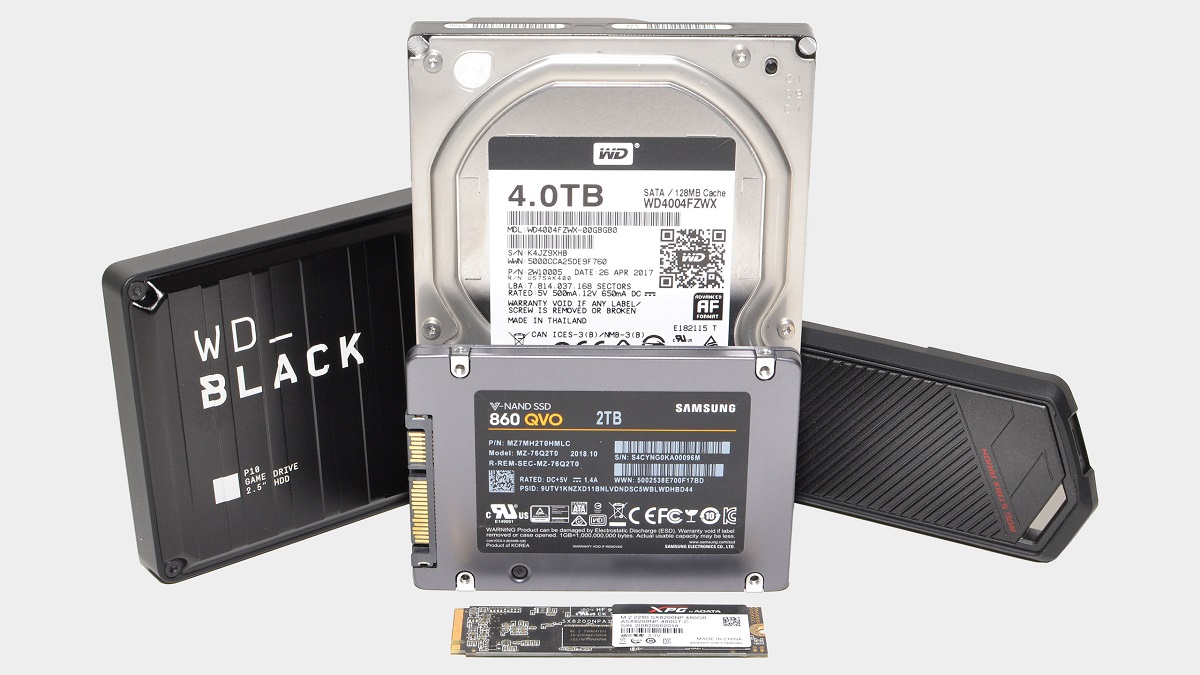
- New SSD: Make sure you have a new Solid State Drive that meets the requirements for Windows 11 installation. It should have enough capacity to accommodate your files and applications.
- Windows 11 installation media: You will need a USB drive or a DVD with the Windows 11 installation files. If you don’t have it, you can create one. We’ll cover that in the next steps.
- Backup storage: As mentioned earlier, it’s crucial to back up your important files and documents before proceeding with the installation. You can use an external hard drive, cloud storage, or any other reliable backup solution to store your data.
- Computer tools: You may need a screwdriver or other tools to open your computer case and install the new SSD. Make sure you have them handy.
Once you have gathered these items, you’re ready to move on to the next step: backing up your data. This step is crucial to ensure that your files are safe in case of any unexpected data loss during the installation process.
In the next section, we’ll guide you through the process of backing up your data before installing Windows 11 on your new SSD. So, let’s move forward and safeguard your important files!
Step 2: Back up your data
Before proceeding with the installation of Windows 11 on your new SSD, it’s crucial to back up your data to ensure its safety. Backing up your files will protect them from any potential loss or corruption during the installation process. Here’s how you can back up your data:
- Identify important files: Take some time to go through your files and identify the ones that are crucial or irreplaceable. These may include documents, photos, videos, music, and any other files that you don’t want to lose.
- Choose a backup method: There are various ways to back up your data. You can use an external hard drive, cloud storage services, or even create a disk image. Choose a method that suits your needs and preferences.
- External hard drive backup: If you have an external hard drive, you can simply connect it to your computer and copy your important files to the drive. Organize your files into folders, if needed, to make the backup process more organized.
- Cloud storage backup: Cloud storage services like Google Drive, Dropbox, or OneDrive offer convenient and secure ways to back up your data. Upload your important files to the cloud and ensure they are synced and up to date.
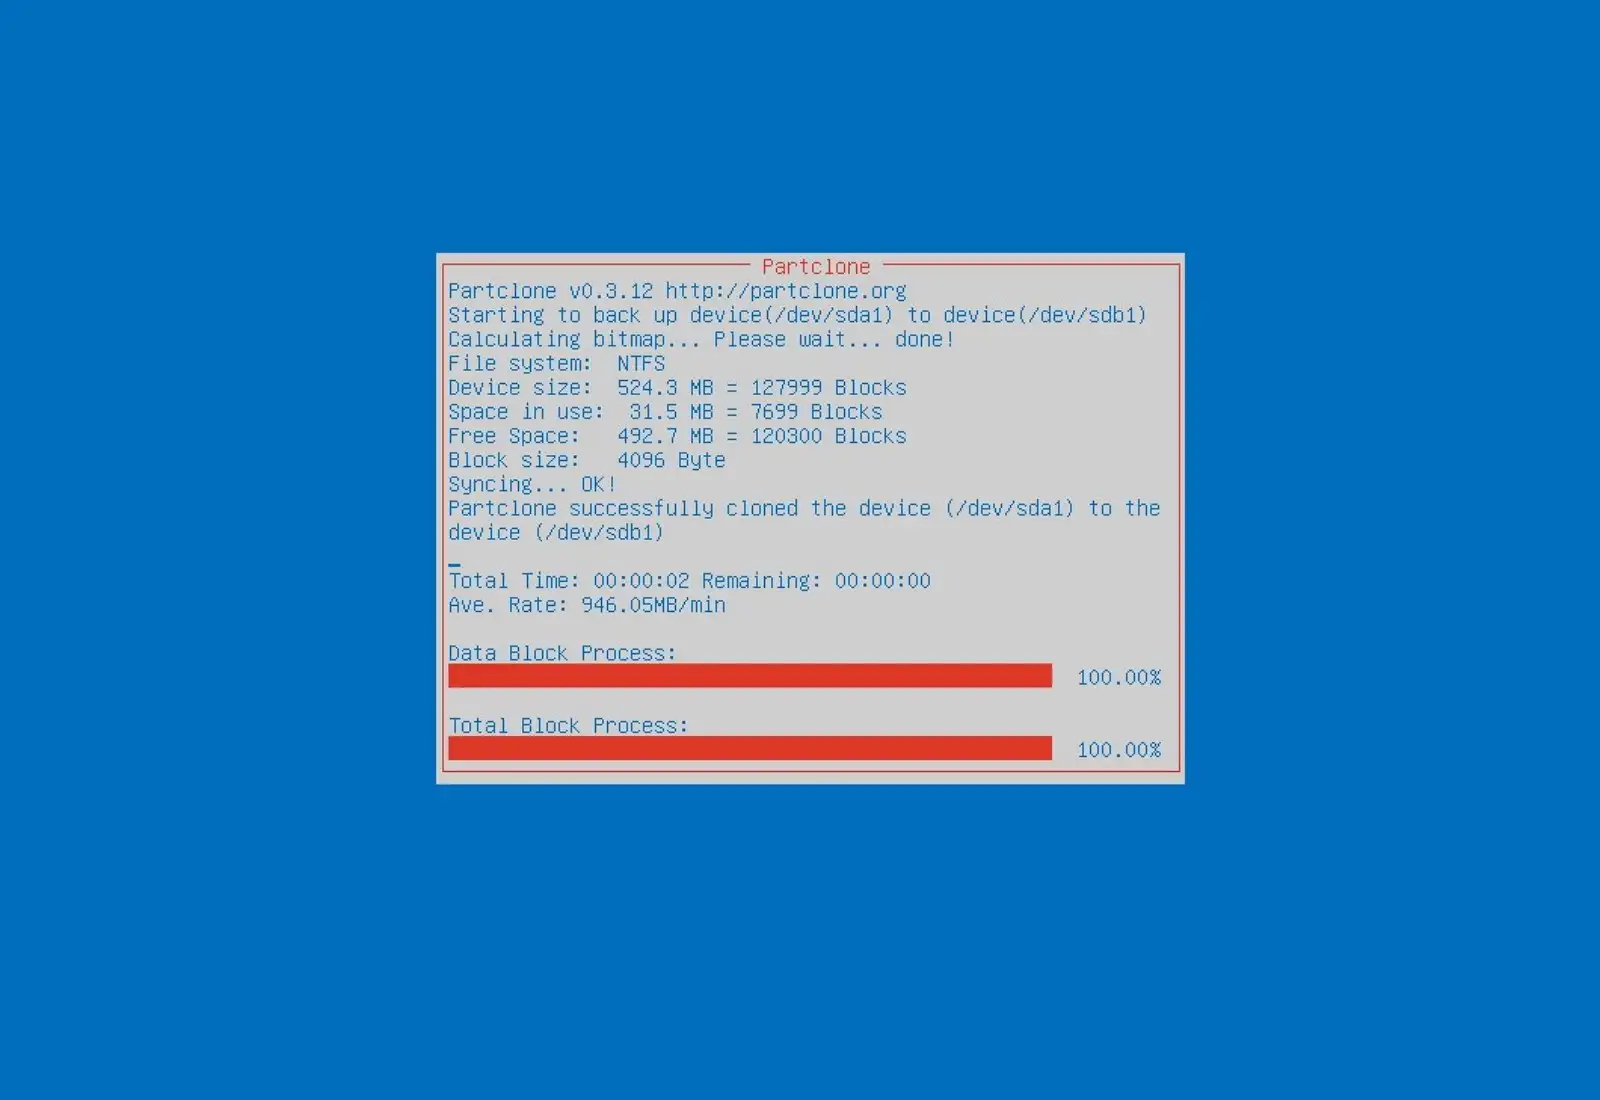
- Consider disk imaging: Creating a disk image is another effective way to back up your entire system, including the operating system and all your files. Tools like Macrium Reflect or Acronis True Image can help you create a disk image effortlessly.
- Verify your backup: Once you have completed the backup process, take some time to verify that all your important files are backed up correctly and accessible from the chosen backup storage.
Remember to double-check that you have backed up all the necessary files before proceeding to install Windows 11. Taking this precautionary step will give you peace of mind and ensure that your data is safe during the installation process.
In the next step, we’ll guide you through the process of creating a Windows 11 installation media, which will be required for the installation process. So, let’s move forward and create the installation media!
Step 3: Create a Windows 11 installation media
In order to install Windows 11 on your new SSD, you’ll need to create a Windows 11 installation media. This will allow you to boot from the media and initiate the installation process. Here’s how you can create a Windows 11 installation media:
- Download the Windows 11 ISO: Visit the Microsoft website and download the Windows 11 ISO file. Make sure to download the version that matches your system architecture (32-bit or 64-bit).
- Create a bootable USB drive: To create a bootable USB drive, you’ll need a USB flash drive with at least 8GB of storage space. Connect the USB drive to your computer and use a reliable tool like Rufus or the Windows USB/DVD Download Tool to create a bootable USB drive from the Windows 11 ISO file.
- Verify the bootable USB drive: After creating the bootable USB drive, it’s important to verify its integrity. Some tools offer a verification option to ensure that the bootable USB drive is created successfully without any errors.
- Create a bootable DVD (Optional): If you prefer using a DVD instead of a USB drive, you can burn the Windows 11 ISO file onto a DVD. Use a reliable disc burning software, such as ImgBurn or Nero, to create a bootable DVD.
Once you have created the Windows 11 installation media, you’re ready to move on to the next step: installing the new SSD in your computer. Make sure to keep the installation media in a safe place, as you’ll need it to proceed with the installation.
In the next section, we’ll guide you through the process of installing the new SSD in your computer. Let’s move forward and get your hardware ready for Windows 11!
Step 4: Install the new SSD
Now that you have your Windows 11 installation media ready, it’s time to install the new SSD in your computer. Follow these steps to successfully install the new SSD:
- Power off your computer: Before working on any hardware components, make sure to shut down your computer and unplug it from the power source. This will prevent any potential damage to your computer or the SSD.
- Open your computer case: Depending on the type of computer you have, you may need to remove screws or use a latch to open the case. Refer to your computer’s manual or search online for specific instructions on how to open your computer case.
- Locate the storage area: Once you have opened the computer case, locate the storage area where your existing hard drive(s) are connected. If you have an empty slot, this is where you will install the new SSD. If not, you may need to remove one of the existing storage drives.
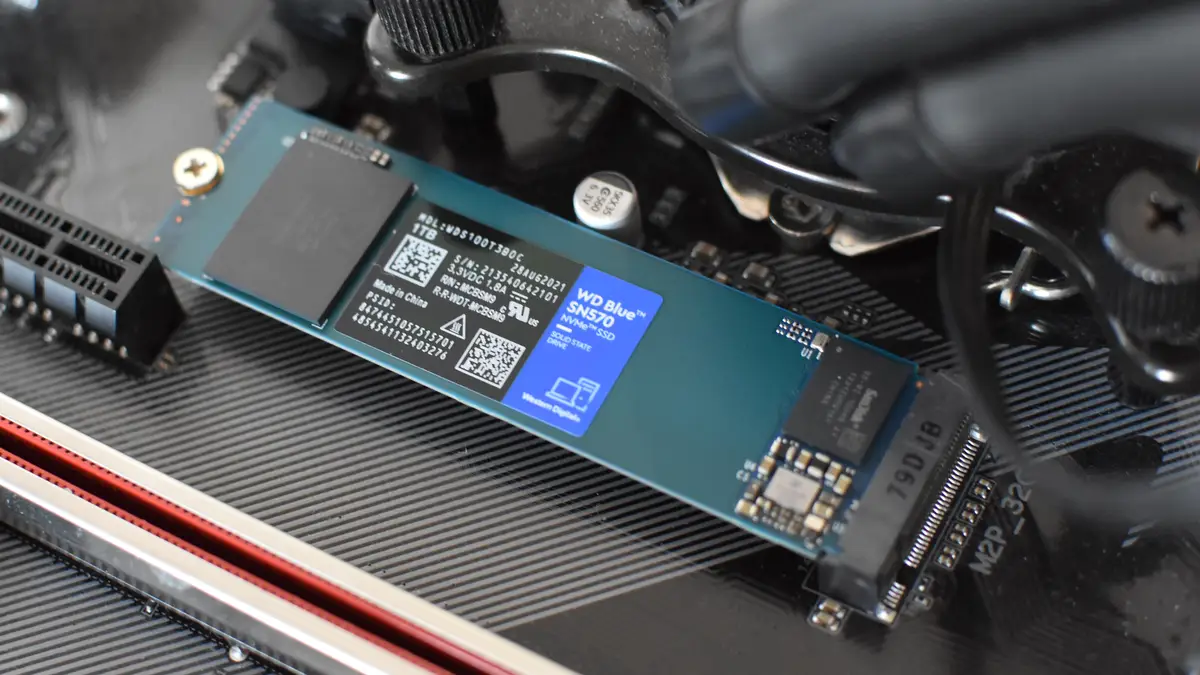
- Connect the new SSD: Carefully insert the new SSD into the available slot, aligning the connectors with the appropriate ports. Gently push the SSD into place until it is securely connected.
- Screw or latch the SSD: If your computer case requires screws to secure the storage devices, use the provided screws to secure the new SSD in place. If your case uses a latch mechanism, make sure to lock it properly to hold the SSD securely.
- Close the computer case: Once the new SSD is securely installed, carefully close the computer case and fasten any screws or latches to secure it in place. Make sure everything is aligned properly and there are no loose connections.
- Connect the power and data cables: Before powering on your computer, connect the power and data cables to the new SSD. The power cable should come from the power supply unit, while the data cable will connect to the appropriate port on the motherboard.
- Power on your computer: With the new SSD installed and connected, plug in your computer and power it on. Make sure to check if the computer recognizes the new SSD in the BIOS or UEFI settings.
Once you have successfully installed the new SSD in your computer, you’re one step closer to enjoying the benefits of Windows 11. In the next step, we’ll guide you through the process of booting from the Windows 11 installation media. Let’s move forward and get the installation process rolling!
Step 5: Boot from the Windows 11 installation media
With the new SSD installed, it’s time to boot your computer from the Windows 11 installation media. This will allow you to begin the installation process. Follow these steps to boot from the Windows 11 installation media:
- Restart your computer: If your computer is still powered on, restart it to ensure that any previous boot settings are cleared.
- Access the boot menu: As the computer restarts, look out for a message on the screen that indicates the key or keys to press to access the boot menu. Common keys include F2, F12, Esc, or Delete. Press the specified key or keys to access the boot menu.
- Select the boot device: In the boot menu, use the arrow keys to navigate and select the option that corresponds to your Windows 11 installation media (USB drive or DVD). Press Enter to confirm the selection.
- Boot from the installation media: Once you have selected the boot device, your computer will restart and boot from the Windows 11 installation media. This will bring you to the Windows 11 setup screen.
It’s important to note that the process of accessing the boot menu may vary depending on your computer’s manufacturer and model. If you can’t find the boot menu option or are unsure about the key to press, refer to your computer’s manual or search online for specific instructions.
Once you have successfully booted from the Windows 11 installation media, you’re ready to begin the installation process. In the next step, we’ll guide you through the steps to initiate the installation of Windows 11 on your new SSD. Let’s move forward and get Windows 11 installed!
Step 6: Begin the Windows 11 installation process
Now that you have successfully booted your computer from the Windows 11 installation media, it’s time to begin the installation process. Follow these steps to start installing Windows 11 on your new SSD:
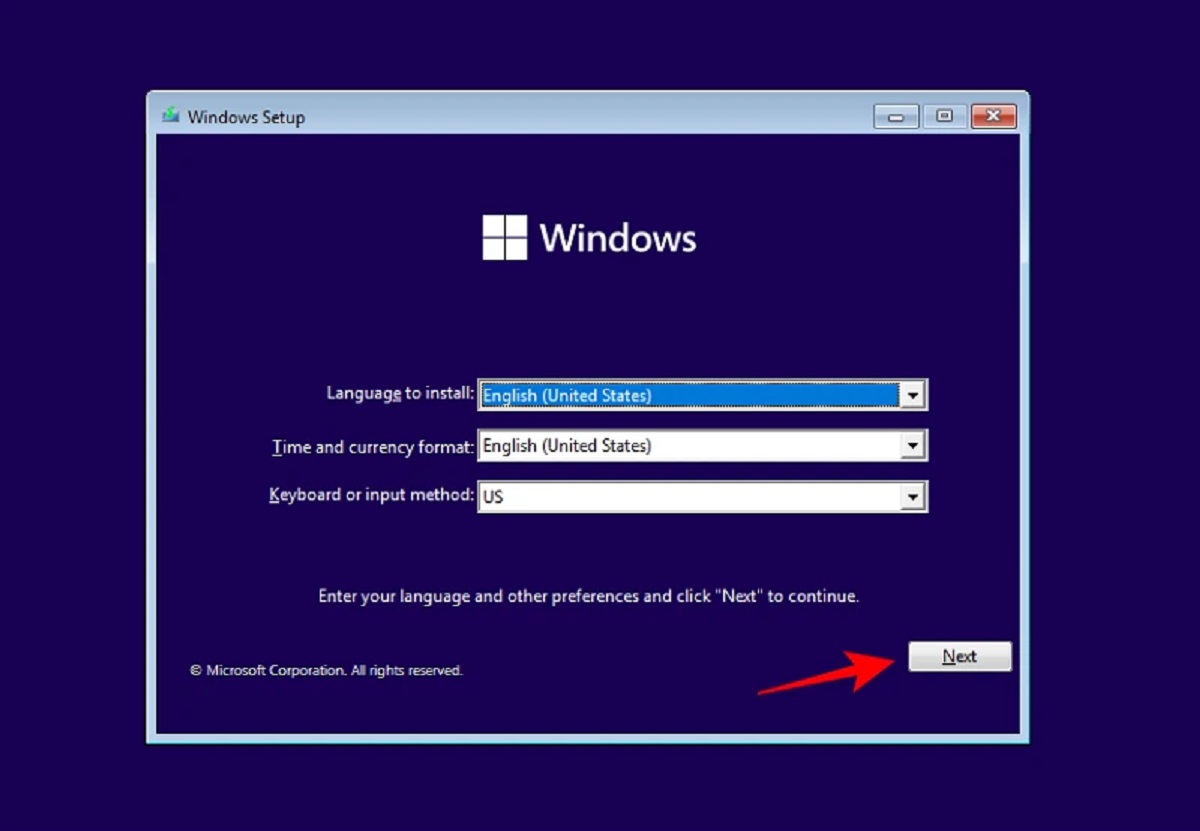
- Select language and region settings: On the Windows 11 setup screen, choose your preferred language, time format, and keyboard layout. Click “Next” to proceed.
- Click “Install now”: On the next screen, click on the “Install now” button to begin the installation process.
- Enter the product key: If Windows 11 requires a product key, enter it in the designated field. If you don’t have a product key, click on the “I don’t have a product key” option (if available) to proceed. You can enter the product key later during the setup process.
- Accept the license terms: Read and accept the Microsoft Software License Terms to proceed with the installation.
- Choose the installation type: On the next screen, choose the installation type that suits your needs. You can select “Custom: Install Windows only (advanced)” to perform a clean installation on the new SSD.
- Select the destination drive: You’ll be presented with a list of available drives. Select the new SSD as the destination where you want to install Windows 11. Be cautious not to select any other storage drive that contains important data.
- Format and partition the drive: If the new SSD is not yet formatted or partitioned, you can do so during this step. Follow the on-screen instructions to format and create partitions on the new SSD.
- Wait for the installation: After selecting the destination drive and configuring the partitions, the installation process will begin. It may take some time, so sit back and let the installation progress.
- Set up Windows 11: Once the installation is complete, your computer will restart. Follow the on-screen prompts to personalize your settings, create a user account, and complete the setup of Windows 11.
Congratulations! You have successfully begun the installation process of Windows 11 on your new SSD. In the next step, we’ll guide you through selecting the new SSD as the installation destination. Let’s move forward and configure the installation for your new drive!
Step 7: Choose the new SSD as the installation destination
At this stage of the Windows 11 installation process, you need to select the new SSD as the installation destination. Follow these steps to choose the new SSD as the destination drive:
- Select the installation destination: After the initial setup and configuration, you’ll be presented with a list of available drives. Choose the new SSD from the list as the destination where you want to install Windows 11.
- Format the new SSD (optional): If the new SSD is not yet formatted, you can choose to format it during this step. Formatting will prepare the drive for installation by erasing any existing data. Be cautious when selecting this option, as it will permanently delete any existing files or partitions on the SSD.
- Create partitions (optional): If you prefer to create specific partitions on the new SSD, you can do so during this step. Partitioning allows you to divide the drive into separate sections, which can be useful for organizing your files and optimizing storage usage.
- Confirm the installation: Once you have selected the new SSD as the installation destination and made any desired formatting or partitioning changes, confirm your choices and proceed with the installation.
- Wait for the installation to complete: The installation process will begin, and Windows 11 will be installed on your new SSD. The duration of the installation may vary depending on your computer’s specifications and the size of the SSD.
- Restart your computer: After the installation is complete, your computer will restart. Allow it to boot up, and you’ll soon be greeted with the Windows 11 login or setup screen.
By choosing the new SSD as the installation destination, you are ensuring that Windows 11 is installed on the fast and efficient storage device, maximizing its performance and speed. In the next step, we’ll guide you through completing the Windows 11 installation process and finalizing the setup. Let’s move forward and get your new operating system up and running!
Step 8: Complete the Windows 11 installation
Congratulations! You’re in the final step of the Windows 11 installation process. Follow these last steps to complete the installation and finalize the setup:
- Follow the on-screen prompts: After your computer restarts, Windows 11 will continue with the setup process. Follow the on-screen prompts to customize your settings, such as language preferences, region settings, and privacy options.
- Create a user account: During the setup, you will be prompted to create a user account. Enter your preferred username, password, and any other required details. This account will be used to log in to Windows 11.
- Connect to a network: Choose a Wi-Fi network or connect via an Ethernet cable to establish a network connection. This will allow you to download updates, install drivers, and access online services.
- Sign in and complete setup: After connecting to a network, sign in to your Windows 11 user account. Windows 11 will finalize the setup process, install drivers, and perform any necessary updates.
- Personalize Windows 11: Once the setup is complete, you can personalize Windows 11 according to your preferences. This includes choosing a desktop background, setting up the Start menu, and configuring other visual and display options.
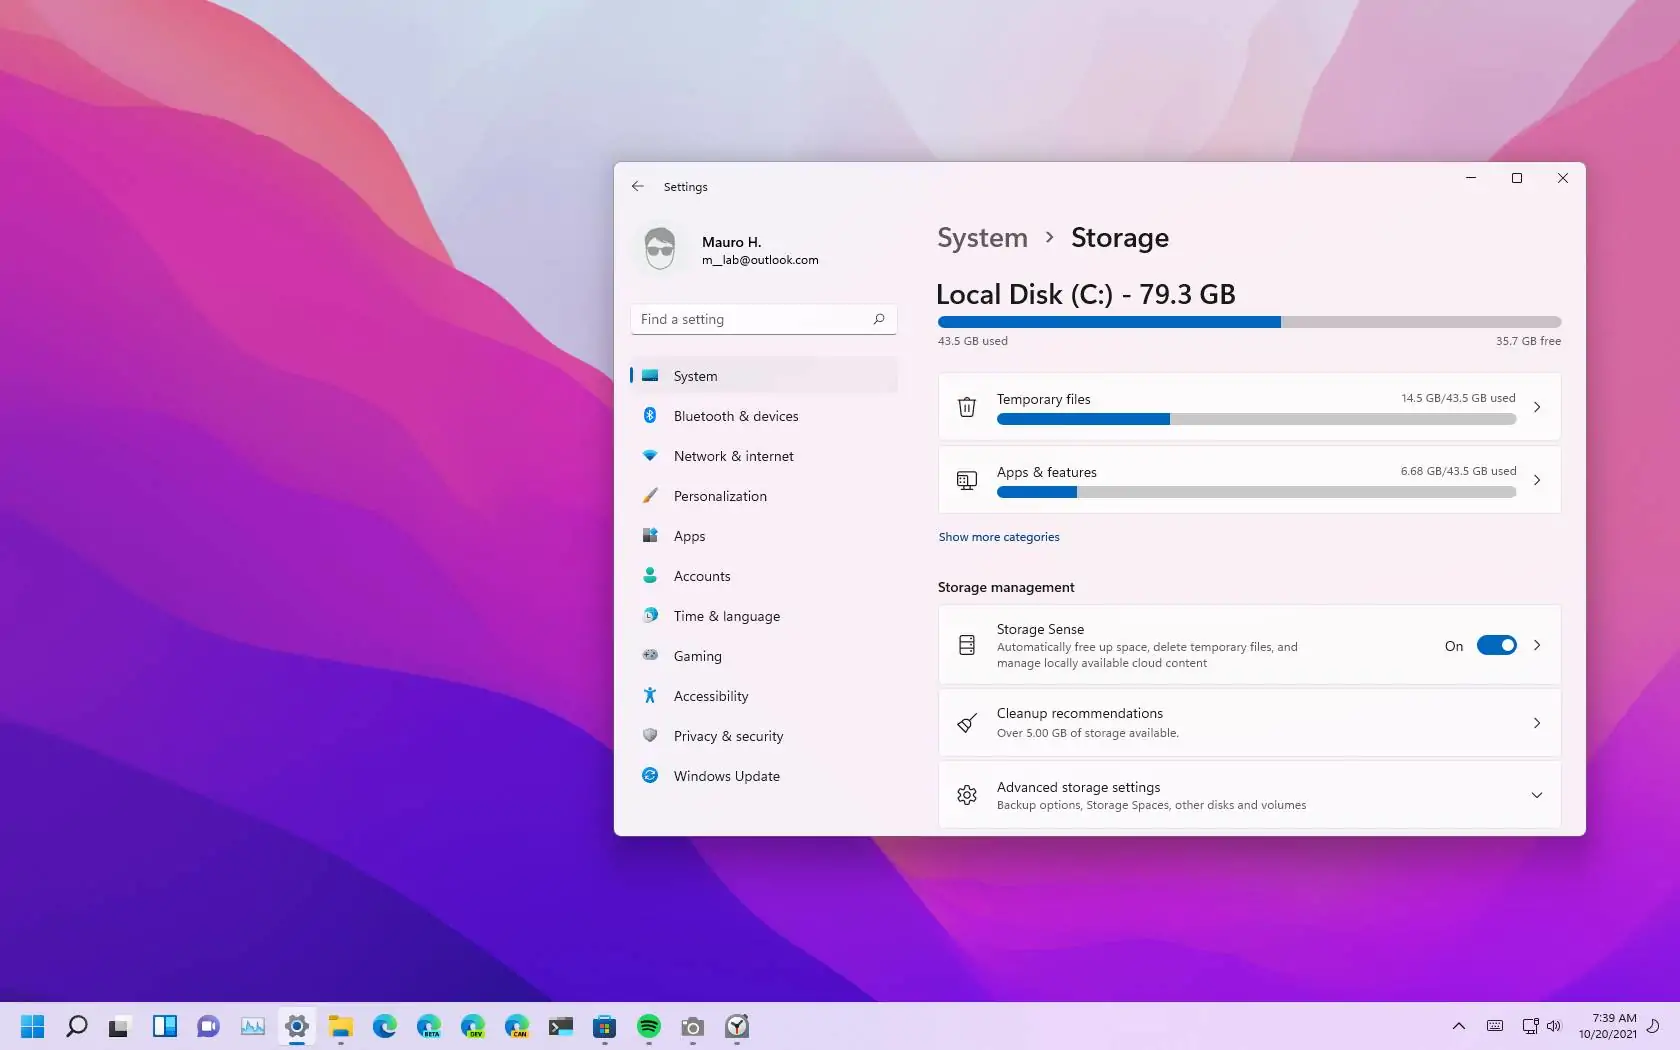
- Install drivers and updates: It’s essential to keep your system up to date for optimal performance and security. Windows 11 will automatically search for and install the necessary drivers and updates. If any updates are not installed automatically, you can manually check for updates in the Settings app.
- Install applications and restore data: Now that Windows 11 is installed, you can proceed with installing your favorite applications and restoring your backed-up data. This will bring back your files, settings, and applications to your new Windows 11 installation.
Once you have completed these final steps, you’ll have a fresh and fully functional installation of Windows 11 on your new SSD. Enjoy the improved performance, enhanced features, and sleek design that Windows 11 has to offer!
Remember to regularly back up your data, keep your system updated, and maintain good security practices to ensure a smooth and secure computing experience with Windows 11.
Now, sit back, relax, and enjoy your new Windows 11 experience!
Conclusion
Congratulations! You have successfully installed Windows 11 on your new SSD. By following the steps in this guide, you have taken the necessary precautions, made the essential preparations, and completed the installation process seamlessly. Now, you can enjoy the benefits of an upgraded operating system on a faster and more efficient storage device.
Windows 11 brings with it a sleek design, enhanced performance, and innovative features that will enhance your computing experience. With the new SSD, your system will be even more responsive, allowing you to load applications faster, boot up your computer in no time, and enjoy improved overall performance.
Remember to regularly back up your important files and documents to ensure their safety. Additionally, keep your system updated with the latest drivers and security patches to maintain optimal performance and security.
It’s now time to personalize your Windows 11 experience. Customize your desktop background, organize your Start menu, and explore the various settings and options available to make Windows 11 truly your own.
Thank you for following this guide to install Windows 11 on your new SSD. We hope this process has been smooth and enjoyable for you. If you have any further questions or need assistance, refer to the Windows 11 documentation or reach out to the Microsoft support team.
Enjoy your new Windows 11 operating system and the improved performance it brings to your computing journey!