Introduction
Upgrading your solid-state drive (SSD) can significantly improve the performance and storage capacity of your computer. However, the process of transferring your Windows installation from one SSD to another may seem quite daunting for some. Fortunately, with the right tools and step-by-step guidance, it can be a relatively straightforward task.
In this article, we will guide you through the process of copying Windows from one SSD to another. Whether you are looking to replace an old SSD, upgrade to a larger storage capacity, or simply want to create a backup, we’ve got you covered.
Transferring your Windows installation involves cloning the contents of your existing SSD to the new drive, ensuring that everything, including your operating system, applications, and personal files, is transferred seamlessly. By following these steps, you can make the transition without the need to reinstall Windows and all your software from scratch.
Before we dive into the process, it’s important to note that this guide assumes you have a basic understanding of computers and are comfortable with handling hardware components. Additionally, make sure you have the necessary equipment, including the new SSD, a SATA-to-USB cable or an external enclosure, and a cloning software such as Clonezilla or Macrium Reflect.
Now that we’ve covered the basics, let’s move on to the next step: preparing the new SSD.
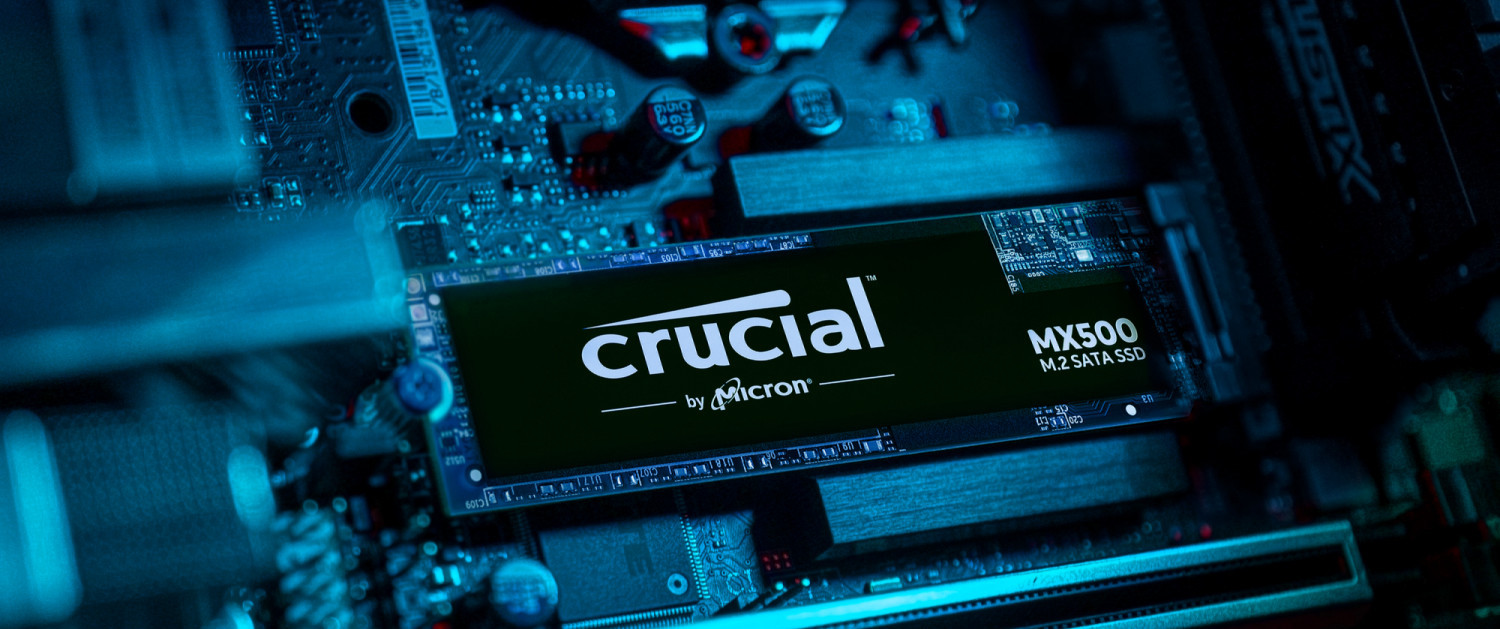
Preparing the New SSD
Before you start copying Windows to your new SSD, it’s important to properly prepare the drive to ensure a successful installation. Here are the steps to follow:
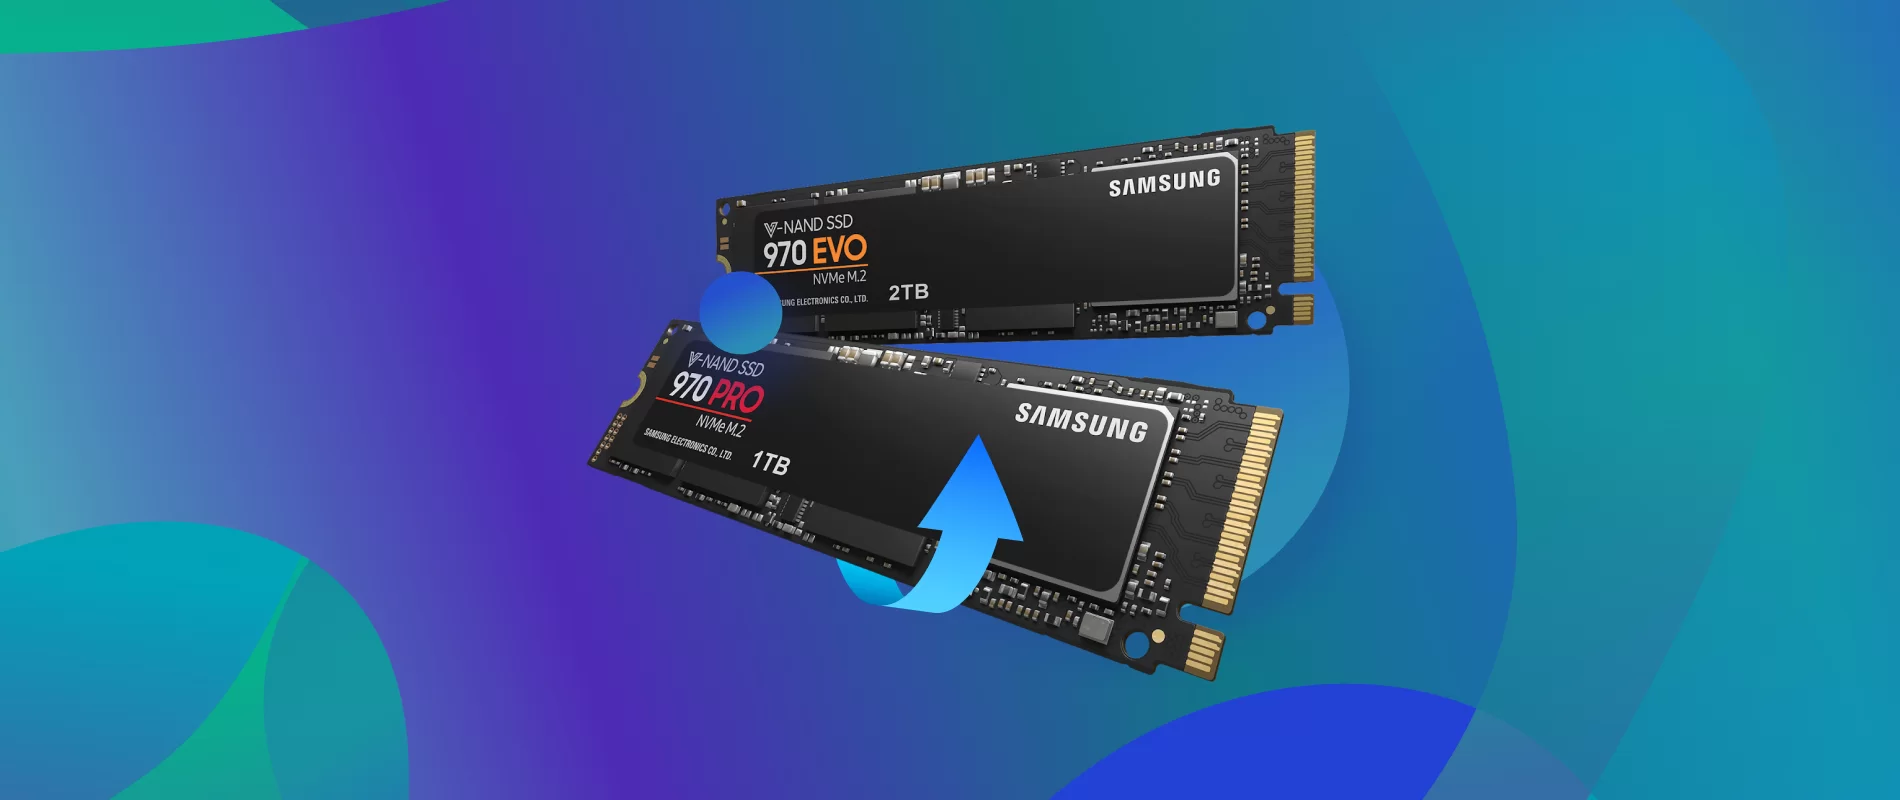
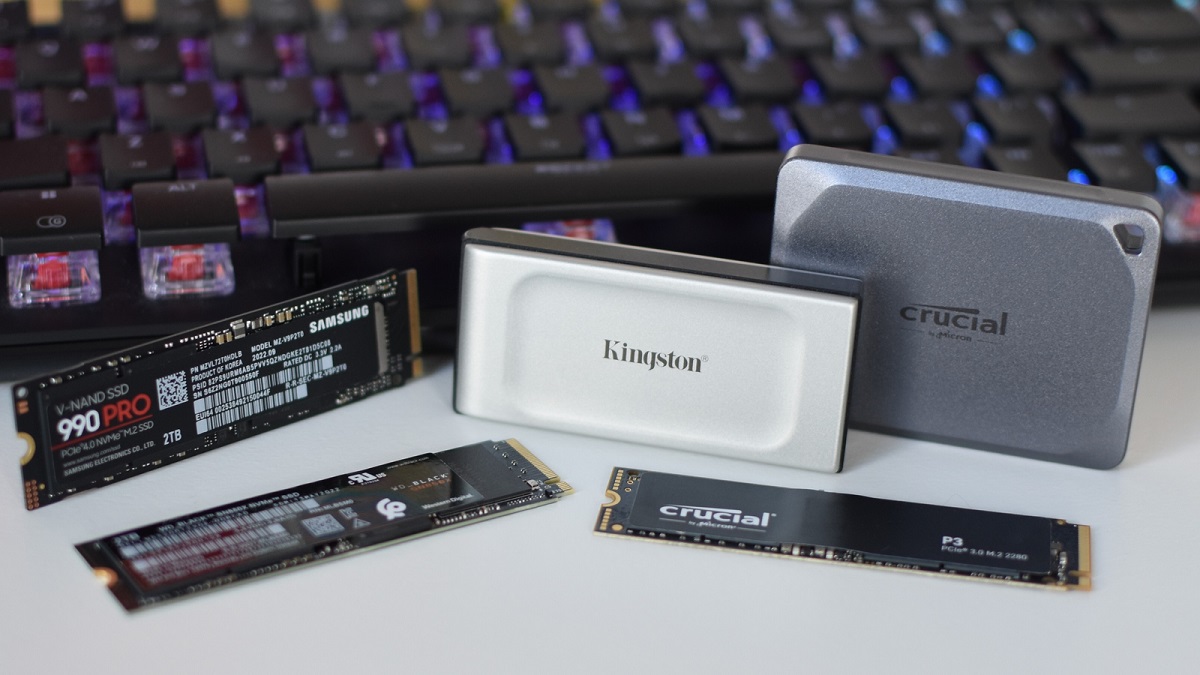
- Check compatibility: Make sure that the new SSD is compatible with your computer and its interface. Most modern computers use SATA (Serial ATA) SSDs, but some may require M.2 or PCIe SSDs. Check your computer’s specifications or consult the manufacturer’s website to verify compatibility.
- Choose the right capacity: Determine the storage capacity you need for the new SSD. Consider your current usage and any future requirements. It’s a good idea to choose a new SSD with a larger capacity than your existing drive to accommodate future data growth.
- Acquire necessary tools: If you don’t have them already, you will need a SATA-to-USB cable or an external enclosure to connect your new SSD to your computer. This will allow you to clone the contents from the old SSD to the new one.
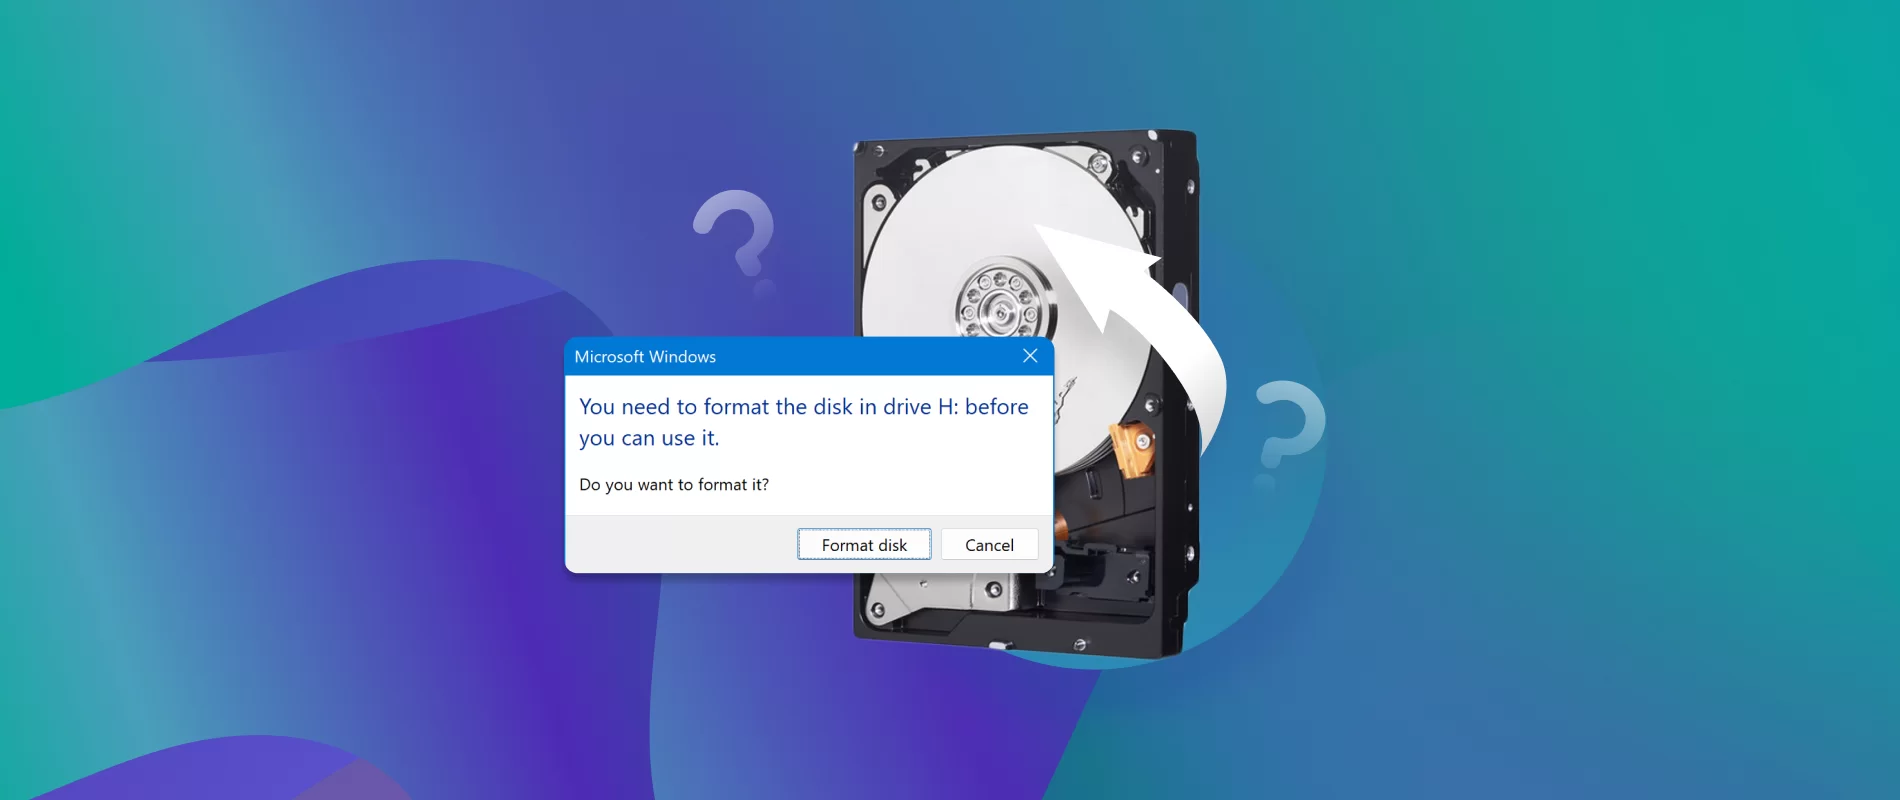
- Prepare the new SSD: Connect the new SSD to your computer using the SATA-to-USB cable or by placing it in the external enclosure. Ensure that the drive is properly connected and detected by your computer. You can use disk management tools like Disk Management in Windows or Disk Utility on macOS to initialize and format the new SSD, if necessary.
- Update firmware (if applicable): Some SSDs may require a firmware update to optimize performance or resolve compatibility issues. Check the manufacturer’s website for any available firmware updates specific to your SSD model. Follow the instructions provided to update the firmware before proceeding with the cloning process.
By following these steps, you can ensure that your new SSD is ready to receive the Windows installation and that it is compatible with your computer. Once you have completed these preparations, you can move on to the next step: backing up important data.
Backing Up Important Data
Before proceeding with the process of copying Windows to your new SSD, it is crucial to back up any important data to prevent the risk of losing it. Here are the steps to follow for a successful backup:
- Identify critical data: Take some time to identify files, documents, photos, videos, or any other data that you consider important and cannot afford to lose. This will help you prioritize the backup process and ensure that you don’t miss anything.
- Choose a backup method: Decide on the backup method that best suits your needs. You can use external hard drives, cloud storage services, or even network-attached storage (NAS) devices for storing your data. Consider factors such as storage capacity, accessibility, and security when selecting the backup method.
- Create a backup: Use a reliable backup software or built-in backup features in your operating system to create a backup of your critical data. Follow the instructions provided by the software or the operating system to ensure a successful backup process. Make sure to choose the destination where you want to store the backup securely.
- Verify the backup: Once the backup process is complete, take the time to verify the integrity of the backup. This can be done by checking a few randomly selected files or performing a full restore to ensure that the backup is valid and accessible.
Backing up your important data is a crucial step in ensuring that you don’t encounter any data loss during the migration process. It provides peace of mind knowing that even if something goes wrong during the transfer, your crucial data is safely stored and can be restored afterward.
Once you have successfully backed up your important data, you are ready to proceed with the next step: cloning the Windows installation.
Cloning the Windows Installation
Now that you have prepared the new SSD and backed up your important data, it’s time to clone the Windows installation from your old SSD to the new one. Cloning creates an exact copy of all the data, including the operating system, applications, and personal files. Follow these steps to clone your Windows installation:
- Select a cloning software: There are several cloning software options available, such as Clonezilla, Macrium Reflect, or Acronis True Image. Choose one that is compatible with your system and suits your preferences.
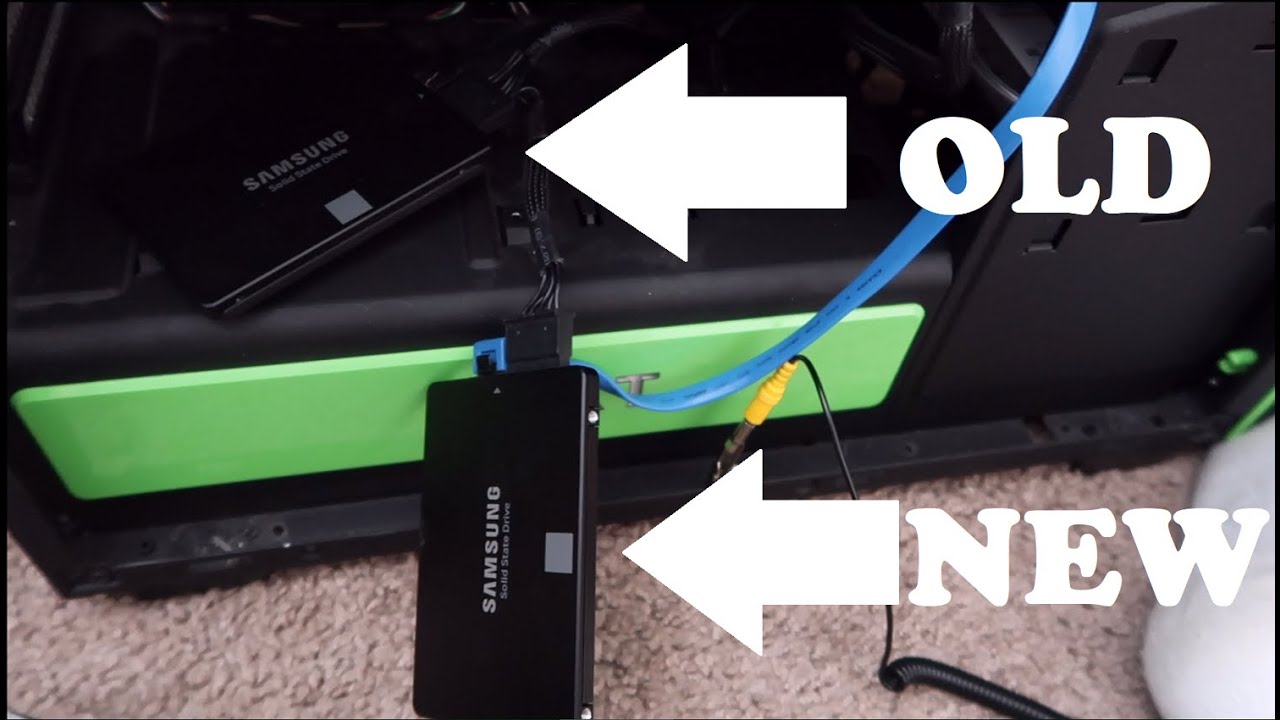
- Connect the new SSD: Connect the new SSD to your computer using the SATA-to-USB cable or by placing it in the external enclosure. Ensure it is properly recognized by your computer.
- Launch the cloning software: Open the selected cloning software and follow the instructions to start the cloning process.
- Select the source and destination drives: Choose your old SSD as the source drive and the new SSD as the destination drive within the cloning software.
- Configure cloning options: Some cloning software allows you to customize the cloning process. You may have options to resize partitions, exclude certain files or folders, or optimize the performance. Adjust these settings based on your requirements.
- Start the clone process: Double-check all the settings and confirm that you are ready to proceed. Start the cloning process and wait for it to complete. The time required for the cloning process may vary, depending on the size of the data being cloned.
- Verify the clone: Once the cloning process is finished, verify the new SSD by connecting it as the primary drive in your computer. Restart your system and ensure that everything is working seamlessly. Your Windows installation and all your files should be intact on the new SSD.
Cloning your Windows installation saves you time and effort compared to a fresh installation. It allows you to retain all your settings, preferences, and applications on the new SSD.
With the Windows installation successfully cloned to the new SSD, it’s time to disconnect the old SSD and test the new one.
Disconnecting the Old SSD
After successfully cloning your Windows installation to the new SSD, it’s time to disconnect the old SSD from your computer. Follow these steps to safely remove the old SSD:
- Shut down your computer: Make sure to shut down your computer properly before disconnecting any hardware.
- Open your computer: Depending on the type of computer you have, you may need to unscrew the case or remove any panels to gain access to the internal components.
- Locate the old SSD: Identify the old SSD that you want to disconnect. It is typically a small rectangular device connected to the motherboard by a SATA cable.
- Detach the SATA cable: Gently unplug the SATA cable from the old SSD. Be careful not to pull it forcefully to avoid damaging the connector or the cable.
- Remove any mounting brackets: If your old SSD was secured with mounting brackets, unscrew or unclip them to release the old SSD from its position.
- Replace the panel and screws: Once you have removed the old SSD, carefully replace any panels or screws that were removed to access the internal components of your computer.
- Power on your computer: Power on your computer and ensure that it boots up properly from the new SSD. Make sure to check that all your data, applications, and settings are intact.
- Format or use the old SSD: At this point, you can choose to format the old SSD and use it as additional storage or keep it as a backup device if it still functions properly.
Disconnecting the old SSD completes the process of transferring your Windows installation to the new SSD. By following these steps, you have successfully upgraded your computer’s storage and improved its performance.
With the old SSD safely removed and the new SSD functioning as the primary drive, it’s time to test the new SSD to ensure everything is working as expected.
Testing the New SSD
After completing the process of cloning your Windows installation and disconnecting the old SSD, it’s important to test the new SSD to ensure that everything is working properly. Follow these steps to perform a thorough test:
- Restart your computer: Restart your computer to ensure that it boots up from the new SSD.
- Check for Windows startup: Pay attention to the startup time of your computer. With the new SSD, you should notice a significant improvement in the speed at which your system boots up.
- Open your applications: Launch various applications and programs that you commonly use. Make sure they open quickly and without any issues. Test different types of software, such as web browsers, word processors, multimedia players, and graphic editing tools, to ensure that they perform smoothly.
- Test file access: Access your files and folders to ensure that the new SSD is reading and writing data efficiently. Open and save files from different locations to check for any delays or interruptions.
- Run benchmarking tools: Use benchmarking software to measure the performance of your new SSD. These tools can provide detailed information about the read and write speeds, as well as the overall performance of your drive. Compare these results with the specifications provided by the manufacturer.
- Monitor temperature and performance: Keep an eye on the temperature of your new SSD during operation. Use monitoring software to check for any overheating issues. Additionally, observe the overall performance of your computer and ensure that it remains stable and responsive.
- Check device recognition: Verify that your computer recognizes the new SSD correctly. Open the Device Manager (Windows) or System Information (macOS) and ensure that the new SSD is listed without any errors or warnings.
- Perform a stress test (optional): If you want to be extra thorough, you can run a stress test on your new SSD. Stress testing tools push the drive to its limits to ensure it can handle intense workloads without any issues. However, be cautious as stress testing can put a significant load on your system.
By performing these tests, you can ensure the reliability and performance of your new SSD. If you encounter any issues during testing, refer to the troubleshooting section or seek assistance from the manufacturer’s support team.
With the new SSD successfully tested and found to be working optimally, you can now enjoy the improved speed and storage capacity it provides for your computer.
Troubleshooting and FAQs
During the process of copying Windows from one SSD to another, you may encounter some issues or have questions. Here are a few common troubleshooting tips and frequently asked questions to help address them:
Troubleshooting:
- Issue: Cloning process fails or gets stuck. Solution: Check the compatibility of the cloning software with your SSD and ensure that you have enough free space on the new SSD for the cloning process. Try using a different cloning software if the issue persists.
- Issue: New SSD not recognized by the computer. Solution: Double-check the connections of the new SSD and ensure that it is properly connected. Try connecting the new SSD to a different SATA port or using a different SATA cable. Check if there are any firmware updates for the SSD.
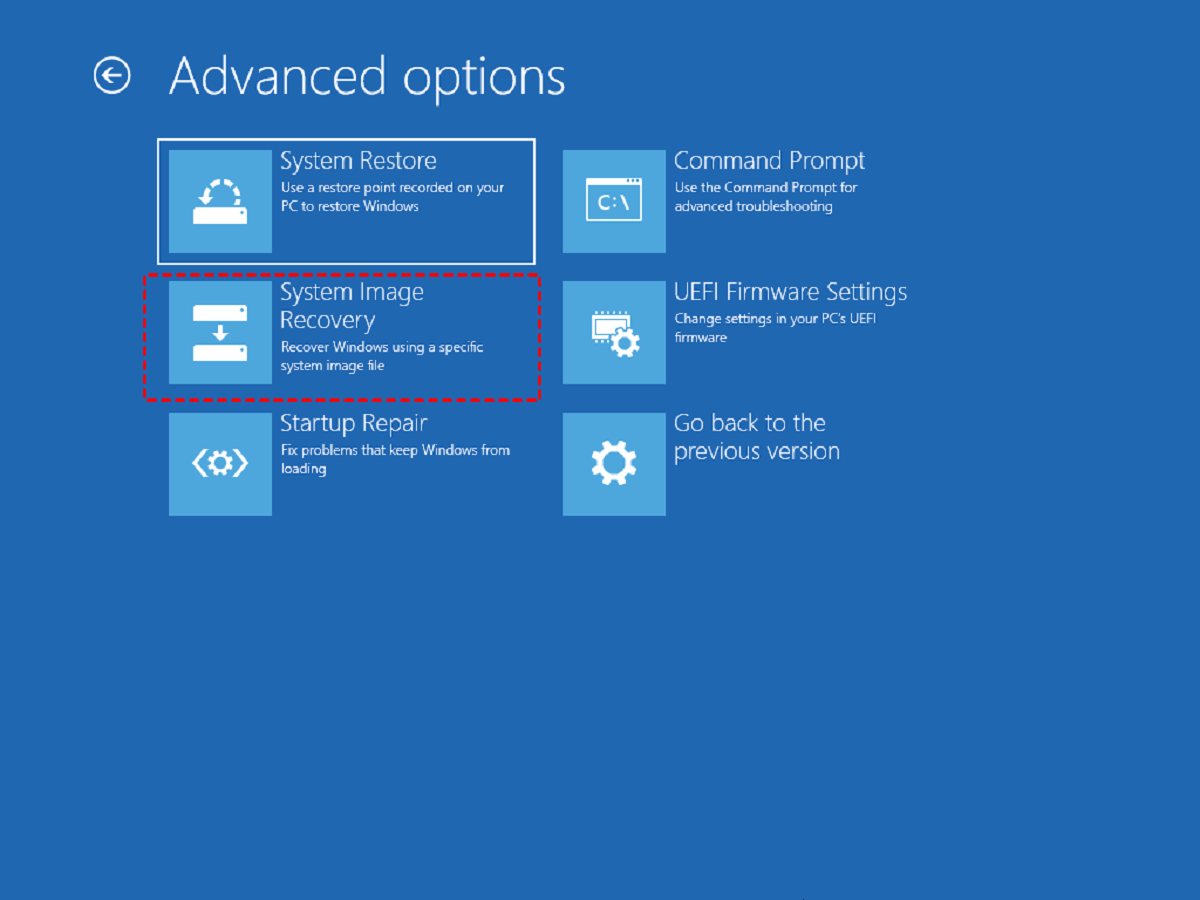
- Issue: Windows not booting from the new SSD. Solution: Access the BIOS or UEFI settings and ensure that the new SSD is set as the primary boot device. If needed, change the boot order and prioritize the new SSD. If the issue persists, you may need to reinstall Windows on the new SSD.
FAQs:
- Q: Can I clone my Windows installation to a larger SSD? A: Yes, you can clone your Windows installation to a larger SSD. During the cloning process, you may need to resize the partitions to make use of the additional storage capacity.
- Q: Do I need to format the old SSD after cloning? A: It is not necessary to format the old SSD immediately after cloning. You can keep it as a backup device or format it to use it for additional storage.
- Q: Can I clone Windows between different brands of SSDs? A: Yes, you can clone Windows between different brands of SSDs. The cloning process is not restricted to a specific brand or model.
- Q: Do I need to reinstall drivers or activate Windows after cloning? A: In most cases, you do not need to reinstall drivers or reactivate Windows after cloning. The cloned Windows installation should retain the necessary drivers and the activation status.
- Q: Can I clone my Windows installation to a different computer? A: It is generally recommended to perform a fresh installation of Windows when switching to a different computer. Cloning a Windows installation to a different computer may cause compatibility issues and driver conflicts.
If you encounter any other issues or have specific questions during the cloning process, consult the documentation provided by the cloning software or reach out to the manufacturer’s support team for further assistance.
With these troubleshootings tips and FAQs, you can overcome common challenges and make the process of cloning Windows to a new SSD smoother and more successful.
Conclusion
Congratulations! You have successfully learned how to copy Windows from one SSD to another. By following the step-by-step process outlined in this guide, you were able to prepare the new SSD, back up important data, clone the Windows installation, disconnect the old SSD, and test the new SSD for optimal performance.
Copying Windows to a new SSD allows you to upgrade your computer’s storage capacity and improve its overall performance without having to reinstall the operating system and all your software from scratch. With the cloning process complete, you can enjoy a faster boot time, quicker access to your files and applications, and a more seamless computing experience.
Remember, while the process of cloning Windows to a new SSD is generally straightforward, it is always wise to exercise caution and ensure that you have backed up important data before proceeding. Additionally, troubleshooting and FAQs can provide valuable assistance if you encounter any issues along the way.
Now that you have successfully completed the process, take some time to fully explore and enjoy the enhanced capabilities of your upgraded SSD. Whether you are using it for personal or professional purposes, the improved performance and increased storage capacity will undoubtedly enhance your computing experience.
Thank you for following this guide, and we hope it has been informative and helpful in your journey to copy Windows to a new SSD. If you have any further questions or need additional assistance, do not hesitate to reach out to the manufacturer’s support or consult online forums dedicated to SSD migration. Happy computing!