Introduction
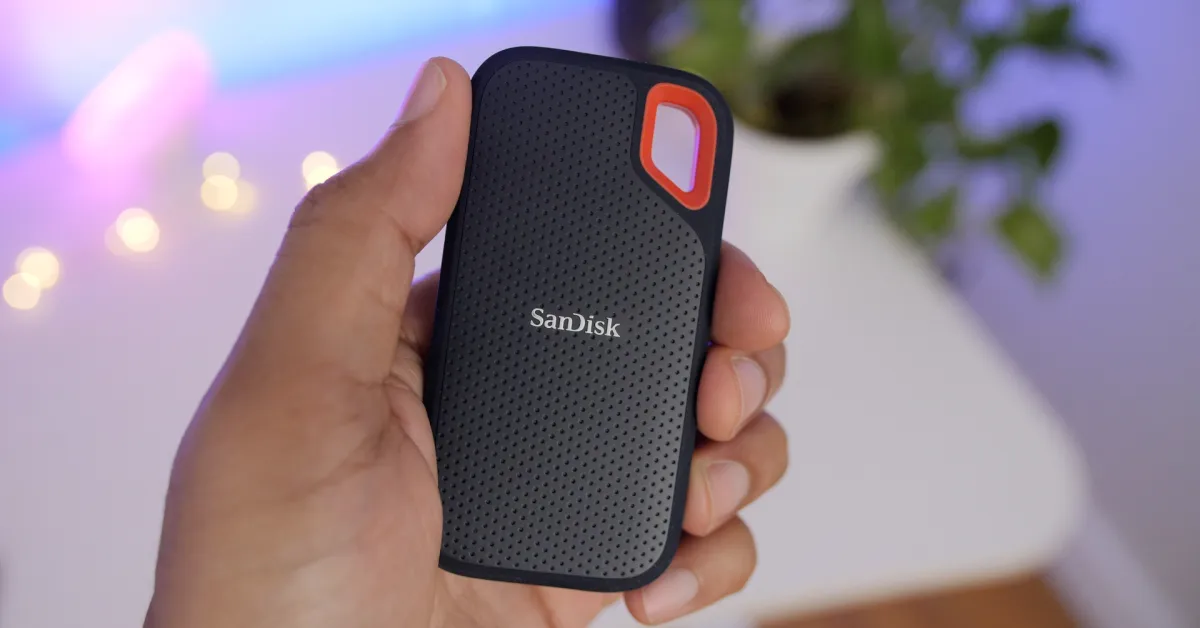
Welcome to the world of portable storage with the Sandisk Extreme Portable SSD. If you are looking for a reliable and high-performance device to store and transfer your important files, look no further. With its compact design, impressive speed, and robust durability, the Sandisk Extreme Portable SSD is the perfect companion for professionals, students, and anyone on the go.
In this article, we will explore the features of the Sandisk Extreme Portable SSD and guide you on how to make the most of this innovative storage solution. Whether you are a photographer in need of a reliable backup device or a videographer looking for a fast and portable editing solution, the Sandisk Extreme Portable SSD offers the speed, capacity, and durability to meet your needs.
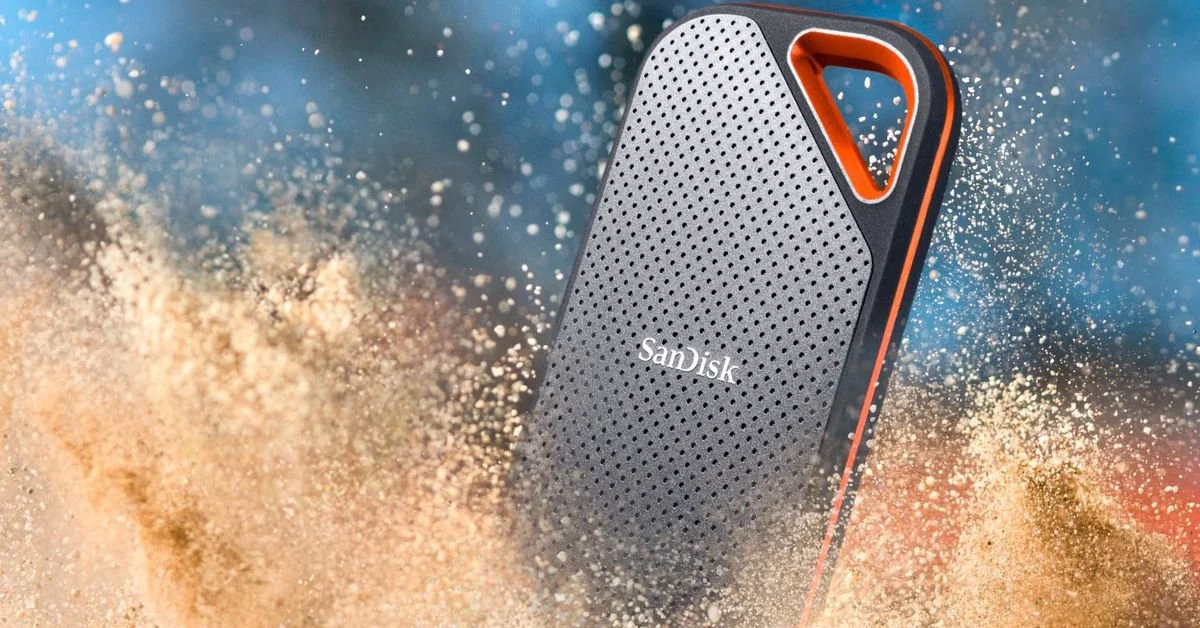
Designed for excellence, the Sandisk Extreme Portable SSD is built to withstand the rigors of everyday use. It features a durable design, shock resistance of up to 1500G, and an IP55 rating for water and dust resistance, ensuring your data remains protected even in demanding conditions. Whether you are working at a desk, traveling to remote locations, or taking it with you on outdoor adventures, the Sandisk Extreme Portable SSD is up to the task.
With transfer speeds of up to 550MB/s, the Sandisk Extreme Portable SSD allows you to transfer large files in a matter of seconds. Say goodbye to long waiting times and hello to efficient productivity. Whether you are transferring high-resolution photos, 4K videos, or extensive files for a project, the Sandisk Extreme Portable SSD provides unparalleled speed and performance.
Furthermore, the Sandisk Extreme Portable SSD is compatible with both PCs and Macs, making it a versatile storage solution for users of all systems. Its USB 3.1 Gen 2 interface ensures fast and effortless connectivity, while the backward compatibility with USB 3.0 and USB 2.0 allows you to use it with older devices without any hassle.
Are you ready to explore the endless possibilities with the Sandisk Extreme Portable SSD? In the following sections, we will guide you through getting started, formatting the SSD, transferring files, optimizing performance, and troubleshooting common issues. Let’s dive in and unlock the full potential of this remarkable storage device.
What is the Sandisk Extreme Portable SSD?
The Sandisk Extreme Portable SSD is a compact and powerful storage device that offers a convenient way to store and transfer your valuable data. It is designed for individuals who require high-speed and reliable storage on the go. Unlike traditional hard drives, the Sandisk Extreme Portable SSD uses solid-state technology, which provides faster data access and improved durability.
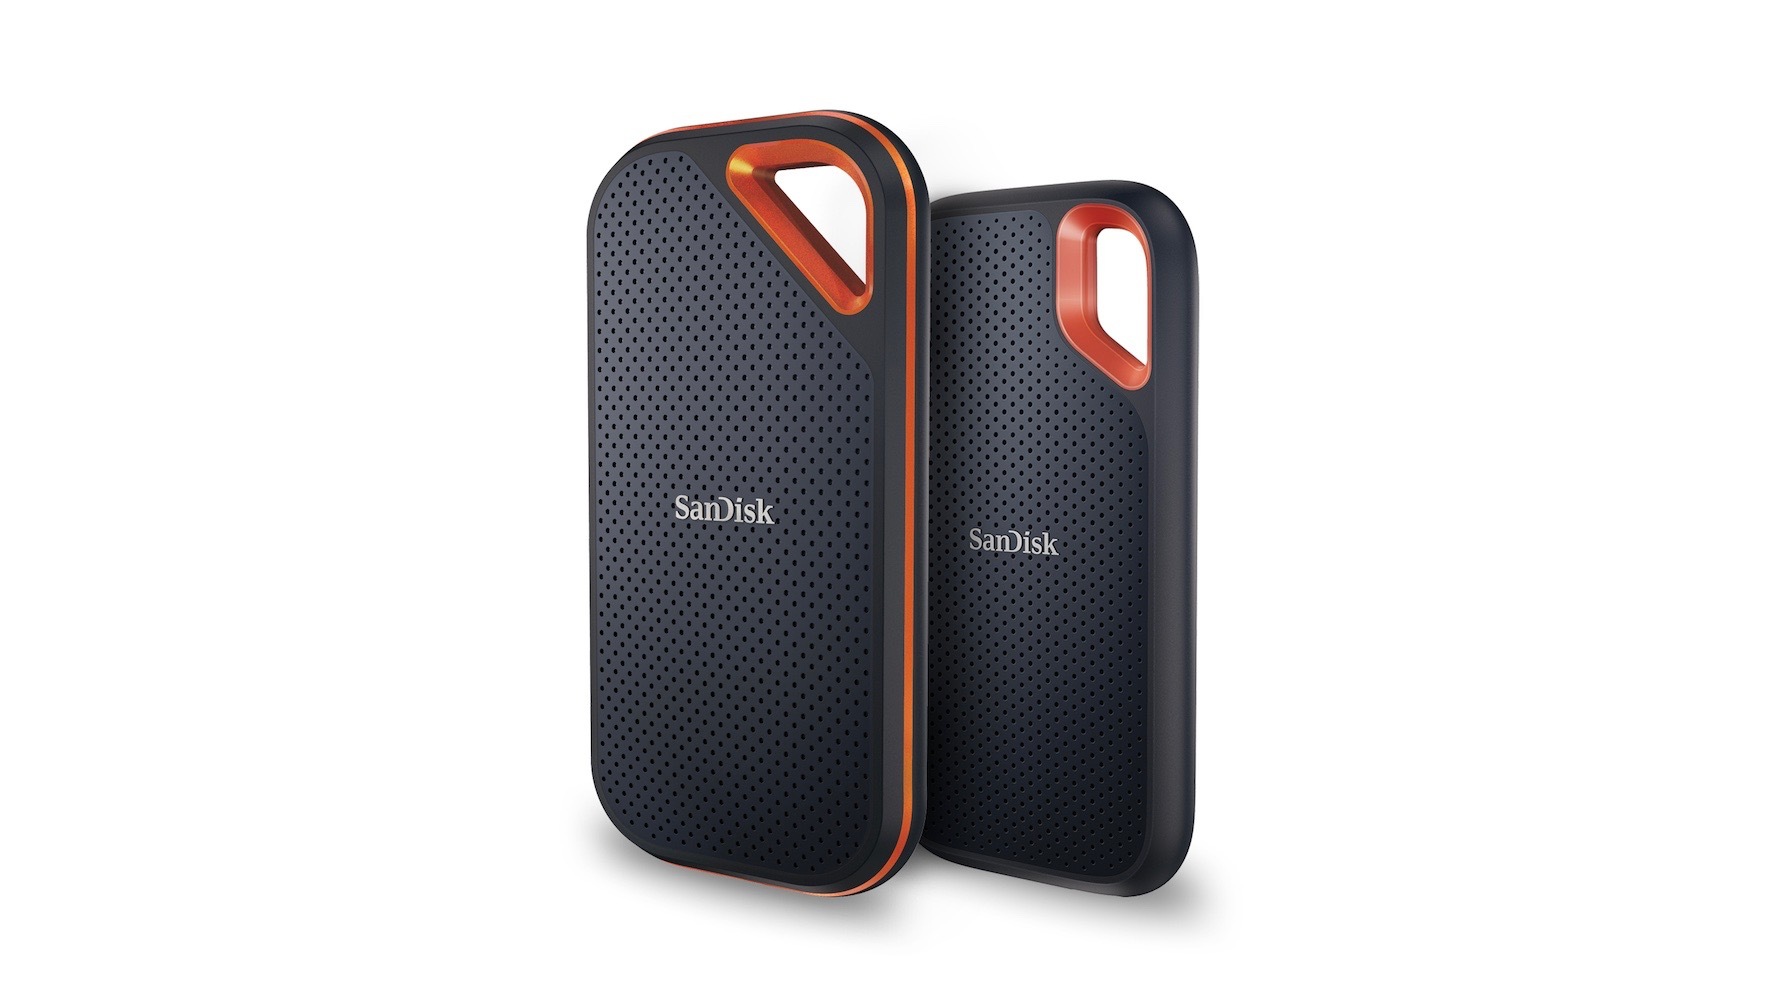
With capacities ranging from 250GB to 2TB, the Sandisk Extreme Portable SSD offers ample storage space for your photos, videos, documents, and other files. Whether you are a professional photographer or filmmaker, a content creator, or a student, the Sandisk Extreme Portable SSD can accommodate your storage needs.
One of the most significant advantages of the Sandisk Extreme Portable SSD is its remarkable speed. With read speeds of up to 550MB/s and write speeds of up to 500MB/s, it allows you to transfer and access files quickly and efficiently. This exceptional speed not only saves you time but also enhances your workflow, enabling you to work seamlessly with large files, such as high-resolution images or 4K videos.
Moreover, the Sandisk Extreme Portable SSD features a rugged and durable design that ensures the safety of your data. It is built to withstand shocks and vibrations, making it an ideal choice for professionals who travel frequently or work in dynamic environments. Additionally, its IP55 rating provides protection against dust and water splashes, ensuring your files remain safe even in challenging conditions.
Connecting the Sandisk Extreme Portable SSD to your computer is a breeze. It utilizes the USB 3.1 Gen 2 interface, which offers fast and reliable data transfer rates. The USB Type-C connector makes it compatible with a wide range of devices, including PCs, Macs, and certain mobile devices, allowing for effortless connectivity across different platforms.
Whether you need to back up important files, transfer large media projects, or simply expand your storage capacity, the Sandisk Extreme Portable SSD is an excellent choice. Its compact size and lightweight design make it incredibly portable, allowing you to carry your data with you wherever you go. Gone are the days of bulky external hard drives – with the Sandisk Extreme Portable SSD, storage convenience is just a pocket away.
In the next sections, we will guide you through the process of getting started with the Sandisk Extreme Portable SSD and optimizing its performance. Stay tuned as we uncover the full potential of this incredible storage solution. Let’s dive in and take your storage experience to the next level!
Getting Started
Setting up the Sandisk Extreme Portable SSD is quick and easy. Whether you are a tech-savvy individual or a beginner, the following steps will guide you through the process of getting your device up and running in no time.
Step 1: Unpacking the Box
When you first receive your Sandisk Extreme Portable SSD, carefully remove it from the box and check that all the components are included. You should find the SSD itself, a USB Type-C to Type-C cable, and a Type-C to Type-A adapter if needed. If anything is missing or damaged, contact the retailer or Sandisk customer support for assistance.
Step 2: Connecting the SSD
To connect the Sandisk Extreme Portable SSD to your device, simply plug one end of the USB Type-C cable into the SSD’s port and the other end into the corresponding port on your computer or mobile device. If your device only has a USB Type-A port, you can use the included Type-C to Type-A adapter.
Step 3: Powering On
Once the SSD is connected, it should power on automatically. You may see an LED light indicating that the device is active. Be patient as it initializes, and do not disconnect the device while it is in use.
Step 4: Installing the Required Software (if applicable)
In most cases, the Sandisk Extreme Portable SSD will work plug-and-play, meaning you can start using it immediately without any additional software installation. However, if your operating system requires specific drivers or software for optimal performance, refer to the user manual or Sandisk’s official website for instructions on how to install them.
Step 5: Verifying the Connection
Once the SSD is connected and powered on, check your device’s file explorer or desktop for the Sandisk Extreme Portable SSD icon or drive. It should be visible and recognized by your operating system. If it does not appear, try reconnecting the device or restarting your computer.
Step 6: Confirming Compatibility
Before transferring any files, ensure that your device’s operating system is compatible with the Sandisk Extreme Portable SSD. Check the official Sandisk website or user manual for a list of compatible systems and minimum requirements.
Now that you have successfully set up your Sandisk Extreme Portable SSD, you are ready to start utilizing its impressive storage capabilities. In the next section, we will guide you through the process of formatting the SSD to ensure optimal performance and compatibility. Stay tuned!
Connecting the SSD to your device
Connecting the Sandisk Extreme Portable SSD to your device is a straightforward process. Whether you are using a computer, laptop, or mobile device, follow the steps below to establish a reliable connection:
Step 1: Locate the USB Type-C Port
First, identify the USB Type-C port on your device. This is the port that you will connect the Sandisk Extreme Portable SSD to. Note that some devices may have multiple USB Type-C ports, so ensure you choose the correct one.
Step 2: Plug in the USB Type-C Cable
Take the USB Type-C cable that came with the Sandisk Extreme Portable SSD and plug one end into the port on the SSD itself. Ensure that the connection is secure and fully inserted. Now, take the other end of the cable and plug it into the USB Type-C port on your device.
Step 3: Powering On
Once the SSD is connected, it will typically power on automatically. Some devices may have an LED indicator to show that the SSD is active. Wait for a few moments as the device initializes and establishes the connection with your device. Do not disconnect the SSD while it is in use, as it may lead to data loss or damage.
Step 4: Verifying the Connection
After the SSD is connected and powered on, navigate to your device’s file explorer or desktop to check for the Sandisk Extreme Portable SSD icon or drive. It should be visible and recognized by your operating system. If you do not see it, try reconnecting the device or restarting your device.
Step 5: Compatibility Check
Before proceeding to use the SSD, confirm that your device’s operating system is compatible with the Sandisk Extreme Portable SSD. Check the official Sandisk website or consult the user manual for a list of compatible operating systems and minimum requirements.
That’s it! You have successfully connected the Sandisk Extreme Portable SSD to your device. Now, you can start accessing, transferring, and storing your files with ease. In the next section, we will guide you through the process of formatting the SSD to ensure optimal performance and compatibility. Stay tuned!
Formatting the SSD
Before you can start using the Sandisk Extreme Portable SSD, it is recommended to format it to ensure compatibility and optimize its performance. Formatting the SSD will erase any existing data, so be sure to back up any important files before proceeding. Follow the steps below to format the SSD:
Step 1: Open Disk Management (Windows) or Disk Utility (Mac)
In Windows, you can access Disk Management by right-clicking on the Start menu and selecting “Disk Management” from the menu. In Mac, you can find Disk Utility in the Applications folder under the Utilities folder.
Step 2: Locate the SSD
Once in Disk Management or Disk Utility, locate the Sandisk Extreme Portable SSD in the list of drives. It should be labeled as “Sandisk” or “Untitled” if it is unformatted.
Step 3: Format the SSD
Right-click on the Sandisk Extreme Portable SSD and select the “Format” option (Windows) or click on the “Erase” tab (Mac). Choose the desired file system format for the SSD. For Windows, NTFS is recommended for maximum compatibility, while Mac users can choose either Mac OS Extended (Journaled) or APFS, depending on their system requirements.
Step 4: Set the Volume Label and Allocation Unit Size (optional)
You can also set a volume label to identify the SSD and choose the allocation unit size during the formatting process. These settings are optional and can be left as default if you are not familiar with them.
Step 5: Confirm and Format the SSD
Double-check your formatting options and make sure you have selected the correct SSD. Once you are ready, click on “Format” (Windows) or “Erase” (Mac) to initiate the formatting process. Note that formatting may take some time, depending on the size of the SSD.
Step 6: Wait for the Formatting to Complete
Be patient as the formatting process completes. Do not interrupt the process or disconnect the SSD while formatting is in progress. Once the formatting is finished, you will receive a confirmation message.
Congratulations! You have successfully formatted your Sandisk Extreme Portable SSD. It is now ready to be used for storing and transferring your files. In the next section, we will guide you on how to transfer your files to the SSD. Stay tuned!
Transferring Files to the SSD
Now that you have formatted your Sandisk Extreme Portable SSD, it’s time to start transferring your files. Whether you want to back up important documents, store your multimedia projects, or simply free up space on your device, the process of transferring files to the SSD is straightforward. Follow the steps below to get started:
Step 1: Connect the SSD
Ensure that the Sandisk Extreme Portable SSD is properly connected to your device using the USB Type-C cable. Make sure the connection is secure and that the SSD is powered on.
Step 2: Open File Explorer or Finder
On your computer or laptop, open the File Explorer (Windows) or Finder (Mac) application. This will allow you to navigate and manage your files.
Step 3: Locate the Files to Transfer
Using File Explorer or Finder, navigate to the location where the files you want to transfer are stored. This can be your computer’s internal storage, another external storage device, or cloud storage.
Step 4: Select and Copy the Files
Select the files or folders that you want to transfer to the Sandisk Extreme Portable SSD. You can do this by clicking and dragging to create a selection or by using keyboard shortcuts such as Ctrl+A (Windows) or Command+A (Mac) to select all files. Right-click on the selected files and choose the “Copy” option.
Step 5: Paste the Files to the SSD
Navigate to the Sandisk Extreme Portable SSD drive in File Explorer or Finder. Right-click on an empty area in the SSD drive and choose the “Paste” option. Alternatively, you can use the keyboard shortcut Ctrl+V (Windows) or Command+V (Mac) to paste the files.
Step 6: Monitor the Transfer Process
As the files are being transferred, you can monitor the progress either through a progress bar or by watching the file transfer status in the application window. Avoid disconnecting the SSD or interrupting the transfer process to prevent data loss or corruption.
Step 7: Verify the Transfer
After the transfer is complete, double-check the Sandisk Extreme Portable SSD to confirm that the files have been successfully copied. You should see the transferred files and folders in the SSD drive.
That’s it! You have successfully transferred files to your Sandisk Extreme Portable SSD. You can now access and manage your files directly from the SSD, providing you with a portable and reliable storage solution. In the next section, we will uncover how you can use the SSD as a portable storage device. Stay tuned!
Using the SSD as a Portable Storage Device
The Sandisk Extreme Portable SSD not only provides fast and reliable storage but also serves as a versatile and portable device for accessing your files on the go. Whether you need to work on your project from different locations or simply want to carry your important files with you, using the SSD as a portable storage device is a convenient option. Here are some key features and tips to enhance your experience:
1. Portable and Compact Design:
Thanks to its small and lightweight design, the Sandisk Extreme Portable SSD easily fits into your pocket or bag, allowing you to bring your files wherever your adventures take you. Its durable build ensures that your data remains secure even when traveling or working in challenging environments.
2. Easy File Access:
The Sandisk Extreme Portable SSD works like any other external drive. Simply connect it to your computer, laptop, or compatible mobile device using the USB Type-C cable, and you can access your files instantly. No additional power source is required, making it hassle-free to use on the go.
3. Platform Compatibility:
The SSD is compatible with both Windows and Mac operating systems. This means you can seamlessly use the SSD across different devices without any issues. Just connect it to your computer or laptop and access your files as you normally would.
4. File Organization:
To make file management easier, create separate folders for different types of files or projects on your Sandisk Extreme Portable SSD. This helps you stay organized and quickly locate the files you need. Additionally, consider using meaningful names for your folders and files to make searching and retrieval more efficient.
5. Backup Solution:
With its ample storage capacity, the Sandisk Extreme Portable SSD can serve as a reliable backup solution for your important data. Regularly copy your important files, such as documents, photos, and videos, to the SSD to ensure you have a backup in case of device failure or accidental data loss.
6. Collaboration and File Sharing:
If you need to collaborate with others, the Sandisk Extreme Portable SSD offers a simple way to share files. Transfer the necessary files to the SSD and pass it to your colleagues or clients. They can easily connect the SSD to their devices and access the shared files without the need for internet access or lengthy file transfer processes.
7. Security Measures:
Consider adding an extra layer of security to your files by using encryption software or password-protecting sensitive folders. This helps protect your data from unauthorized access in case the SSD is misplaced or stolen.
Remember, always safely eject the Sandisk Extreme Portable SSD from your computer or device before disconnecting it to avoid data corruption or loss.
By using the Sandisk Extreme Portable SSD as a portable storage device, you can have your important files and projects readily accessible wherever and whenever you need them. In the next section, we will provide tips to optimize the performance of your Sandisk Extreme Portable SSD. Stay tuned!
Tips for Optimizing Performance
To ensure the best performance and longevity of your Sandisk Extreme Portable SSD, consider the following tips and recommendations:
1. Keep the SSD Firmware Updated:
Manufacturers often release firmware updates to address bugs, improve compatibility, and enhance overall performance. Check the official Sandisk website periodically for firmware updates specific to your model of the Sandisk Extreme Portable SSD, and install them as recommended.
2. Avoid Overfilling the SSD:
While the SSD offers ample storage capacity, it is advisable to avoid storing data up to its maximum limit. Leaving some free space on the SSD allows for better performance and longevity. Aim to keep at least 10% of the total capacity free for optimal performance.
3. Regularly Clean Up and Organize Files:
Regularly review and clean up your stored files on the SSD. Remove unnecessary files, duplicate copies, and outdated projects to free up space. Organize your files into separate folders and maintain a structured file system for easy file access and efficient management.
4. Keep the SSD Cool:
Overheating can affect the performance and lifespan of your Sandisk Extreme Portable SSD. Avoid exposing it to high temperatures for prolonged periods, and ensure it has proper ventilation during use. If you are using the SSD in extremely hot conditions, consider using a cooling pad or external fan to keep it cool.
5. Handle the SSD with Care:
The Sandisk Extreme Portable SSD is designed to be robust, but it is still important to handle it with care. Avoid dropping or subjecting the SSD to excessive shocks or impact, as this can damage the internal components and affect performance. Always use the provided protective casing or pouch to transport the SSD safely.
6. Safely Disconnect the SSD:
Before removing the Sandisk Extreme Portable SSD from your computer or device, ensure that you safely eject or disconnect it. This allows the SSD to complete any ongoing read or write operations and prevents data corruption or loss. Follow the recommended procedure provided by your operating system for safely removing external drives.
7. Avoid Using the SSD for Heavy Workloads:
While the Sandisk Extreme Portable SSD offers impressive performance, it is not designed for constant heavy workloads or running resource-intensive applications. Use the SSD primarily for storing and accessing files, rather than utilizing it as a substitute for internal storage and running large-scale applications.
By following these tips, you can optimize the performance and ensure a longer lifespan for your Sandisk Extreme Portable SSD. Now that you have learned how to maximize its potential, enjoy the speed, reliability, and convenience that this portable storage device offers. In case you encounter any issues, refer to the troubleshooting section in the next part of this article. Stay tuned!
Troubleshooting Common Issues
While the Sandisk Extreme Portable SSD is a reliable and high-performance storage device, you may encounter some common issues during its usage. Here are some troubleshooting tips to help you resolve these issues:
1. Connection Issues:
If the SSD is not being recognized by your computer or device, try the following steps:
- Ensure the USB Type-C cable is securely connected to both the SSD and your device.
- Check that the USB port you are using is functional by testing it with another device.
- Try connecting the SSD to a different USB port or on another computer to isolate the issue.
- Verify that the USB drivers on your computer are up to date.
2. Slow Performance:
If you notice a decrease in speed or performance, consider these steps:
- Ensure that you are using a USB 3.1 Gen 2 port for the connection to take full advantage of the SSD’s speed.
- Check that the USB Type-C cable is capable of high-speed data transfer and is not damaged.
- Verify that your computer meets the recommended system requirements for optimal performance.
- Perform a disk cleanup on the SSD to remove unnecessary files and improve performance.
3. File Corruption or Data Loss:
If you experience file corruption or data loss, try the following:
- Properly eject the SSD from your computer or device before disconnecting it to prevent data corruption.
- Ensure that your files are not infected with malware or viruses by running a reliable antivirus scan.
- Regularly back up your important files from the SSD to another storage device to prevent permanent loss.
4. SSD Not Powering On:
If the SSD is not powering on or showing any signs of activity, try the following:
- Check that the USB Type-C cable is securely connected to both the SSD and your device.
- Try using a different USB Type-C cable or port to troubleshoot a possible cable or port issue.
- Verify that the SSD is fully charged if it has its own power source or make sure that your device is supplying sufficient power.
5. Firmware or Software Issues:
If you encounter any firmware or software-related problems, consider these steps:
- Check the Sandisk website for any available firmware updates and install them as recommended.
- Ensure that you are using the latest version of your operating system and any required drivers or software.
- Reinstall the SSD drivers or software if necessary, following the instructions provided by Sandisk or the respective software developer.
If you have tried these troubleshooting tips and are still experiencing issues with your Sandisk Extreme Portable SSD, it is recommended to contact Sandisk customer support or consult the official Sandisk website for further assistance. They will be able to provide specific guidance based on your particular issue.
By following these troubleshooting steps, you can overcome common issues and get the most out of your Sandisk Extreme Portable SSD. Now, you can enjoy the seamless and efficient storage experience provided by this remarkable device. In the final section, we will wrap up our guide. Stay tuned!
Conclusion
With the Sandisk Extreme Portable SSD, you have unlocked a world of fast, reliable, and portable storage. This versatile device offers impressive speed, durability, and versatility, making it an ideal solution for professionals and individuals on the go.
In this article, we walked you through the features of the Sandisk Extreme Portable SSD, guiding you on how to get started, connect it to your device, format it, transfer files, optimize its performance, troubleshoot common issues, and use it as a portable storage device. By following these steps and tips, you can make the most out of your SSD and enjoy its convenient storage capabilities.
Whether you are a photographer, videographer, content creator, student, or anyone in need of fast and reliable storage, the Sandisk Extreme Portable SSD is designed to meet your needs. Its compact size, shock resistance, water and dust resistance, and exceptional speed make it a reliable companion for your storage requirements.
Remember to keep the SSD firmware updated, avoid overfilling the storage capacity, regularly clean up and organize files, and handle the device with care. Following these practices will ensure optimal performance, longevity, and the security of your stored data.
Should you encounter any issues along the way, remember to troubleshoot and seek assistance from Sandisk’s customer support or the official Sandisk website. They will provide the necessary guidance and support to resolve any problems you may face.
Now that you have become familiar with the Sandisk Extreme Portable SSD and its features, it’s time to take advantage of its speed, durability, and convenience. Explore the endless possibilities this storage device offers and enjoy the seamless storage experience it provides.
Thank you for joining us on this journey with the Sandisk Extreme Portable SSD. We hope that this guide has provided you with the necessary information and tools to make the most of your storage solution. Happy storing and transferring!