Introduction
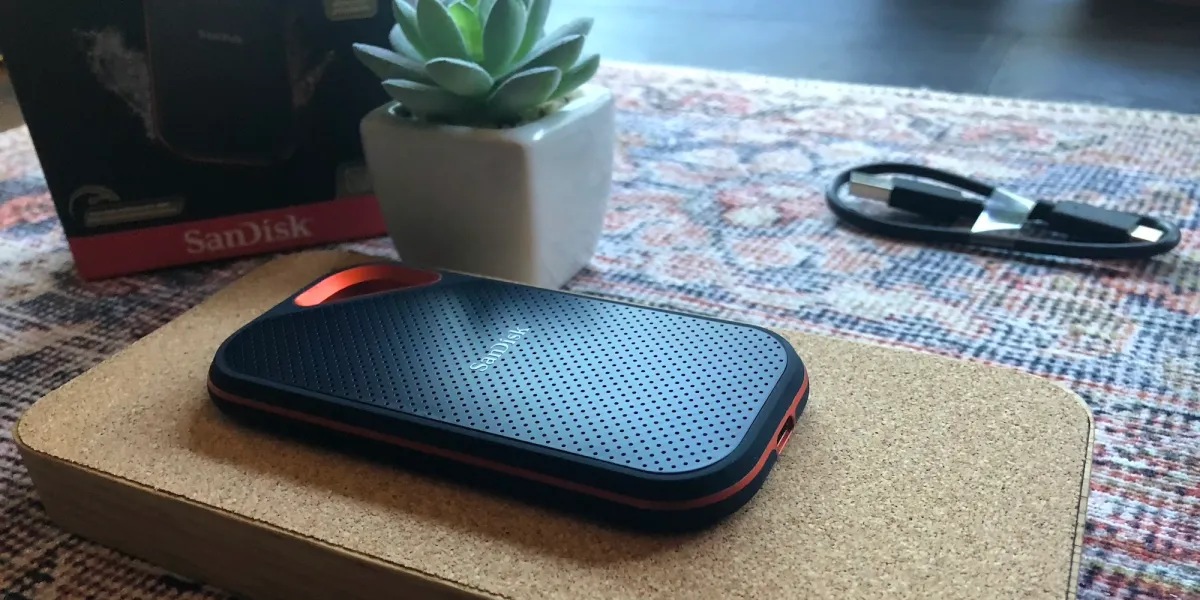
Welcome to the world of portable storage! SanDisk Extreme Portable SSD is a powerful and reliable device that allows you to expand the storage capacity of your iPhone. With this innovative solution, you no longer have to worry about running out of space for your photos, videos, or documents. Whether you’re a photographer, videographer, or a regular user who wants more storage options, the SanDisk Extreme Portable SSD is here to cater to your needs.
In this guide, we will walk you through the step-by-step process of using the SanDisk Extreme Portable SSD with your iPhone. By the end of this tutorial, you will be well-equipped to effortlessly transfer files between your iPhone and the portable SSD, giving you the freedom to store, access, and manage your data with ease.
Before we dive into the details, let’s quickly go over the requirements for using the SanDisk Extreme Portable SSD with your iPhone. You will need an iPhone running iOS 13 or later and a Lightning to USB 3 Camera Adapter or a USB-C to Lightning Cable, depending on the port available on your iPhone model. Additionally, make sure you have the latest version of the Files app installed on your iPhone, which is the default file manager.
Now that you have everything ready, let’s get started with the step-by-step process of connecting and using the SanDisk Extreme Portable SSD with your iPhone. So grab your iPhone and your portable SSD, and let’s embark on this storage journey together!
Step 1: Connecting the SanDisk Extreme Portable SSD to your iPhone
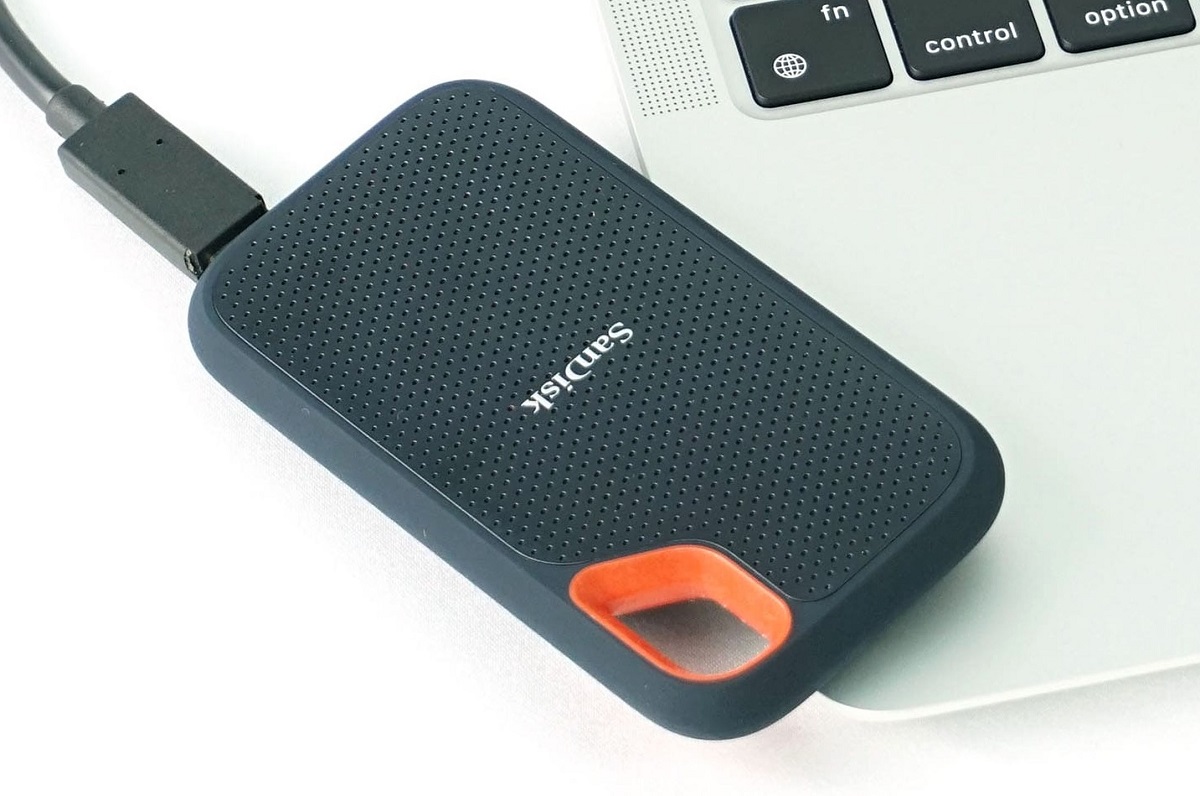
The first step towards using the SanDisk Extreme Portable SSD with your iPhone is to establish a physical connection between the two devices. To do this, follow the instructions below:
- Start by locating the port on your iPhone. If you have an iPhone with a Lightning port (iPhone 5 or later models), you will need a Lightning to USB 3 Camera Adapter. If you have an iPhone with a USB-C port (iPhone 11 or later models), you will need a USB-C to Lightning Cable.
- Connect the appropriate adapter or cable to your iPhone’s port. If you’re using the Lightning to USB 3 Camera Adapter, connect the USB end of the adapter to the SanDisk Extreme Portable SSD’s USB-A port. If you’re using the USB-C to Lightning Cable, connect the cable to the USB-C port on the SanDisk Extreme Portable SSD.
- Ensure that the SanDisk Extreme Portable SSD is powered on. You can do this by connecting it to a power source, if necessary.
- Once the physical connection is established, your iPhone may display a prompt asking for your permission to trust the device. Tap “Trust” to proceed.
That’s it! You have successfully connected the SanDisk Extreme Portable SSD to your iPhone. Now, let’s move on to the next step and explore how to access the files on the SSD using the Files app on your iPhone.
Step 2: Opening the Files app on your iPhone
Now that you have connected the SanDisk Extreme Portable SSD to your iPhone, it’s time to open the Files app, which is the default file manager on iOS. The Files app allows you to browse, organize, and manage your files and folders.
Follow these simple steps to open the Files app on your iPhone:
- Unlock your iPhone and go to the home screen.
- Look for the “Files” app icon, which resembles a blue folder. It is usually located on the home screen or in the Utilities folder.
- Tap on the “Files” app icon to launch it.
Once the Files app is open, you will see various options and locations to explore. The app provides access to different sections, such as “Recents,” “Browse,” “iCloud Drive,” and more. These sections allow you to navigate through your iPhone’s internal storage and any external storage devices connected, including the SanDisk Extreme Portable SSD.
In the next step, we will learn how to access the SanDisk Extreme Portable SSD within the Files app on your iPhone, granting you the ability to view and manage the files stored on the portable SSD.
Step 3: Accessing the SanDisk Extreme Portable SSD on your iPhone
With the Files app open on your iPhone, it’s time to access the SanDisk Extreme Portable SSD and explore its contents. Follow the steps below to access the portable SSD:
- In the Files app, tap on the “Browse” tab located at the bottom of the screen. This tab allows you to navigate through different locations and storage devices.
- Under the “Locations” section, you will find a list of available storage options. Look for the name of the SanDisk Extreme Portable SSD and tap on it to select it.
- Upon selecting the portable SSD, the Files app will display the contents of the device. You will see folders, files, and any other data that you have stored on the SSD.
- To explore the folders and files, simply tap on them to open or preview them.
By accessing the SanDisk Extreme Portable SSD within the Files app, you can easily navigate through the files and folders stored on the device. This gives you the flexibility to view, edit, copy, or delete files according to your needs.
Now that you know how to access the SanDisk Extreme Portable SSD on your iPhone, it’s time to learn how to transfer files from your iPhone to the portable SSD. This will allow you to free up space on your iPhone’s internal storage and store your files securely on the SSD for easy access.
Step 4: Transferring files from your iPhone to the SanDisk Extreme Portable SSD
Transferring files from your iPhone to the SanDisk Extreme Portable SSD is a simple and straightforward process. By moving files to the portable SSD, you can free up storage space on your iPhone and keep your important data organized and easily accessible. Follow these steps to transfer files from your iPhone to the portable SSD:
- Open the Files app on your iPhone and navigate to the desired file or folder you want to transfer.
- Tap and hold on the file or folder until a menu appears above it.
- From the menu, select “Copy”. Alternatively, you can also choose “Cut” if you want to remove the file or folder from its original location after transfer.
- Go back to the main screen of the Files app and tap on the name of the SanDisk Extreme Portable SSD under the “Locations” section.
- Once inside the portable SSD, navigate to the folder where you want to paste the copied file or folder.
- Tap and hold on an empty space within the folder and select “Paste”. The file or folder will now be transferred to the portable SSD.
Repeat these steps for each file or folder you want to transfer to the SanDisk Extreme Portable SSD. The transfer speed may vary depending on the size and number of files being transferred.
By following these steps, you can easily transfer files from your iPhone to the SanDisk Extreme Portable SSD. This allows you to create backups, store media files, or transfer documents with convenience and peace of mind. Now, let’s move on to the next step and explore how to transfer files from the portable SSD back to your iPhone if needed.
Step 5: Transferring files from the SanDisk Extreme Portable SSD to your iPhone
Transferring files from the SanDisk Extreme Portable SSD back to your iPhone is just as easy as transferring files to the portable SSD. Whether you want to access a specific file on the go or bring back files to your iPhone, follow these steps to transfer files from the portable SSD to your iPhone:
- Open the Files app on your iPhone and navigate to the folder where you want to transfer the files from the portable SSD.
- Tap on the name of the SanDisk Extreme Portable SSD under the “Locations” section to access its content.
- Locate the file or folder you wish to transfer to your iPhone.
- Tap and hold on the file or folder until a menu appears above it.
- From the menu, select “Copy”. Alternatively, you can also choose “Cut” to remove the file or folder from the portable SSD after transfer.
- Go back to the main screen of the Files app and navigate to the desired location on your iPhone where you want to paste the file or folder.
- Tap and hold on an empty space within the folder and select “Paste”. The file or folder will now be transferred to your iPhone.
Repeat these steps for each file or folder you want to transfer from the SanDisk Extreme Portable SSD to your iPhone. The transfer speed may vary depending on the size and number of files being transferred.
By following these simple steps, you can easily bring back files from the SanDisk Extreme Portable SSD to your iPhone when you need them. This provides you with the flexibility to access your files on the go without having to rely solely on the portable SSD. Now, let’s move on to the final step and learn how to safely eject the SanDisk Extreme Portable SSD from your iPhone.
Step 6: Safely ejecting the SanDisk Extreme Portable SSD from your iPhone
Once you have finished using the SanDisk Extreme Portable SSD with your iPhone, it’s important to safely eject the device to avoid any potential data loss or corruption. Follow these steps to safely remove the portable SSD from your iPhone:
- Ensure that all transfer operations between your iPhone and the SanDisk Extreme Portable SSD are complete. Make sure no files are currently being copied, moved, or transferred.
- Open the Files app on your iPhone.
- Tap on the “Browse” tab located at the bottom of the screen.
- Under the “Locations” section, find the SanDisk Extreme Portable SSD and swipe left on its name.
- A red “Eject” button will appear. Tap on it to safely eject the portable SSD from your iPhone.
- Wait for a moment until a notification confirms that the portable SSD has been safely disconnected.
- You can now unplug the adapter or cable connected to your iPhone’s port and disconnect the SanDisk Extreme Portable SSD from your iPhone.
It is important to always follow this ejection process to prevent any potential data loss or corruption on the SanDisk Extreme Portable SSD. Ejecting the device ensures that all pending write operations are completed and that the SSD can be safely removed without causing any harm to your data.
With the SanDisk Extreme Portable SSD safely ejected from your iPhone, you have successfully completed the process of using the SSD with your iPhone. Enjoy the flexibility and convenience of extra storage space for all your files, whether it’s photos, videos, documents, or more!
Conclusion
Congratulations! You have reached the end of our guide on how to use the SanDisk Extreme Portable SSD with your iPhone. By following the steps outlined in this tutorial, you have learned how to connect the portable SSD to your iPhone, open the Files app, access the SSD, transfer files to and from your iPhone, and safely eject the SSD from your device.
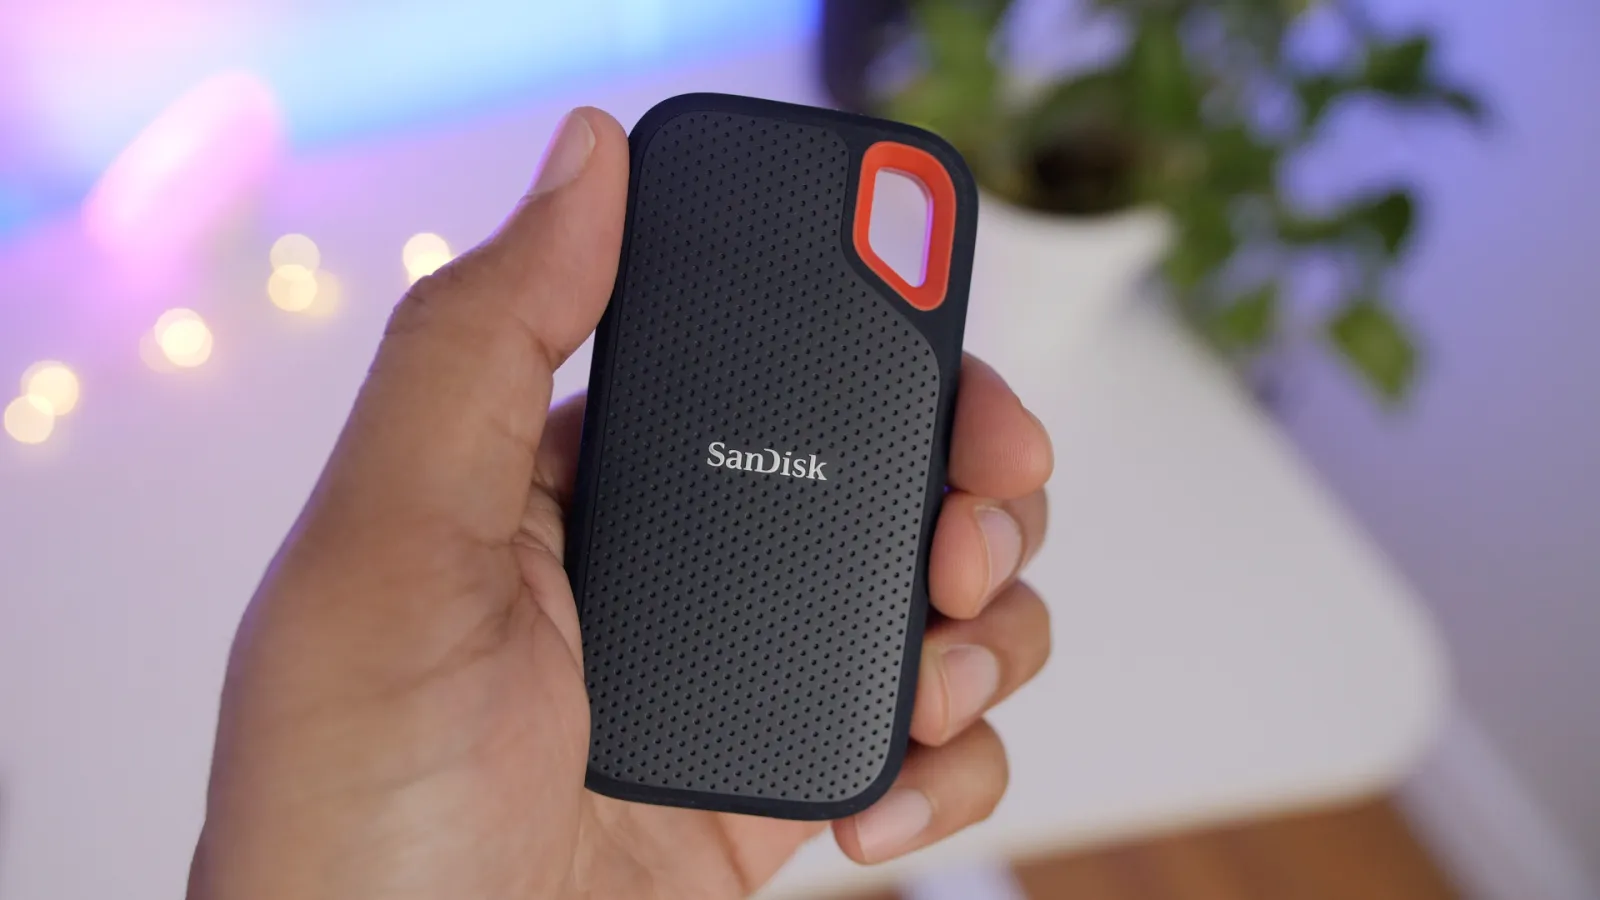
The SanDisk Extreme Portable SSD provides a convenient and reliable solution for expanding the storage capacity of your iPhone. Whether you’re a photographer, videographer, or simply a user looking to free up space on your device, the portable SSD offers you the flexibility to store, access, and manage your files with ease.
Remember to always connect and disconnect the SanDisk Extreme Portable SSD properly to avoid any data loss or corruption. Safely ejecting the device ensures that all write operations are completed and that your files remain intact.
Now that you have all the knowledge and steps at your fingertips, you can confidently make the most of your SanDisk Extreme Portable SSD with your iPhone. Enjoy the freedom of having ample storage space for your files, and never worry about running out of space again.
Thank you for reading our guide. We hope you found it helpful and that it has provided you with the necessary know-how to effectively use the SanDisk Extreme Portable SSD with your iPhone. Happy file management!