Introduction
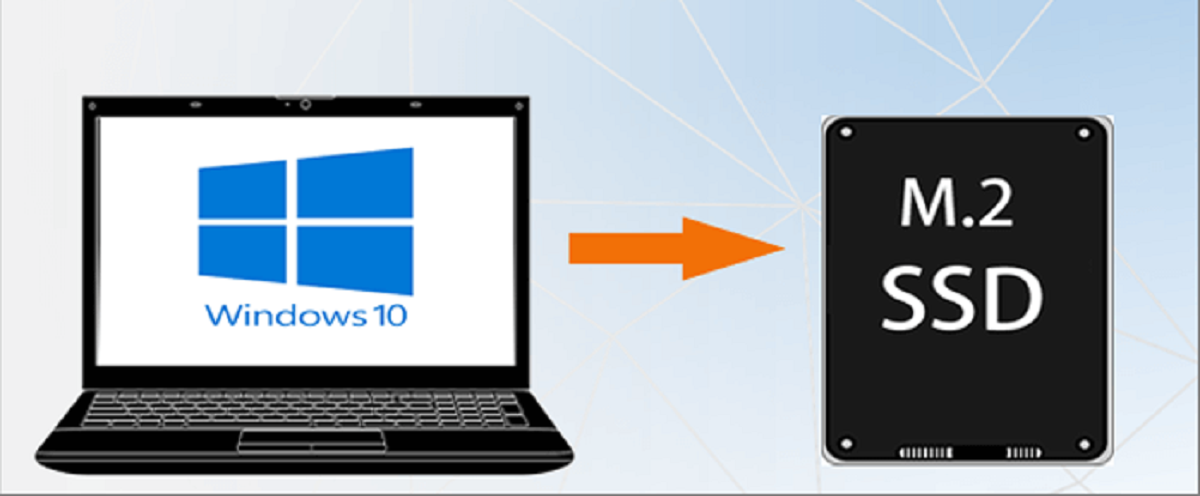
Welcome to our guide on how to transfer data from an M.2 SSD! In today’s digital age, the need for more storage space and faster data access has become increasingly essential. M.2 SSDs (solid-state drives) are a popular choice for many users due to their compact size, high performance, and efficient data storage capabilities.
Whether you’re upgrading your computer or simply need to transfer data from one M.2 SSD to another, we’ve got you covered. In this article, we will walk you through the process of transferring your valuable data efficiently and securely.
Transferring data from an M.2 SSD can be critical in scenarios such as upgrading to a larger storage capacity, replacing a faulty drive, or migrating to a new computer. By following our step-by-step instructions, you will be able to migrate your data seamlessly, ensuring that none of your files or settings are lost in the process.
Before we dive into the details, it’s essential to note that data transfer can be done in multiple ways, depending on your specific needs and preferences. In this guide, we will cover two main methods: using data transfer software and manually transferring files. We will explain both methods, so you can choose the one that suits you best.
So, whether you’re a tech enthusiast looking to upgrade your system, a professional in need of a data migration solution, or simply someone curious about the intricacies of M.2 SSD data transfer, read on to explore the world of M.2 SSDs and discover how to transfer your data with ease.
Understanding M.2 SSD
Before we delve into the data transfer process, it’s important to have a clear understanding of what an M.2 SSD is. M.2 SSDs, also known as Next Generation Form Factor (NGFF) SSDs, are storage devices that utilize the M.2 connector interface.
M.2 SSDs offer several advantages over traditional hard disk drives and even other types of solid-state drives. Their small form factor makes them ideal for modern, space-constrained devices such as laptops, ultrabooks, and small desktops. The M.2 form factor allows for easy installation without the need for bulky cables or drive bays.
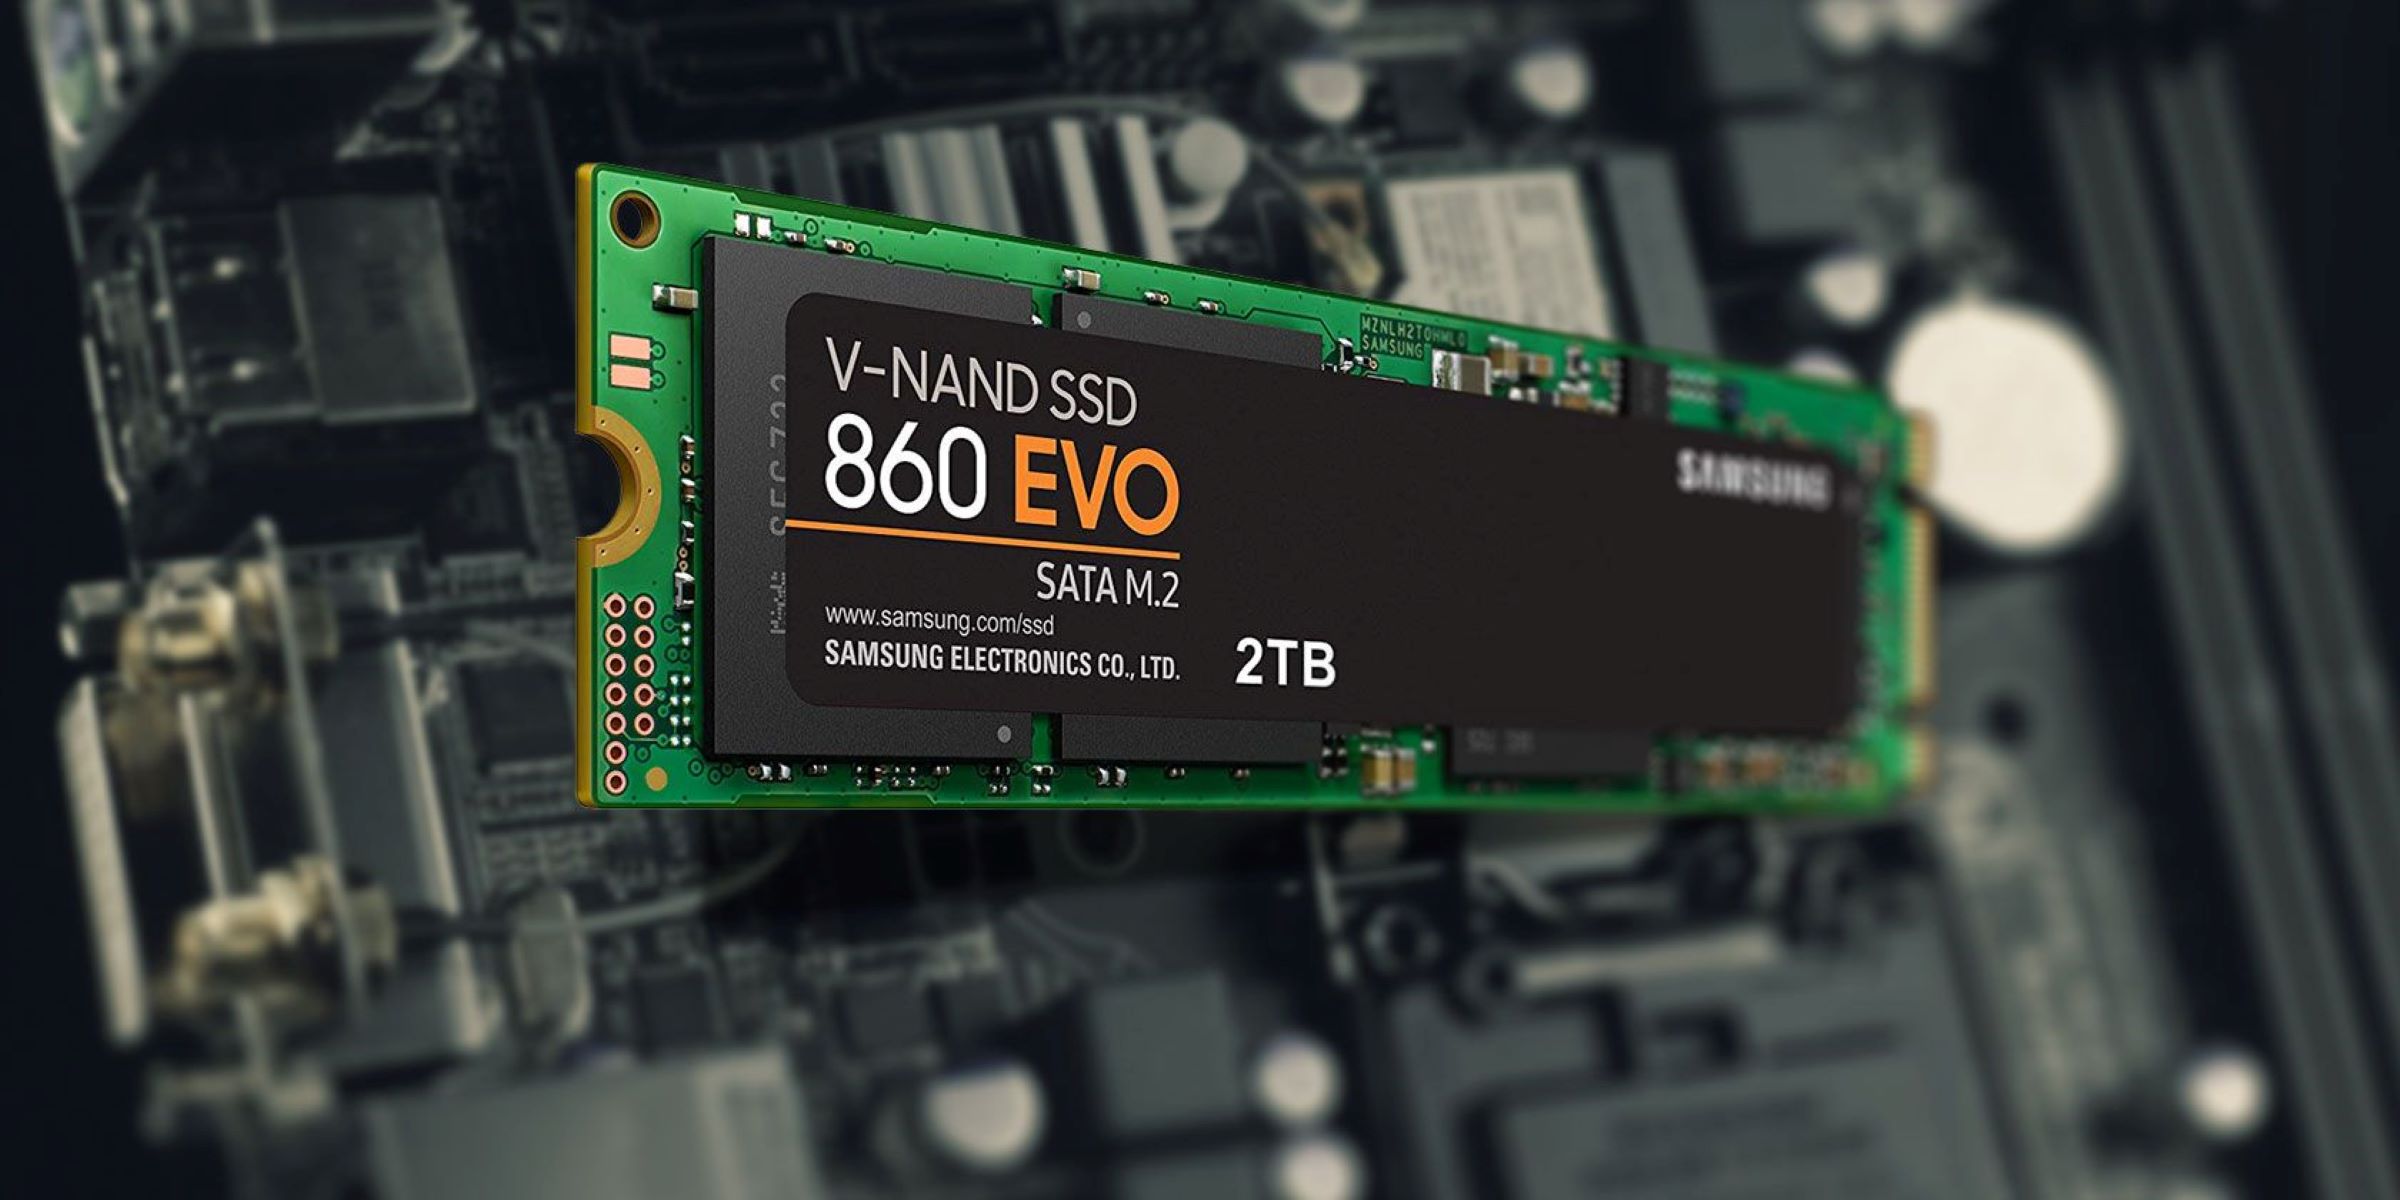
These SSDs are available in various lengths and widths, with the most common sizes being 22mm wide and 30mm, 42mm, 60mm, 80mm, or 110mm long. The length of an M.2 SSD is denoted by a number that follows the “M.2” designation. For example, an SSD labeled “M.2 2280” is 22mm wide and 80mm long.
M.2 SSDs utilize the PCIe (Peripheral Component Interconnect Express) or SATA (Serial Advanced Technology Attachment) interface to transfer data between the drive and the system. PCIe M.2 SSDs tend to offer faster transfer speeds compared to their SATA counterparts, making them a popular choice for those who require high-performance storage.
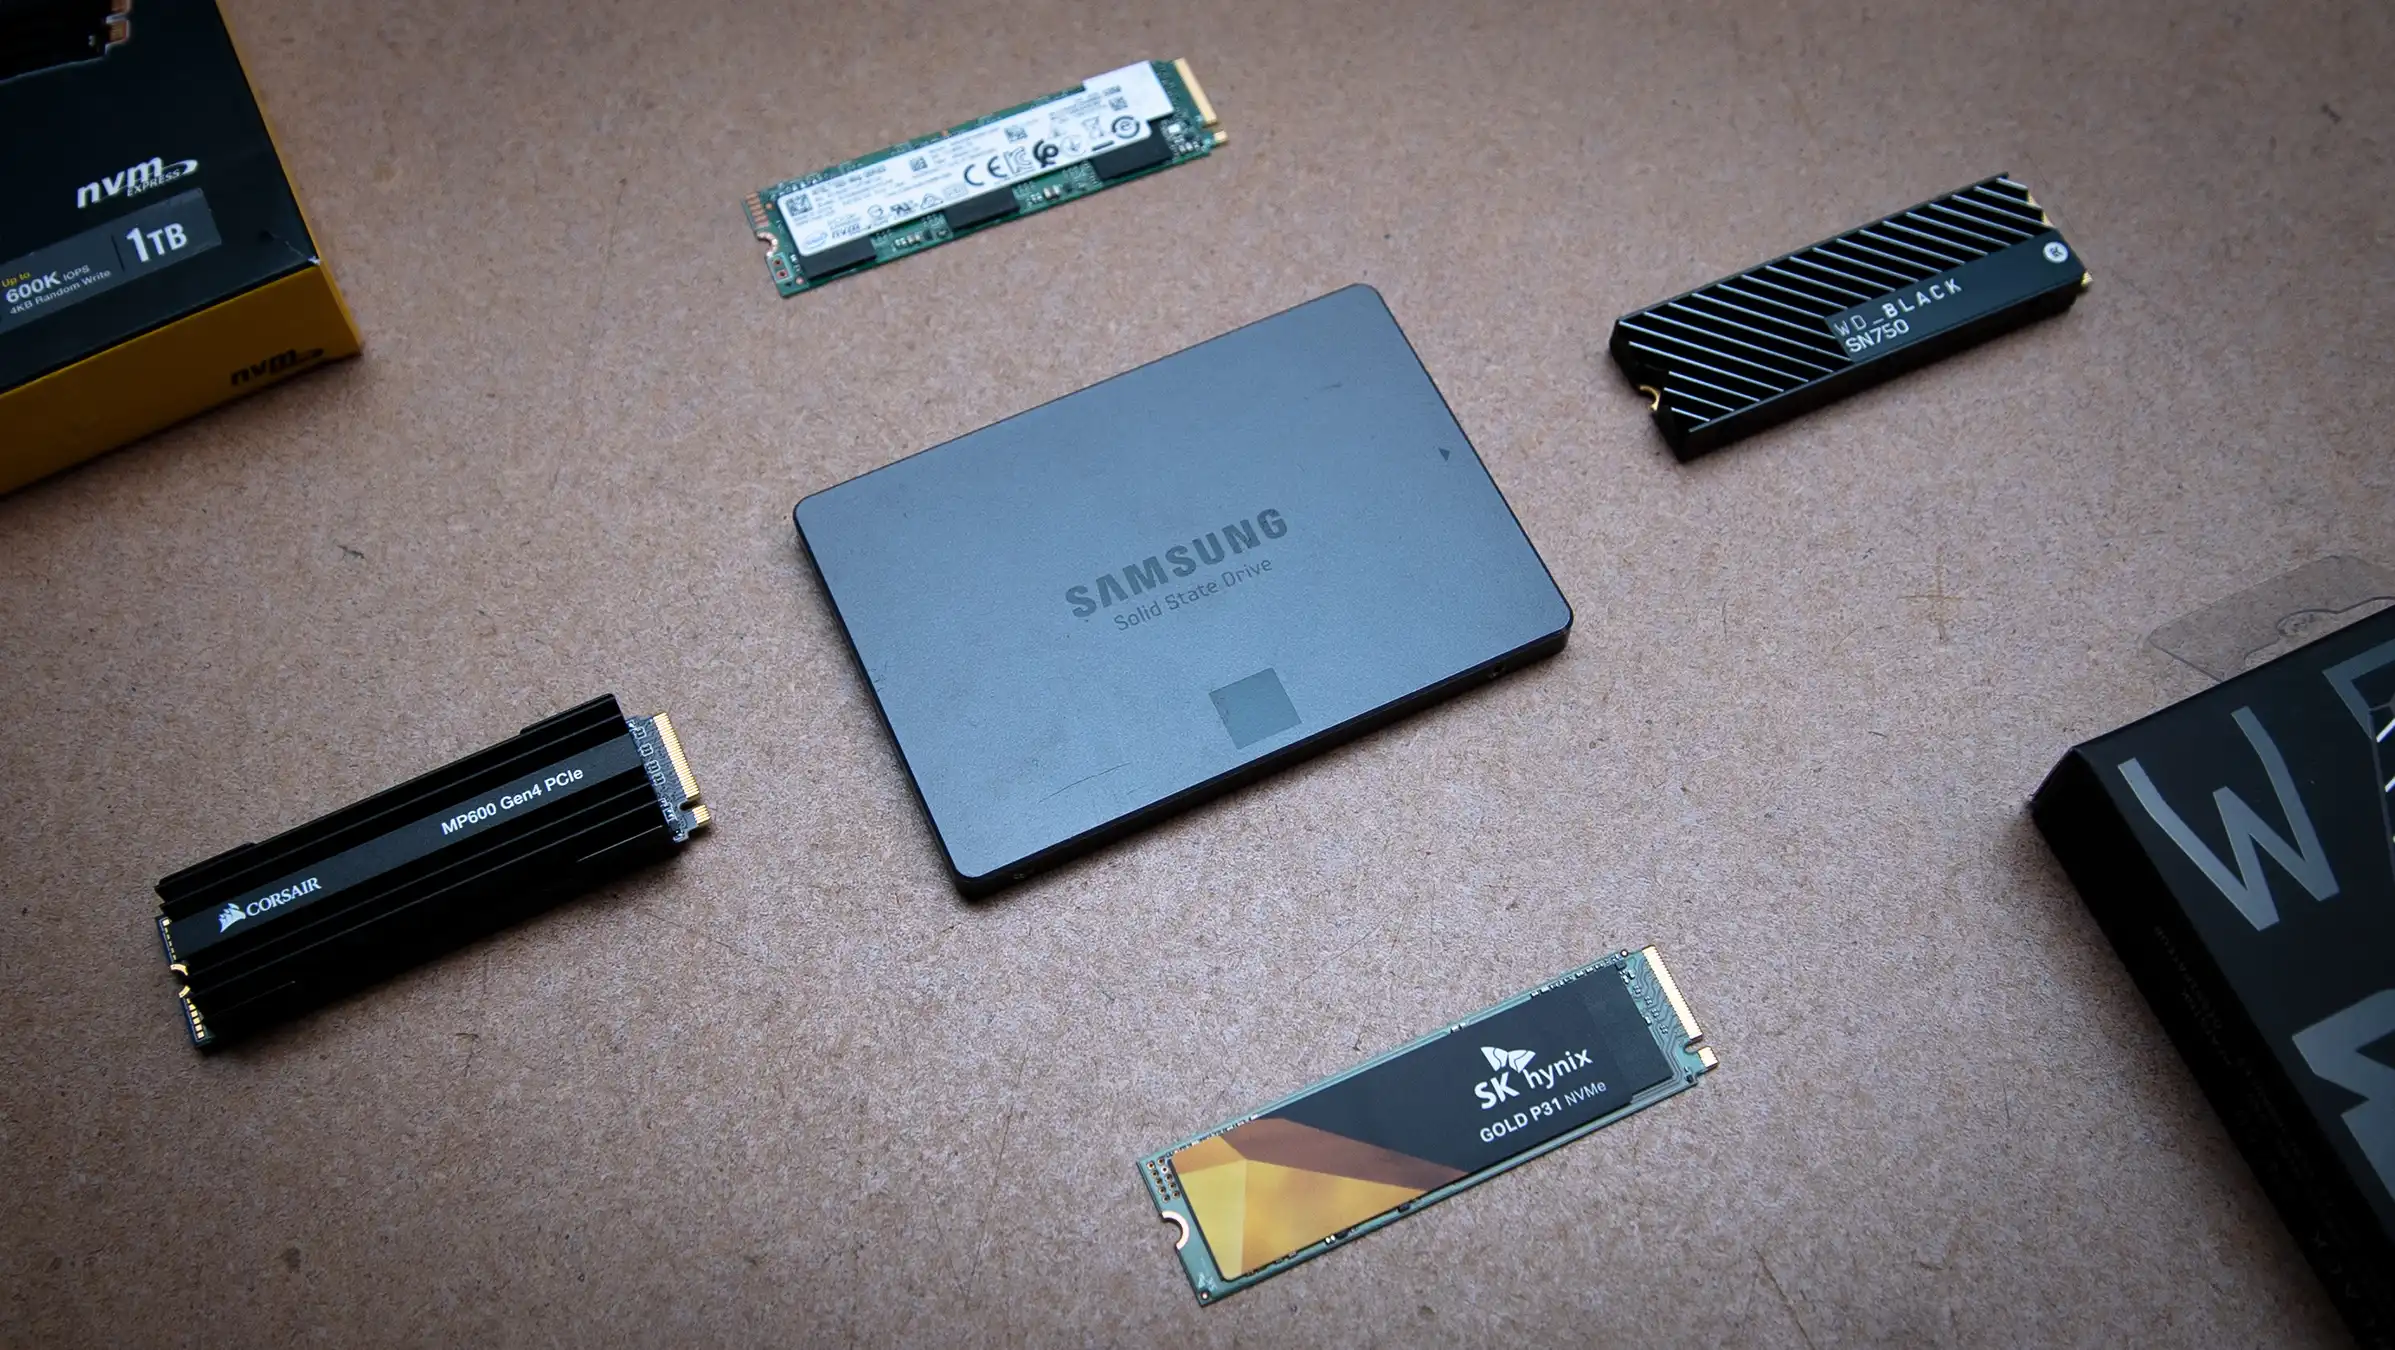
It’s worth noting that M.2 SSDs can come in different form factors, such as SATA-based M.2 SSDs and NVMe (Non-Volatile Memory Express) M.2 SSDs. SATA-based M.2 SSDs use the same interface as traditional SATA drives, while NVMe M.2 SSDs take advantage of the PCIe interface for even faster performance.
Understanding the specifications and differences between these various M.2 SSD types is crucial when selecting a drive for your specific needs. The storage capacity, read and write speeds, and physical dimensions of the M.2 SSD are factors that you should consider before making a purchase.
Now that you have a solid understanding of what M.2 SSDs are and what sets them apart from other storage devices, let’s move on to the next section where we will discuss the steps to prepare for data transfer.
Preparing for Data Transfer
Before you can start transferring data from one M.2 SSD to another, there are a few essential steps to take in preparation. These steps will help ensure a smooth and successful data transfer process.
The first step is to back up your data. It’s always wise to create a backup of your important files and documents before performing any data transfers or modifications. This way, even if something goes wrong during the transfer process, you won’t risk losing your valuable information.
You can back up your data by using an external hard drive, cloud storage services, or even a create a disk image using backup software. Choose a method that is convenient for you and ensure that all of your important files are safely stored.
Next, make sure you have all the necessary tools and equipment. You will need a small screwdriver to open the computer case or access the M.2 slot, depending on your system. Additionally, prepare the new M.2 SSD that you will be transferring the data to.
It’s crucial to ensure compatibility between your system and the new M.2 SSD. Check the specifications of your computer or motherboard to verify that it supports the M.2 form factor and the specific interface (SATA or PCIe) required by your chosen SSD.
If you are uncertain about the compatibility or installation process, consult the user manual of your computer or reach out to the manufacturer’s support for guidance.
Another important consideration is the available storage space on the new M.2 SSD. Ensure that it has enough capacity to accommodate all the data you intend to transfer. If the new SSD has less storage space than the old one, you may need to prioritize the data you wish to transfer or perform some clean-up and organization of your files before proceeding.
Lastly, make note of any specific software or drivers required for successful data transfer. Some M.2 SSDs may require specific software or firmware updates to ensure compatibility and optimal performance. It’s a good idea to visit the manufacturer’s website and check for any available updates or instructions related to the data transfer process.
By following these preparatory steps, you will be ready to begin the data transfer process confidently. Now that you are prepared, let’s move on to the next section where we will discuss how to connect the M.2 SSD to your system.
Connecting M.2 SSD to Your System
Once you have prepared for the data transfer process, the next step is to connect the M.2 SSD to your system. The process may vary slightly depending on your computer’s configuration, but the general steps remain the same.
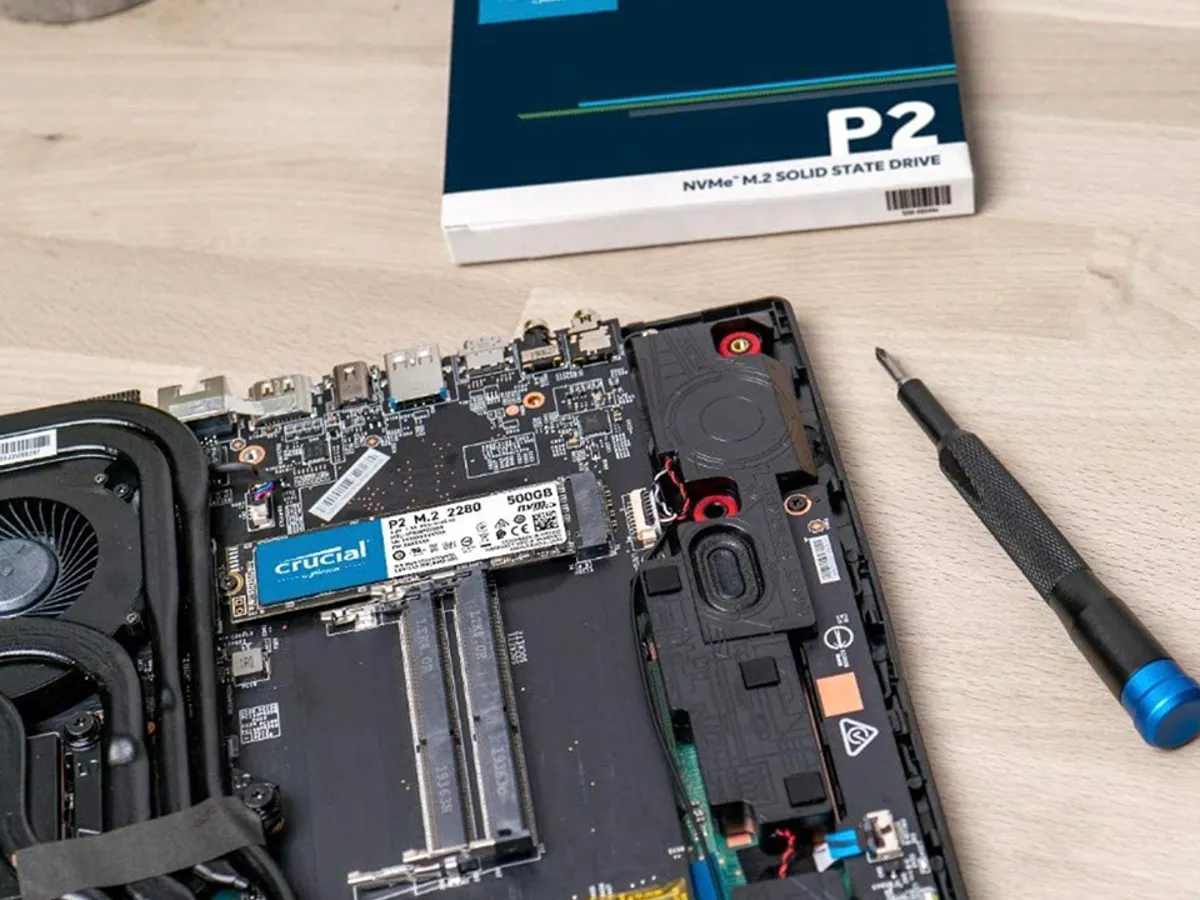
Start by turning off your computer and disconnecting it from the power source. This is essential for your safety and to prevent any damage to the components. Take the necessary precautions, such as wearing an antistatic wristband, to avoid electrostatic discharge that could harm the sensitive electronic components.
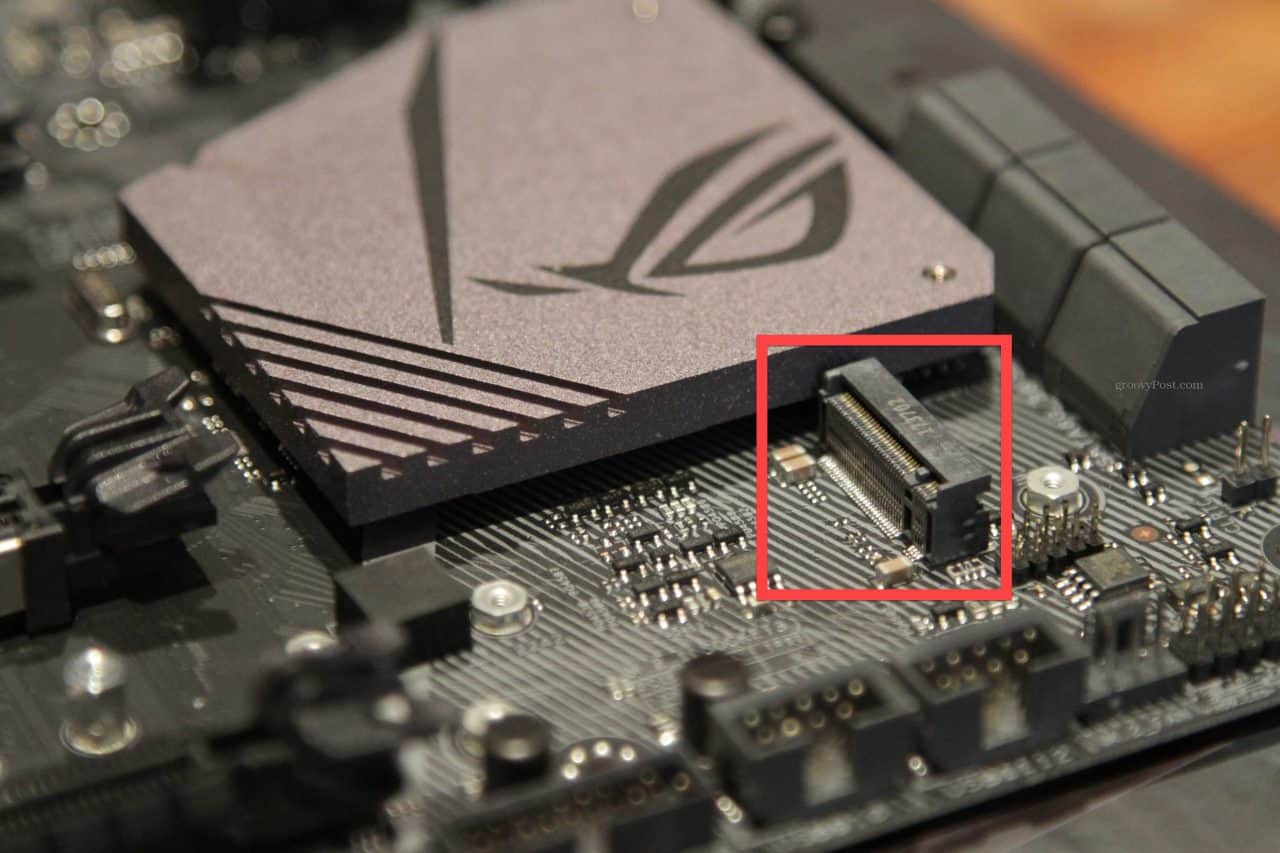
Locate the M.2 slot on your motherboard or expansion card. The M.2 slot is typically located near the processor or beside the SATA connectors. Consult your computer’s user manual or the motherboard manufacturer’s documentation if you’re unsure about the location.
If your system has a pre-installed M.2 SSD, you will need to remove it before installing the new M.2 SSD. Gently unscrew the retaining screw (if present) and carefully remove the existing M.2 SSD from the slot. Keep the screw in a safe place as you may need it later.
Take out the new M.2 SSD from its packaging, handling it by its edges to prevent any damage or static discharge. Align the notches on the SSD with the slot on the motherboard and insert it at a slight angle. Apply gentle pressure until the SSD is firmly seated in place.
Depending on your motherboard, you may need to secure the M.2 SSD with a retention screw. If required, carefully screw it in place, ensuring it is not overtightened. Be cautious not to strip the screw or damage the delicate components.
Now that the M.2 SSD is connected to your system, you can reattach the computer case and ensure that all cables are properly connected. Plug in the power cable and turn on your computer.
After the system boots up, check the BIOS settings to verify that the new M.2 SSD is detected. Access the BIOS by pressing the designated key during the boot process (commonly Esc, Del, F2, or F12, depending on your computer). Navigate to the storage section and confirm that the M.2 SSD is listed as a recognized device.
With the M.2 SSD successfully connected, you’re now ready to proceed with transferring your data. In the next section, we will cover two methods for transferring your files: using data transfer software and manually transferring them.
Migrating Data from M.2 SSD
Now that the new M.2 SSD is connected to your system, it’s time to migrate your data from the old SSD to the new one. There are a couple of methods you can use to transfer your files and settings, depending on your preference and specific requirements.
The first method is to use data transfer software. Many SSD manufacturers provide proprietary software for data migration, which simplifies the process and ensures a seamless transfer. You can download and install the software from the manufacturer’s website, following their instructions.
Once the software is installed, open it and select the option to transfer data from an existing SSD. Depending on the software, you may be prompted to select the source drive (your old M.2 SSD) and the destination drive (your new M.2 SSD). Follow the on-screen instructions to initiate the data transfer process.
The software will clone your old SSD onto the new one, replicating all your files, applications, and system settings. This method ensures that your new M.2 SSD is an exact replica of the old one, eliminating the need to reinstall your operating system and software manually.
Alternatively, you can manually transfer your files from the old M.2 SSD to the new one. This method involves copying the files and folders from the old SSD to an external storage device, such as a USB flash drive or an external hard drive, and then transferring them to the new SSD.
Open File Explorer (Windows) or Finder (Mac) and navigate to the old M.2 SSD. Select the files and folders you want to transfer, right-click, and choose the option to copy or cut. Connect the external storage device to your computer and paste the files and folders onto it.
Next, disconnect the external storage device and connect it to your computer again, this time with the new M.2 SSD installed. Open File Explorer or Finder and navigate to the external storage device. Select the files and folders you copied earlier, right-click, and choose the option to copy.
Navigate to the new M.2 SSD and paste the files and folders into the desired location. Ensure that the transfer completes successfully and that no errors are encountered along the way.
Regardless of the method you choose, it’s crucial to verify that the data transfer was successful. Double-check that all your files, applications, and settings are intact on the new M.2 SSD. Test the functionality of your applications and ensure that everything is working as expected.
By following either the data transfer software method or the manual file transfer method, you can migrate your data from the old M.2 SSD to the new one efficiently and seamlessly. With your data successfully transferred, you can now enjoy the enhanced performance and storage capacity of your new M.2 SSD.
Using Data Transfer Software
One of the easiest and most efficient methods for transferring data from one M.2 SSD to another is by using data transfer software. Many SSD manufacturers provide proprietary software specifically designed for this purpose. Here are the steps to use data transfer software:
- Download and install the data transfer software provided by the manufacturer of your new M.2 SSD. Make sure to download the version that is compatible with your operating system.
- Once the software is installed, open it and follow the on-screen instructions to begin the data transfer process. Typically, you will be asked to select the source drive (your old M.2 SSD) and the destination drive (your new M.2 SSD).
- Confirm the selection and start the data transfer process. The software will then begin cloning the contents of your old SSD onto the new one.
- During the data transfer process, it is important to ensure that both your old M.2 SSD and the new one are connected and recognized by the computer. Make sure they are properly connected and powered on.
- The data transfer software will create an exact replica of your old M.2 SSD on the new one, including all files, applications, and system settings. This means that you won’t have to reinstall your operating system or any software manually.
- Once the data transfer is complete, the software will notify you, and you can safely disconnect your old M.2 SSD from the system.
- Restart your computer and verify that the new M.2 SSD is functioning properly. Check that all your files, applications, and system settings have been successfully transferred.
Using data transfer software can greatly simplify the process of migrating data from one M.2 SSD to another. This method ensures that your new M.2 SSD is an exact replica of the old one, saving you time and effort in reinstalling and reconfiguring your operating system and applications.
Keep in mind that the steps outlined above may vary slightly depending on the specific data transfer software you are using. It is important to follow the instructions provided by the software manufacturer for the most accurate and efficient data transfer process.
With the data successfully transferred using the software, you can now enjoy the improved performance and storage capacity of your new M.2 SSD without the hassle of manually transferring files and settings.
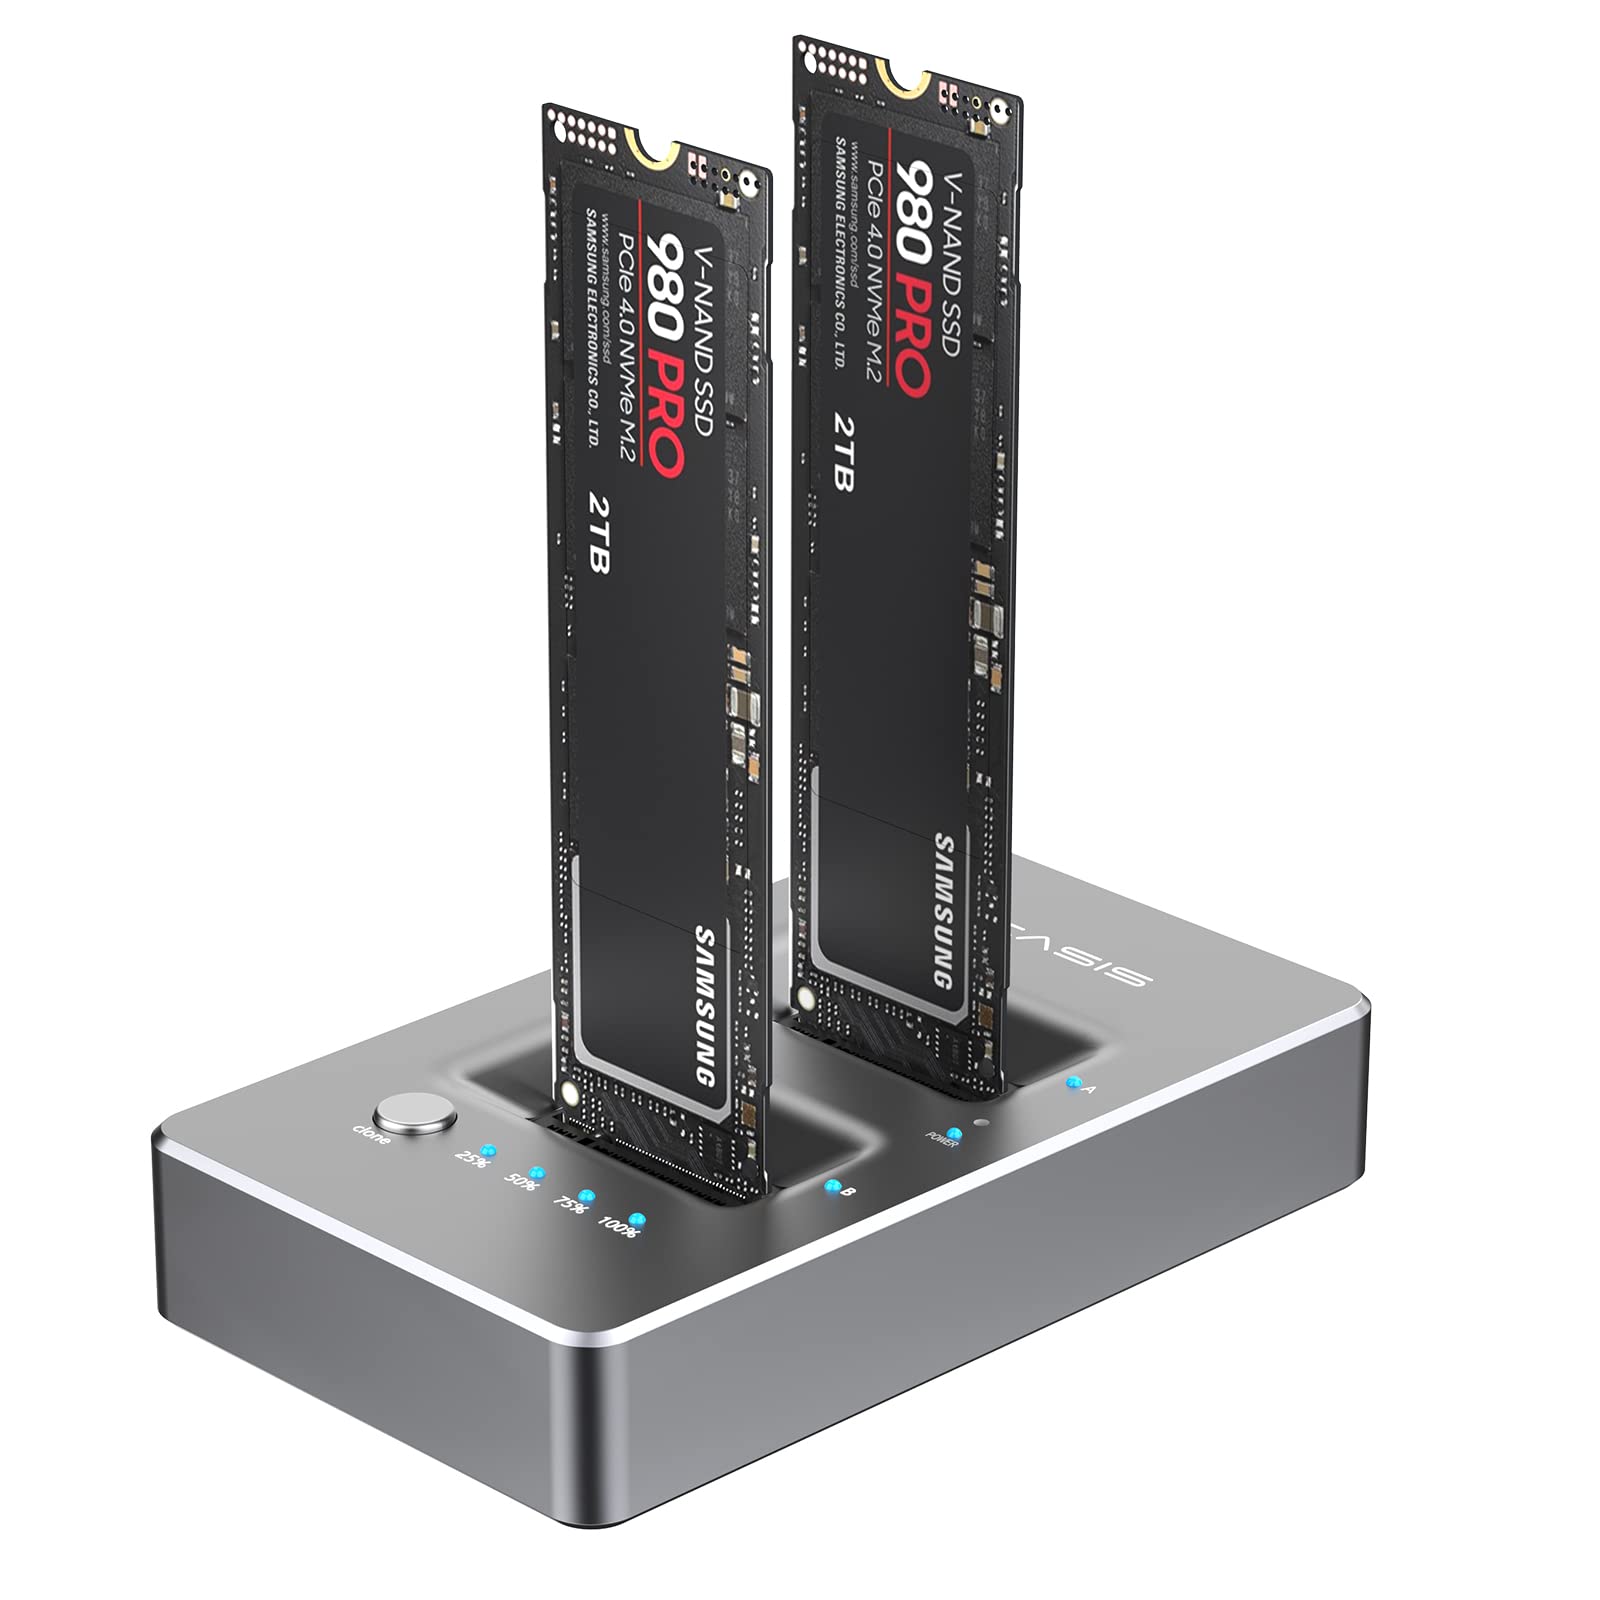
Cloning Your M.2 SSD
Cloning your M.2 SSD is a method of creating an exact copy of your old SSD onto the new one. This process ensures that all your files, applications, and system settings are replicated, allowing for a seamless transition to the new M.2 SSD. Here are the steps to clone your M.2 SSD:
- Connect both your old M.2 SSD and the new one to your system, ensuring they are properly recognized.
- Download and install a disk cloning software of your choice. There are many reliable options available, both free and paid.
- Launch the disk cloning software and choose the option to clone a disk or drive.
- Select your old M.2 SSD as the source disk and choose the new M.2 SSD as the target disk.
- Review the cloning settings and ensure that any partitions or drives on the target disk are properly adjusted or deleted to avoid conflicts.
- Start the cloning process and wait for the software to copy all the data from the old SSD to the new one. The time required for the cloning process will depend on the size of the data being transferred.
- Once the cloning process is complete, the software will provide a notification or prompt indicating its success.
- Restart your computer and access the BIOS to verify that the new M.2 SSD is recognized as the primary boot drive. Make any necessary changes to the boot order if required.
- After restarting your computer, test the functionality of your new M.2 SSD. Ensure that all your files, applications, and settings have been successfully transferred and are accessible.
Cloning your M.2 SSD offers a convenient and time-saving way to migrate all your data to the new drive. It eliminates the need for manually transferring files or reinstalling your operating system and software, making it an efficient choice for those looking for a hassle-free data migration process.
Remember to consult the documentation provided by the disk cloning software and follow their specific instructions for the most accurate and successful cloning process. Additionally, ensure that both your old SSD and the new M.2 SSD have sufficient storage capacity to accommodate the data to be cloned.
By following the steps outlined above, you can clone your M.2 SSD with ease and enjoy the improved performance and storage capacity of your new M.2 SSD without the need for time-consuming data transfers or reinstallations.
Transferring Files Manually
If you prefer to have more control over the transfer process or if you don’t have access to data transfer software, you can transfer files manually from your old M.2 SSD to the new one. This method involves copying the files and folders from the old SSD to an external storage device, then transferring them to the new SSD. Here’s how to transfer files manually:
- Connect your old M.2 SSD to your system and ensure that it is recognized.
- Connect an external storage device, such as a USB flash drive or an external hard drive, to your computer.
- Open File Explorer (Windows) or Finder (Mac) and navigate to your old M.2 SSD.
- Select the files and folders you want to transfer to the new SSD. You can use Ctrl+A (Windows) or Command+A (Mac) to select all files and folders.
- Right-click on the selected files and folders and choose the option to copy.
- Navigate to the external storage device and paste the copied files and folders onto it.
- Safely disconnect the external storage device from your computer.
- Connect the external storage device to your computer again, but this time, with the new M.2 SSD installed.
- Open File Explorer (Windows) or Finder (Mac) and navigate to the external storage device.
- Select the files and folders you copied earlier and right-click on them.
- Choose the option to copy and navigate to the new M.2 SSD.
- Paste the files and folders into the desired location on the new SSD.
- Ensure that the file transfer process completes successfully and that no errors are encountered.
By following these steps, you can manually transfer files from your old M.2 SSD to the new one. Take your time to ensure that all important files and folders have been successfully transferred and properly organized on the new SSD.
While this method provides more control over the transfer process, it can be time-consuming, especially if you have a large amount of data to transfer. It is important to have enough storage space on the external storage device to accommodate your files and folders during the transfer process.
Once the files have been successfully transferred to the new M.2 SSD, verify the functionality of your data by accessing and opening various files and applications. Perform thorough testing and ensure that all your files, applications, and settings are intact and accessible.
Manually transferring files may require more effort, but it allows for a hands-on approach and ensures that you have complete control over the transfer process, giving you peace of mind that your valuable data is safely transferred to the new M.2 SSD.
Verifying Data Transfer
Once you have completed the data transfer process from your old M.2 SSD to the new one, it is crucial to verify that the transfer was successful and that all your files, applications, and settings are intact. This verification step ensures that you can confidently use your new M.2 SSD without worrying about data loss or corruption. Here are some steps to help you verify the data transfer:
- Start by systematically checking your files and folders on the new M.2 SSD. Navigate through the directory structure and open various files to confirm that they are accessible and their contents are intact.
- Verify the transfer of your applications and software. Open your commonly used applications and ensure that they function as expected. Check for any missing files or settings that may indicate a problem with the transfer.
- Test your system settings and preferences. Verify that your personalization options, such as desktop background, screen resolution, and color scheme, are preserved. Check your network settings, sound preferences, and any other custom configurations you had on your old M.2 SSD.
- If you had any specific configurations or profiles for software or games, make sure they are present and operational on the new M.2 SSD.
- Double-check the integrity of your multimedia files, such as music, photos, and videos. Play various media files to ensure they are not corrupted during the transfer process.
- Perform a thorough review of your important documents, spreadsheets, presentations, and any other files that are crucial to your work. Open and edit them to ensure that there are no data inconsistencies or loss.
- If you were previously using any cloud storage services or synchronization tools, ensure that they are linked to the appropriate folders on the new M.2 SSD. Make sure that your files are being synchronized correctly.
- Run a system scan, using your preferred antivirus software, to check for any potential malware or viruses that might have been transferred alongside your files. This step will help ensure the security and integrity of your data.
- Ensure that your new M.2 SSD is properly recognized by the operating system. Check the device manager (Windows) or system profiler (Mac) to ensure that the SSD is detected, and its specifications are accurately listed.
- If you have any specific software or applications that rely on the M.2 SSD performance, run performance tests or benchmarks to verify that the new drive is achieving the expected speed and responsiveness.
Verifying the data transfer from your old M.2 SSD to the new one is an essential step in the process. By diligently checking your files, applications, system settings, and performance, you can ensure that everything has been successfully transferred and is functioning as expected.
If you encounter any issues during the verification process, take note of the specific problem areas and identify whether it is a result of the data transfer or other factors. Based on your findings, you may need to troubleshoot further or seek assistance from the manufacturer or a technical expert.
Once you have completed the verification process and are satisfied with the results, you can confidently begin using your new M.2 SSD, knowing that your data has been successfully transferred and is readily accessible.
Conclusion
Transferring data from one M.2 SSD to another is a crucial task for those looking to upgrade their storage capacity, replace a faulty drive, or migrate to a new system. By following the steps outlined in this guide, you can perform a seamless and successful data transfer.
We discussed two main methods for transferring data: using data transfer software provided by SSD manufacturers and manually transferring files. Both methods have their advantages, and you can choose the one that suits your needs and preferences.
If you opt for data transfer software, make sure to download and install the appropriate software for your new M.2 SSD. Follow the instructions provided by the software manufacturer to initiate and complete the data transfer process.
On the other hand, if you decide to transfer files manually, make sure to back up your data, prepare the necessary tools and equipment, and carefully copy and paste your files and folders from the old M.2 SSD to an external storage device before copying them to the new SSD.
Regardless of the method you choose, always remember to verify the data transfer to ensure that all your files, applications, and settings have been successfully migrated to the new M.2 SSD. Take the time to check the integrity of your files and perform tests on your applications and system settings.
By successfully transferring your data to your new M.2 SSD, you can enjoy the benefits of increased storage capacity, improved performance, and enhanced reliability. Your digital files and precious data will continue to be readily accessible, ensuring a seamless computing experience.
We hope that this guide has provided you with valuable insights and instructions on how to transfer data from an M.2 SSD. Now, armed with this knowledge, you can confidently embark on your journey of upgrading, replacing, or migrating your M.2 SSD with ease.