Introduction
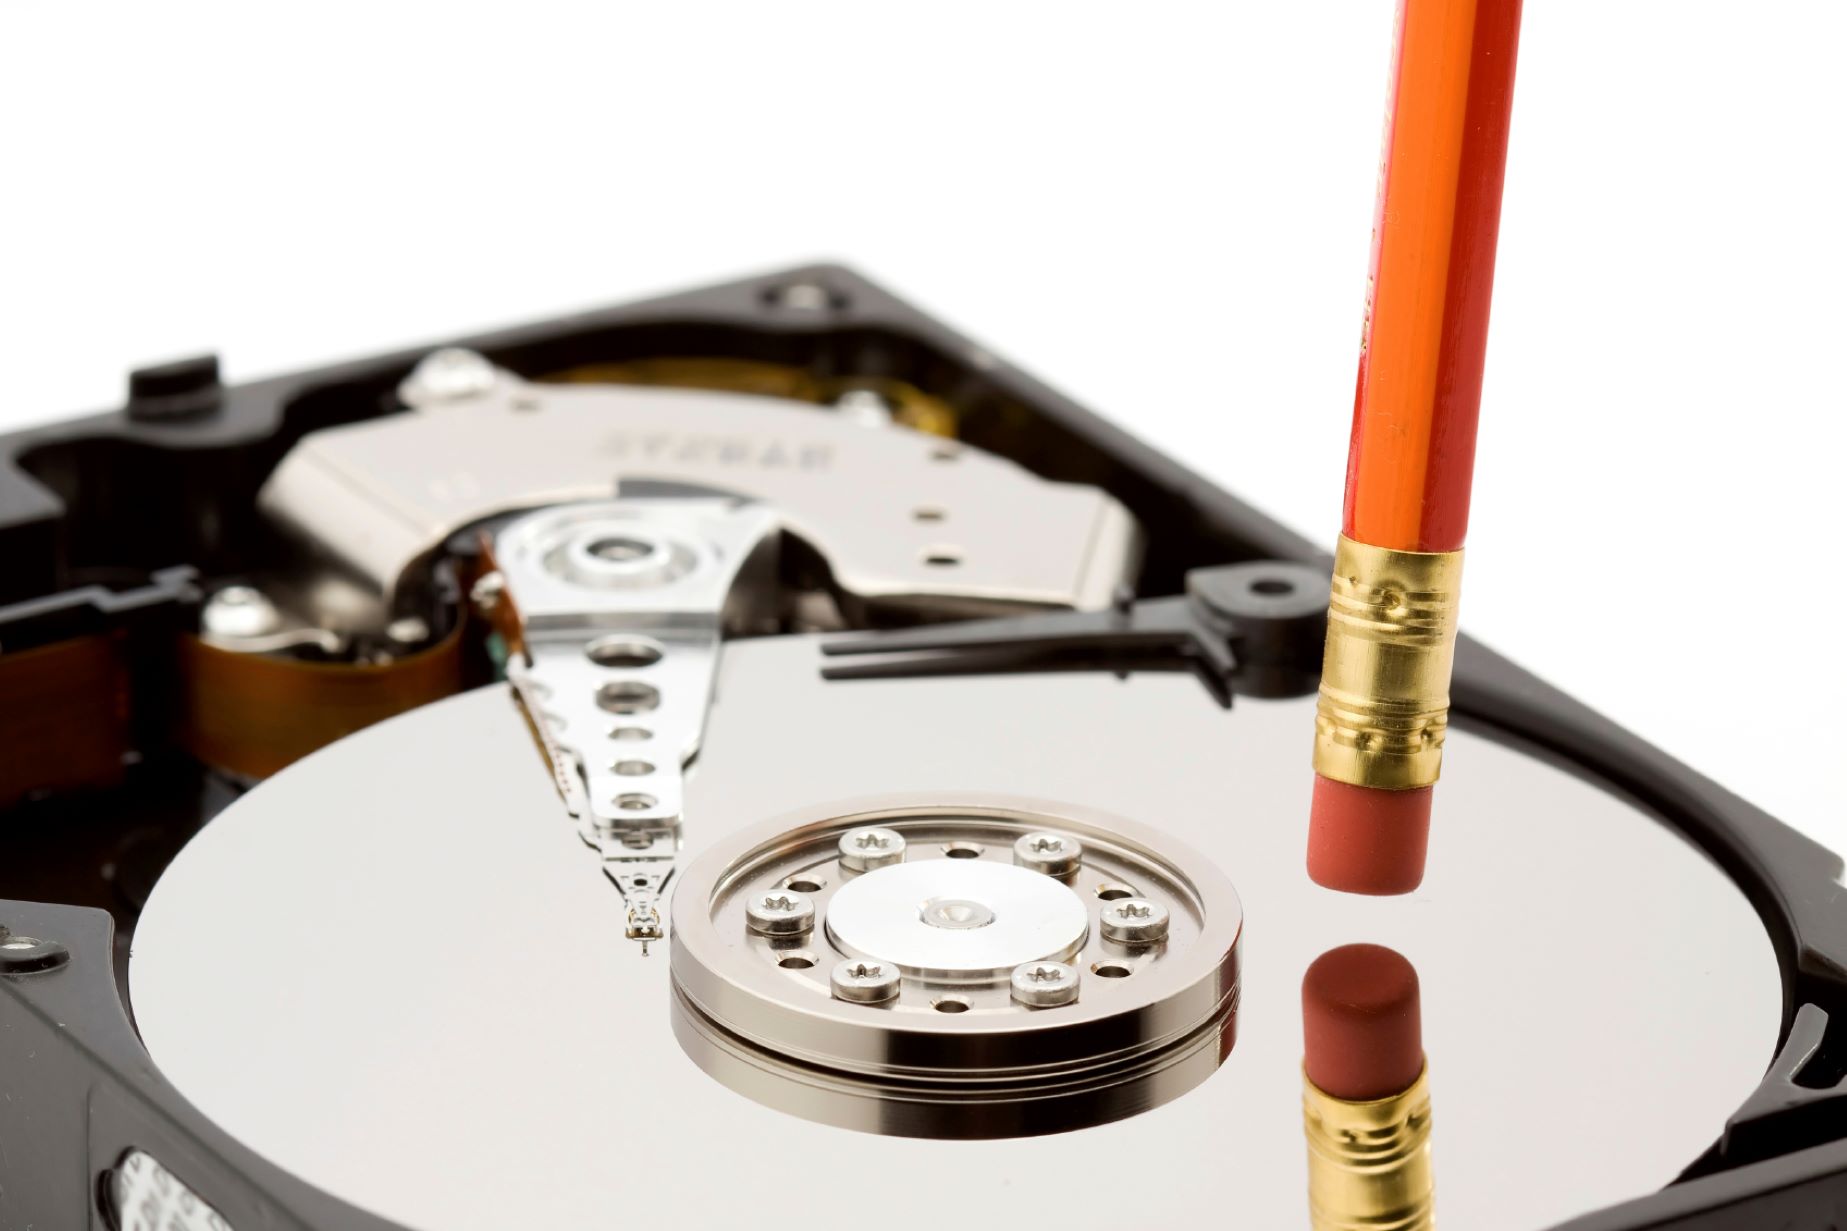
Reinstalling Windows is an essential troubleshooting step when you encounter persistent software issues, performance problems, or simply want to start fresh. It involves wiping your computer’s hard drive and reinstalling the operating system, allowing you to start with a clean slate. While it may seem like a daunting task, this guide will walk you through the process, making it as simple as possible.
Before you begin, it’s crucial to back up your files to an external hard drive, cloud storage, or another computer. This ensures that you don’t lose any important data during the reinstallation process. Additionally, you’ll need a Windows installation media, such as a USB drive or DVD, which contains the necessary files to reinstall the operating system.
Once you have your files backed up and the installation media ready, you’ll need to boot from it. This involves changing the boot order in your computer’s BIOS settings so that it recognizes the installation media as the primary boot device. Once the computer boots from the installation media, you can proceed with the installation process.
During the installation, you’ll be prompted to set up Windows, including choosing your language preferences, accepting the license terms, and selecting which edition of Windows to install. It’s important to pay attention to these options and make the appropriate choices.
After the installation, you’ll need to install device drivers to ensure that your computer’s hardware components work correctly. This involves downloading the latest drivers from the manufacturer’s website and installing them on your computer. Additionally, it’s crucial to update Windows to ensure that you have the latest security patches and bug fixes.
Once Windows and the necessary drivers are installed and updated, it’s time to reinstall your applications. This includes software such as web browsers, productivity tools, and any other programs you regularly use. It’s recommended to download the latest versions of these applications from their official websites to ensure compatibility and security.
Finally, you can restore your files from the backup you created earlier. This includes documents, photos, videos, and any other personal data you want to keep. It’s important to double-check that all your files are successfully restored and accessible before deleting the backup.
With this guide, reinstalling Windows doesn’t have to be intimidating or overwhelming. By following the step-by-step instructions outlined in the sections ahead, you’ll be able to easily reinstall Windows, giving your computer a fresh start and resolving any issues you were facing. Let’s get started!
Step 1: Back Up Your Files
Before you embark on the process of reinstalling Windows, it is crucial to back up your files to protect your valuable data. This step ensures that you do not lose important documents, photos, videos, or any other personal files during the reinstallation process. There are several methods you can use to back up your files, depending on your preferences and available resources.
One of the simplest ways to back up your files is to copy them to an external hard drive or USB flash drive. Connect the storage device to your computer and navigate to the files you want to back up. Simply drag and drop them onto the external drive. This method works well for small to medium-sized files and provides an easily accessible backup.
If you have a large amount of data or prefer a more automated backup solution, you can use cloud storage services. Popular options such as Google Drive, Dropbox, and Microsoft OneDrive allow you to store files securely online and access them from any device with an internet connection. Install the appropriate software for your chosen cloud storage service and follow the instructions to upload your files.
An alternative method for creating a complete backup of your system, including files, settings, and applications, is to use specialized backup software. Programs like Acronis True Image, Macrium Reflect, and EaseUS Todo Backup provide comprehensive backup solutions that streamline the process and offer additional features like automatic scheduling and encryption.
Another option for backing up specific files or folders is to burn them onto a DVD or CD. If your computer has an optical drive and you have blank discs available, you can use software like Windows File Explorer or third-party tools such as ImgBurn to create an exact copy of your valuable files and store them on discs.
Regardless of the backup method you choose, it is important to verify that all your important files have been successfully backed up. Double-check that the file sizes match and test that you can access and open each file. This will give you peace of mind knowing that you have a reliable backup of your data.
By taking the time to back up your files, you ensure that even if something goes wrong during the reinstallation process, your valuable data remains safe. Whether it’s documents for work, cherished family photos, or important project files, having a backup allows you to restore your files easily after the Windows reinstallation is complete. So, take the necessary steps to back up your files and proceed with confidence to the next step in the process.
Step 2: Create a Windows Installation Media
In order to reinstall Windows, you’ll need to create a Windows installation media. This is a USB drive or DVD that contains the necessary files to reinstall the operating system. Creating a Windows installation media is relatively straightforward and can be done using the official Microsoft Media Creation Tool.
The first step is to ensure that you have a USB drive with at least 8GB of storage space or a blank DVD. Insert the USB drive or DVD into your computer’s USB port or DVD drive.
Next, visit the Microsoft website and navigate to the download page for the Media Creation Tool. Download and run the tool, following the on-screen instructions. You will be asked to accept the license terms before proceeding.
Once the Media Creation Tool is open, you’ll have two options: to upgrade the PC or to create installation media. Select the option to create installation media and click “Next”.
On the next screen, you will be able to choose the language, edition, and architecture of the Windows installation. Make the appropriate selections based on your preferences and computer specifications. If you’re unsure, you can typically leave the default settings.
After clicking “Next”, you’ll be prompted to choose the type of media to use. Select the option to create a USB flash drive or ISO file, depending on whether you’re using a USB drive or DVD. USB flash drives are generally recommended as they are faster and more convenient.
Click “Next” and select the USB drive or DVD that you inserted earlier. Be aware that the drive will be formatted, so ensure that you have backed up any important files stored on the drive.
Once you’ve made your selections, click “Next” and wait for the Media Creation Tool to download and create the Windows installation media. The time this takes will depend on your internet connection speed.
Once the process is complete, you’ll have a bootable Windows installation USB drive or DVD. Remove it from your computer and keep it in a safe place until you’re ready to proceed with the reinstallation.
By creating a Windows installation media, you ensure that you have the necessary files readily available to reinstall the operating system. This step is essential in the reinstallation process and allows you to move forward confidently in the next steps. With your USB drive or DVD prepared, you’re now ready to move on to the next step of booting from the installation media.
Step 3: Boot From the Installation Media
After creating a Windows installation media, the next step is to boot your computer from the installation media. This process involves changing the boot order in your computer’s BIOS settings to prioritize the installation media over other boot devices, such as the hard drive or network boot options.
To begin, insert the USB drive or DVD containing the Windows installation files into the appropriate port or drive on your computer.
Restart your computer and, during the boot-up process, look for a message that prompts you to press a specific key to access the BIOS settings. This key is typically displayed as “Del” or “F2” but may vary depending on your computer’s manufacturer. Press the designated key before the operating system begins to load.
Once in the BIOS settings, navigate to the “Boot” or “Boot Order” section. Here, you’ll see a list of boot devices in order of priority. Use the arrow keys to move the USB drive or DVD drive to the top of the list, ensuring that it is set as the first boot device.
Save your changes and exit the BIOS settings. The exact method for saving and exiting will vary depending on your BIOS version, but it is typically done by pressing the “F10” key or selecting an option labeled “Save and Exit.”
Your computer will now restart, booting from the Windows installation media you inserted earlier. You may see a message that says “Press any key to boot from CD or DVD” or something similar. If prompted, press any key on your keyboard to proceed.
The computer will then load the Windows setup files from the installation media. This process may take a few moments, and you’ll eventually be presented with the Windows installation screen.
With your computer successfully booting from the installation media, you’re now ready to move on to the next step of installing Windows. This step is crucial to initiate the reinstallation process and ensures that your computer recognizes the installation media as the primary boot device. By following these instructions to boot from the installation media, you’ll be one step closer to reinstalling Windows and revitalizing your computer’s performance. So, let’s proceed to the next step and install Windows!
Step 4: Install Windows
With your computer successfully booting from the Windows installation media, you can now proceed with the installation process. This step involves several crucial decisions and configurations to ensure a successful installation of the operating system.
Once the Windows installation loads, you’ll be prompted to select your language preferences, time and currency format, and keyboard layout. Choose the appropriate options that correspond to your location and preferences, and click “Next” to continue.
On the next screen, click “Install Now” to begin the installation process. If prompted, enter the product key that came with your Windows copy. If you don’t have a product key, you may have the option to skip this step for now, but keep in mind that you’ll need a valid product key to activate Windows later.
Read and accept the license terms by checking the box and clicking “Next”. The installation process may take a few moments to prepare the necessary files.
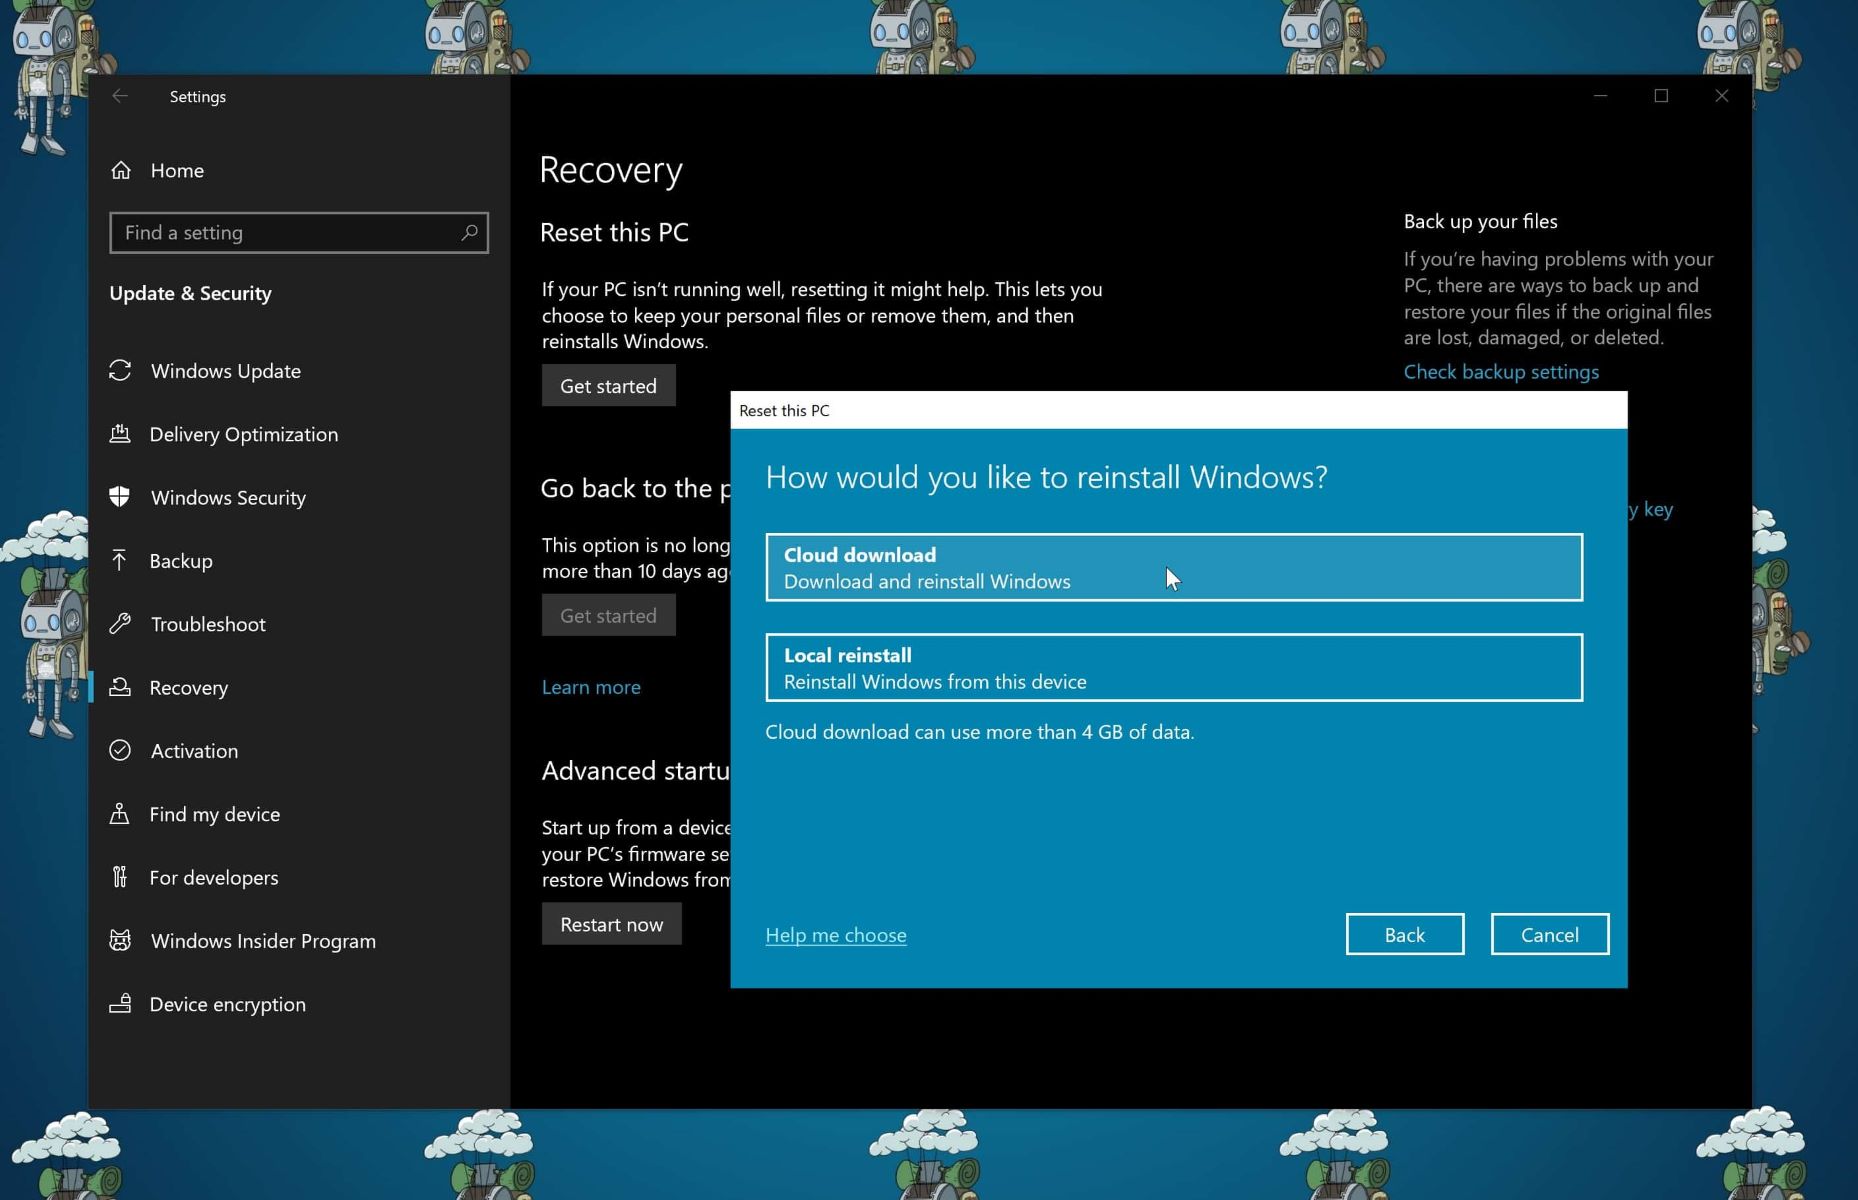
Next, choose the type of installation you want. If you’re reinstalling Windows on a computer that already has a previous version of Windows installed, select “Upgrade” to keep your files, settings, and applications intact. However, if you want to perform a clean installation that removes everything from your computer, choose “Custom”.
If you selected “Custom”, you’ll need to decide where to install Windows. The list will display all available partitions on your computer’s hard drive. Select the partition where you want to install Windows, or choose the “Unallocated Space” if you want to create a new partition. Click “Next” to proceed.
The installation process will now begin, and you’ll see a progress bar indicating the status of the installation. Your computer may restart several times during this process, so make sure not to interrupt it.
After the installation is complete, your computer will reboot, and you’ll be prompted to personalize your PC. Enter a name for your computer and create a strong password to secure your account. You can also choose to use a PIN or a picture password for a more convenient login process.
During this step, you can also choose to enable or disable Cortana, Microsoft’s virtual assistant, and choose privacy settings based on your preferences. Once you’ve made your selections, click “Next” to proceed.
At this point, Windows will finalize the installation and prepare your desktop. Once everything is ready, you’ll be greeted with the Windows desktop, and you can begin exploring the new installation of Windows.
By successfully following the installation steps and configuring the necessary settings, you’ve now completed the process of installing Windows. The operating system is now fresh on your computer, and you can move on to the next step of setting up Windows to optimize your user experience. Let’s move forward and get your Windows installation fully customized to your preferences!
Step 5: Set Up Windows
Setting up Windows after a fresh installation is an important step to personalize your user experience and optimize the performance of your computer. This step involves configuring various settings and preferences to make Windows work best for you.
Once you’ve completed the installation process and are on the Windows desktop, you’ll be prompted to choose your region and language preferences. Select the options that correspond to your location and preferred language, and click “Next” to continue.
Next, you’ll be asked to choose whether you want to use “Express settings” or customize settings. If you’re unsure, it’s usually best to select the “Express settings” option, as it provides recommended settings to get you started quickly.
During this step, you’ll also have the option to sign in to your Microsoft account or create a new one. Signing in with a Microsoft account allows you to sync your settings, preferences, and files across multiple devices. If you prefer not to sign in with a Microsoft account, you can choose the option to create a local account instead.
After signing in or creating a local account, you’ll have the opportunity to configure privacy settings. Here, you can choose which data and features Microsoft can access and use to personalize your experience. Review the options and select the settings that align with your privacy preferences.
Once you’ve completed the initial setup, you’ll be taken to the Windows desktop, where you can start customizing your experience further. Take some time to familiarize yourself with the new installation of Windows, explore the Start menu, and open the Settings app to access additional customization options.
Within the Settings app, you can personalize your desktop background, choose a color scheme, and customize your lock screen and other visual elements. You can also adjust various system settings, such as display options, power settings, and default apps.
Additionally, take the time to install any necessary updates. Windows regularly releases updates to improve security, fix bugs, and introduce new features. Open the Settings app, navigate to “Update & Security,” and click on “Windows Update” to check for updates and install them.
As you explore and use your new Windows installation, you’ll likely discover additional settings and options that you can customize according to your preferences. This step is crucial in ensuring that Windows is personalized to your liking and offers the best possible user experience.
By setting up Windows and customizing its various settings, you’ll optimize your computer’s performance and tailor it to your preferences. Take the time to make the necessary configurations so that your Windows installation feels like home, and you’ll be ready to move on to the next step of installing device drivers. Let’s proceed to the next step and ensure that your computer’s hardware components work correctly!
Step 6: Install Device Drivers
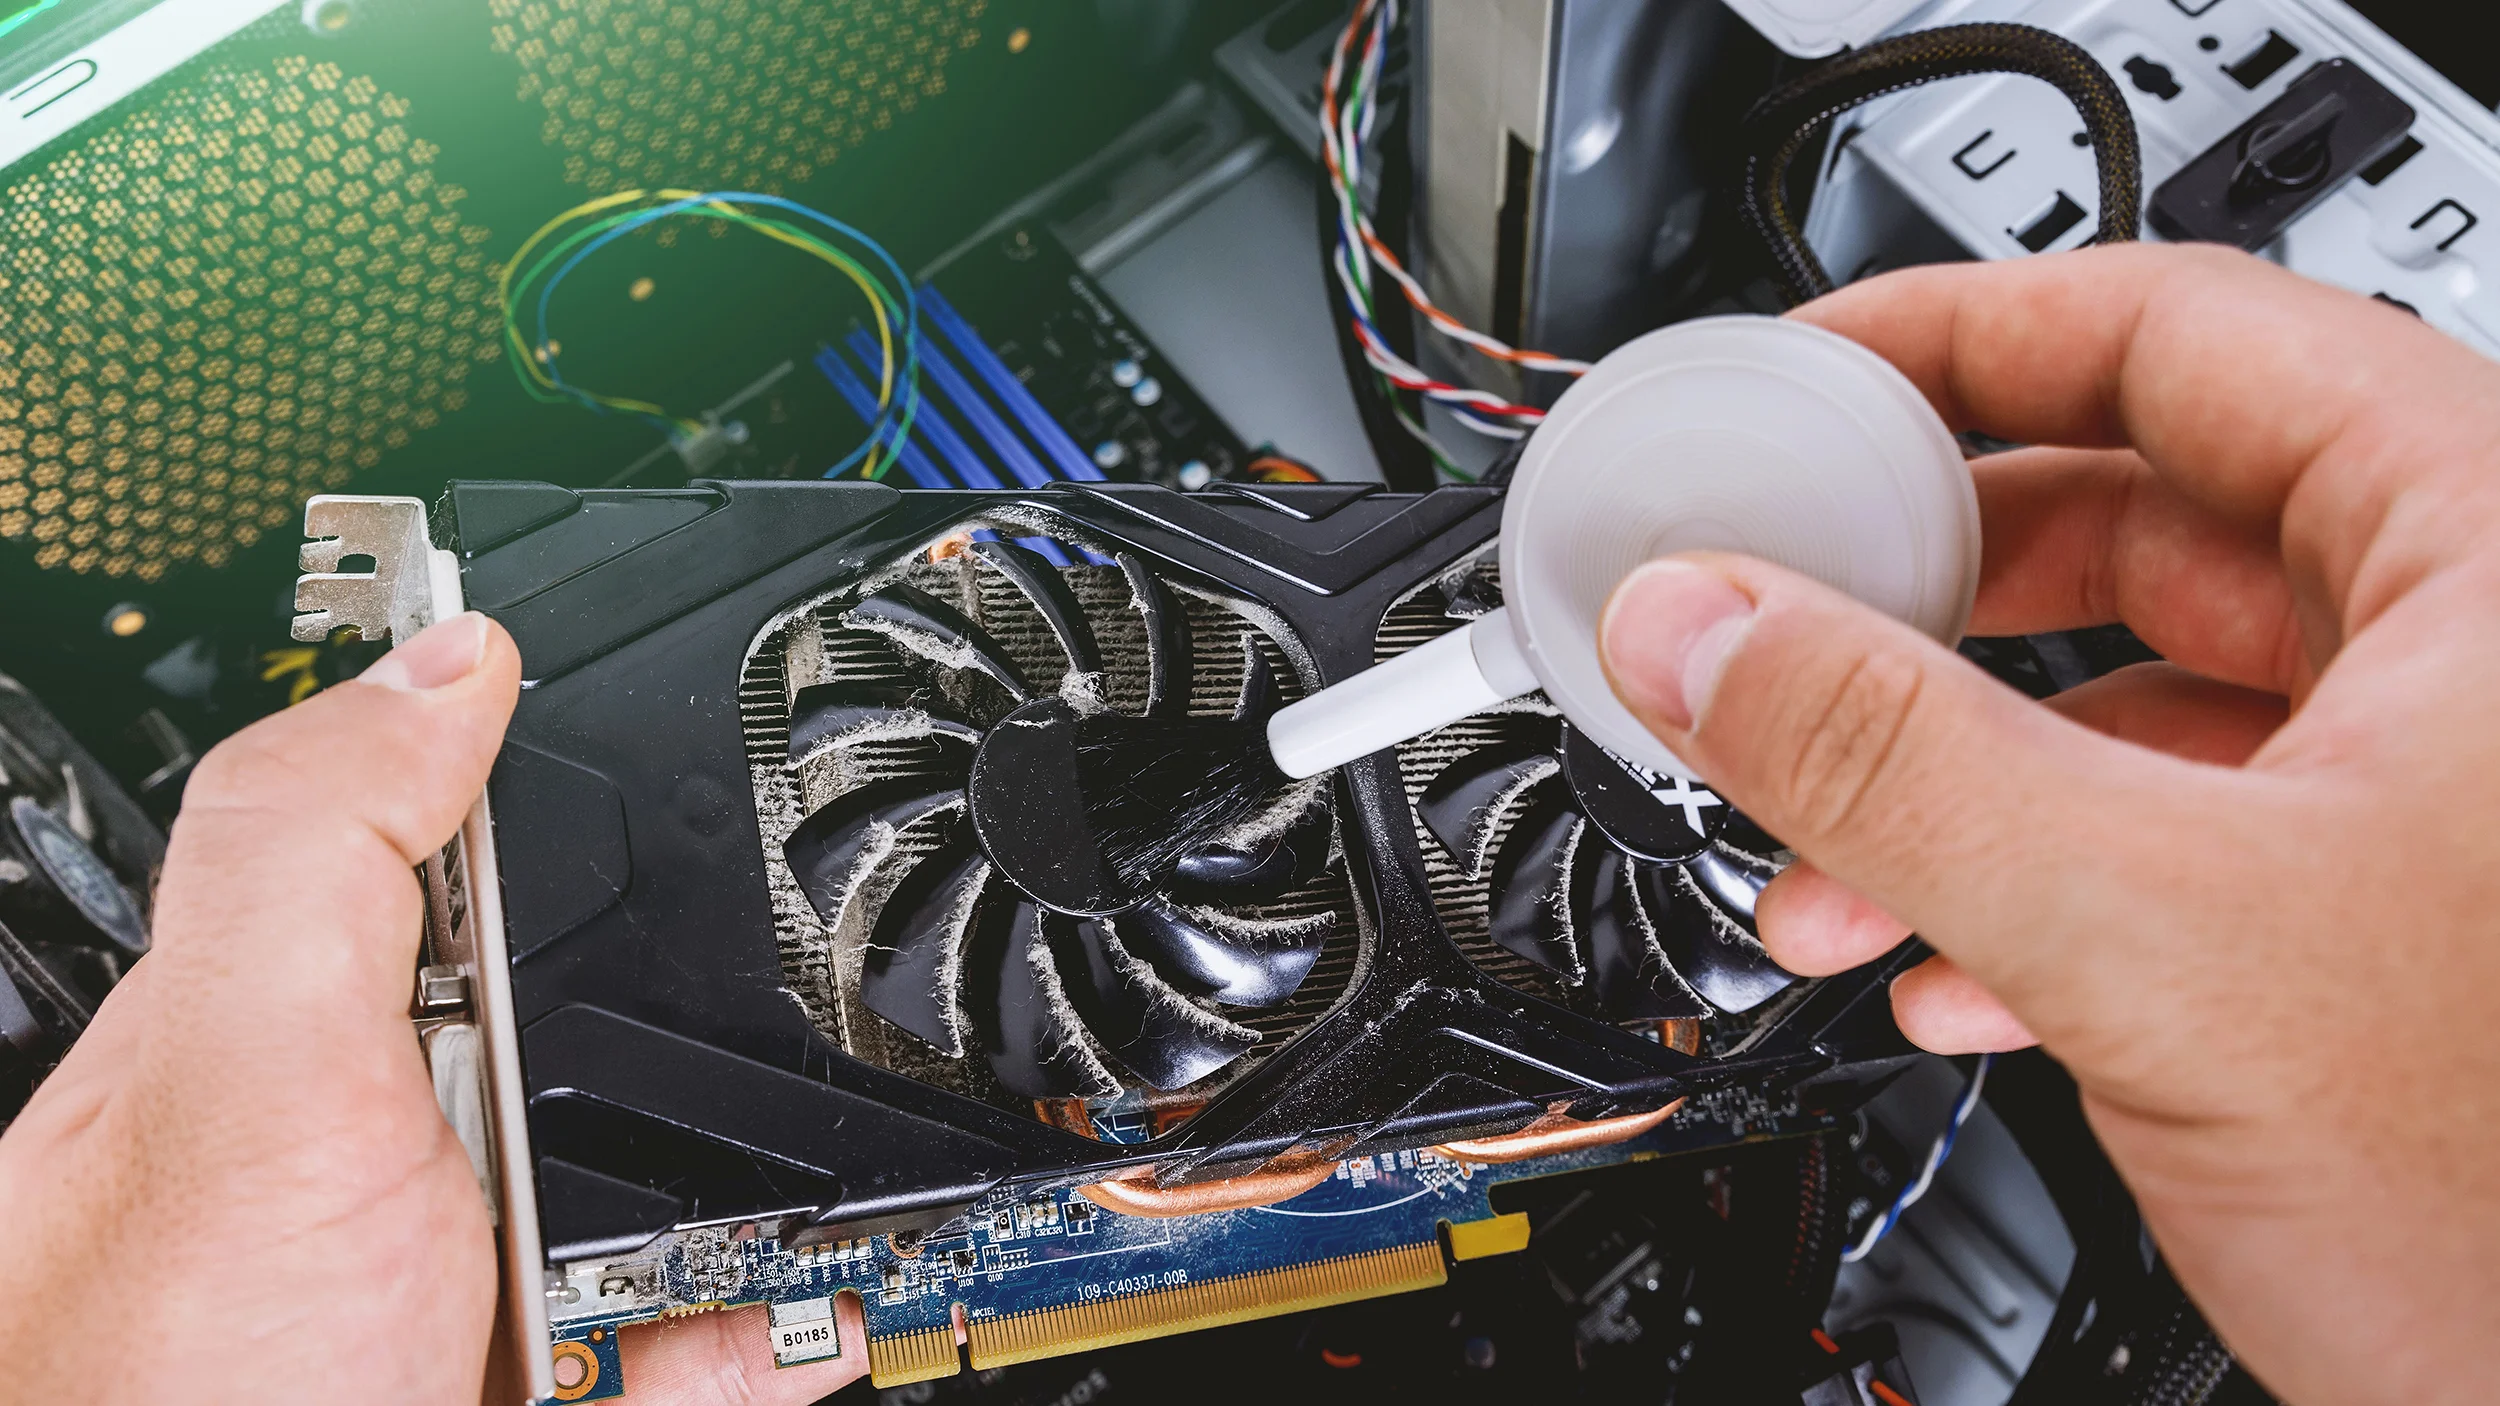
After completing the setup of Windows, the next step is to install device drivers. Device drivers are software that allows your computer’s operating system to communicate with and control hardware components such as the motherboard, graphics card, network adapter, and more. Installing the correct drivers ensures that your hardware functions properly and optimally.
The easiest way to install device drivers is to use the driver installation discs that came with your hardware components. These discs typically include the necessary drivers for your specific devices and often include utility software for additional features. Simply insert the disc into your computer’s optical drive and follow the on-screen instructions to install the drivers.
If you don’t have the driver installation discs or prefer a more updated approach, you can download the drivers directly from the manufacturer’s website. Identify the make and model of each hardware component and visit the respective manufacturer’s website. Look for a “Support” or “Downloads” section and search for the drivers specific to your operating system version and device model. Download the appropriate drivers and run the installation files, following any prompts or instructions from the manufacturer.
Another option is to use Windows Update to automatically search for and install drivers for your hardware components. Windows Update scans your computer and checks for available driver updates. To use this method, open the Settings app, navigate to “Update & Security,” and click on “Windows Update.” Click on “Check for updates” and let Windows Update do its job. If any drivers are available, they will be listed for installation.
It’s important to note that some devices, such as graphics cards, may require specialized drivers from the manufacturer’s website to take full advantage of their features and capabilities. While Windows Update may install a generic driver for these devices, it is often recommended to install the latest drivers directly from the manufacturer for optimal performance.
After installing the necessary device drivers, it’s a good idea to restart your computer to ensure that the changes take effect. You can verify that the drivers are installed correctly by checking the Device Manager, which lists all the hardware components installed on your computer. To access the Device Manager, right-click on the Start button, select “Device Manager,” and expand the various categories to view the installed devices. If there are any yellow exclamation marks or question marks indicating hardware without drivers, you may need to troubleshoot or reinstall those drivers.
By installing the correct device drivers, you ensure that each hardware component in your computer functions properly and performs optimally. This step is crucial in maximizing the stability, compatibility, and overall performance of your system. With the drivers installed, you’re now ready to move on to the next step of updating Windows to ensure that your operating system is secure and up to date.
Step 7: Update Windows
Once you have installed the necessary device drivers, it is important to update your Windows operating system to ensure that it is secure and up to date. Windows updates not only provide critical security patches but also deliver bug fixes, performance improvements, and new features that enhance the overall functionality of your computer.
To update Windows, open the Settings app by clicking on the Start button and selecting the gear icon. In the Settings menu, navigate to “Update & Security” and click on “Windows Update”. Here, you will see the option to check for updates.
Click on “Check for updates” and wait as Windows scans for available updates. If there are any updates available, they will be displayed, along with a description of what each update includes. It is recommended to install all available updates to ensure that your system is fully up to date.
If there are updates available, click on the “Install” button to begin the updating process. Depending on the size and number of updates, this process may take some time. It is important not to interrupt the updating process or turn off your computer during this time.
After the updates have been installed, you may be required to restart your computer to complete the update process. If prompted, save any open documents and click on “Restart Now” to allow Windows to restart your system.
Once your computer has restarted, return to the Windows Update settings to check for any additional updates. Repeat the process of checking for updates and installing them until there are no more updates available.
It is important to regularly check for and install Windows updates to ensure that your computer remains secure and optimized for performance. By keeping your system up to date, you can protect yourself from the latest security vulnerabilities and take advantage of new features and improvements introduced by Microsoft.
In addition to the standard Windows updates, it is also recommended to update specific software applications installed on your computer. Many applications provide their own update mechanisms or can be updated through the Microsoft Store. By updating your software applications, you can benefit from the latest bug fixes, compatibility enhancements, and new features offered by the developers.
With your Windows system now updated, you have ensured that your computer is running the latest software versions and has the necessary security patches. This step is vital in maintaining a secure and reliable computing environment. Let’s move on to the next step of reinstalling your applications and getting your computer set up with your preferred software.
Step 8: Reinstall Your Applications
With your Windows operating system and device drivers updated, it’s time to reinstall your applications. Reinstalling your applications ensures that you have all the necessary software tools and programs that you need for your daily tasks and activities.
Start by making a list of the applications you regularly use and want to reinstall. This can include productivity tools, web browsers, media players, and any other software programs that are essential for your workflow.
If you have the installation files or setup executables for your applications saved on an external storage device or cloud storage, you can simply run the installation files and follow the prompts to reinstall the applications.
If you don’t have the installation files readily available, you can visit the official websites of the software developers to download the latest versions of your desired applications. Look for a “Download” or “Get Started” option on the website, and make sure to download the appropriate version that is compatible with your operating system.
When reinstalling your applications, it’s a good practice to only install the software you truly need. Installing unnecessary or redundant applications can clutter your system and potentially slow down your computer’s performance. Consider installing only the essential applications and add additional ones as needed.
During the installation process, make sure to carefully read any prompts or options that are presented to you. Some applications may offer additional software or features that you can choose to install or decline. Pay attention to these options and uncheck any boxes for unwanted software.
Once the installation is complete, it’s a good idea to restart your computer to ensure that any changes made during the installation process take effect. This helps to ensure that the applications are properly integrated into your system.
After restarting, open each reinstalled application to verify that it is functioning correctly. Take some time to configure the settings and preferences according to your preferences, and ensure that any necessary updates for the applications are installed.
If you had previously registered or activated your applications, make sure to reactivate or re-enter any product keys or license information as required. This ensures that your applications are properly licensed and fully functional.
By reinstalling your applications, you are bringing back the familiar software tools that you rely on for work, entertainment, or personal use. Take the time to set up each application to your liking and ensure that they are up to date with the latest features and improvements. With your applications reinstalled and configured, your computer is now personalized and ready to be fully utilized.
Step 9: Restore Your Files
The final step in the reinstallation process is to restore your files, bringing them back to your computer and ensuring that you have access to all your important data. By restoring your files, you can seamlessly continue your work, access your cherished memories, and have all your essential documents at your fingertips.
If you followed Step 1 and backed up your files to an external hard drive, USB drive, or cloud storage, the process of restoring your files is relatively simple. Connect the external storage device or log in to your cloud storage account, and proceed to copy your files back onto your computer.
If you backed up your files to an external hard drive or USB drive, connect the drive to your computer and navigate to the backup location. Open the folder containing your files and either drag and drop them back into their original folders or copy and paste them where you want them to be stored.
If you stored your files on a cloud storage service, access the service on your computer and locate the backup folder or files. You can typically download the files individually or select multiple files or folders to download simultaneously. Choose the appropriate files and folders and download them to your computer’s local storage.
As you restore your files, take the time to organize them into appropriate folders or directories. This will help you keep track of your files and ensure easy access in the future.
It is important to double-check that all your files are successfully restored and accessible before deleting the backup. Make sure to open a few files from different folders to ensure they open without any issues.
While restoring your files, you may come across duplicate files or versions. Take the opportunity to declutter and delete any redundant or unnecessary files to free up storage space.
Lastly, consider setting up a scheduled backup solution to automate the process of backing up your files in the future. This will ensure that your files are regularly and securely backed up, providing you with peace of mind.
By restoring your files, you are bringing back the important data that makes your computer uniquely yours. Whether it’s documents for work, family photos, or personal projects, having your files restored means you can seamlessly continue your digital life. With your files restored and your reinstallation process complete, your computer is now refreshed and ready for you to dive back into your digital world.
Conclusion
Reinstalling Windows can be a daunting task, but by following this step-by-step guide, you can successfully navigate the process and enjoy the benefits of a fresh installation. From backing up your files to reinstalling applications and restoring your data, each step plays a crucial role in ensuring a smooth and efficient reinstallation process.
Remember the importance of backing up your files before proceeding, as it ensures that your valuable data is protected and can be easily restored. Creating a Windows installation media allows you to have the necessary files readily available to reinstall the operating system, giving you a clean slate to work with.
Booting from the installation media and installing Windows is a pivotal step in the reinstallation process. Pay attention to the settings and options presented during installation to customize Windows to your preferences. Subsequently, installing device drivers ensures that your hardware components function properly, and updating Windows keeps your system secure and up to date.
Completing the reinstallation process involves reinstalling your applications, bringing back the software tools you rely on, and restoring your files to regain access to your important data and cherished memories.
By following these steps, you can revitalize your computer’s performance, resolve software issues, and start with a fresh and optimized Windows installation.
Remember to take your time with each step and carefully follow the instructions provided. If you encounter any difficulties, refer to the documentation from software developers or seek assistance from online forums and support communities. Taking these precautions will help you avoid any potential pitfalls and ensure a successful reinstallation process.
Now that you have a clear understanding of the steps involved, it’s time to gather your resources and embark on the journey of reinstalling Windows. Restore your computer’s performance, reclaim your workspace, and enjoy the benefits of a clean and efficient operating system. Good luck!