


Introduction
As technology rapidly advances, it’s not uncommon for computers to become outdated or suffer performance issues. In such cases, wiping your computer’s hard drive and reinstalling the operating system can be an effective solution. If you’re using Windows 7, this guide will walk you through the step-by-step process of wiping your computer and reinstalling Windows 7 to bring it back to its optimal performance.
Before you proceed, it’s important to note that wiping your computer will erase all data, so it’s crucial to back up any important files or documents to an external storage device or cloud service. Additionally, ensure that you have the necessary software installation files, product keys, and drivers for your hardware components handy, as you will need them during the reinstallation process.
This guide will cover everything you need to know, from backing up your data to reinstalling Windows 7 and updating your drivers. By following these steps, you’ll be able to wipe your computer clean and start afresh, free from any clutter or performance issues.
So, if you’re ready to wipe your Windows 7 computer and give it a fresh start, let’s dive into the process step by step, ensuring your data is backed up and your computer is ready for the reinstallation of Windows 7.
Back up your data
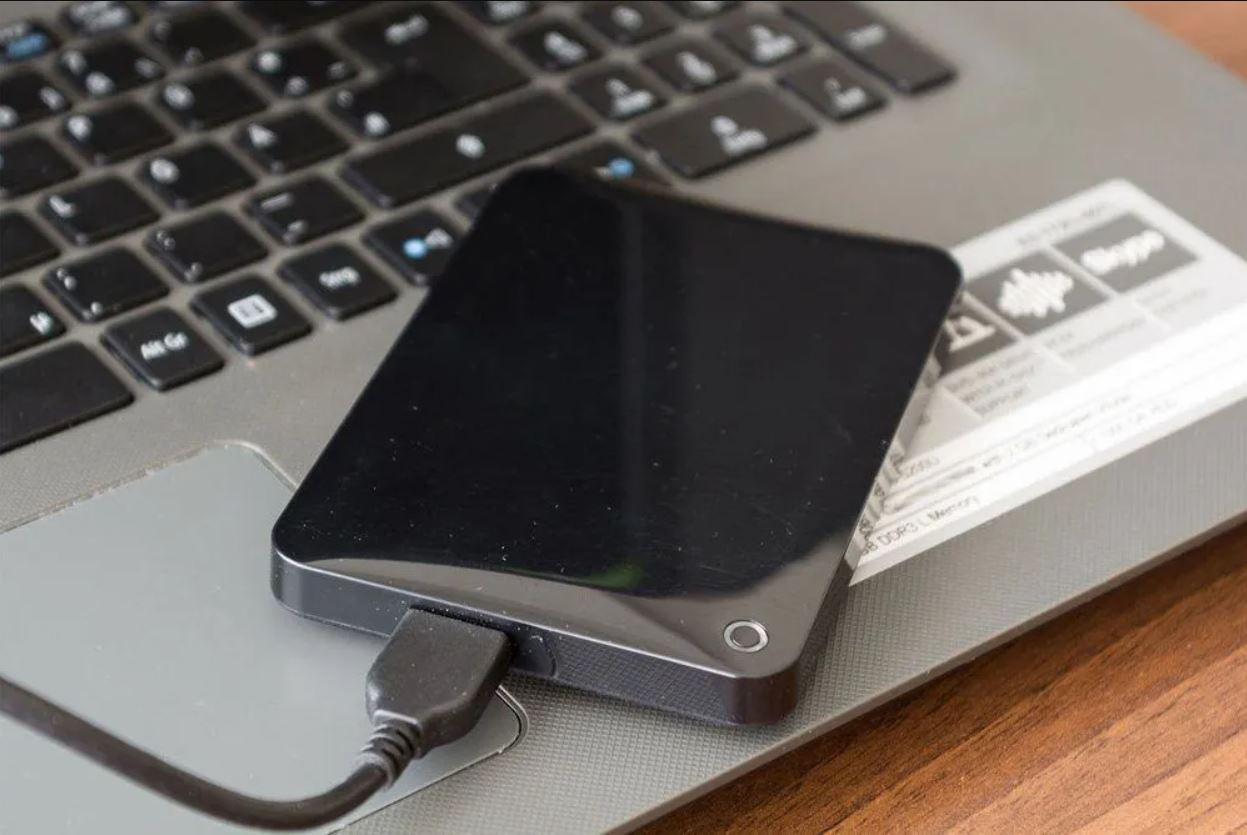
Before wiping your computer, it is crucial to back up any important files, documents, and personal data to prevent permanent loss. Here are the steps to back up your data:
- Identify your important files: Take some time to determine which files and folders you need to back up. This may include documents, photos, videos, music, and any other personal data.
- Prepare an external storage device: Connect an external hard drive, USB flash drive, or use a cloud storage service to store your backup files. Ensure that you have enough free space to accommodate all your important data.
- Transfer your files: Copy and paste your important files and folders to the external storage device or upload them to a cloud storage service. Organize your files in a way that makes it easy to locate them later.
- Verify your backup: After transferring your files, verify that they have been successfully copied to the external storage device or cloud storage. Double-check the files to ensure their integrity and completeness.
It is essential to take the time to back up your data properly before proceeding with wiping your computer. This ensures that in the event of any unforeseen circumstances or accidental data loss, you have a copy of your important files readily available. Keep your backup device in a safe place to protect it from damage or loss during the wiping and reinstallation process.
Deactivate software licenses and services
Before wiping your Windows 7 computer, it’s important to deactivate any software licenses and services that are tied to your current installation. This ensures that you can properly transfer and reactivate them on your fresh installation. Here’s what you need to do:
- Compile a list of software: Make a note of all the software applications you have installed on your computer, including their corresponding license keys or activation methods. This will help you reactivate them later.
- Check for online activations: Visit the websites of the software vendors and check if any of your licenses are tied to an online activation system. If so, log in to your account and deactivate the licenses from your current installation.
- Use built-in deactivation options: Certain software applications, especially those with limited activations, provide an option to deactivate the license within the program. Look for this option and use it to release the license from your current installation.
- Contact customer support: If you encounter any difficulties deactivating your licenses or services, reach out to the software vendor’s customer support for assistance. They can guide you through the deactivation process and provide further instructions.
By deactivating your software licenses and services, you ensure that you can reinstall and activate them on your fresh installation without any issues. Taking the time to deactivate licenses and services will save you from potential complications and provide a smoother transition to your new operating system.
Remember to keep a record of your software licenses, activation keys, and any deactivation confirmations you receive. This will make it easier for you to reactivate your software once your computer is up and running on the freshly installed Windows 7.
Create a Windows 7 installation media
In order to reinstall Windows 7 on your computer, you’ll need to create a Windows 7 installation media. This will allow you to boot from the installation media and initiate the reinstallation process. Here’s how you can create a Windows 7 installation media:
- Obtain a Windows 7 ISO: First, you’ll need to obtain a Windows 7 ISO file. If you have a Windows 7 installation disk, you can create an ISO file from it using software like ImgBurn or Rufus. Alternatively, you can download the Windows 7 ISO file from a trusted source, such as the Microsoft website.
- Prepare a USB flash drive or DVD: Depending on your preference, you can use a USB flash drive or a DVD to create the installation media. Ensure that the USB flash drive or DVD has sufficient storage capacity to accommodate the Windows 7 ISO file.
- Use Windows USB/DVD Download Tool: Microsoft provides a free tool called Windows USB/DVD Download Tool, which allows you to create a bootable USB flash drive or DVD from the Windows 7 ISO file. Download and install this tool on your computer.
- Run the Windows USB/DVD Download Tool: Open the Windows USB/DVD Download Tool and follow the on-screen instructions. Select the Windows 7 ISO file you obtained earlier, choose your USB flash drive or DVD as the destination, and let the tool create the installation media.
- Verify the installation media: Once the creation process is complete, verify that the USB flash drive or DVD is bootable. You can do this by restarting your computer and booting from the installation media to ensure that it loads the Windows 7 setup.
By creating a Windows 7 installation media, you’ll have the necessary tool to reinstall the operating system on your computer. This step sets the stage for the next phase of the process, which involves wiping the hard drive and installing a fresh copy of Windows 7.
Make sure to keep the installation media in a safe place, as you’ll need it during the reinstallation process and for any future installations or repairs on your Windows 7 computer.
Boot from the installation media
After creating the Windows 7 installation media, the next step is to boot your computer from that media. This will allow you to initiate the Windows 7 setup process and proceed with wiping your computer. Follow these steps to boot from the installation media:
- Insert the installation media: If you’re using a USB flash drive, plug it into an available USB port on your computer. If you’re using a DVD, insert it into the DVD drive.
- Restart your computer: Restart your computer to begin the booting process. You may need to press a specific key (e.g., F2 or Delete) to access the BIOS or UEFI firmware settings. Check your computer’s manual or search online for the correct key to access the boot settings.
- Access the boot menu: Once in the BIOS or UEFI firmware settings, navigate to the Boot menu. From there, select the option to change the boot order or choose the device to boot from.
- Select the installation media: In the boot menu, choose the device that represents your Windows 7 installation media. It may be listed as a USB device or the DVD drive. Ensure that it is set as the primary boot device.
- Save the changes and exit: Save the changes you made to the boot order and exit the BIOS or UEFI firmware settings. Your computer will now restart and boot from the installation media.
Booting from the installation media is a crucial step that allows you to access the Windows 7 setup and begin the process of wiping your computer. It ensures that the installation media takes precedence over the existing operating system, allowing you to proceed with the reinstallation of Windows 7.
Once the computer successfully boots from the installation media, you’ll be ready to proceed to the next steps, which involve formatting the hard drive and installing Windows 7 on your freshly wiped computer.
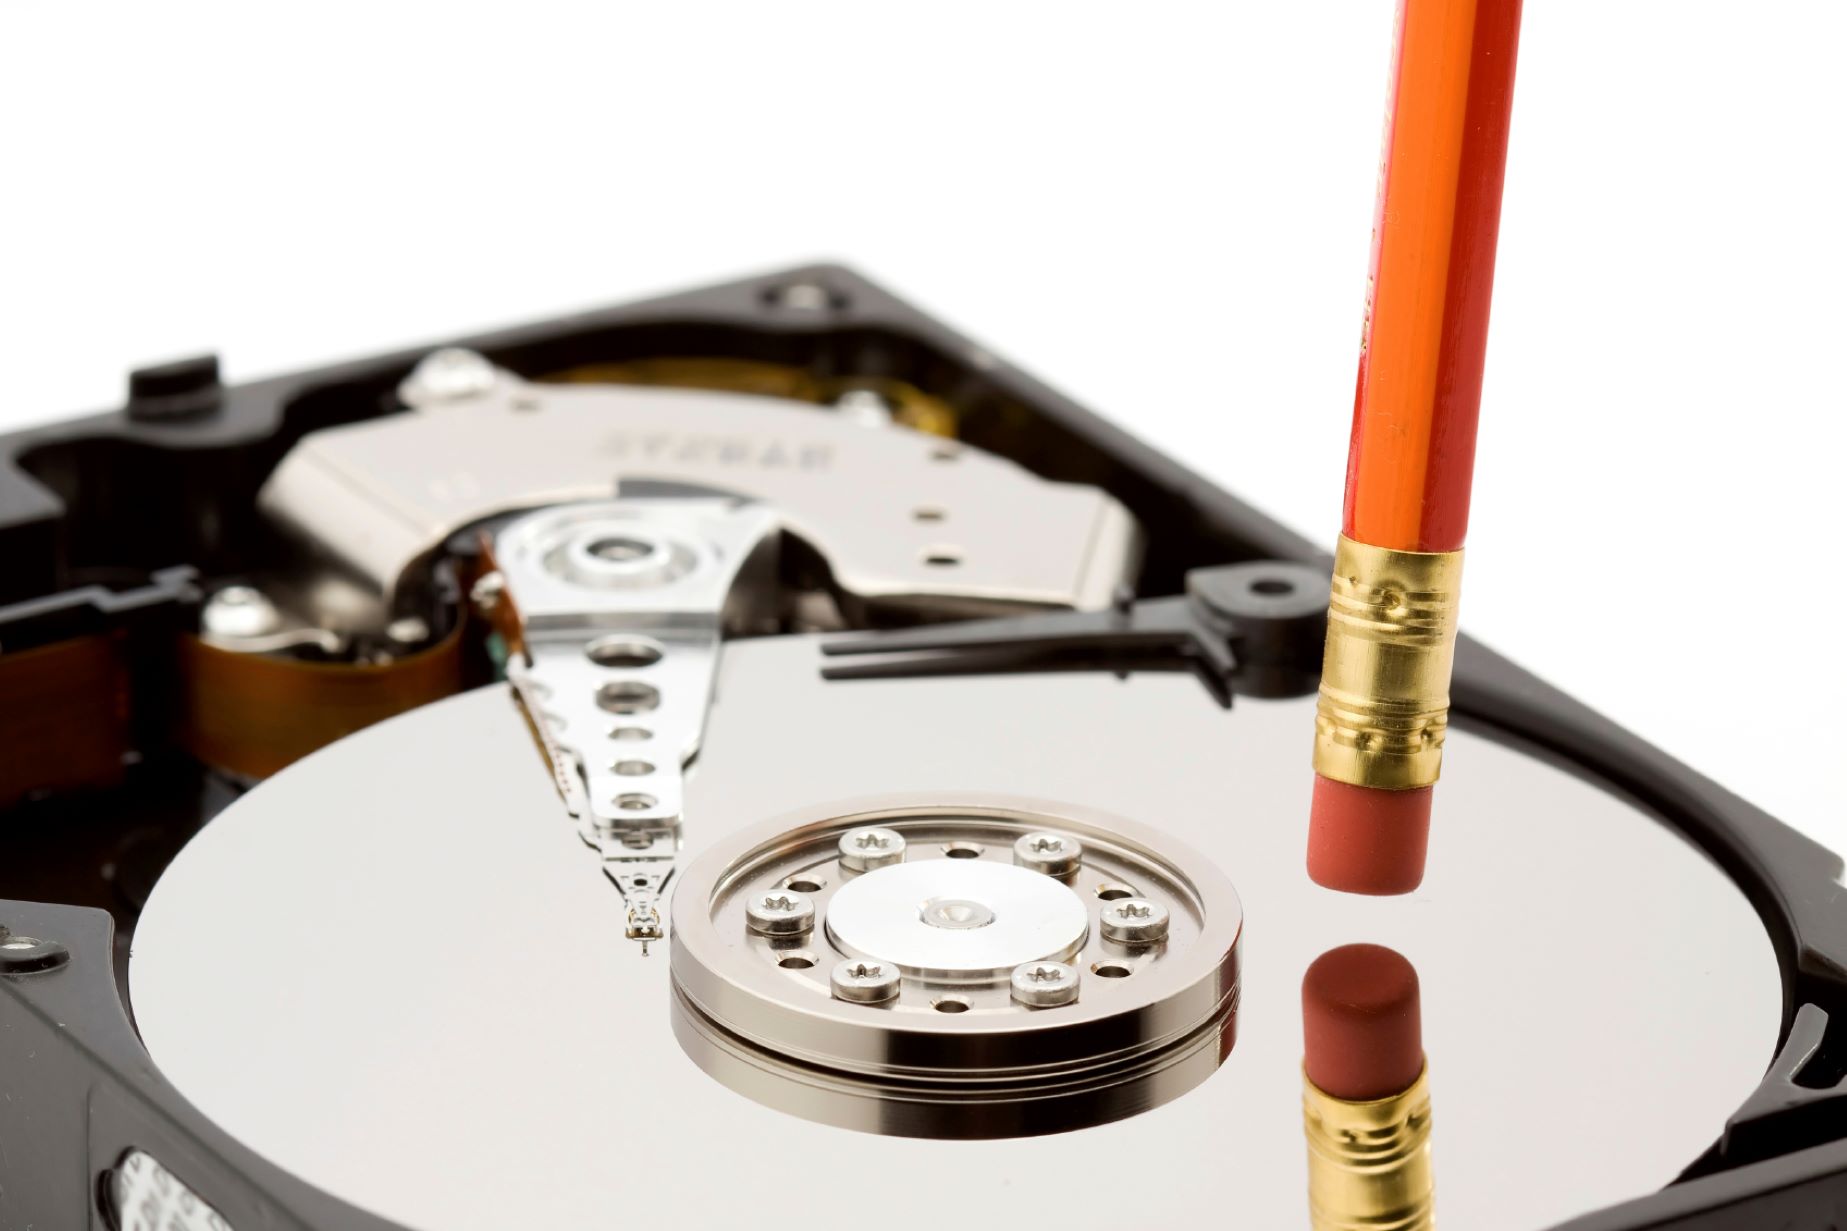
Format the hard drive
Formatting the hard drive is an essential step in wiping your computer and preparing it for the reinstallation of Windows 7. This process erases all data on the hard drive and sets it up for a clean installation. Follow these steps to format the hard drive:
- Boot from the installation media: Ensure that your computer is booted from the Windows 7 installation media, as explained in the previous section. This will bring you to the Windows 7 setup screen.
- Select language and region settings: On the setup screen, choose your preferred language, time, and currency format, as well as your keyboard or input method. Click “Next” to proceed.
- Accept the license agreement: Read and accept the Microsoft Software License Terms by checking the box. Click “Next” to continue the installation process.
- Choose the installation type: On the next screen, select the “Custom (advanced)” installation type. This provides you with more control over the installation process, allowing you to format the hard drive.
- Select the hard drive: On the partition selection screen, you’ll see a list of available hard drives and partitions. Select the partition where your current installation of Windows 7 is located.
- Format the hard drive: Once you’ve selected the partition, click on the “Drive options (advanced)” link. From the options, choose “Format” to begin the formatting process. Note that this will erase all data on the selected partition.
- Confirm the formatting: A warning message will appear, informing you that formatting the drive will erase all data. Confirm that you have backed up your data and no longer need it, then click “OK” to proceed with the formatting.
- Wait for the formatting to complete: The Windows 7 setup will now format the selected partition. The duration of this process can vary depending on the size of the partition and the speed of your computer.
Formatting the hard drive removes all data on that drive, ensuring a clean installation of Windows 7. It is important to double-check that you have backed up any important files and are ready to proceed with the formatting process. Once the formatting is complete, you’ll be ready to reinstall Windows 7 on your freshly formatted hard drive.
Reinstall Windows 7
Once you have formatted the hard drive, you are ready to reinstall Windows 7 on your computer. Follow these steps to complete the reinstallation:
- Select the formatted partition: In the Windows 7 setup, you will see the list of partitions on your computer. Select the newly formatted partition where you want to install Windows 7.
- Begin the installation: Click on the “Next” button to start the installation process. The setup will copy the files necessary for installation and expand them on your hard drive.
- Enter your product key: On the next screen, enter your valid Windows 7 product key. This key is typically found on a sticker on your computer or in the documentation that came with it.
- Accept the license terms: Read and accept the Microsoft Software License Terms by checking the box. Click on the “Next” button to proceed.
- Choose the installation type: Select the “Custom (advanced)” installation type to perform a clean installation of Windows 7 on the selected partition.
- Wait for the installation to complete: The installation process may take some time, depending on your computer’s speed. Make sure not to interrupt the installation by restarting or shutting down your computer.
- Set up your user account: After the installation is complete, Windows 7 will ask you to create a user account. Enter your desired username and password, as well as a hint for password recovery.
- Customize Windows settings: Follow the on-screen prompts to customize various settings, such as your computer’s name, privacy options, date and time settings, and network settings.
- Install updates and drivers: After completing the setup, it’s important to install the latest Windows updates and drivers for your hardware components. Visit the Microsoft website and the websites of your hardware manufacturers to download and install the necessary updates.
Reinstalling Windows 7 on your freshly formatted hard drive will provide you with a clean and optimized operating system. Make sure to take note of your product key, create a strong password, and customize your Windows settings according to your preferences. Once you have completed the reinstallation, you can proceed with updating your drivers and installing any necessary software.
Update your drivers and install software
After reinstalling Windows 7, it’s important to update your drivers and install the necessary software to ensure optimal performance and functionality. Follow these steps to update your drivers and install software:
- Connect to the internet: Make sure your computer is connected to the internet. This will allow you to download the latest driver updates and software.
- Windows Update: Start by running Windows Update to check for any available updates. Go to the Start menu, select “Control Panel,” and click on “Windows Update.” Follow the prompts to search for and install any updates for your system.
- Update drivers: Visit the websites of your hardware manufacturers, such as your graphics card, sound card, and motherboard manufacturers. Look for driver updates specific to your model and download the latest versions. Install the drivers according to the manufacturer’s instructions.
- Install necessary software: Install any software that you regularly use, such as antivirus programs, productivity suites, and media players. Download the software installers from the official websites or use trusted sources.
- Check for software updates: Once you have installed the necessary software, check for updates within each program. Many software applications have built-in updaters that allow you to download and install the latest versions.
- Configure software settings: Customize each software program’s settings according to your preferences. This may include configuring your antivirus program, setting up email accounts in your email client, and adjusting media player settings.
- Restart your computer: After updating your drivers and installing software, it’s a good practice to restart your computer. This ensures that all changes and updates take effect.
Updating your drivers and installing necessary software is crucial for ensuring that your computer operates smoothly and securely. Keeping your drivers up to date improves compatibility with hardware components, while installing software enhances your productivity and entertainment experience.
Regularly checking for updates and keeping your drivers and software current is essential for maintaining the performance and security of your Windows 7 computer. Make it a habit to periodically visit the websites of your hardware manufacturers and software vendors to keep your system up to date.
Conclusion
Wiping your Windows 7 computer and reinstalling the operating system can bring new life to an outdated or sluggish machine. By following the steps outlined in this guide, you can successfully wipe your computer, reinstall Windows 7, and ensure that your system is clean, optimized, and ready for use.
Remember to back up your data before proceeding with the wiping process to prevent any permanent loss. Also, take the time to deactivate software licenses and services tied to your current installation to ensure a smooth transition to the fresh installation.
Creating a Windows 7 installation media allows you to boot from the media and initiate the reinstallation process. From there, you can format the hard drive, reinstall Windows 7, and set up your user account and personalized settings.
After the reinstallation, it’s important to update your drivers and install necessary software to ensure optimal performance and functionality. Keep your drivers up to date and regularly check for software updates to stay secure and take advantage of the latest features and improvements.
In closing, wiping your Windows 7 computer and reinstalling the operating system is a valuable process that can revitalize your machine and improve its overall performance. Following the steps outlined in this guide will help you achieve a fresh, clean Windows 7 installation that will serve you well for years to come.


![[Full Guide] How to Bypass Google Account Verification After Reset](https://robots.net/wp-content/uploads/2023/11/How-to-Bypass-Google-Account-Verification-After-Reset-300x180.png)


