Introduction
Welcome to this guide on how to format an SD card on Windows 10. SD cards, also known as Secure Digital cards, are commonly used to store digital content such as photos, videos, and documents. Formatting an SD card involves preparing the card for use by erasing all the existing data and setting up a file system that your computer can recognize.
There are various reasons why you may need to format an SD card. It could be that you want to reuse the card after transferring the data to another device, or you may encounter issues with the card such as corruption or incompatibility. Regardless of the reason, formatting the SD card can help resolve these issues and ensure optimal performance.
Before we dive into the different methods of formatting an SD card, it’s important to understand that formatting will erase all the data stored on the card. Therefore, make sure to backup any important files or data before proceeding with the formatting process.
In this guide, we will walk you through three different methods to format an SD card on Windows 10 – using File Explorer, Disk Management, and CMD (Command Prompt). Each method has its own advantages and may be suitable for different situations, so read on to find the method that best suits your needs.
What is an SD Card?
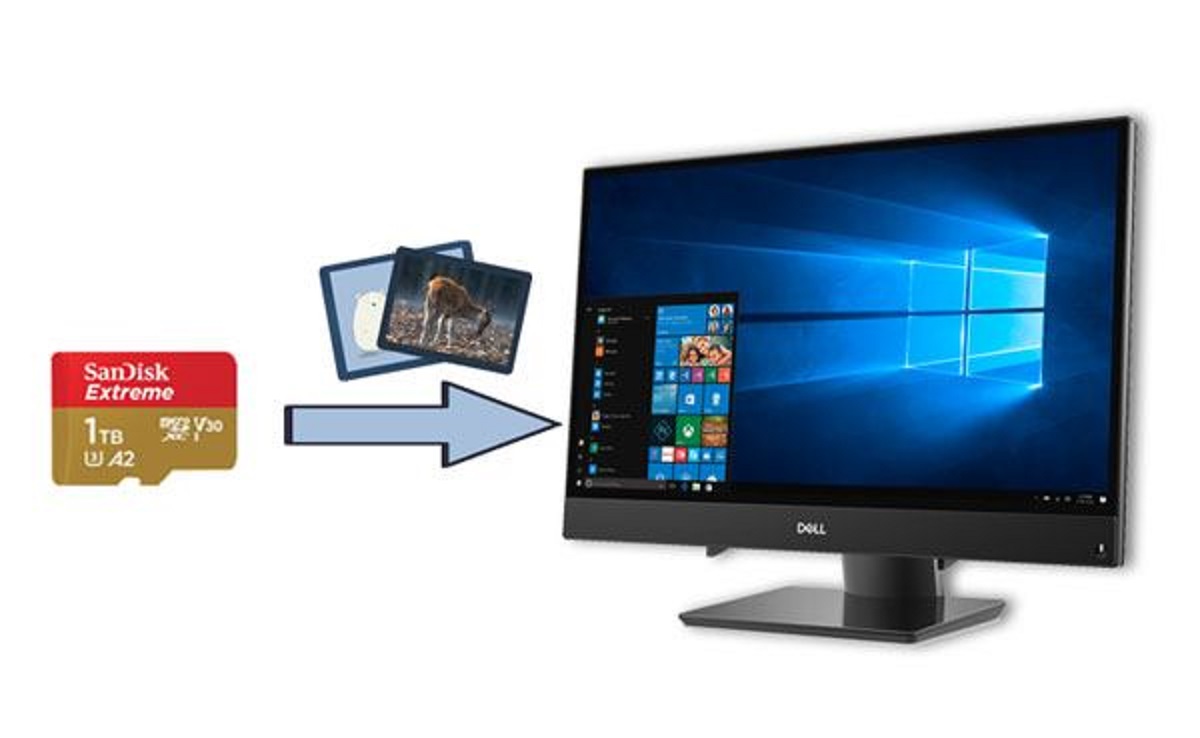
An SD card, short for Secure Digital card, is a small portable storage device commonly used to expand the storage capacity of electronic devices such as digital cameras, smartphones, tablets, and laptops. It is a non-volatile memory card that retains data even when it is not powered.
The SD card was introduced by the SD Association, a non-profit organization, back in 1999. Since then, it has become one of the most widely used storage formats due to its compact size, high storage capacities, and compatibility with a wide range of devices.
SD cards come in different types, including SDSC (Standard Capacity), SDHC (High Capacity), and SDXC (Extended Capacity). The capacity of an SD card can range from a few megabytes to several terabytes, with the higher-capacity cards being more expensive.
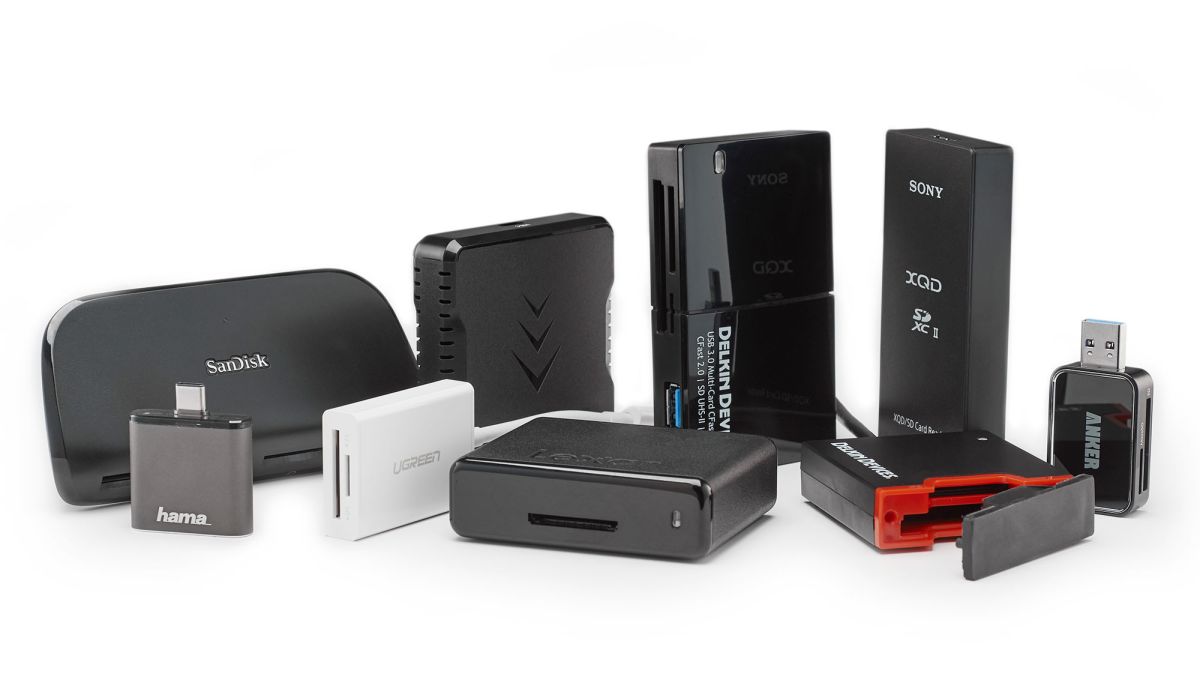
Not only do SD cards provide additional storage space, but they also offer a convenient way to transfer and backup files between devices. With the help of an SD card reader, you can easily insert the card into a computer’s USB port and access the files stored on it.
SD cards use flash memory technology, which means they have no moving parts and are more resistant to shock, vibration, and extreme temperatures compared to traditional hard drives. This makes them ideal for use in portable devices where durability is crucial.
In addition to storage, SD cards can also support other functionalities such as Wi-Fi connectivity (for transferring files wirelessly) and security features like write protection to prevent accidental data loss.
Overall, SD cards have revolutionized the way we store and transfer data, providing a convenient and reliable solution for our everyday digital storage needs. Whether you’re capturing precious memories on a digital camera or expanding the storage capacity of your smartphone, an SD card offers a versatile and portable solution.
Reasons to Format an SD Card
There are several reasons why you might need to format an SD card:
- Preparing a New SD Card: When you purchase a new SD card, it is recommended to format it before using it. Formatting prepares the card for use by creating a file system and directory structure that your device can recognize.
- Resolving File System Errors: If you encounter file system errors on your SD card, such as corrupted files or folders, formatting can help fix these issues. Formatting will erase all the existing data and create a fresh file system, eliminating any errors.
- Removing Personal Data: Formatting an SD card is an effective way to securely erase all the data on the card if you plan to sell it, recycle it, or give it away. This ensures that your personal information and files are completely removed from the card.
- Changing File System: Formatting allows you to change the file system of the SD card. Different file systems have different compatibility and performance characteristics. For example, you may need to format your SD card to FAT32 if you want to use it with certain devices that only support this file system.
- Resolving Compatibility Issues: If you are experiencing compatibility issues between your SD card and a device, formatting the card can sometimes help resolve the problem. Some devices may require a specific file system or formatting method to work properly.
- Removing Malware or Virus: Occasionally, SD cards may become infected with malware or viruses. Formatting the card can remove any malicious software, ensuring the card is clean and safe to use.
It’s important to note that formatting an SD card will erase all the data on it, so make sure to back up any important files before proceeding. Additionally, formatting should be done with caution, as it cannot always guarantee the recovery of lost data. If you have accidentally formatted your SD card and need to recover the lost data, it is recommended to use specialized data recovery software.
Now that you understand the various reasons for formatting an SD card, let’s explore the different methods you can use to format an SD card on Windows 10.
Precautions Before Formatting
Before you proceed with formatting your SD card, it’s important to take some precautions to ensure a smooth and successful process:
- Backup Your Data: Formatting an SD card will erase all the data stored on it. Therefore, it’s crucial to backup any important files, photos, or documents to prevent permanent data loss. You can transfer the files to a computer or another storage device before proceeding with the formatting process.
- Check for Compatibility: Make sure that the device you intend to use the formatted SD card with supports the file system you choose during the formatting process. Different devices may have different file system requirements, so it’s important to ensure compatibility to avoid any potential issues.
- Verify the Capacity: Ensure that the SD card you are formatting is the correct one, especially if you have multiple SD cards. Formatting the wrong card can result in the loss of important data. Double-check the capacity and label of the SD card before proceeding with the formatting process.
- Remove Write Protection: Some SD cards have a physical write-protection switch on the side. Before formatting the SD card, ensure that the write-protection switch is in the unlocked position. If the SD card is write-protected, you won’t be able to format it until the write protection is disabled.
- Confirm Power Source: Ensure that your device or card reader has a stable power source during the formatting process. Interruptions, such as power outages or a disconnected USB cable, can result in a failed formatting process and potential data loss.
- Scan for Viruses: Before formatting the SD card, it’s always a good idea to perform a virus scan on it. This will help ensure that the card is free of any malware or viruses that could potentially spread to other devices or files.
By taking these precautions, you can minimize the risk of data loss and ensure a successful formatting process. Remember, formatting permanently erases all the data on the SD card, so it’s essential to double-check and back up your files before proceeding.
Now that you have taken these precautions, let’s explore the various methods you can use to format an SD card on Windows 10.
Method 1: Format SD Card using File Explorer
Formatting an SD card using File Explorer is one of the simplest methods that Windows 10 offers. Follow these steps to format your SD card:
- Insert the SD card into your computer’s card reader or connect it via a card reader adapter if necessary.
- Open File Explorer by pressing the Windows key + E or by clicking on the folder icon on your taskbar.
- In the left-hand sidebar of File Explorer, locate and right-click on “This PC” or “My Computer”.
- From the context menu, select “Manage”. This will open the Computer Management window.
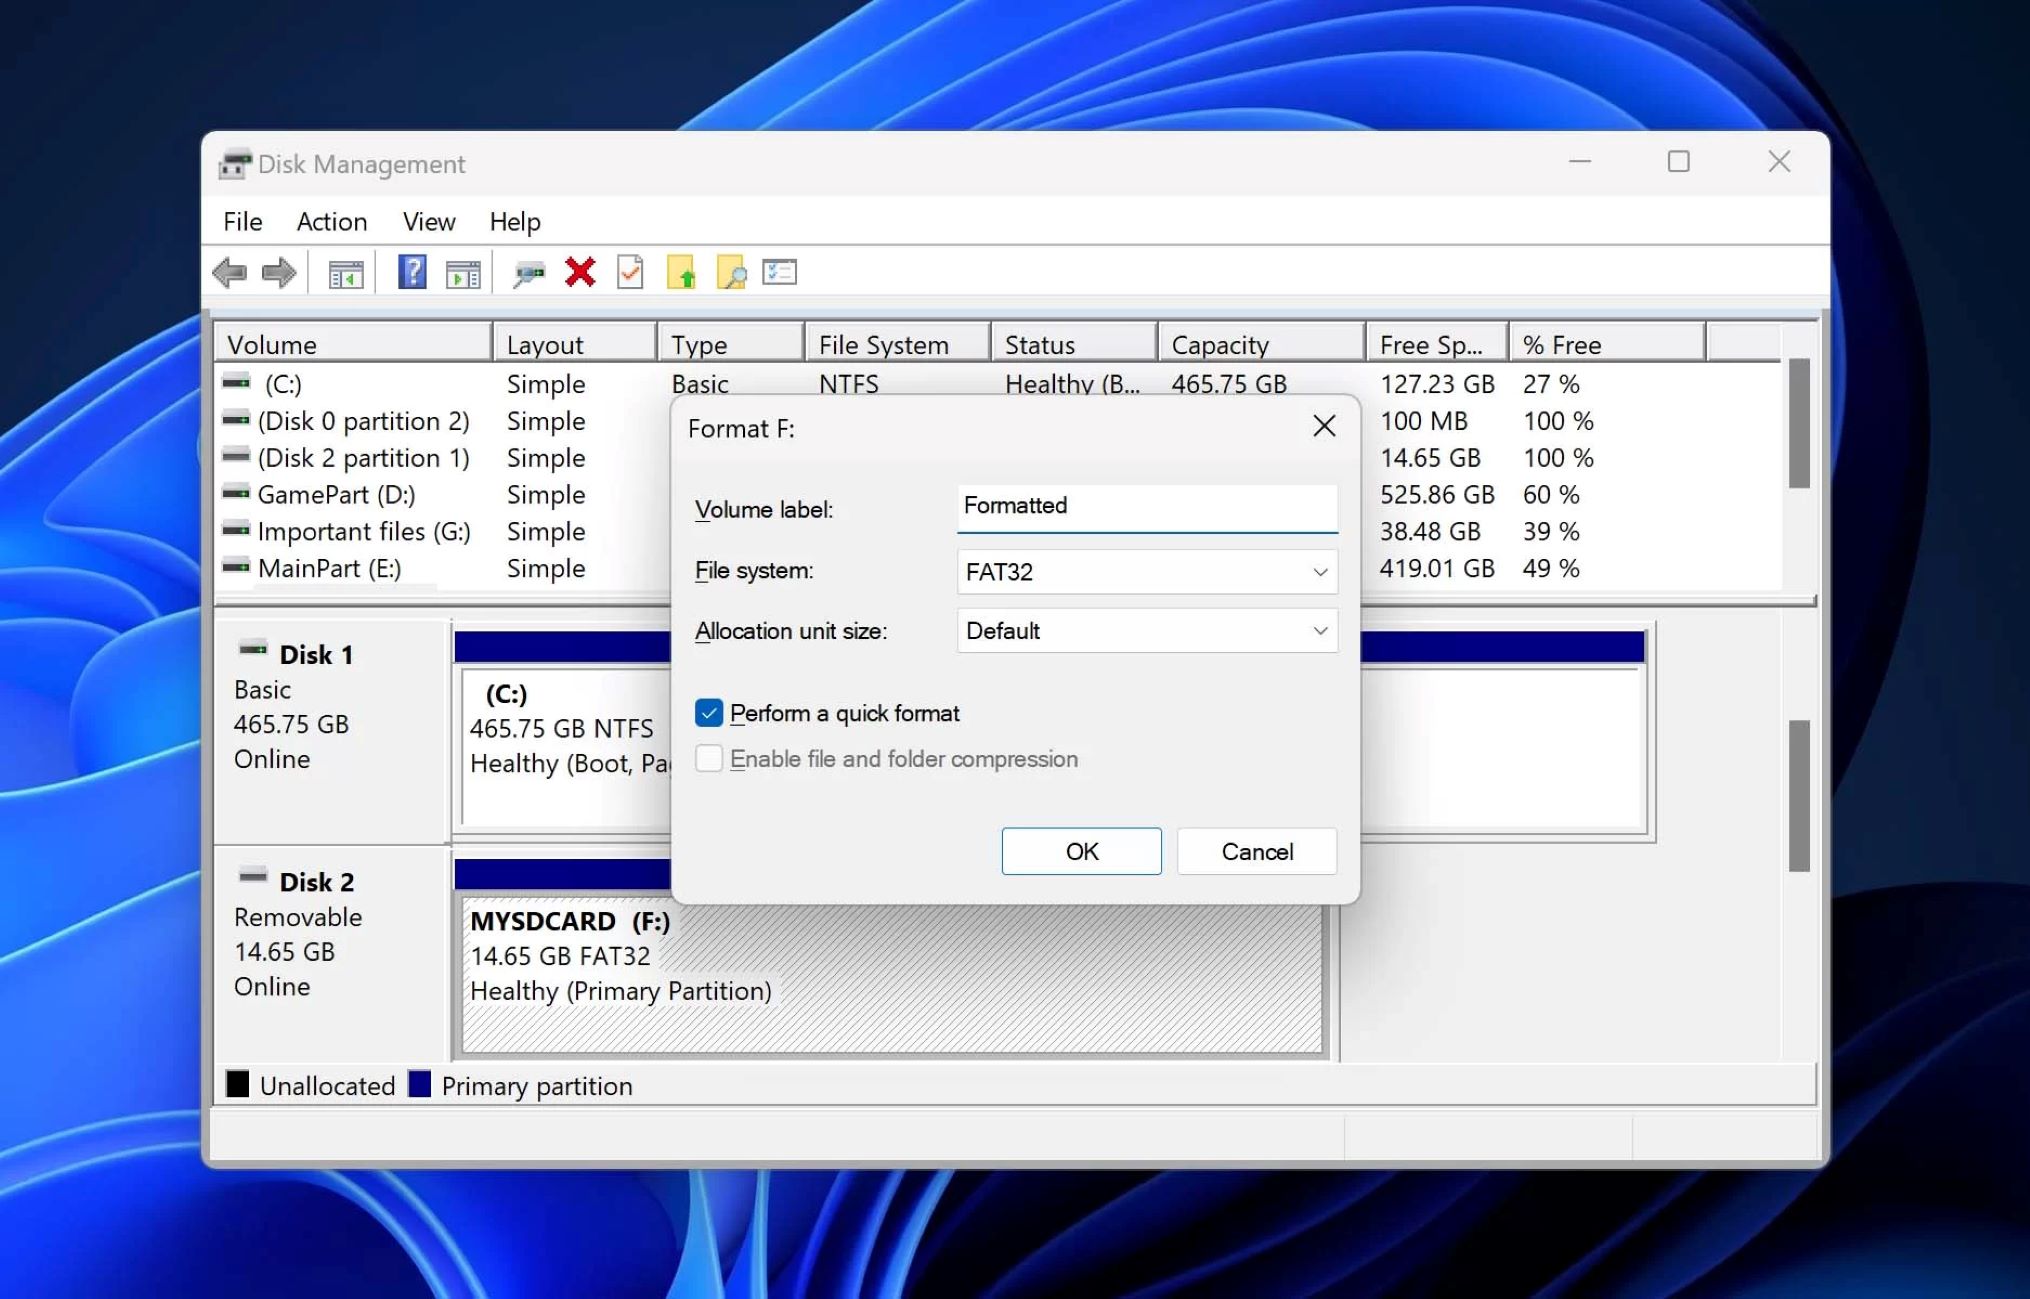
- In the Computer Management window, click on “Disk Management” under the “Storage” section.
- After a few moments, the “Disk Management” window will open, displaying a list of all the storage devices connected to your computer.
- Locate your SD card in the list. It will typically be labeled as “Removable” and have a capacity listed.
- Right-click on the SD card and select “Format” from the context menu.
- A format window will appear, allowing you to customize the format options. Choose the desired file system (such as FAT32 or exFAT).
- Adjust any other settings, like volume label or allocation unit size, if needed.
- Double-check that the correct SD card is selected for formatting, as this process will erase all the data on the card.
- Click on the “Format” button to begin the formatting process.
- Once the formatting is complete, Windows will display a message indicating that the format was successful. You can now safely remove the SD card from your computer.
Note that the time required to format the SD card will depend on its capacity.
Formatting an SD card using File Explorer is a straightforward and user-friendly method, making it ideal for most users. However, if you encounter any issues or prefer an alternative method, there are other options available, such as formatting using Disk Management or the Command Prompt. Let’s explore these alternatives in the next sections.
Method 2: Format SD Card using Disk Management
If you prefer a more advanced method to format your SD card on Windows 10, you can use the Disk Management tool. Follow these steps to format your SD card using Disk Management:
- Insert the SD card into your computer’s card reader or connect it via a card reader adapter if necessary.
- Press the Windows key + X on your keyboard and select “Disk Management” from the menu that appears. Alternatively, you can right-click on the Start button and choose “Disk Management” from the context menu.
- The Disk Management window will open, displaying a list of all the storage devices connected to your computer.
- Locate your SD card in the list. It will typically be labeled as “Removable” and have a capacity listed.
- Right-click on the SD card and select “Format” from the context menu.
- A format window will appear, allowing you to customize the format options. Choose the desired file system (such as FAT32 or exFAT).
- Adjust any other settings, like volume label or allocation unit size, if needed.
- Double-check that the correct SD card is selected for formatting, as this process will erase all the data on the card.
- Click on the “OK” button to begin the formatting process.
- A warning message will appear, informing you that all the data on the SD card will be deleted. Make sure you have backed up any important files before proceeding.
- Click on the “OK” button to confirm and start the formatting process.
- Once the formatting is complete, Windows will display a message indicating that the format was successful. You can now safely remove the SD card from your computer.
The formatting process may take some time, depending on the capacity of your SD card.
Formatting an SD card using Disk Management provides more control over the format options and is useful if you need to customize certain settings. However, if you encounter any issues or prefer an alternative method, there is another option available – formatting using the Command Prompt. Let’s explore this method in the next section.
Method 3: Format SD Card using CMD (Command Prompt)
Formatting an SD card using the Command Prompt (CMD) provides a more technical approach for advanced users. Follow these steps to format your SD card using CMD:
- Insert the SD card into your computer’s card reader or connect it via a card reader adapter if necessary.
- Open the Command Prompt by pressing the Windows key + R on your keyboard, then type “cmd” and press Enter. Alternatively, you can search for “Command Prompt” in the Start menu and open it from there.
- In the Command Prompt window, type “diskpart” and press Enter to launch the DiskPart utility.
- A new Command Prompt window will open with a “>” prompt.
- Type “list disk” and press Enter to display a list of all the disks connected to your computer.
- Locate your SD card in the list by identifying its size and disk number. Take note of the disk number, as you will need it in the following steps.
- Type “select disk X” (replace “X” with the disk number of your SD card) and press Enter to select the SD card.
- Type “clean” and press Enter to remove all the partitions on the SD card.
- Type “create partition primary” and press Enter to create a new primary partition on the SD card.
- Type “format fs=ntfs quick” (or replace “ntfs” with the desired file system like FAT32 or exFAT) and press Enter to format the SD card using the specified file system. The “quick” parameter will perform a quick format.
- Wait for the formatting process to complete. This may take some time depending on the capacity of your SD card.
- Once the formatting is complete, type “exit” and press Enter to exit the DiskPart utility.
- You can now safely remove the SD card from your computer.
Formatting an SD card using CMD allows for more control and customization, especially for advanced users who are comfortable with command-line interfaces. It is important to double-check the disk number and be cautious during the process to avoid formatting the wrong disk. If you encounter any issues or are unsure about using the Command Prompt, consider using the File Explorer or Disk Management methods.
Now that you have learned three different methods to format an SD card on Windows 10, you can choose the one that best suits your needs and proceed with confidence.
Troubleshooting Tips
While formatting an SD card on Windows 10 is usually a straightforward process, you may encounter some issues along the way. Here are a few troubleshooting tips to help you overcome common problems:
- Check the Card Reader: If your computer is not detecting the SD card, ensure that the card reader is working properly. Try using a different USB port or connecting the card reader to another computer to determine if the issue is with the card or the reader.
- Update Device Drivers: Outdated or corrupted device drivers can prevent successful formatting. Make sure that your computer’s drivers, especially the card reader driver, are up to date. Visit the manufacturer’s website or use device manager to update the drivers.
- Scan for Errors: If your SD card is experiencing file system errors or corruption, scanning for errors using the built-in Windows Error Checking utility (also known as chkdsk) can help. Right-click on the SD card, select “Properties,” go to the “Tools” tab, and click on “Check” under the “Error Checking” section.
- Disable Write Protection: If your SD card is write-protected, you won’t be able to format it. Check for a physical write-protection switch on the side of the card and make sure it is in the unlocked position. Some SD cards may also have a write protection setting in their properties menu which you can disable.
- Use a Different File System: If you are encountering issues formatting your SD card with a specific file system (such as FAT32 or exFAT), try using a different file system and see if it resolves the problem. Different devices may have different file system requirements.
- Use Third-Party Formatting Tools: If the built-in Windows formatting tools are not working, you can try using third-party formatting tools such as SD Card Formatter or DiskGenius. These tools often provide additional features and may help you overcome formatting issues.
- Try a Different Computer: If all else fails, try formatting the SD card on a different computer. This can help determine if the issue is specific to your computer or if there is a problem with the SD card itself.
Remember to proceed with caution when troubleshooting SD card formatting issues to avoid further data loss or damage to the card. If you continue to experience issues or are unable to format the SD card, consider seeking assistance from a professional or contacting the manufacturer for further support.
By following these troubleshooting tips, you can overcome common obstacles and successfully format your SD card on Windows 10.
Conclusion
Formatting an SD card on Windows 10 is a straightforward process that can help address various issues and optimize the performance of your card. In this guide, we explored three methods to format an SD card: using File Explorer, Disk Management, and the Command Prompt. Each method offers its own advantages and can be used based on your preferences and requirements.
Before formatting, it is crucial to take precautions such as backing up important data, checking for compatibility, and removing write protection. These precautions will help prevent data loss and ensure a smooth formatting process.
We also provided troubleshooting tips to overcome common issues that may arise during the formatting process. These tips can help you resolve any difficulties and ensure a successful formatting experience.
Remember, formatting an SD card permanently deletes all the data stored on it. Therefore, it is essential to back up your files and double-check the correct SD card before proceeding.
By following the steps outlined in this guide, you can confidently format your SD card on Windows 10 and optimize its performance for future use. Whether you need to prepare a new SD card, resolve file system errors, or securely erase personal data, formatting can help you achieve these goals.
Now that you have the knowledge and tools at your disposal, go ahead and format your SD card with ease and confidence!