Introduction
When it comes to using a Sandisk SD card, proper formatting is essential for optimal performance and compatibility with different devices. Whether you’re looking to clear data, resolve formatting errors, or simply start afresh with your SD card, understanding how to format it correctly is crucial. This comprehensive guide will walk you through the step-by-step process of formatting a Sandisk SD card on various operating systems, including Windows, Mac, and Android.
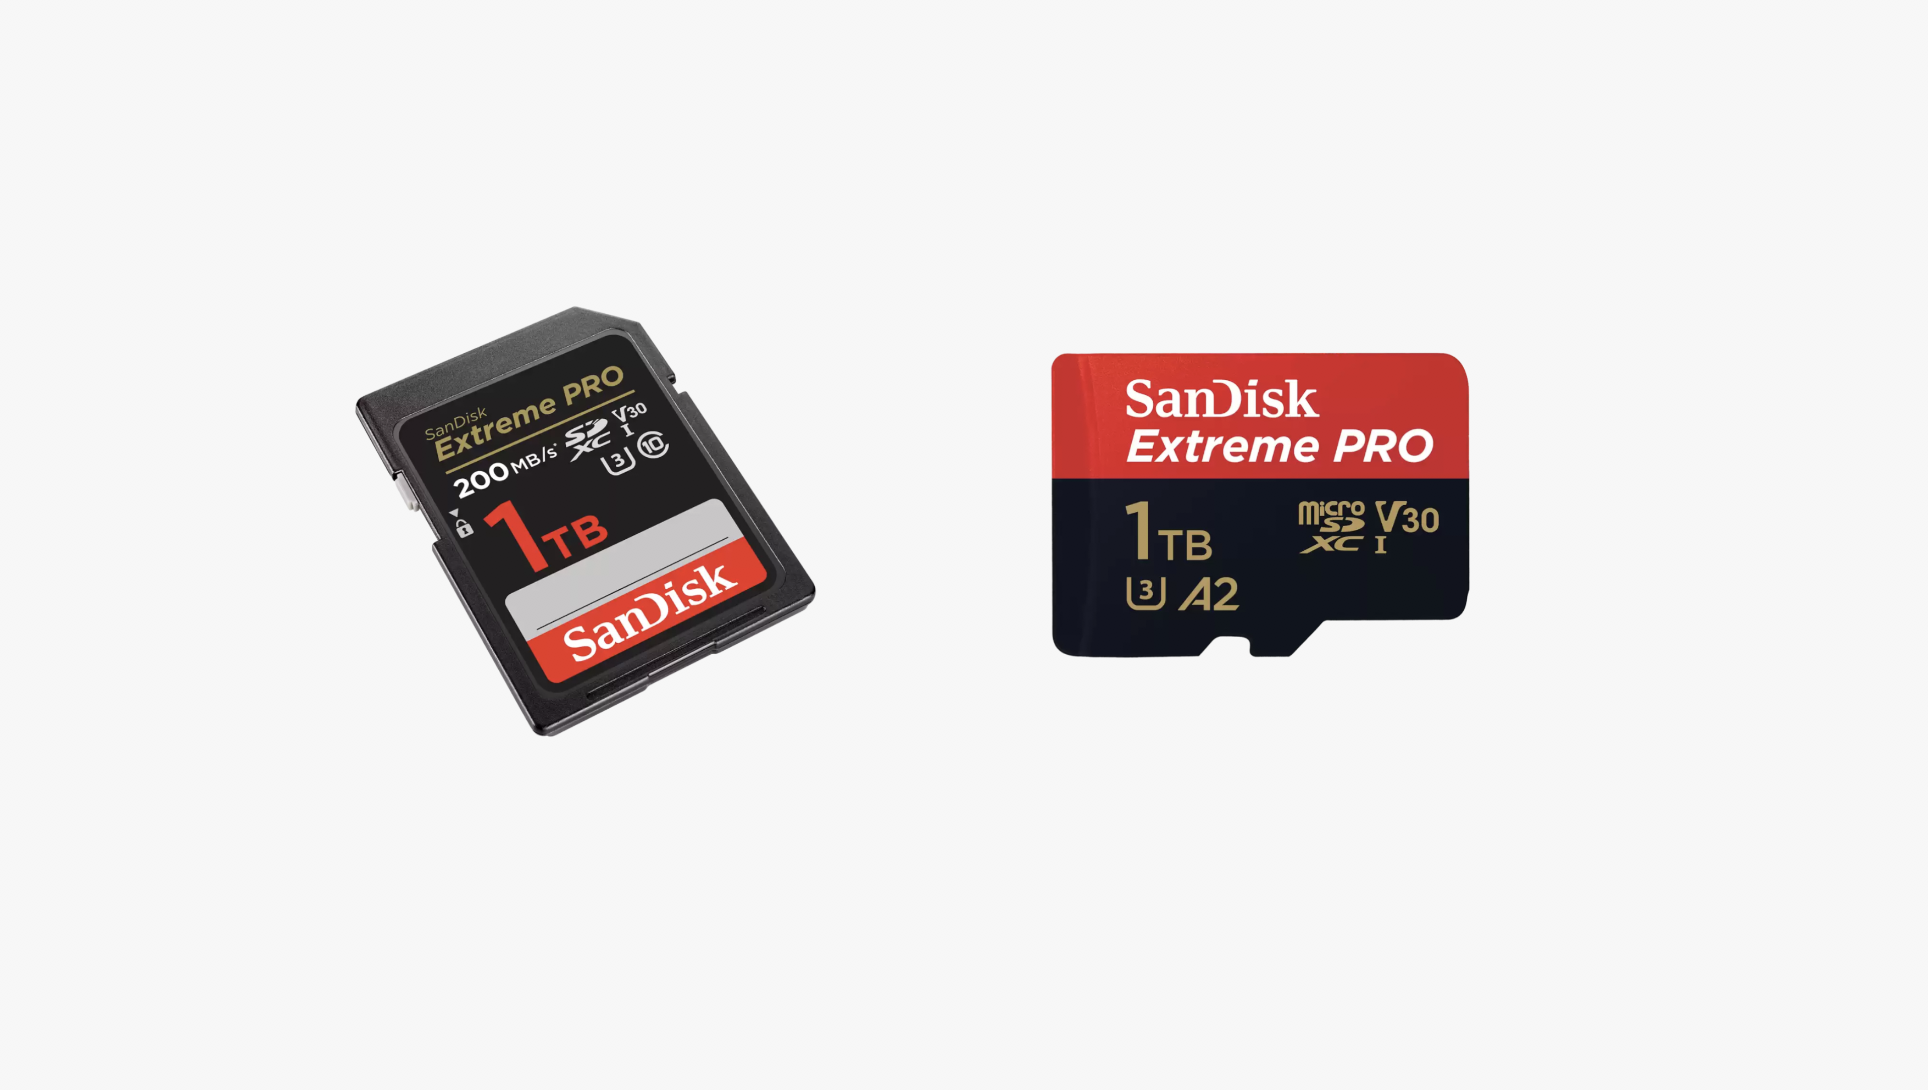
A Sandisk SD card is a popular choice for expanding storage capacity in smartphones, cameras, and other electronic devices. However, over time, these cards can accumulate unnecessary data, become corrupted, or develop compatibility issues. Formatting the SD card can help resolve these issues, restore it to its original state, and ensure smooth operation.
Before diving into the formatting process, it’s important to note that formatting erases all data on the SD card. Therefore, it’s crucial to back up any important files or documents before proceeding with the formatting process. Once you’ve backed up your data, you can confidently proceed with the formatting steps.
In the following sections, you will find detailed instructions on formatting a Sandisk SD card on Windows, Mac, and Android devices. It’s worth mentioning that the formatting process may vary slightly depending on the operating system version and device you’re using. Therefore, it’s advisable to double-check the specific instructions for your particular device to ensure a smooth and accurate formatting process.
Now, let’s dive into the step-by-step instructions for formatting your Sandisk SD card on various operating systems!
Checking Compatibility
Before formatting your Sandisk SD card, it’s essential to ensure that it is compatible with the device you intend to use it with. While Sandisk SD cards are widely compatible with different devices, it’s always a good idea to double-check the specifications to avoid any formatting issues.
Firstly, check the type and capacity of your Sandisk SD card. Sandisk manufactures SD cards in various formats, such as SDHC, SDXC, and microSD. Make sure that your device supports the specific format of your SD card. Additionally, check the capacity supported by your device. Some older devices may have limitations on the maximum SD card capacity they can recognize.
Next, verify the speed class of your SD card. Sandisk SD cards are labeled with different speed class ratings, such as Class 4, Class 10, UHS-I, or UHS-II. The speed class indicates the minimum sequential write speed of the card, which is important for capturing high-resolution photos or recording videos. Ensure that your device supports the minimum speed class required by your SD card to avoid any performance issues.
Additionally, check for any specific compatibility requirements mentioned by the device manufacturer. Some devices may have specific recommendations or limitations when it comes to using SD cards. Visit the manufacturer’s website or consult the device’s user manual for detailed compatibility information.
If you’re unsure about the compatibility of your Sandisk SD card, you can also try inserting it into the device and checking if it is recognized. Most modern devices will prompt you to format the SD card if it is not already formatted or if it is incompatible.
By taking the time to verify compatibility, you can ensure that your Sandisk SD card is compatible with your device before proceeding with the formatting process. This will help avoid any potential issues and ensure a smooth formatting experience.
Backing Up Data
Before you proceed with formatting your Sandisk SD card, it’s crucial to back up any important data that you may have stored on it. Formatting erases all data on the SD card, so creating a backup ensures that you don’t lose any valuable files or documents.
There are several methods you can use to back up your data from a Sandisk SD card:
- Transfer to a Computer: Connect your device to a computer using a USB cable or insert the SD card into a card reader. Copy and paste the files from the SD card to a designated folder on your computer’s hard drive. This method allows for easy access to your files and creates a backup on your computer.
- Cloud Storage: Upload your files to a cloud storage service, such as Google Drive, Dropbox, or iCloud. These services provide secure online storage, allowing you to access your files from any device with an internet connection. This method offers the advantage of automatic file synchronization and accessibility from multiple devices.
- External Storage Device: If you have an external hard drive or another SD card, you can transfer your files to it as a backup. Simply connect the external storage device to your computer and copy the files from the SD card to the external device. This provides an additional physical backup option.
Ensure that you have successfully copied all the necessary files and verified their integrity before proceeding with the formatting process. It’s always a good idea to double-check and confirm that your backup is complete to avoid any data loss.
Once you have created a backup of your data, you can proceed with the formatting process confidently, knowing that your files are safely stored elsewhere. Formatting your Sandisk SD card will erase all data, allowing you to start afresh and resolve any formatting errors or compatibility issues you may have encountered.
Format Options
When formatting a Sandisk SD card, you have several format options to choose from, depending on your needs and the compatibility of your device. Here are the most common format options:
- FAT32: The FAT32 file system is widely compatible with various devices, including digital cameras, smartphones, and game consoles. It supports file sizes up to 4GB and is suitable for SD cards with a capacity of 32GB or less. Keep in mind that FAT32 has limited support for individual files larger than 4GB.
- exFAT: The exFAT file system is suitable for larger capacity SD cards, typically above 32GB, and offers better compatibility with modern devices. It supports larger file sizes and is commonly used in devices like digital cameras, camcorders, and computers.
- NTFS: The NTFS file system is primarily used for SD cards in Windows-based systems. It provides advanced features such as file compression and file permissions. However, NTFS may have limited compatibility with other devices, such as digital cameras or smartphones.
- APFS (Apple File System): APFS is the default file system used on Mac computers and iOS devices. If you primarily use your Sandisk SD card with Apple devices, formatting it with APFS may provide better performance and compatibility.
When selecting a format option, consider the device(s) you plan to use your Sandisk SD card with. Check the device’s compatibility with different file systems and choose the one that best suits your needs. It’s important to note that some devices may have limitations or specific recommendations regarding the file system they support, so it’s advisable to consult the device’s user manual or the manufacturer’s website.
Additionally, keep in mind that formatting your SD card will erase all data on it. If you have already backed up your files, choose the appropriate format option based on your device’s compatibility and your personal preferences. Once you’ve selected the format option, proceed to the specific instructions for formatting on your operating system, which will be covered in the next sections.
Formatting on Windows
Formatting a Sandisk SD card on a Windows computer is a straightforward process. Windows provides a built-in Disk Management tool that allows you to format storage devices. Here’s how you can format your Sandisk SD card on Windows:
- Insert your Sandisk SD card into the SD card slot on your computer or connect it using an SD card reader.
- Open the File Explorer by pressing the Windows key + E on your keyboard.
- Right-click on “This PC” or “My Computer” and select “Manage”. This will open the Computer Management window.
- In the Computer Management window, click on “Disk Management” under the “Storage” section on the left-hand side.
- A list of storage devices will appear in the middle pane. Locate your Sandisk SD card from the list.
- Right-click on your SD card and select “Format”.
- A Format window will appear. Choose the desired file system: FAT32, exFAT, or NTFS.
- Provide a name for your SD card in the “Volume Label” field (optional).
- Ensure that the “Quick Format” option is selected if you want to perform a quick format.
- Click on “OK” to start the formatting process. A warning message will appear informing you that all data will be erased.
- Click “OK” again to confirm and begin formatting.
- Once the formatting process is complete, a message will appear confirming the successful formatting of your Sandisk SD card.
- Close the Computer Management window and safely eject your SD card from the computer.
After following these steps, your Sandisk SD card will be formatted and ready to use with your Windows device. Remember to check the compatibility requirements of the device you plan to use the SD card with to select the appropriate file system format.
Formatting on Mac
Formatting a Sandisk SD card on a Mac is a simple process that can be done through the Disk Utility application. Here’s how you can format your Sandisk SD card on a Mac:
- Insert your Sandisk SD card into the SD card slot on your Mac or connect it using an SD card reader.
- Open the Finder by clicking on the Finder icon located in your Dock.
- From the menu bar at the top, click on “Go” and select “Utilities”.
- In the Utilities folder, open the Disk Utility application.
- In the Disk Utility window, you will see a list of storage devices on the left-hand side. Locate your Sandisk SD card from the list and select it.
- Click on the “Erase” tab located at the top of the Disk Utility window.
- Select the desired file system format from the “Format” dropdown menu: exFAT, FAT32, or APFS.
- Provide a name for your SD card in the “Name” field (optional).
- Ensure that the “Scheme” is set to “GUID Partition Map”.
- Click on the “Erase” button to start the formatting process. A warning message will appear informing you that all data will be erased.
- Click “Erase” again to confirm and begin formatting.
- Wait for the formatting process to complete. Once finished, a message will appear confirming the successful formatting of your Sandisk SD card.
- Close the Disk Utility application and safely eject your SD card from the computer.
Now, your Sandisk SD card is successfully formatted and ready to be used with your Mac. Remember to check the compatibility requirements of the device you plan to use the SD card with and select the appropriate file system format.
Formatting on Android
Formatting a Sandisk SD card on an Android device can be done directly through the device’s settings. The exact steps may vary slightly depending on the Android version and device model you’re using. Here’s a general guide on how to format your Sandisk SD card on an Android device:
- Insert the Sandisk SD card into the SD card slot on your Android device. If your device doesn’t have a dedicated SD card slot, you can use a USB SD card reader compatible with your device.
- Open the “Settings” app on your Android device. The app icon may vary depending on your device, but it generally looks like a gear or cogwheel.
- Scroll down and tap on “Storage” or “Storage & USB” (depending on your device).
- Locate and tap on the option that mentions your SD card or external storage.
- Look for an option to format or erase the SD card. This option may be labeled as “Format SD card” or “Erase SD card”.
- Tap on the “Format” or “Erase” button to initiate the formatting process.
- You may be prompted to select a file system format. Choose the desired option (FAT32 or exFAT).
- Read and confirm any warning messages that appear, as formatting will erase all data on the SD card.
- Wait for the formatting process to complete. This may take a few minutes.
- Once the process is finished, you will see a confirmation message indicating the successful formatting of your Sandisk SD card.
- Exit the settings app and safely eject your SD card from the Android device.
After following these steps, your Sandisk SD card will be formatted and ready to use with your Android device. Remember to check the compatibility requirements of your device and select the appropriate file system format for optimal performance.
Troubleshooting
While formatting a Sandisk SD card is typically a smooth process, you may encounter some issues along the way. Here are a few common troubleshooting tips to help resolve any formatting issues:
1. SD Card Not Recognized: If your computer or device doesn’t recognize the SD card, try the following steps:
- Ensure that the SD card is properly inserted into the card slot or reader. Remove and reinsert it if necessary.
- Try using a different card slot or card reader to see if the issue is with the device or the SD card.
- If using an SD card adapter, ensure it is compatible with your SD card and device.
- Restart your computer or device and try again.
2. Formatting Error: If you encounter an error message while formatting your SD card, try these steps:
- Make sure you have the necessary permissions to format the SD card. If you’re using a computer, try formatting as an administrator.
- Check if the SD card is write-protected. Some SD cards have a physical switch on the side that can lock or unlock the card. Ensure it is in the unlocked position.
- If formatting on a computer, try using a different file system format (such as FAT32 or exFAT) to see if that resolves the issue.
3. Slow Formatting Process: Formatting a large capacity SD card may take some time. If you find the formatting process to be unusually slow, try these suggestions:
- Use a USB 3.0 card reader if available, as it provides faster data transfer speeds.
- Close any unnecessary applications or processes running in the background that may be using system resources.
- If using a computer, try using a different USB port to ensure it is providing adequate power to the card reader.
If you continue to experience issues despite troubleshooting, it’s advisable to contact Sandisk support or consult the user manual of your device for further assistance. They can provide specific guidance based on your device model and any known issues.
By following these troubleshooting tips, you should be able to overcome any potential obstacles and successfully format your Sandisk SD card.
Conclusion
Formatting your Sandisk SD card is an important step to ensure optimal performance and compatibility with your devices. Through this guide, we have explored the step-by-step process of formatting a Sandisk SD card on various operating systems, including Windows, Mac, and Android.
We began by emphasizing the importance of checking compatibility before formatting and the need to back up your data to avoid any potential loss. We then discussed different format options, such as FAT32, exFAT, NTFS, and APFS, and highlighted the significance of selecting the appropriate format based on your device’s compatibility and requirements.
For Windows users, we provided instructions on how to format a Sandisk SD card using the Disk Management tool. Mac users were guided through the formatting process using the Disk Utility application. Android users learned how to format their SD card through the device’s settings.
Additionally, we offered troubleshooting tips for common issues that may arise during the formatting process, such as SD card recognition problems, formatting errors, and slow formatting speeds. Following these tips can help overcome these obstacles and ensure successful formatting.
Formatting your Sandisk SD card allows you to resolve compatibility issues, clear unnecessary data, and start afresh. It’s a crucial maintenance task to keep your SD card in optimal condition and ensure seamless performance with your devices.
We hope that this comprehensive guide has provided you with the knowledge and confidence to format your Sandisk SD card effectively. Remember to always refer to the specific instructions for your device and operating system version to ensure accurate formatting.
Now, armed with this knowledge, you can proceed to format your Sandisk SD card, enhance its performance, and enjoy ample storage capacity for your digital files and memories.