Introduction
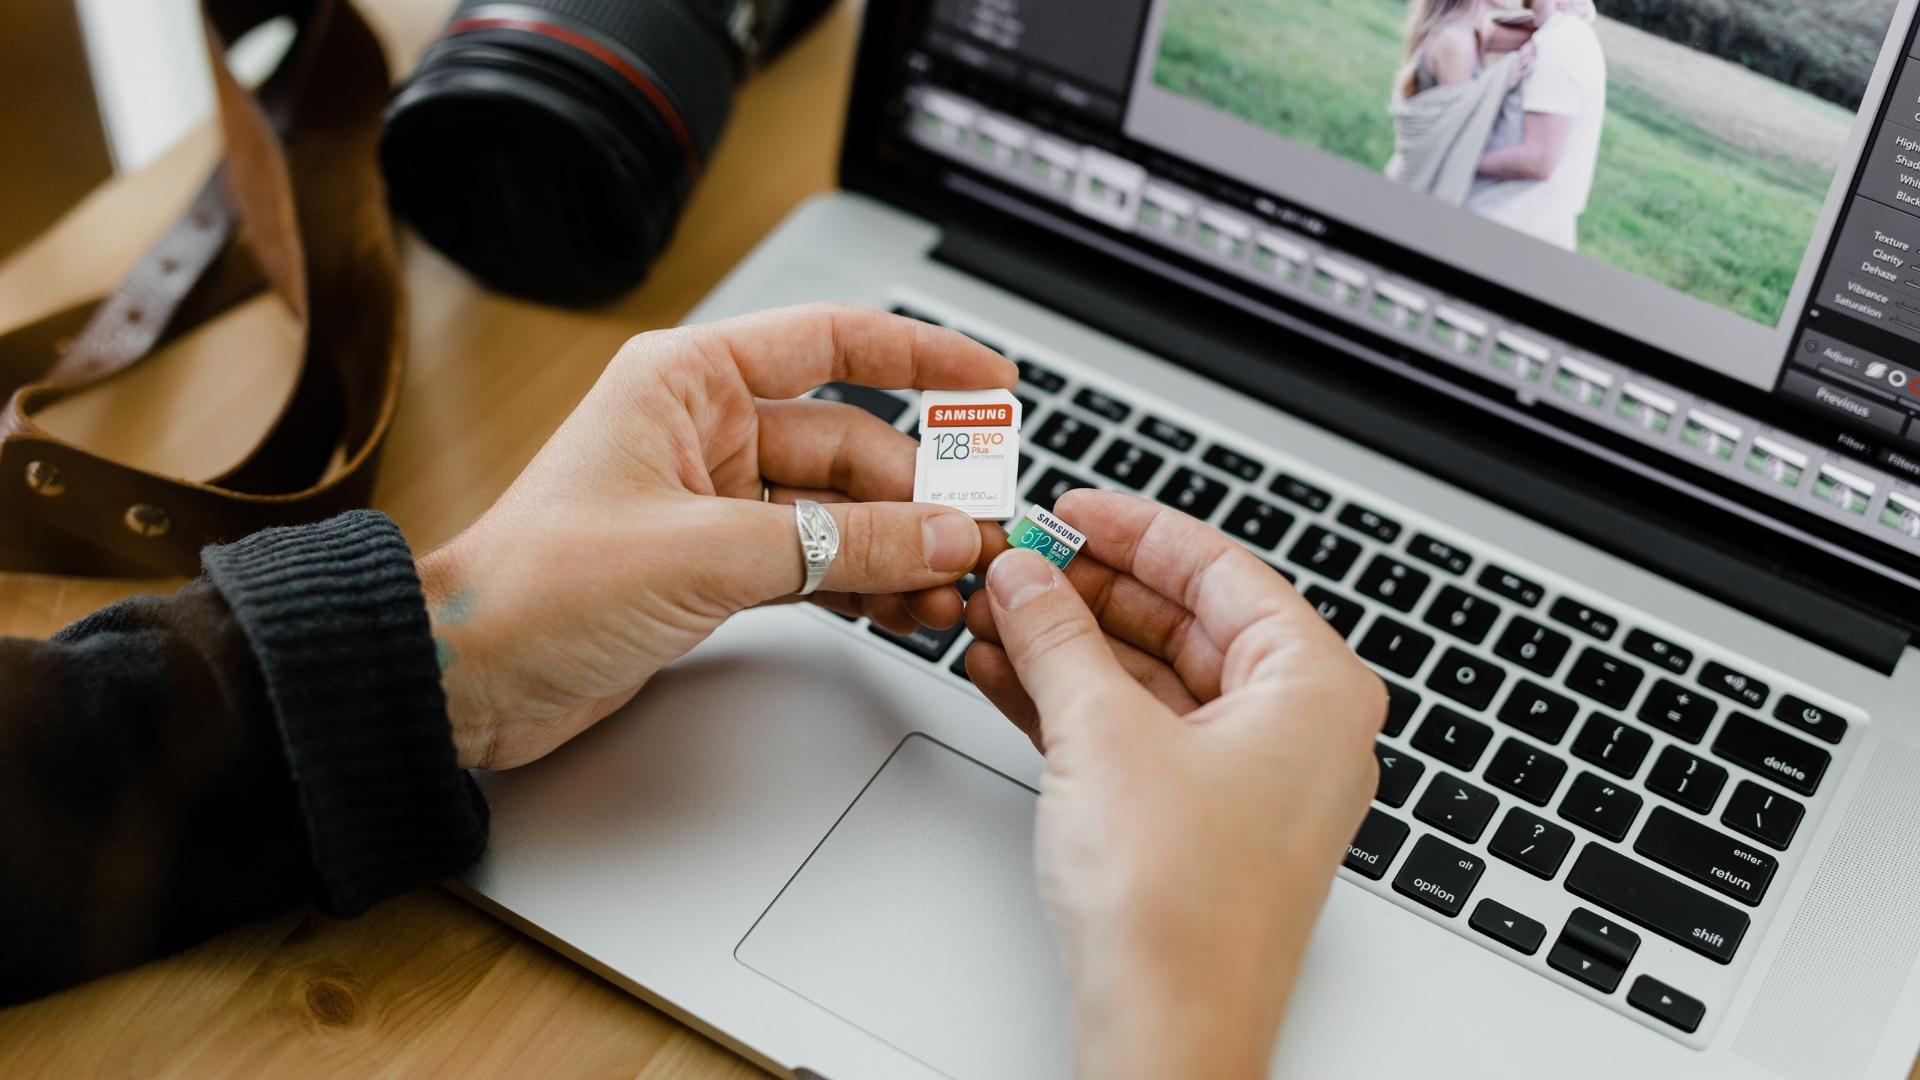
Welcome to the world of digital photography! Whether you are a professional photographer or an enthusiastic hobbyist, having a well-formatted SD card for your camera is crucial to ensure optimal performance and data integrity. In this article, we will guide you through the process of formatting an SD card for your camera in a simple and hassle-free manner.
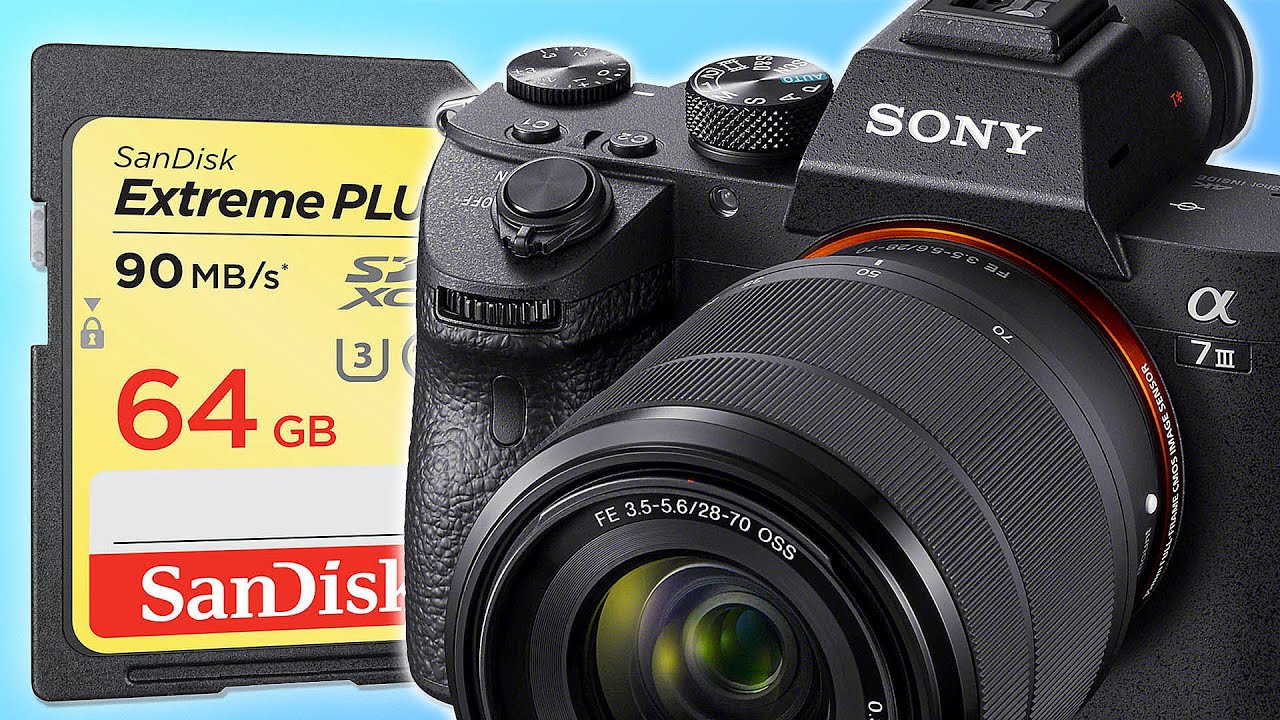
An SD card, or Secure Digital card, acts as the primary storage medium for most digital cameras. It allows you to store multiple photos and videos, providing you with the flexibility to capture countless moments without worrying about limited storage space. However, over time, an SD card can become cluttered with unnecessary files, resulting in slower performance and potential data corruption. Formatting the SD card helps to remove all existing data and prepares it for a fresh start.
Before we delve into the steps of formatting, it’s important to note that formatting an SD card will erase all data, so it is crucial to back up your important files beforehand. Additionally, different camera models and manufacturers may have slightly different methods of formatting, so it’s always advisable to refer to your camera’s user manual for specific instructions. Now, let’s explore the various methods to format an SD card for your camera.
Why Do You Need to Format an SD Card?
Formatting an SD card may seem like an unnecessary step, especially when you have just purchased a new card or have never experienced any issues with your current one. However, there are several important reasons why formatting an SD card is highly recommended:
Optimize Performance: Over time, an SD card can accumulate fragmented data, temporary files, and corrupted sectors. This can lead to decreased read and write speeds, resulting in longer buffering times and potential data loss. Formatting the SD card ensures that all files are organized properly, allowing your camera to access and save data more efficiently.
Remove Unwanted Files: Formatting an SD card not only cleans up fragmented data but also removes any residual files that may have been left behind after deleting photos or videos. These residual files can take up valuable storage space and potentially cause conflicts with new data. By formatting the SD card, you can start afresh, ensuring that no unwanted files are lingering in the background.
Prevent Data Corruption: SD cards are susceptible to data corruption due to various factors such as power interruptions, improper ejection, or exposure to malware. Formatting the SD card helps to eliminate any corrupt sectors and refreshes the file system, reducing the risk of data loss and ensuring the integrity of your photos and videos.
Resolve Camera Compatibility Issues: Occasionally, you may encounter compatibility issues between your camera and the SD card. This can result in error messages, camera freezes, or an inability to write or access files properly. In such cases, formatting the SD card can help resolve these compatibility issues and restore seamless functionality.
Ensure Data Privacy: If you are planning to sell or dispose of your SD card, formatting is crucial to ensure the complete eradication of all personal data. Formatting effectively erases all files and data from the card, protecting your privacy and ensuring that no sensitive information falls into the wrong hands.
Now that we understand the importance of formatting an SD card let’s move on to the precautions you should consider before formatting.
Precautions Before Formatting an SD Card
Before proceeding with the formatting process, it is important to take a few precautions to ensure a smooth and error-free experience. Here are some essential precautions to keep in mind:
Backup Your Data: Formatting an SD card will erase all the data stored on it. Therefore, it is crucial to back up your important photos, videos, and other files to another storage device or your computer. This step ensures that you do not lose any valuable data during the formatting process.
Check Compatibility: Ensure that your camera is compatible with the SD card you are using. Different cameras support different types and capacities of SD cards. Refer to your camera’s user manual or manufacturer’s website to determine the compatible SD card specifications.
Inspect the SD Card: Before formatting, examine the SD card for any physical damage or signs of wear and tear. If you notice any cracks, bent pins, or other damage, it is advisable to replace the SD card to avoid potential data loss or camera malfunction.
Charge Your Camera: Make sure your camera has sufficient battery charge before starting the formatting process. Sudden power loss during formatting could corrupt the data or create other issues. It is recommended to have a fully charged battery or connect your camera to a power source during formatting.
Remove the SD Card Properly: If you have been using the SD card in your camera, remember to eject it properly before removing it. Improper removal can lead to file system errors or even permanent damage to the SD card. Follow the recommended procedure in your camera’s manual to safely remove the SD card.
Consider a Quick Format: While a full format is recommended for a thorough cleaning of the SD card, if you are pressed for time, you can opt for a quick format. Keep in mind that a quick format only deletes the file allocation table, making the data inaccessible but still recoverable. A full format, on the other hand, erases the entire card securely.
By taking these precautions, you can ensure a smooth and error-free formatting process for your SD card. Now let’s move on to the different methods of formatting an SD card for your camera.
Steps to Format an SD Card for a Camera
Formatting an SD card for your camera is a straightforward process. Depending on your camera model and personal preference, there are several methods you can follow to format the SD card. Here, we will outline three common methods:
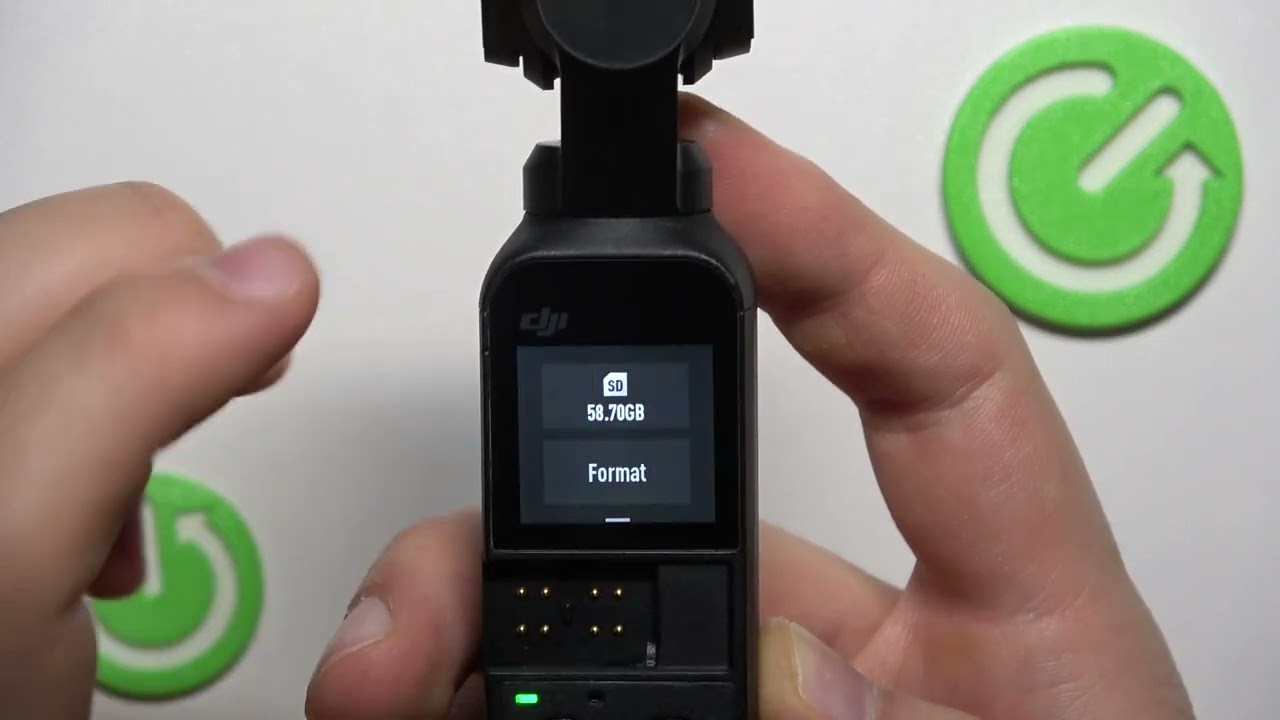
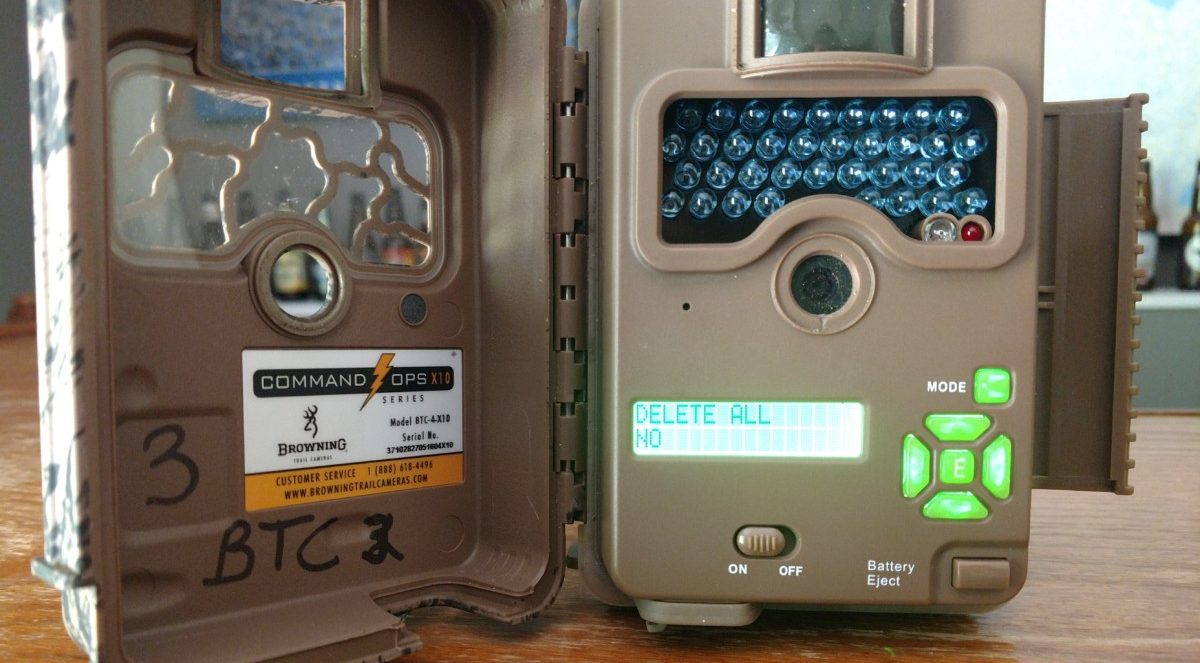
Method 1: Format SD Card using the Camera:
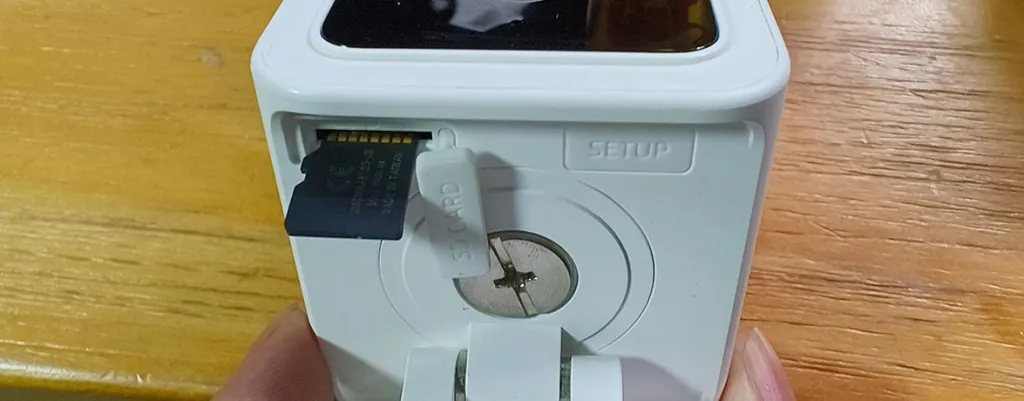
- Insert the SD card into your camera.
- Turn on your camera and access the menu or settings options.
- Navigate to the “Format” or “Memory Card” option in the menu.
- Select the SD card you want to format.
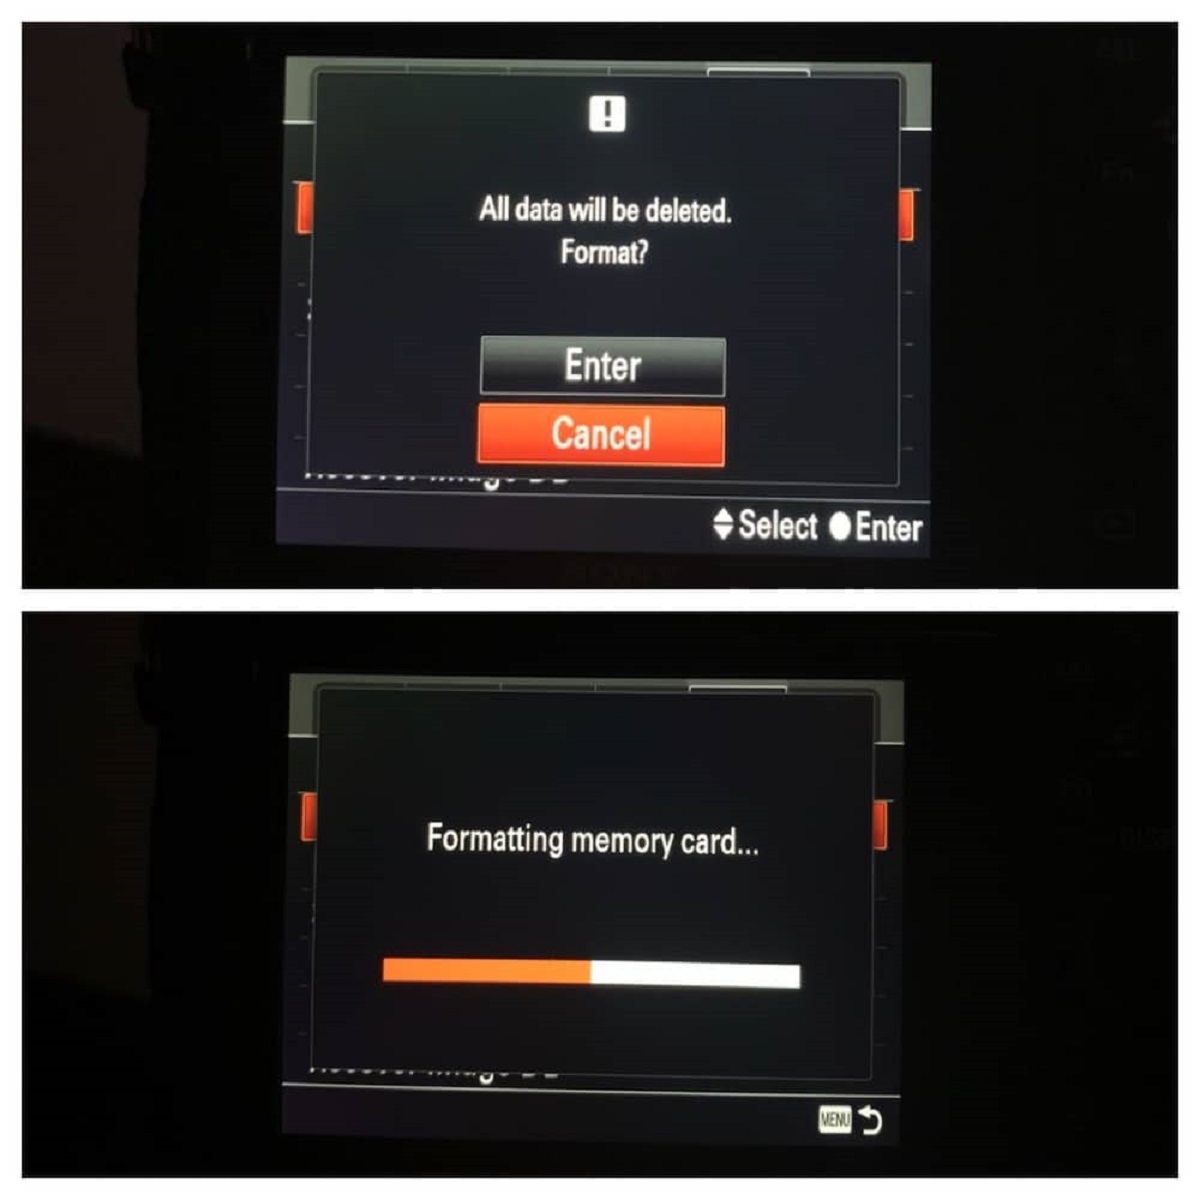
- Choose the “Format” option and confirm your selection.
- Wait for the formatting process to complete. Do not turn off the camera or remove the SD card during this time.
- Once the formatting is done, your SD card will be ready to use.
Method 2: Format SD Card using a Computer:
- Connect your camera to your computer using a USB cable or insert the SD card into a card reader connected to your computer.
- Open File Explorer (Windows) or Finder (Mac) on your computer.
- Locate and select the SD card under the “Devices” or “Drives” section.
- Right-click on the SD card and select the “Format” option from the context menu.
- Choose the file system format (usually FAT32) and select “Quick Format” if available.
- Click on the “Start” or “Format” button to initiate the formatting process.
- Wait for the formatting to complete and then safely eject the SD card from your computer.
Method 3: Format SD Card using a Card Reader:
- Remove the SD card from your camera.
- Insert the SD card into a card reader.
- Connect the card reader to your computer.
- Follow steps 2 to 7 mentioned in Method 2 to format the SD card using your computer.
Remember, the formatting process might take a few minutes, depending on the size of the SD card and the formatting method chosen. Once the process is complete, your SD card will be formatted and ready for use in your camera.
Now that you know how to format an SD card using different methods, let’s move on to some important tips to keep in mind while formatting.
Method 1: Format SD Card using the Camera
Formatting an SD card using your camera is the most direct and convenient method. Here are the steps to format an SD card using the camera:
- Make sure your camera is powered off. Insert the SD card into the designated slot or compartment.
- Turn on your camera and access the menu or settings options. The location of the menu may vary depending on your camera model.
- Using the camera’s buttons or navigation wheel, navigate to the “Format” or “Memory Card” option in the menu.
- Once you have selected the “Format” option, you should see a list of available storage devices. Choose the SD card you want to format.
- Next, select the “Format” option to initiate the formatting process. You may be asked to confirm your selection.
- Now, wait for the formatting process to complete. Depending on the size of your SD card, this may take a few seconds to a couple of minutes. Do not turn off the camera or remove the SD card during this time.
- Once the formatting is complete, you will receive a confirmation message or the camera will return to the main menu. Your SD card is now formatted and ready to be used.
It is important to note that some cameras may offer additional options during the formatting process, such as formatting as NTFS or exFAT. In most cases, it is recommended to choose the default file system format suggested by the camera (usually FAT32) for compatibility with various devices.
Keep in mind that the formatting process will erase all data on the SD card. Therefore, if you have any important files stored on the card, make sure to transfer them to a safe location before formatting.
Formatting the SD card using the camera is a convenient method that ensures compatibility with your specific camera model. However, if you don’t have access to your camera or prefer using a computer, there are alternative methods available, which we will explore next.
Method 2: Format SD Card using a Computer
If you have a computer, you can easily format an SD card using it. Here’s how you can format an SD card using a computer:
- Connect your camera to your computer using a USB cable or remove the SD card from your camera and insert it into a card reader connected to your computer.
- Open File Explorer on Windows or Finder on Mac by clicking on the respective icon on your desktop or in the taskbar/dock.
- Locate and select the SD card under the “Devices” or “Drives” section. It should be recognized as a removable storage device.
- With the SD card selected, right-click on it to open a context menu.
- In the context menu, choose the “Format” option. This will open the formatting settings for the SD card.
- Before proceeding with the format, you may have the option to select the file system format. It is recommended to choose the default file system format supported by most devices, such as FAT32.
- If available, check the “Quick Format” option to speed up the formatting process. Keep in mind that a quick format only deletes the file allocation table, so the data is still recoverable using specialized software.
- Click on the “Start” or “Format” button to initiate the formatting process.
- Wait for the process to complete. The time it takes to format the SD card will depend on its size and your computer’s performance.
- Once the formatting is finished, you will receive a notification or see the progress bar reach 100%. At this point, the SD card is formatted and ready for use.
After formatting the SD card using your computer, remember to safely eject the SD card from the computer before removing it from the card reader or disconnecting the USB cable. This ensures that the formatting process is completed without any issues or data corruption.
Formatting an SD card using a computer is a convenient option, especially if you prefer using the larger screen and user-friendly interface. However, if you don’t have access to a computer or prefer using only your camera, there is another method available, which we will discuss next.
Method 3: Format SD Card using a Card Reader
If you prefer not to use your camera or a computer with built-in card reader to format an SD card, you can use a separate card reader. Here’s how you can format an SD card using a card reader:
- Remove the SD card from your camera.
- Insert the SD card into a card reader. Make sure the card reader is connected to your computer via a USB port.
- Open File Explorer on Windows or Finder on Mac by clicking on the respective icon on your desktop or in the taskbar/dock.
- In File Explorer or Finder, locate the SD card under the “Devices” or “Drives” section. It should be recognized as a removable storage device.
- Right-click on the SD card and choose the “Format” option from the context menu.
- In the formatting settings, select the file system format. It is recommended to choose the default file system format supported by most devices, such as FAT32.
- If available, check the “Quick Format” option to speed up the formatting process. Keep in mind that a quick format only deletes the file allocation table, so the data is still recoverable using specialized software.
- Click on the “Start” or “Format” button to initiate the formatting process.
- Wait for the process to complete. The time it takes to format the SD card will depend on its size and your computer’s performance.
- Once the formatting is finished, you will receive a notification or see the progress bar reach 100%. At this point, the SD card is formatted and ready for use.
After formatting the SD card using the card reader and computer, remember to safely eject the SD card from the computer before removing it from the card reader or disconnecting the USB cable. This ensures that the formatting process is completed without any issues or data corruption.
Formatting an SD card using a separate card reader provides the convenience of using just the SD card and a card reader without needing a camera or a computer with a built-in card reader. This method is especially useful if you want to format multiple SD cards quickly or if your camera or computer is not readily available.
Now that you’re familiar with the three methods of formatting an SD card, let’s move on to some tips to keep in mind while formatting.
Tips to Keep in Mind while Formatting an SD Card
Formatting an SD card is a simple process, but there are some tips to keep in mind to ensure a successful and error-free formatting experience. Here are some important tips to consider:
- Backup your data: Before formatting, always remember to back up any important files or data stored on the SD card. This helps prevent accidental data loss in case you format the card by mistake or encounter any issues during the formatting process.
- Format regularly: It is a good practice to format your SD card regularly to maintain optimal performance and prevent data corruption. Regular formatting ensures a clean file system and helps remove any fragmented or unnecessary data.
- Avoid interrupting the formatting process: Once you initiate the formatting process, it is important not to interrupt it by turning off the camera, removing the SD card, or disconnecting the card reader from your computer. Interruptions can lead to data corruption or render the SD card unusable.
- Choose the appropriate file system format: When formatting, select the file system format that is compatible with your camera or device. The most common format is FAT32, which is supported by most cameras and devices. However, some cameras may support other formats such as exFAT or NTFS. Check your camera’s manual or manufacturer’s recommendations for the compatible format.
- Avoid formatting on different devices: While it is possible to format an SD card on different devices such as cameras, computers, or card readers, it is advisable to stick to one method to maintain consistency. Formatting on different devices may lead to compatibility issues or differences in file system settings.
- Use reliable and reputable brands: When purchasing SD cards, opt for reliable and reputable brands to ensure better performance, durability, and compatibility with your camera. Cheap or counterfeit SD cards may have lower quality and reliability, leading to potential data loss or issues during formatting.
- Verify the formatting: After formatting, it is a good practice to verify the SD card to ensure that the format was successful and that the card is functioning properly. You can insert the SD card into your camera or card reader and check if it is recognized correctly.
By keeping these tips in mind, you can ensure a smooth and effective formatting process for your SD card, leading to reliable performance and longevity.
With the knowledge of the formatting process and these helpful tips, you are now ready to format your SD card for your camera and enjoy a seamless photography experience.
Conclusion
Formatting an SD card for your camera is a crucial step to optimize performance, prevent data corruption, and ensure compatibility with your camera or device. Whether you choose to format the SD card using your camera, a computer, or a card reader, the process is relatively straightforward and can be completed with a few simple steps.
Before formatting, it is important to backup your data to prevent any accidental loss. Regular formatting, choosing the appropriate file system format, and using reliable SD card brands are all key factors to consider for a successful formatting process. Additionally, taking precautions such as ensuring a fully charged camera, inspecting the SD card for physical damage, and safely ejecting the card after formatting are essential for a smooth experience.
By following the recommended methods and tips outlined in this article, you can confidently format your SD card, ensuring optimal performance, data integrity, and compatibility with your camera or device.
Remember, formatting will erase all data on the SD card, so always make sure to back up any important files before proceeding. Regularly formatting your SD card will help maintain its performance, extend its lifespan, and provide you with a reliable platform to capture and store your precious memories.
Now that you have the knowledge and tools to format your SD card, go ahead and give it a fresh start. Enjoy your photography experience with a well-formatted SD card that is ready to capture the moments that matter most.