Introduction
Welcome to our guide on how to format an SD card for your trail camera. A properly formatted SD card is essential for optimal performance and efficiency when using a trail camera. Whether you are a professional wildlife photographer or an enthusiastic hobbyist, knowing how to format your SD card correctly is crucial for capturing high-quality images and videos in the field. In this comprehensive guide, we will take you through the step-by-step process of formatting an SD card on a trail camera, as well as provide some useful tips and troubleshooting techniques to ensure a successful format every time.
An SD card serves as the storage medium in your trail camera, where all the photos and videos you capture are saved. Over time, these cards can become fragmented or corrupt, which can lead to errors, reduced performance, or even data loss. Formatting the SD card on a regular basis helps maintain its efficiency and ensures the best possible performance. By formatting, you are essentially erasing all the data on the card and restoring it to its factory settings, making it ready to store new data efficiently.
It is important to note that formatting the SD card will permanently erase all the files and data stored on it. Therefore, it is crucial to back up any important files before proceeding with the format. Additionally, it is recommended to format the SD card directly on the trail camera rather than using a computer or other external device. This ensures compatibility and reduces the risk of potential issues or errors.
In the following sections, we will guide you through the entire process of formatting an SD card on your trail camera. We will cover topics such as checking camera settings before formatting, removing and inserting the SD card correctly, understanding the different format options available, and provide tips to troubleshoot common formatting issues you may encounter. So, let’s get started and ensure your trail camera is ready to capture those amazing moments in the wilderness!
Why is it important to format your SD card?
Formatting your SD card on a regular basis is vital for maintaining the performance and reliability of your trail camera. Here are several reasons why formatting is important:
- Optimal performance: Formatting the SD card helps optimize its performance and ensures faster read and write speeds. Over time, the card can become fragmented or contain residual data from previous recordings. Formatting clears all unnecessary files and restores the card to its original state, allowing it to function at its best.
- Data integrity: Formatting the SD card helps prevent data corruption, ensuring the integrity of the files stored on the card. By removing any potential errors or corrupted files, you can minimize the risk of losing important photos or videos captured by your trail camera.
- Increased storage capacity: When you format an SD card, you remove all existing data, including temporary files and unused space. This process frees up storage capacity and allows your trail camera to store more photos and videos.
- Compatibility: Formatting your SD card directly on the trail camera ensures compatibility with that particular device. Different cameras may have different file systems or formatting requirements. By formatting on the camera itself, you ensure that the card is formatted specifically for that device, reducing the risk of errors or compatibility issues.
- Maintaining camera health: Regularly formatting your SD card can help extend the lifespan of your trail camera. As formatting helps eliminate potential errors or issues with the card, it reduces strain on the camera’s internal components, prolonging its overall durability.
By understanding the importance of formatting your SD card, you can ensure optimal performance, prevent data loss, and maintain the longevity of your trail camera. Now that we have discussed why formatting is important, let’s move on to the step-by-step guide on how to format an SD card on a trail camera.
Step-by-step guide to format SD card on a trail camera
Formatting an SD card on a trail camera is a straightforward process. Follow the steps below to ensure a successful format:
- Check camera settings before formatting: Before initiating the format, navigate to the settings menu of your trail camera. Look for any options related to formatting or formatting the SD card. Ensure that the camera is not set to automatically overwrite or delete files upon formatting. Making these adjustments prevents accidental deletion of important images or videos.
- Remove and insert the SD card correctly: Locate the SD card slot on your trail camera. Gently push the SD card inward to release it from the slot. Once released, carefully pull the card out. Take note of the orientation of the card, as indicated by the markings or notches. Align the card correctly and insert it into the slot until you hear a click, ensuring it is securely in place.
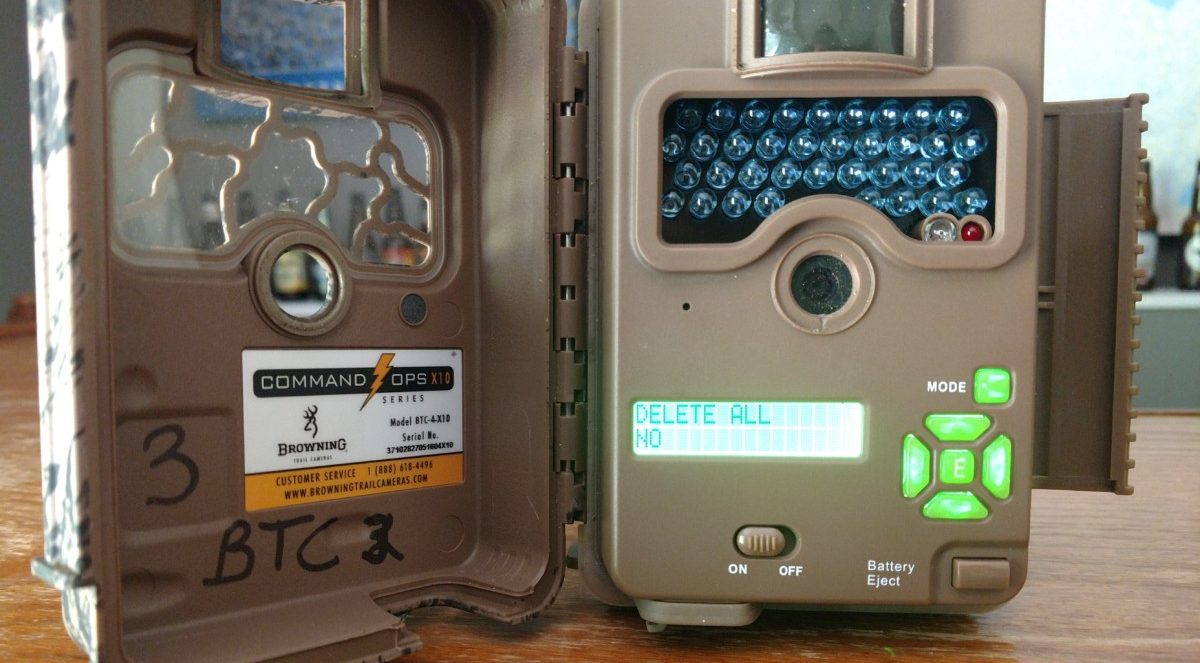
- Formatting the SD card on the trail camera: With the SD card inserted, power on your trail camera. Access the settings menu and navigate to the option for formatting the SD card. Select this option and confirm your choice when prompted. Depending on the camera model and the size of the SD card, the formatting process may take a few seconds or a few minutes.
- Understanding the different format options: Some trail cameras may offer formatting options such as quick format or full format. Quick format erases the file allocation table and prepares the card for use, while full format erases all data and checks for potential errors on the card. It is recommended to perform a full format periodically for best results, especially if you have been experiencing issues with the card.
-
Tips for ensuring a successful format: To ensure a smooth and successful format, follow these tips:
- Ensure the camera has sufficient battery power to complete the formatting process.
- Do not interrupt the formatting process, as it may result in data corruption or card errors.
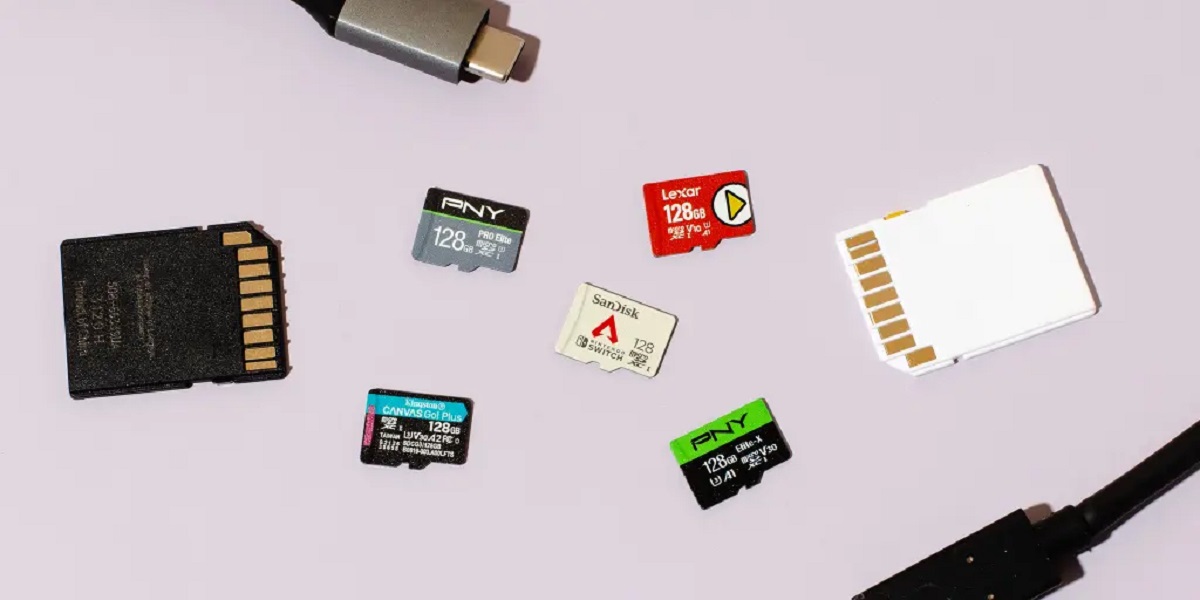
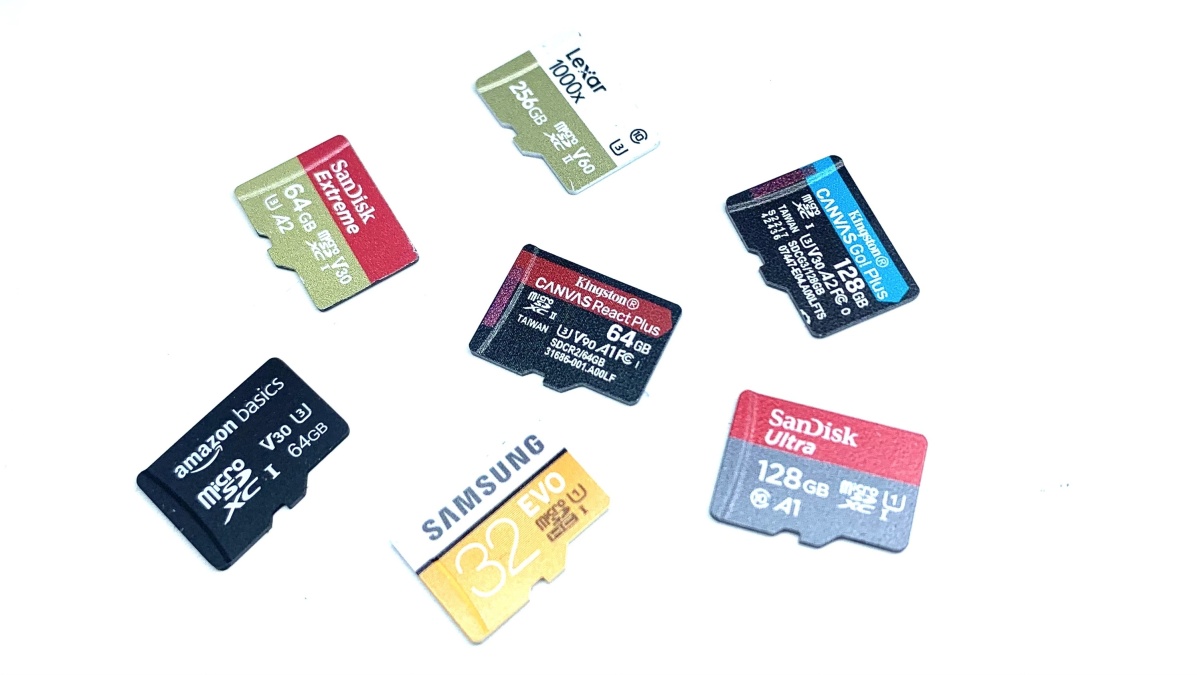
- Use a reliable and high-quality SD card that is compatible with your trail camera.
- Periodically update the firmware of your trail camera to ensure compatibility and performance.
By following these step-by-step instructions and implementing the tips provided, you can easily and effectively format the SD card on your trail camera. Now that you know how to format, let’s explore some common troubleshooting techniques if you encounter any issues during the formatting process.
Checking camera settings before formatting
Before formatting the SD card on your trail camera, it is important to check the camera settings to ensure that you don’t accidentally delete any important files. Here are some steps to follow:
- Navigate to the settings menu: Turn on your trail camera and access the settings menu. This can usually be done by pressing a designated button or navigating through the camera’s interface.
- Formatting options: Look for the formatting options within the settings menu. The option to format the SD card may be labeled as “Format” or “Erase.” Select this option to proceed with the formatting process.
- Check overwrite or delete settings: Before proceeding with the format, ensure that the camera is not set to automatically overwrite or delete files upon formatting. Some cameras may have an option to delete all files when formatting. If this option is enabled, the camera will erase all the content on the card without any warning.
- Backup important files: Take a moment to review the files on your SD card and determine if there are any important photos or videos that need to be saved. If necessary, transfer those files to a computer or an external storage device before proceeding with the format.
- Adjust other relevant settings: While in the settings menu, it’s a good idea to review and adjust other relevant camera settings. This includes image quality, file format, date and time, and any other preferences that are specific to your photography needs.
By checking the camera settings before formatting the SD card, you can ensure that you don’t unintentionally erase any valuable files. Taking the time to review these settings and making necessary adjustments will help prevent any potential data loss and ensure a smoother formatting process.
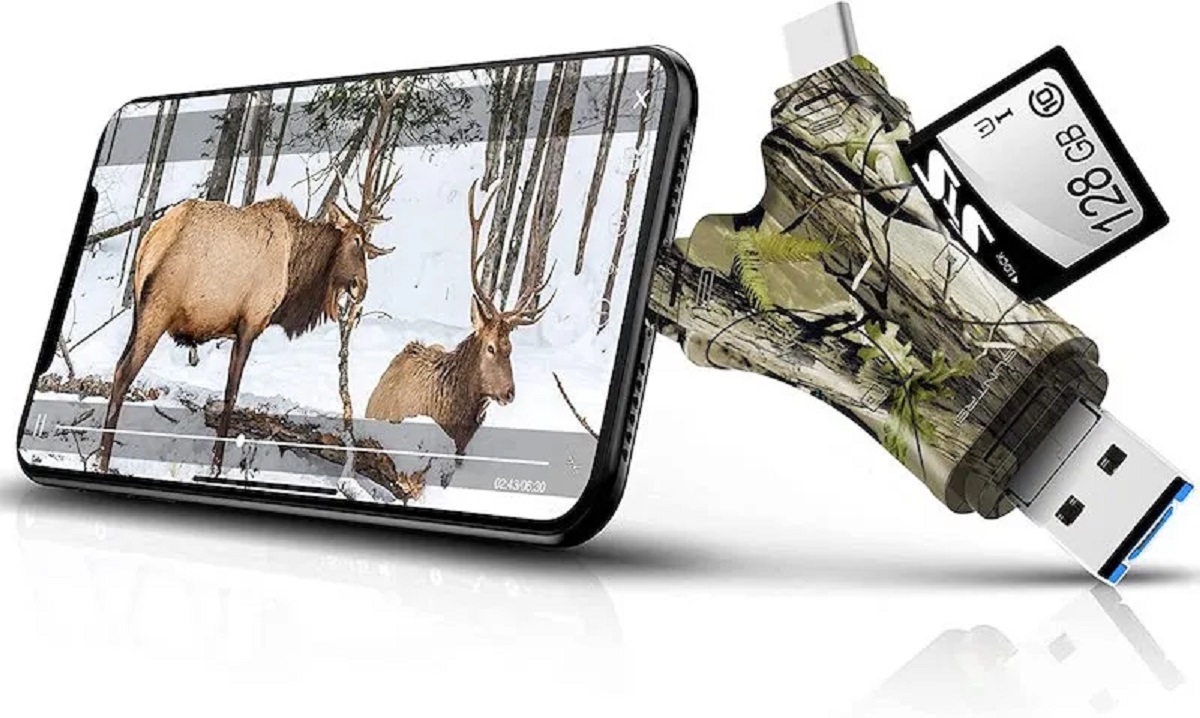
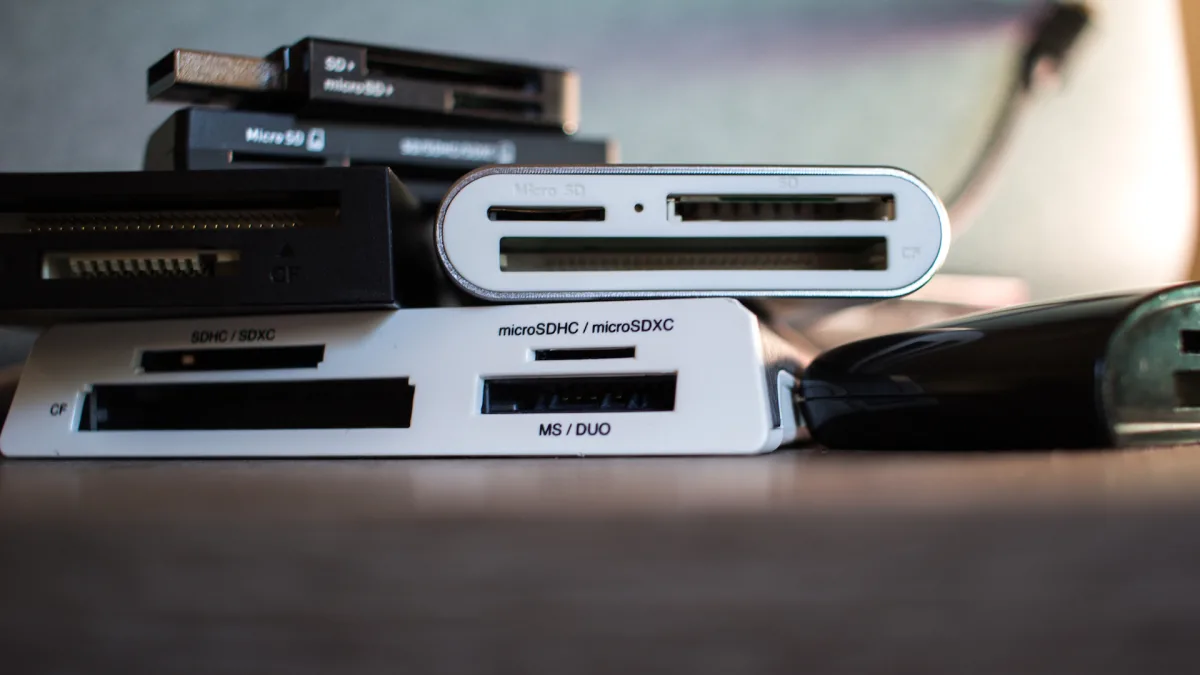
Removing and inserting the SD card correctly
Properly removing and inserting the SD card in your trail camera is crucial to ensure a successful format and avoid any damage to the card or camera. Here is a step-by-step guide on how to do it correctly:
- Power off the camera: Before removing or inserting the SD card, make sure to power off the trail camera. This prevents any potential data corruption or damage to the card.
- Locate the SD card slot: Find the SD card slot on your trail camera. It is usually located on the side or bottom of the camera, covered by a small flap. Open the flap to access the slot.
- Removing the SD card: Gently push the SD card inward to release it from the slot. The card should pop out slightly, allowing you to grip it with your fingers. Be careful not to force the card or use excessive pressure, as this can damage the card or the camera.
- Inserting the SD card: Take note of the orientation of the SD card. Look for any markings or notches on the card and align it accordingly. Insert the card into the slot, pushing it in until you hear a click or feel it fully engage. This ensures that the card is securely in place.
- Close the flap: Once the SD card is inserted correctly, close the flap or cover that protects the card slot. This helps keep the card safe from dust, moisture, and accidental removal during use.
It is important to handle the SD card with care to avoid damaging the card or the camera. Avoid touching the gold contacts on the card, as oil and dirt can interfere with proper functioning. Additionally, always store the SD card in a protective case when not in use to prevent any damage or loss.
By following these steps and handling the SD card properly, you can confidently remove and insert the card in your trail camera without any issues. Now that you know how to handle the SD card, let’s move on to the next section, where we will discuss the actual process of formatting the card on your trail camera.
Formatting the SD card on the trail camera
Now that you have checked the camera settings and properly inserted the SD card, it’s time to format the card on your trail camera. Here is the step-by-step process to follow:
- Power on the camera: Turn on your trail camera by pressing the power button or following the manufacturer’s instructions. Wait for the camera to fully initialize before proceeding to the next step.
- Access the settings menu: Navigate through the camera’s menu system to find the settings or setup menu. This can usually be done by using the directional buttons or scrolling through the options on the camera’s screen.
- Select the formatting option: Look for the option to format or erase the SD card within the settings menu. Depending on the camera model, this option may be labeled “Format” or “Erase.” Select this option to initiate the formatting process.
- Confirm the formatting: Once you have selected the formatting option, the camera may prompt you to confirm your choice. Read the on-screen instructions carefully and follow the prompts to proceed with the formatting process.
- Wait for the formatting to complete: The camera will now start the formatting process. Depending on the camera model and the size of the SD card, this process can take a few seconds to several minutes. Do not interrupt the process or power off the camera during formatting, as it may result in data corruption or card errors.
Once the formatting process is complete, the camera will display a confirmation message indicating that the SD card has been successfully formatted. You can now use the SD card with your trail camera to capture new photos and videos. It is essential to note that formatting the SD card will permanently erase all the data stored on it. Therefore, make sure to back up any important files before proceeding with the format.
By following these steps and formatting the SD card directly on your trail camera, you ensure compatibility and minimize any potential formatting issues. In the next sections, we will discuss the different format options available and provide tips for ensuring a successful format. So, let’s continue exploring the world of SD card formatting for trail cameras.
Understanding the different format options
When formatting an SD card on your trail camera, you may come across different format options. Understanding these options can help you choose the most suitable format for your needs. Here are the common format options you may encounter:
- Quick format: A quick format is a faster method of formatting the SD card. It erases the file allocation table (FAT) and prepares the card for use. Quick format is useful if you quickly need to clear the card and start capturing new photos and videos. However, it does not thoroughly check for potential errors or bad sectors on the card.
- Full format: A full format, also known as a low-level format, performs a more comprehensive erasure of the SD card. It removes all data on the card, including the file allocation table, and performs a thorough scan for errors and bad sectors. Full formatting can take longer than a quick format but ensures a clean slate for the card and helps identify any potential issues.
- File system: The file system is the structure your trail camera uses to organize and store files on the SD card. Common file systems include FAT32 and exFAT. FAT32 is the most widely used file system and offers good compatibility with different devices. However, it has a maximum file size limit of 4GB. ExFAT, on the other hand, supports larger file sizes and is ideal for recording longer videos. Ensure that the file system selected is compatible with your camera and other devices you will be using the SD card with.
- Special format options: Some trail cameras may offer additional format options, such as formatting specific partitions on the SD card or providing advanced formatting settings. These options are typically advanced and may not be necessary for regular use. Only explore these options if you have a specific need or if recommended by the camera manufacturer.
When formatting your SD card, it is generally recommended to perform a full format periodically, especially if you have been experiencing issues with the card. However, if you need to quickly clear the card and start capturing new content, a quick format can suffice. Consider the available format options, your specific needs, and the camera’s compatibility when deciding on the format method to use.
Now that you have a better understanding of the different format options, let’s move on to the next section, where we will share some tips for ensuring a successful format on your trail camera’s SD card.
Tips for ensuring a successful format
To ensure a successful format of your SD card on a trail camera, consider the following tips:
- Backup data: Before formatting, make sure to backup any important files or data stored on the SD card. Formatting erases all data on the card, so it’s essential to preserve any valuable content.
- Ensure sufficient battery power: Make sure your trail camera has sufficient battery power before initiating the formatting process. A low battery can interrupt the format or cause errors during the process. If needed, charge the camera or replace the batteries before starting.
- Avoid interruptions: Do not interrupt the formatting process once it has started. Interruptions, such as powering off the camera or removing the SD card, can result in data corruption and formatting errors. Allow the camera to complete the format before proceeding.
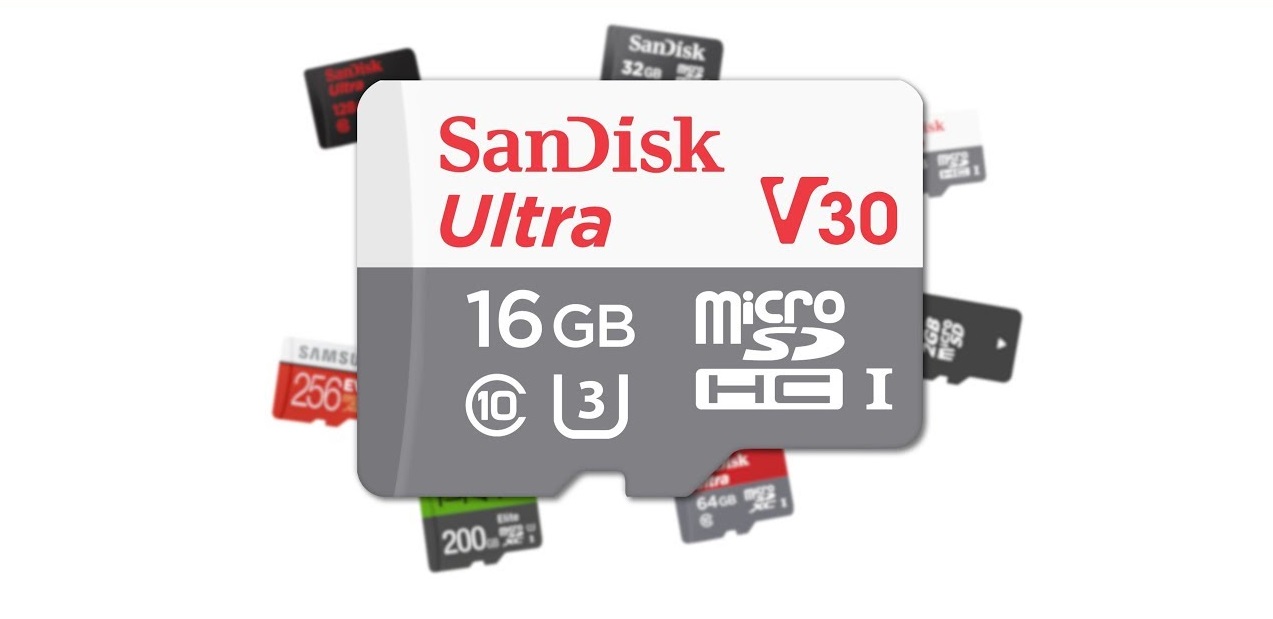
- Use a compatible SD card: Ensure that you are using an SD card that is compatible with your trail camera. Refer to the camera’s manual or manufacturer’s website for recommended SD card types and capacities. Using an incompatible or low-quality SD card can lead to formatting errors and reduced performance.
- Format on the camera: It is recommended to format the SD card using the trail camera’s built-in format feature rather than using a computer or external device. Formatting on the camera ensures compatibility and reduces the likelihood of formatting errors or file system incompatibility.
- Update camera firmware: Periodically check for firmware updates for your trail camera. Firmware updates often include improvements and bug fixes that can enhance the camera’s performance and compatibility with SD cards. Updated firmware can help prevent formatting issues and other potential errors.
By following these tips, you can increase the chances of a successful SD card format on your trail camera. Remember to backup your data, ensure sufficient battery power, and avoid interruptions during the formatting process. Using a compatible SD card and formatting directly on the camera contribute to a smoother and error-free experience. Regularly updating your camera’s firmware also helps maintain compatibility and performance.
Now that you are equipped with these tips, you can confidently proceed with formatting your SD card on your trail camera. If you encounter any issues or problems during the formatting process, refer to the troubleshooting section or consult the camera’s user manual for further guidance.
Troubleshooting common formatting issues
While formatting an SD card on a trail camera is typically a smooth process, occasional issues may arise. Here are some common formatting issues you may encounter and troubleshooting techniques to resolve them:
- Formatting takes a long time: If the formatting process is taking longer than usual, it could be due to a large SD card size or a slow camera processor. Patience is key in this situation. Avoid interrupting the process and allow it to complete. If the issue persists, try formatting the card on a computer and then reinsert it into the trail camera.
- SD card format is not recognized: If the trail camera does not recognize the format of the SD card or shows an error message, double-check that you are using a compatible SD card type and capacity. Ensure that the SD card is properly inserted in the camera and try formatting it again. If the problem persists, try using a different SD card or consider formatting the card on a computer.
- “Card locked” error message: If you receive a “Card locked” error message during the formatting process, it means that the write-protection switch on the SD card is enabled. Locate the switch on the side of the SD card and slide it to the unlocked position. Retry the formatting process. If the issue continues, try a different SD card or contact the manufacturer for further assistance.
- Card formatting repeatedly fails: If formatting repeatedly fails, the SD card may have physical damage or be corrupted. Try using a different SD card to isolate the issue. If the new card formats successfully, it indicates a problem with the original SD card. In such cases, it’s advisable to replace the damaged or corrupt SD card to ensure reliable performance.
- Camera freezes during formatting: If the trail camera freezes or becomes unresponsive during the formatting process, power off the camera and remove the batteries for a few minutes. Reinsert the batteries and turn on the camera again. Retry the formatting process. If the issue persists, consider updating the camera’s firmware or contacting the manufacturer’s customer support for assistance.
If you encounter any other formatting issues or errors that are not covered here, consult the trail camera’s user manual or visit the manufacturer’s website for specific troubleshooting steps related to your camera model. Additionally, ensuring your camera’s firmware is up to date can resolve potential bugs or compatibility issues that may cause formatting problems.
By following these troubleshooting techniques, you can overcome common formatting issues and ensure a successful SD card format on your trail camera. Now that you are equipped with these troubleshooting tips, you can confidently address any formatting challenges that may arise.
Conclusion
In conclusion, formatting your SD card on a trail camera is a vital step to optimize its performance, maintain data integrity, and ensure compatibility with your camera. By following the step-by-step guide provided, you can easily format the SD card and be ready to capture stunning photos and videos in the great outdoors.
We discussed the importance of formatting your SD card, which includes improving performance, preventing data corruption, increasing storage capacity, and maintaining camera health. Checking camera settings before formatting and properly removing and inserting the SD card are essential to ensure a successful format and avoid any potential issues.
Understanding the different format options, such as quick format and full format, allows you to choose the most suitable option for your needs. Additionally, our tips for ensuring a successful format, including backing up data, ensuring sufficient battery power, and using a compatible SD card, will help you achieve a smooth formatting process.
In case you encounter any formatting issues, our troubleshooting techniques provided valuable insight to overcome common problems such as slow formatting, unrecognized formats, write-protection errors, repeated failures, and camera freezes.
Remember to refer to your trail camera’s user manual and contact the manufacturer if you have specific questions or encounter unique issues while formatting the SD card.
By following these guidelines and taking proper care of your SD card, you can enjoy seamless performance, reliable storage, and stunning captures with your trail camera. Happy formatting and happy shooting!