Introduction
Welcome to the world of Samsung smartphones! If you’re looking for a way to optimize your device’s storage capacity, moving apps to your SD card is a great solution. In this guide, we will show you how to easily move apps to the SD card on your Samsung phone.
As technology continues to evolve, apps are becoming increasingly more advanced and feature-rich, resulting in larger file sizes. This can quickly fill up your phone’s internal storage, leaving you with limited space for new apps, photos, videos, and other important files. By moving apps to your SD card, you can free up internal storage and make room for the things that matter most.
Not only does moving apps to the SD card help with storage management, but it also provides several benefits. Firstly, it allows you to install more apps without worrying about running out of space. Secondly, it can improve the overall performance of your device, as apps stored on the SD card won’t occupy precious system resources. Lastly, if you ever upgrade to a new Samsung phone, you can simply transfer the SD card and have all your apps readily available.
While moving apps to the SD card is a practical and convenient solution, it’s important to note that not all Samsung devices support this functionality. In the next section, we’ll guide you through the process of checking if your phone supports app-to-SD functionality.
Why Move Apps to SD Card?
Moving apps to the SD card offers a range of benefits and can greatly enhance your smartphone experience. Here are some key reasons why you should consider moving apps to your SD card:
- Free up Internal Storage: One of the main reasons to move apps to the SD card is to free up space on your phone’s internal storage. As apps continue to evolve and become more feature-rich, they also tend to occupy more space on your device. By transferring them to the SD card, you can free up valuable internal storage space for other files and apps.
- Install More Apps: If you love trying out new apps and games, you may have encountered the frustrating “insufficient storage” error. By moving apps to the SD card, you can expand your available storage and install more apps without encountering any storage-related issues. This gives you the freedom to explore and enjoy a wide range of apps without worrying about limited space.
- Improved Performance: Another advantage of moving apps to the SD card is improved overall performance. When your phone’s internal storage is filled to capacity, it can slow down the device as it struggles to perform tasks efficiently. By offloading apps to the SD card, you reduce the burden on the internal storage, resulting in faster app loading times and smoother operation.
- Ease of Device Transfer: If you ever upgrade to a new Samsung device, moving apps from your SD card to the new device is a breeze. Instead of having to reinstall and customize each app, you can simply insert the SD card into your new device and have all your apps readily available. This makes the transition to a new phone seamless and hassle-free.
- Backup and Security: Additionally, storing apps on the SD card provides an extra layer of security and peace of mind. In case your phone encounters any issues or requires a factory reset, the apps on the SD card remain unaffected. This means you can easily restore your apps and their data without worrying about losing important information.
Now that you understand the benefits of moving apps to the SD card, let’s dive into the step-by-step guide on how to do it!
Step-by-Step Guide to Moving Apps to SD Card
Moving apps to the SD card on your Samsung phone is a straightforward process. Follow these steps to transfer your apps and free up valuable internal storage:
- Check App-to-SD Compatibility: Before you begin, it’s essential to ensure that your device supports the app-to-SD functionality. Not all Samsung devices have this feature, so check your phone’s specifications or user manual to confirm.
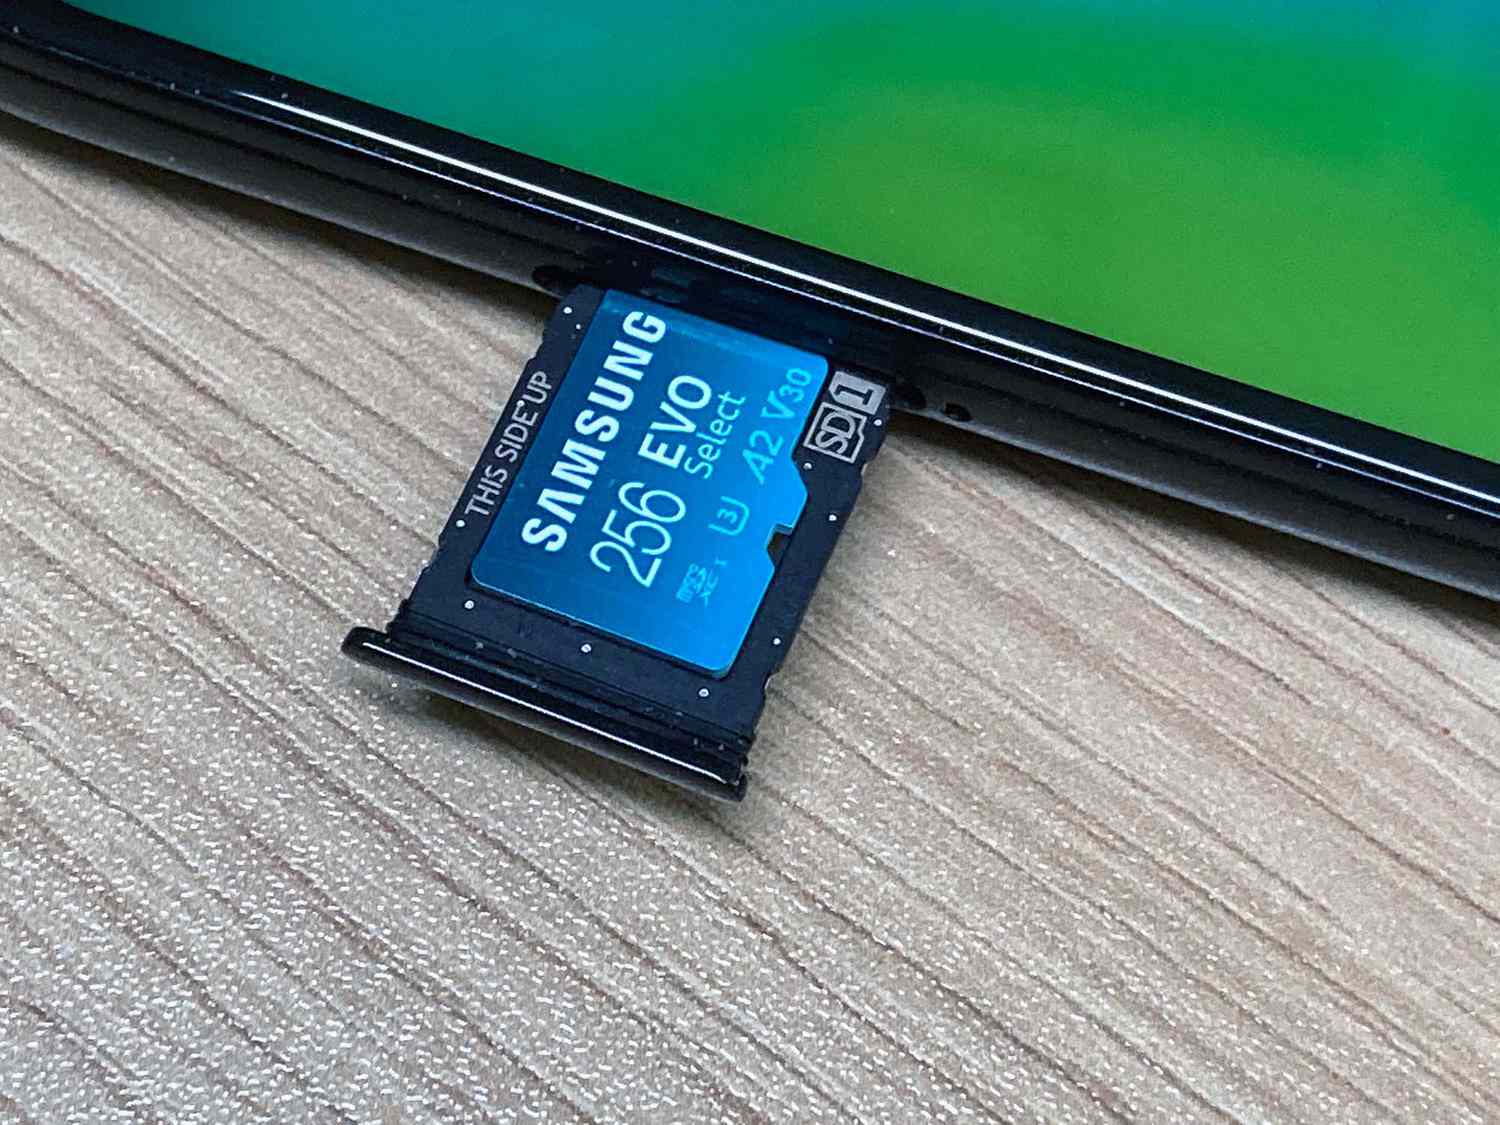
- Prepare the SD Card: Insert the SD card into your phone if it’s not already inserted. Make sure your SD card has sufficient storage space and is formatted correctly. Formatting the SD card within your phone is recommended to ensure compatibility.
- Access App Settings: Go to your phone’s Settings and find the “Apps” or “Applications” section. Depending on your device model and software version, the exact location may vary.
- Select an App to Move: Scroll through the list of installed apps and select the app you wish to move to the SD card.
- Open App Details: Once you’ve selected the desired app, you’ll be taken to its details page. Here, you’ll find options related to the app, such as storage usage and permissions.
- Move to SD Card: Look for the “Move to SD Card” option within the app details page. If the option is available, tap on it to initiate the move. Note that some apps, particularly system apps or apps that require specific permissions, may not be eligible for moving to the SD card.
- Confirm the Move: A confirmation prompt will appear, asking if you want to move the app to the SD card. Review the information and tap “OK” to proceed with the move.
- Wait for the Transfer: Once you’ve confirmed the move, your phone will start transferring the app and its data to the SD card. The duration of the transfer will vary depending on the app’s size and the speed of your SD card.
- Repeat for Additional Apps: If you have more apps you want to move, simply repeat the process for each app by selecting it from the app list and following the same steps outlined above.
By following these steps, you can effectively move apps to your SD card and optimize your device’s storage capacity. Enjoy the benefits of increased app storage and improved performance!
Checking if Your Phone Supports App-to-SD Functionality
Before you start moving apps to your SD card, it’s important to check if your Samsung phone supports the app-to-SD functionality. Not all devices have this feature, so it’s essential to verify its availability. Follow these steps to determine if your phone supports moving apps to the SD card:
- Go to Settings: Open the Settings app on your Samsung phone. You can usually find it on your home screen or in the app drawer.
- Navigate to Storage: Look for the “Storage” or “Device care” option in the Settings menu. The exact location may vary depending on your device model and software version.
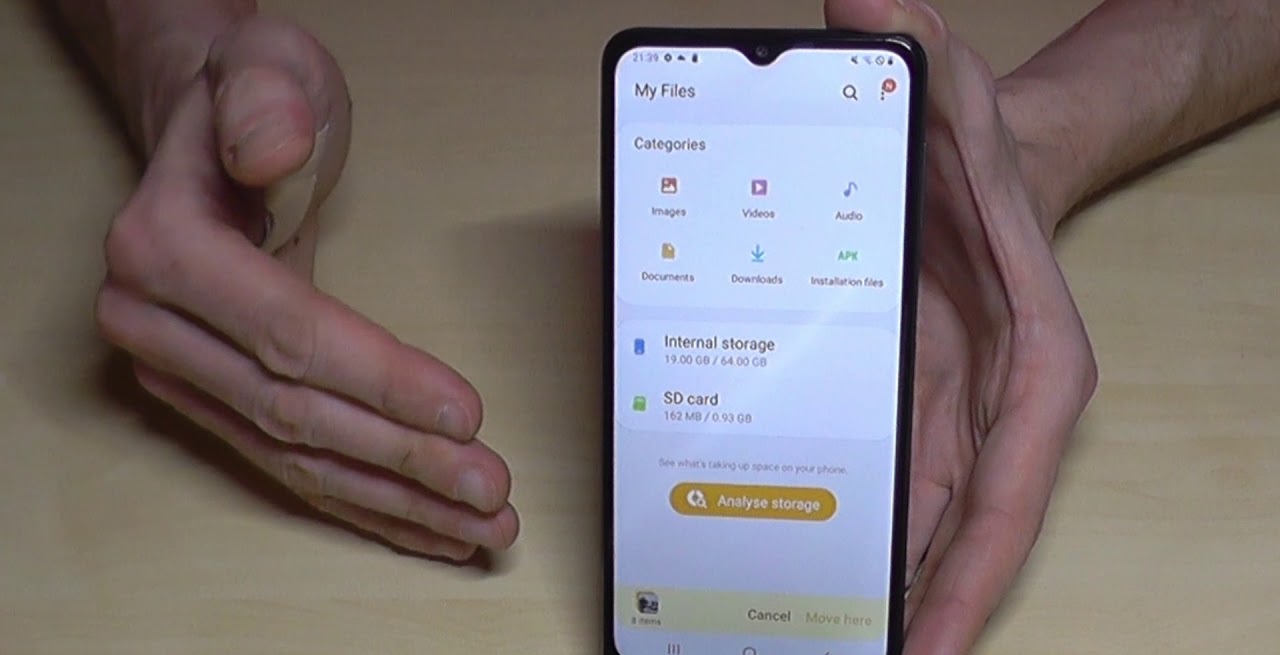
- Check Storage Options: Once you’re in the Storage or Device care section, you should see various storage options and details about your phone’s internal storage and external storage (SD card).
- Look for “Move Apps to SD Card“: Scroll through the storage options and look for a specific setting or option that mentions the ability to “Move apps to SD card” or something similar. If you find this option, it indicates that your phone supports the app-to-SD functionality.
- Confirm with User Manual or Online Resources: If you’re still uncertain about your device’s app-to-SD capability, consult your phone’s user manual or visit the manufacturer’s website for more information. Look for specifications or features related to app storage and compatibility.
It’s worth noting that even if your phone supports moving apps to the SD card, not all apps can be moved. Some system apps or apps that require specific permissions may not have the option to be transferred to external storage. However, the majority of third-party apps should be eligible for relocation.
By following these steps, you can quickly determine if your Samsung phone supports the app-to-SD functionality, allowing you to take full advantage of the storage optimization features on your device.
Preparing the SD Card for App Storage
Before you start moving apps to your SD card, it’s important to ensure that the card is properly prepared and formatted. Follow these steps to prepare your SD card for app storage:
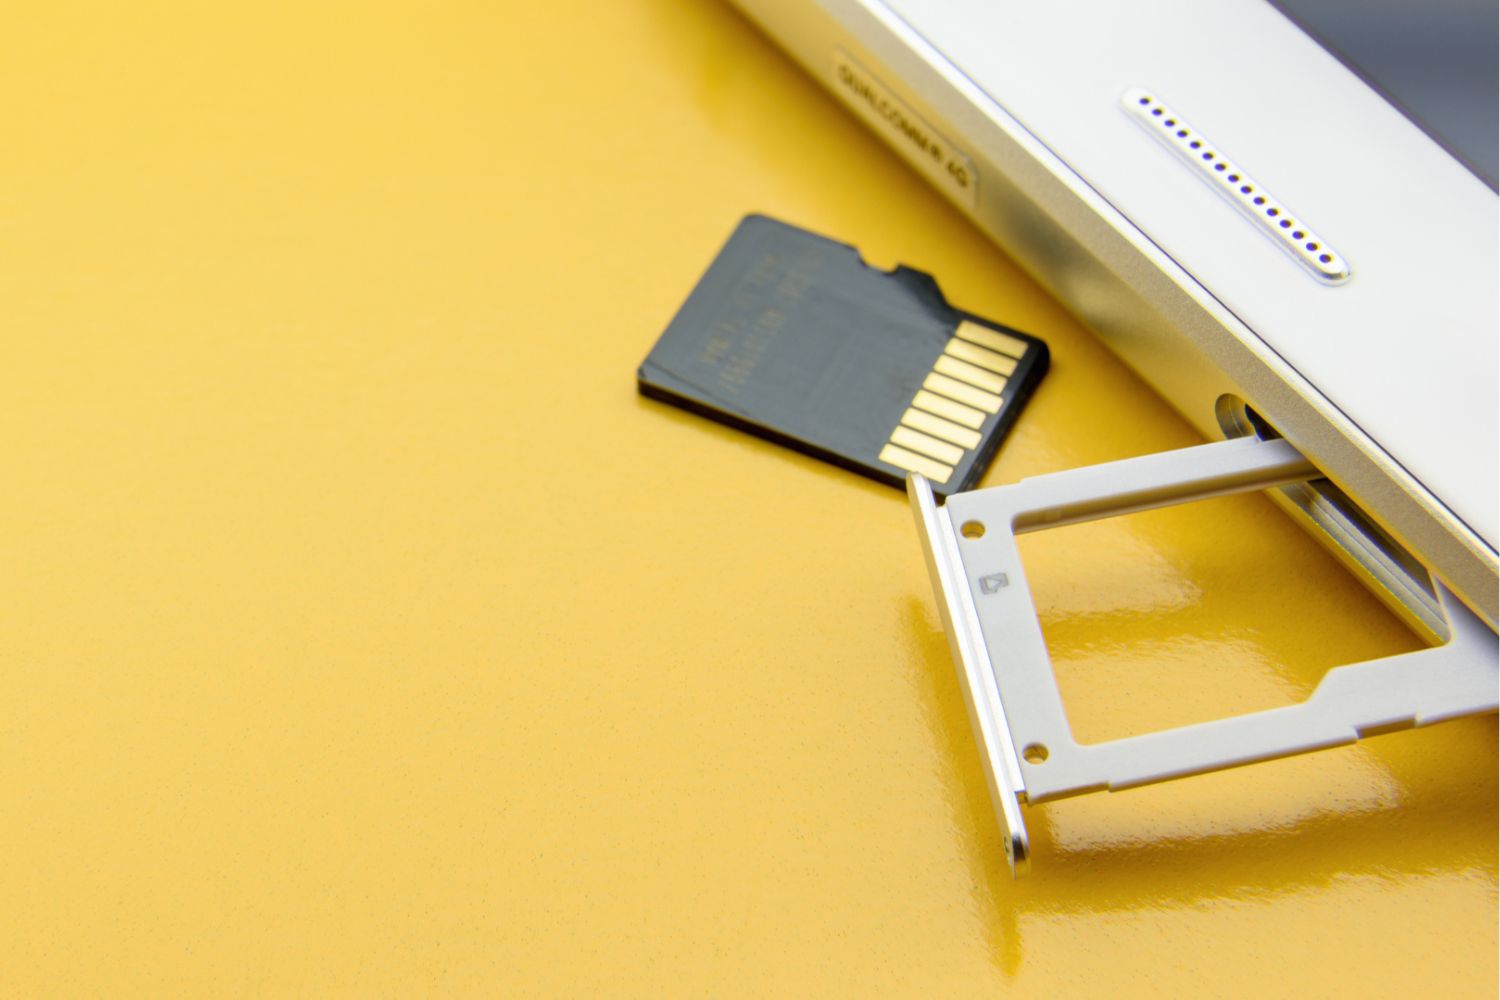
- Insert the SD Card: Ensure that your SD card is properly inserted into your Samsung phone. Most devices have a dedicated slot for the SD card, usually located near the SIM card slot. If you’re unsure of the location, refer to your device’s user manual for specific instructions.
- Backup your SD Card: If you have any important files or data on your SD card, make sure to back them up before proceeding. Moving apps to the SD card may involve formatting or modifying the card, which could result in data loss if not properly backed up.
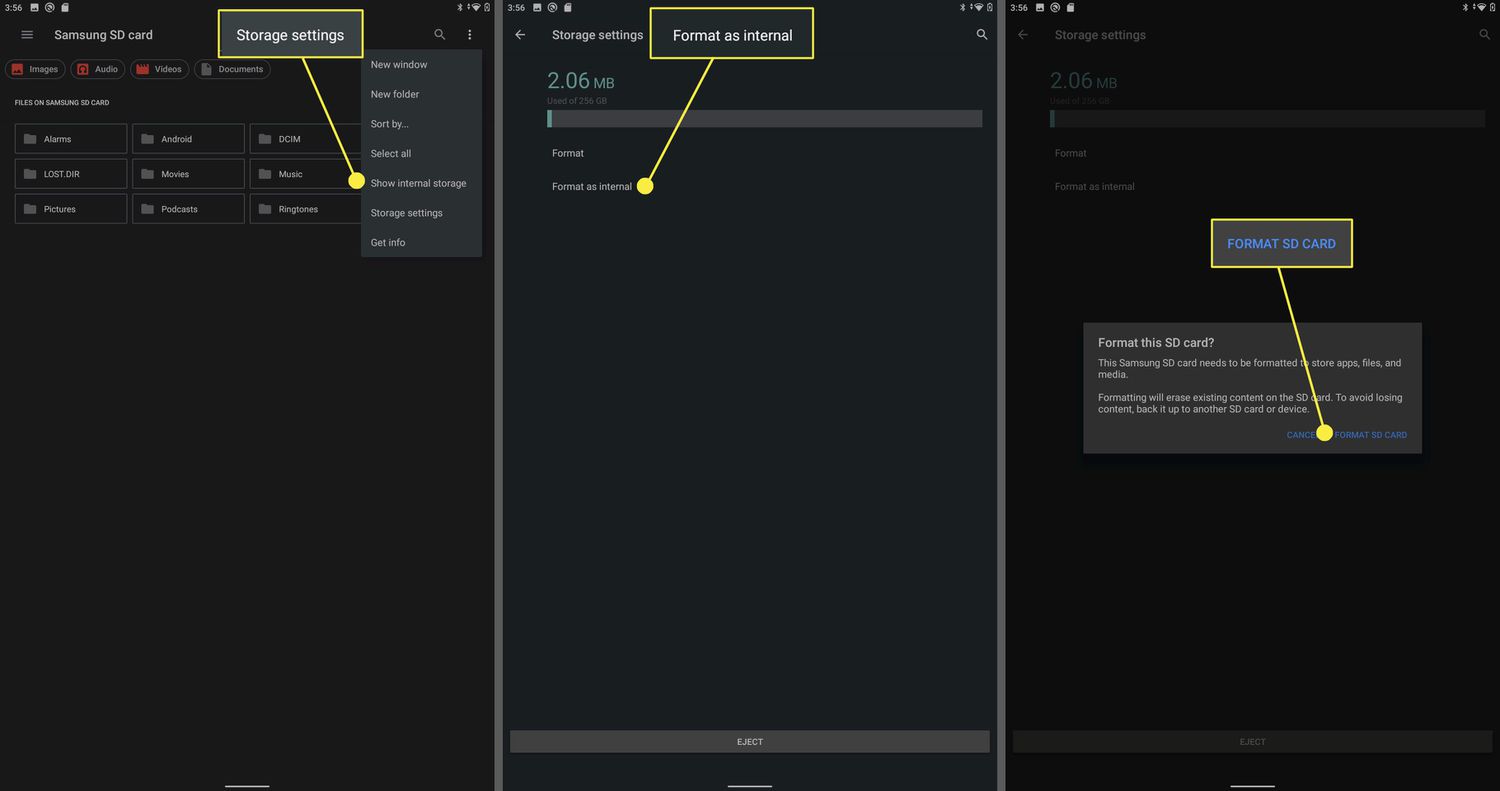
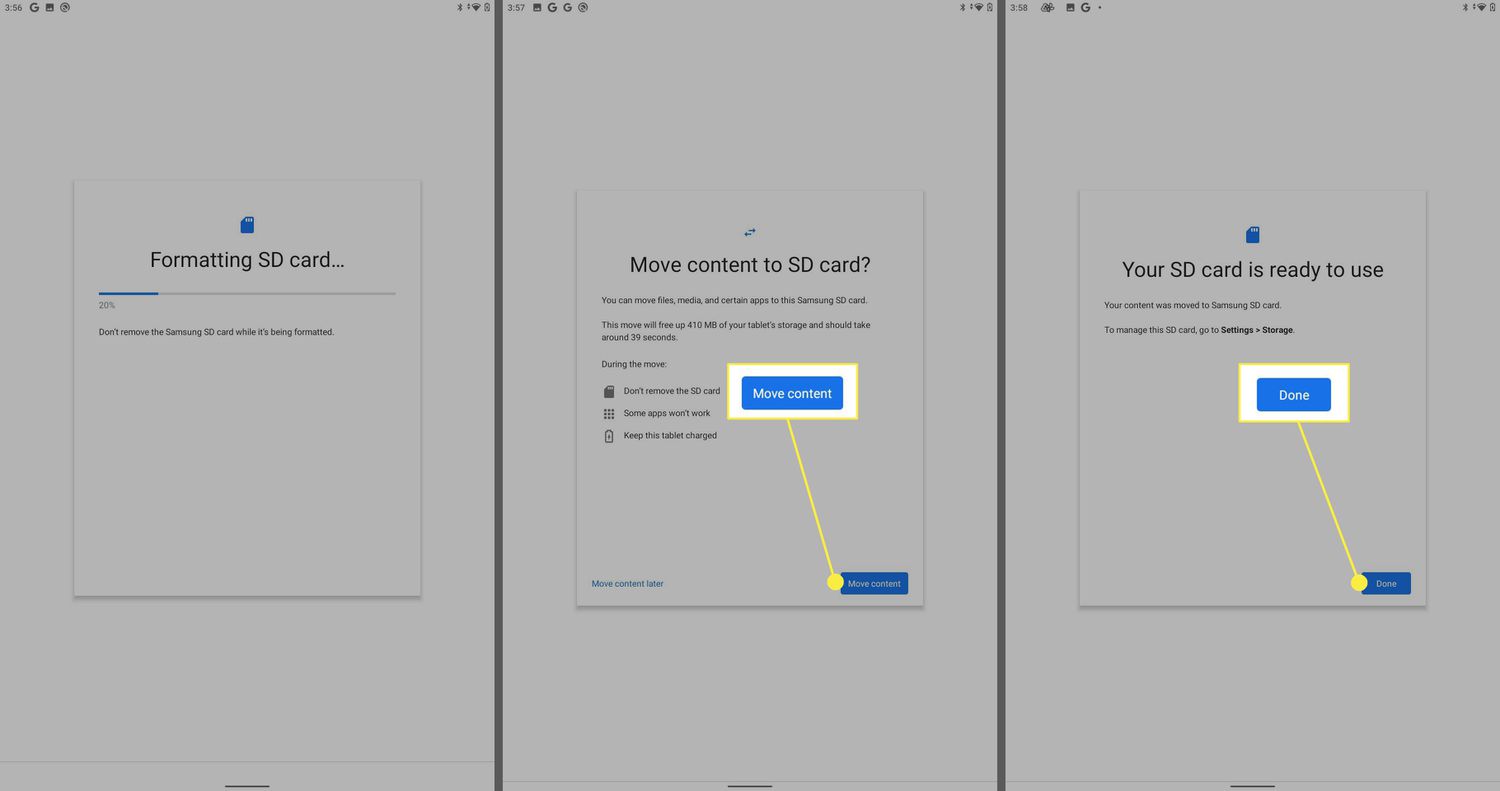
- Format the SD Card: It’s recommended to format the SD card within your Samsung phone to ensure compatibility and optimal performance. To format the SD card, go to Settings, then navigate to the Storage or Device care section. From there, select the SD card option and look for the option to format it. Follow the on-screen instructions to complete the formatting process.
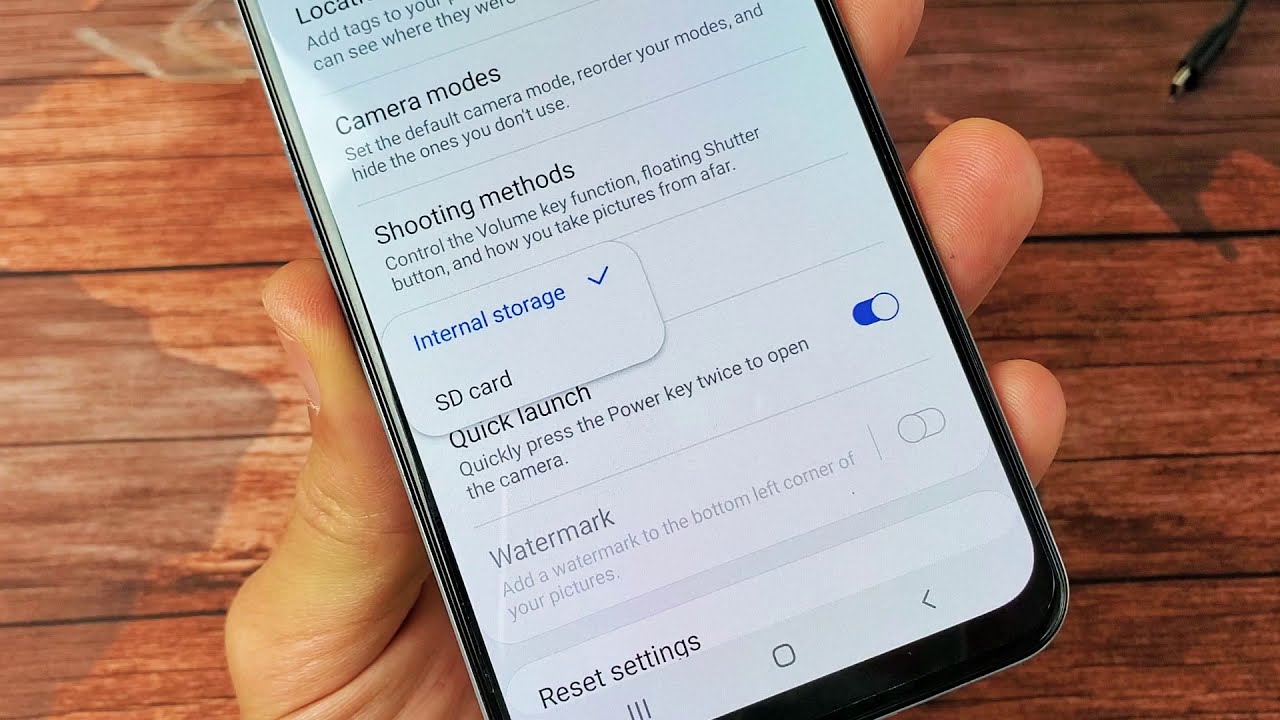
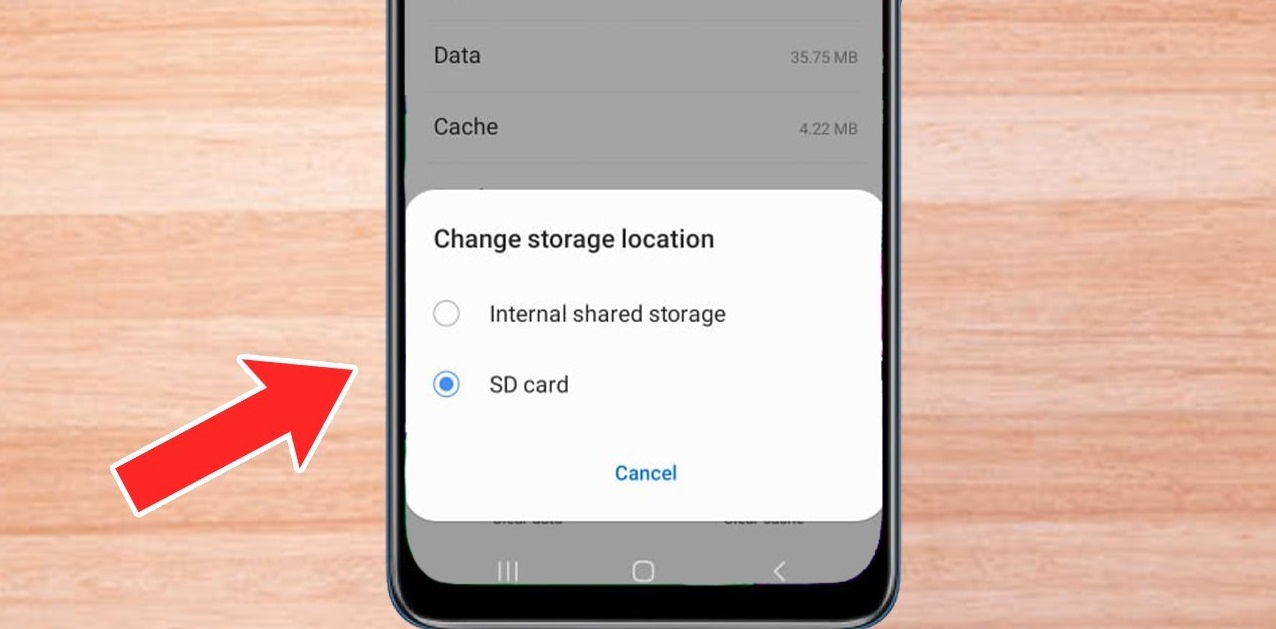
- Allocate Space for App Storage: After formatting the SD card, you’ll have the option to allocate a specific portion of the card’s storage for app storage. Depending on your device model and software version, this option may be available in the Storage or Device care section of the Settings app. Look for an option like “Allocate space” or “Default write disk.” Select the SD card as the default write disk and choose the desired allocation size for app storage.
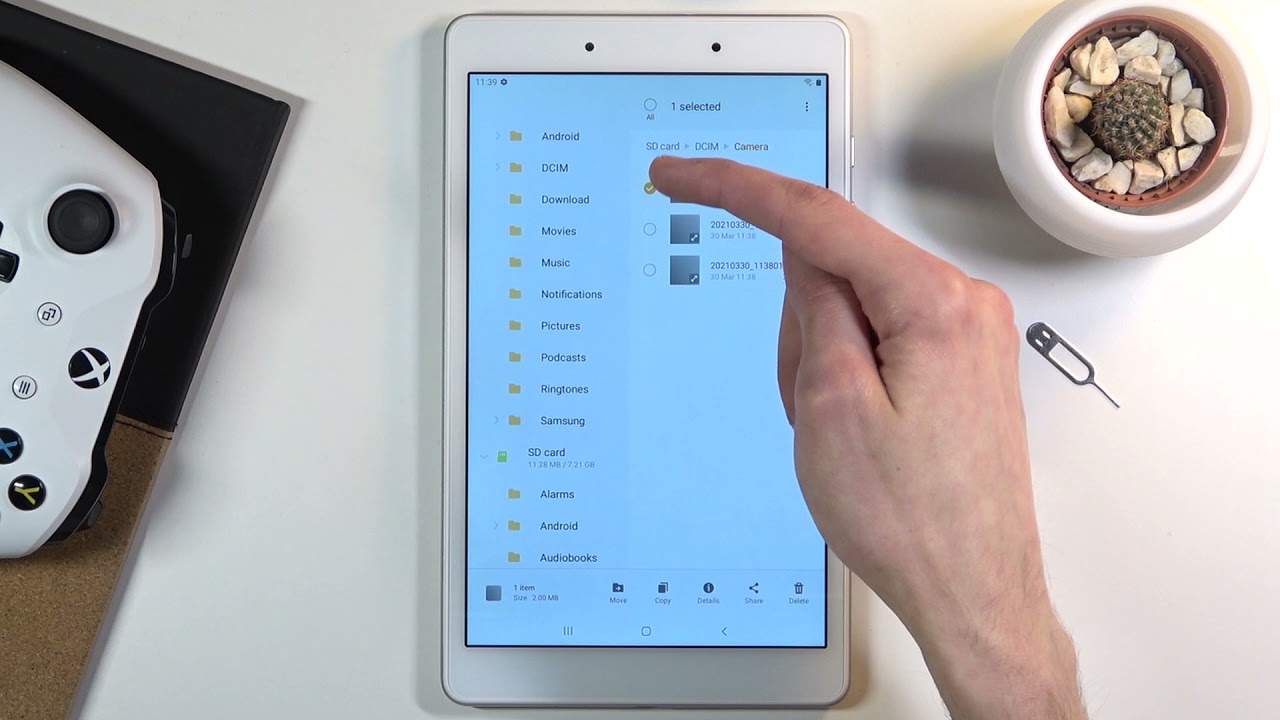
- Verify Available Space: Once you’ve allocated space for app storage, check the available space on your SD card. This will give you an idea of how many apps you can move without reaching capacity. To check the available space, go to Settings, then navigate to the Storage or Device care section. Look for the storage details of the SD card and check the available space.
- Ensure App Compatibility: While most apps can be moved to the SD card, it’s important to note that some system apps or apps with specific requirements may not be eligible for transfer. Check the app’s settings or details page to see if the “Move to SD Card” option is available. If not, it means the app cannot be moved.
By following these steps, you can properly prepare your SD card for app storage on your Samsung phone. Once the card is formatted and space is allocated, you’re ready to start moving apps and optimizing your device’s storage capacity.
Moving Apps to SD Card
Now that your SD card is ready, it’s time to start moving apps to optimize your device’s storage. Follow these steps to move apps to the SD card on your Samsung phone:
- Open Settings: Go to the Settings app on your Samsung phone. You can usually find it on your home screen or in the app drawer.
- Select Apps: Look for the “Apps” or “Applications” option in the Settings menu. The exact location may vary depending on your device model and software version.
- Choose an App: Scroll through the list of installed apps and select the app you want to move to the SD card.
- Open App Details: Once you’ve selected the desired app, you’ll be taken to its details page. Here, you’ll find information about the app, including storage usage and permissions.
- Move to SD Card: Look for the “Move to SD Card” option within the app details page. If the option is available, tap on it to initiate the move. Note that some apps, particularly system apps or apps that require specific permissions, may not be eligible for moving to the SD card.
- Confirm the Move: A confirmation prompt will appear, asking if you want to move the app to the SD card. Review the information and tap “OK” to proceed with the move.
- Wait for the Transfer: Once you’ve confirmed the move, your phone will start transferring the app and its data to the SD card. The duration of the transfer will vary depending on the app’s size and the speed of your SD card.
- Repeat for Additional Apps: If you have more apps you want to move, simply repeat the process for each app by selecting it from the app list and following the same steps mentioned above.
While the app transfer is in progress, it’s important to avoid removing or ejecting the SD card from your phone. Doing so may result in incomplete or corrupted transfers. Wait until the transfer process is complete, and ensure that the SD card is properly inserted before using the moved apps.
By following these steps, you can efficiently move apps to your SD card and optimize your Samsung phone’s storage capacity. Enjoy the expanded app storage and the benefits of freeing up valuable internal storage space!
Troubleshooting Common Issues
While moving apps to the SD card on your Samsung phone is a relatively straightforward process, you may encounter some common issues along the way. Here are some troubleshooting tips to help you address these issues:
- Incompatible Apps: Not all apps can be moved to the SD card. If you don’t see the “Move to SD Card” option for a particular app, it means the app is not eligible for transfer. Consider deleting unused apps or clearing app caches to free up internal storage instead.
- Insufficient Space: If you receive an error message stating “Insufficient space” when trying to move an app, it could indicate a lack of space on your SD card. Check the available space on the SD card and ensure that it has enough room for the app and its data.
- Incomplete Transfers: If a transfer is interrupted or incomplete, it can result in a partially moved app that may not function properly. In such cases, try moving the app again from the beginning and ensure that the transfer process is not interrupted.
- App Permissions: Some apps may require specific permissions to function properly when moved to the SD card. If you notice any issues with a moved app, go to the app’s settings and check if any additional permissions need to be granted.
- Corrupted or Damaged SD Card: If you experience consistent issues with moving apps to the SD card, it’s possible that the SD card itself is corrupted or damaged. In this case, try using a different SD card or formatting the existing one to see if the issues persist.
- Phone Software Updates: Occasionally, software updates may affect the app-to-SD functionality on your Samsung phone. If you encounter any issues after a software update, check for any available system updates or contact Samsung support for assistance.
If you’re still experiencing issues despite following these troubleshooting tips, it’s recommended to consult the user manual of your Samsung phone or reach out to the manufacturer’s support team for further assistance. They will be able to provide specific guidance and solutions based on your device model and software version.
Remember that while moving apps to the SD card can help optimize your device’s storage, it’s essential to periodically check the SD card’s health and available space to ensure smooth operation and reliable storage performance.
Reverting to Internal Storage
If you ever need to revert an app back to your phone’s internal storage from the SD card, you can easily do so. Here’s how to move an app from the SD card back to the internal storage on your Samsung phone:
- Open Settings: Go to the Settings app on your Samsung phone.
- Select Apps: Look for the “Apps” or “Applications” option in the Settings menu.
- Choose an App on SD Card: Scroll through the list of installed apps and find the app that you want to move back to the internal storage.
- Open App Details: Tap on the selected app to access its details page.
- Move to Internal Storage: Within the app details page, you should find an option labeled “Move to Internal Storage” or something similar. Tap on that option to initiate the move.
- Confirm the Move: A confirmation prompt will appear. Review the information and tap “OK” to proceed with the move.
- Wait for the Transfer: Your phone will now start transferring the app and its data from the SD card back to the internal storage. The transfer duration may vary depending on the app’s size.
- Verify App Location: After the transfer is complete, check the app’s location in the list of installed apps. It should now be listed under the internal storage section rather than the SD card section.
By following these steps, you can easily move an app from the SD card back to the internal storage of your Samsung phone. This can be useful if you need to free up space on your SD card or if you encounter any issues with the app’s performance while it is stored on the SD card.
Remember, not all apps can be moved back to the internal storage, especially system apps or apps that require specific permissions. If you don’t see the option to move the app back, it means that the app is not eligible for the transfer.
Take control of your app storage by easily moving apps between the SD card and internal storage as needed, optimizing your Samsung phone’s storage capacity to suit your preferences and needs.
Conclusion
Managing storage space on your Samsung phone is crucial to ensure optimal device performance and to accommodate a growing collection of apps. By moving apps to your SD card, you can free up valuable internal storage and expand your device’s capacity for more apps, photos, and videos.
In this guide, we’ve provided you with a step-by-step process to move apps to your SD card. We also discussed the benefits of app-to-SD functionality, including increased storage capacity, improved performance, and easier device transfer.
Before starting the app transfer process, ensure that your Samsung phone supports app-to-SD functionality and check if specific apps are eligible for the transfer. Prepare your SD card by properly inserting it into your device, formatting it, and allocating space for app storage.
Follow the steps outlined in this guide to move apps from your internal storage to the SD card. Be mindful of common issues that may arise during the process, such as incompatible apps, insufficient space, or incomplete transfers. With a few troubleshooting tips, you can address these issues effectively.
If needed, you can always revert an app back to the internal storage from the SD card. Simply follow the instructions provided in the corresponding section of this guide.
By utilizing app-to-SD functionality and managing your device’s storage effectively, you can optimize your Samsung phone’s performance and make the most of its capabilities. Enjoy the benefits of a clutter-free internal storage and a wealth of available space for new apps and files.
Remember to periodically check the health and available space on your SD card, and keep your device’s software up to date to ensure a seamless storage experience. If you require further assistance or encounter any difficulties, consult your phone’s user manual or reach out to the manufacturer’s support team for additional guidance.