Introduction
Movies and videos often take up a significant amount of storage space on our devices, which can lead to limited storage issues, especially on tablets. Fortunately, if you own a Samsung tablet, you have the option to move your movies to an SD card, freeing up valuable internal storage and allowing you to enjoy your favorite films without worrying about running out of space.
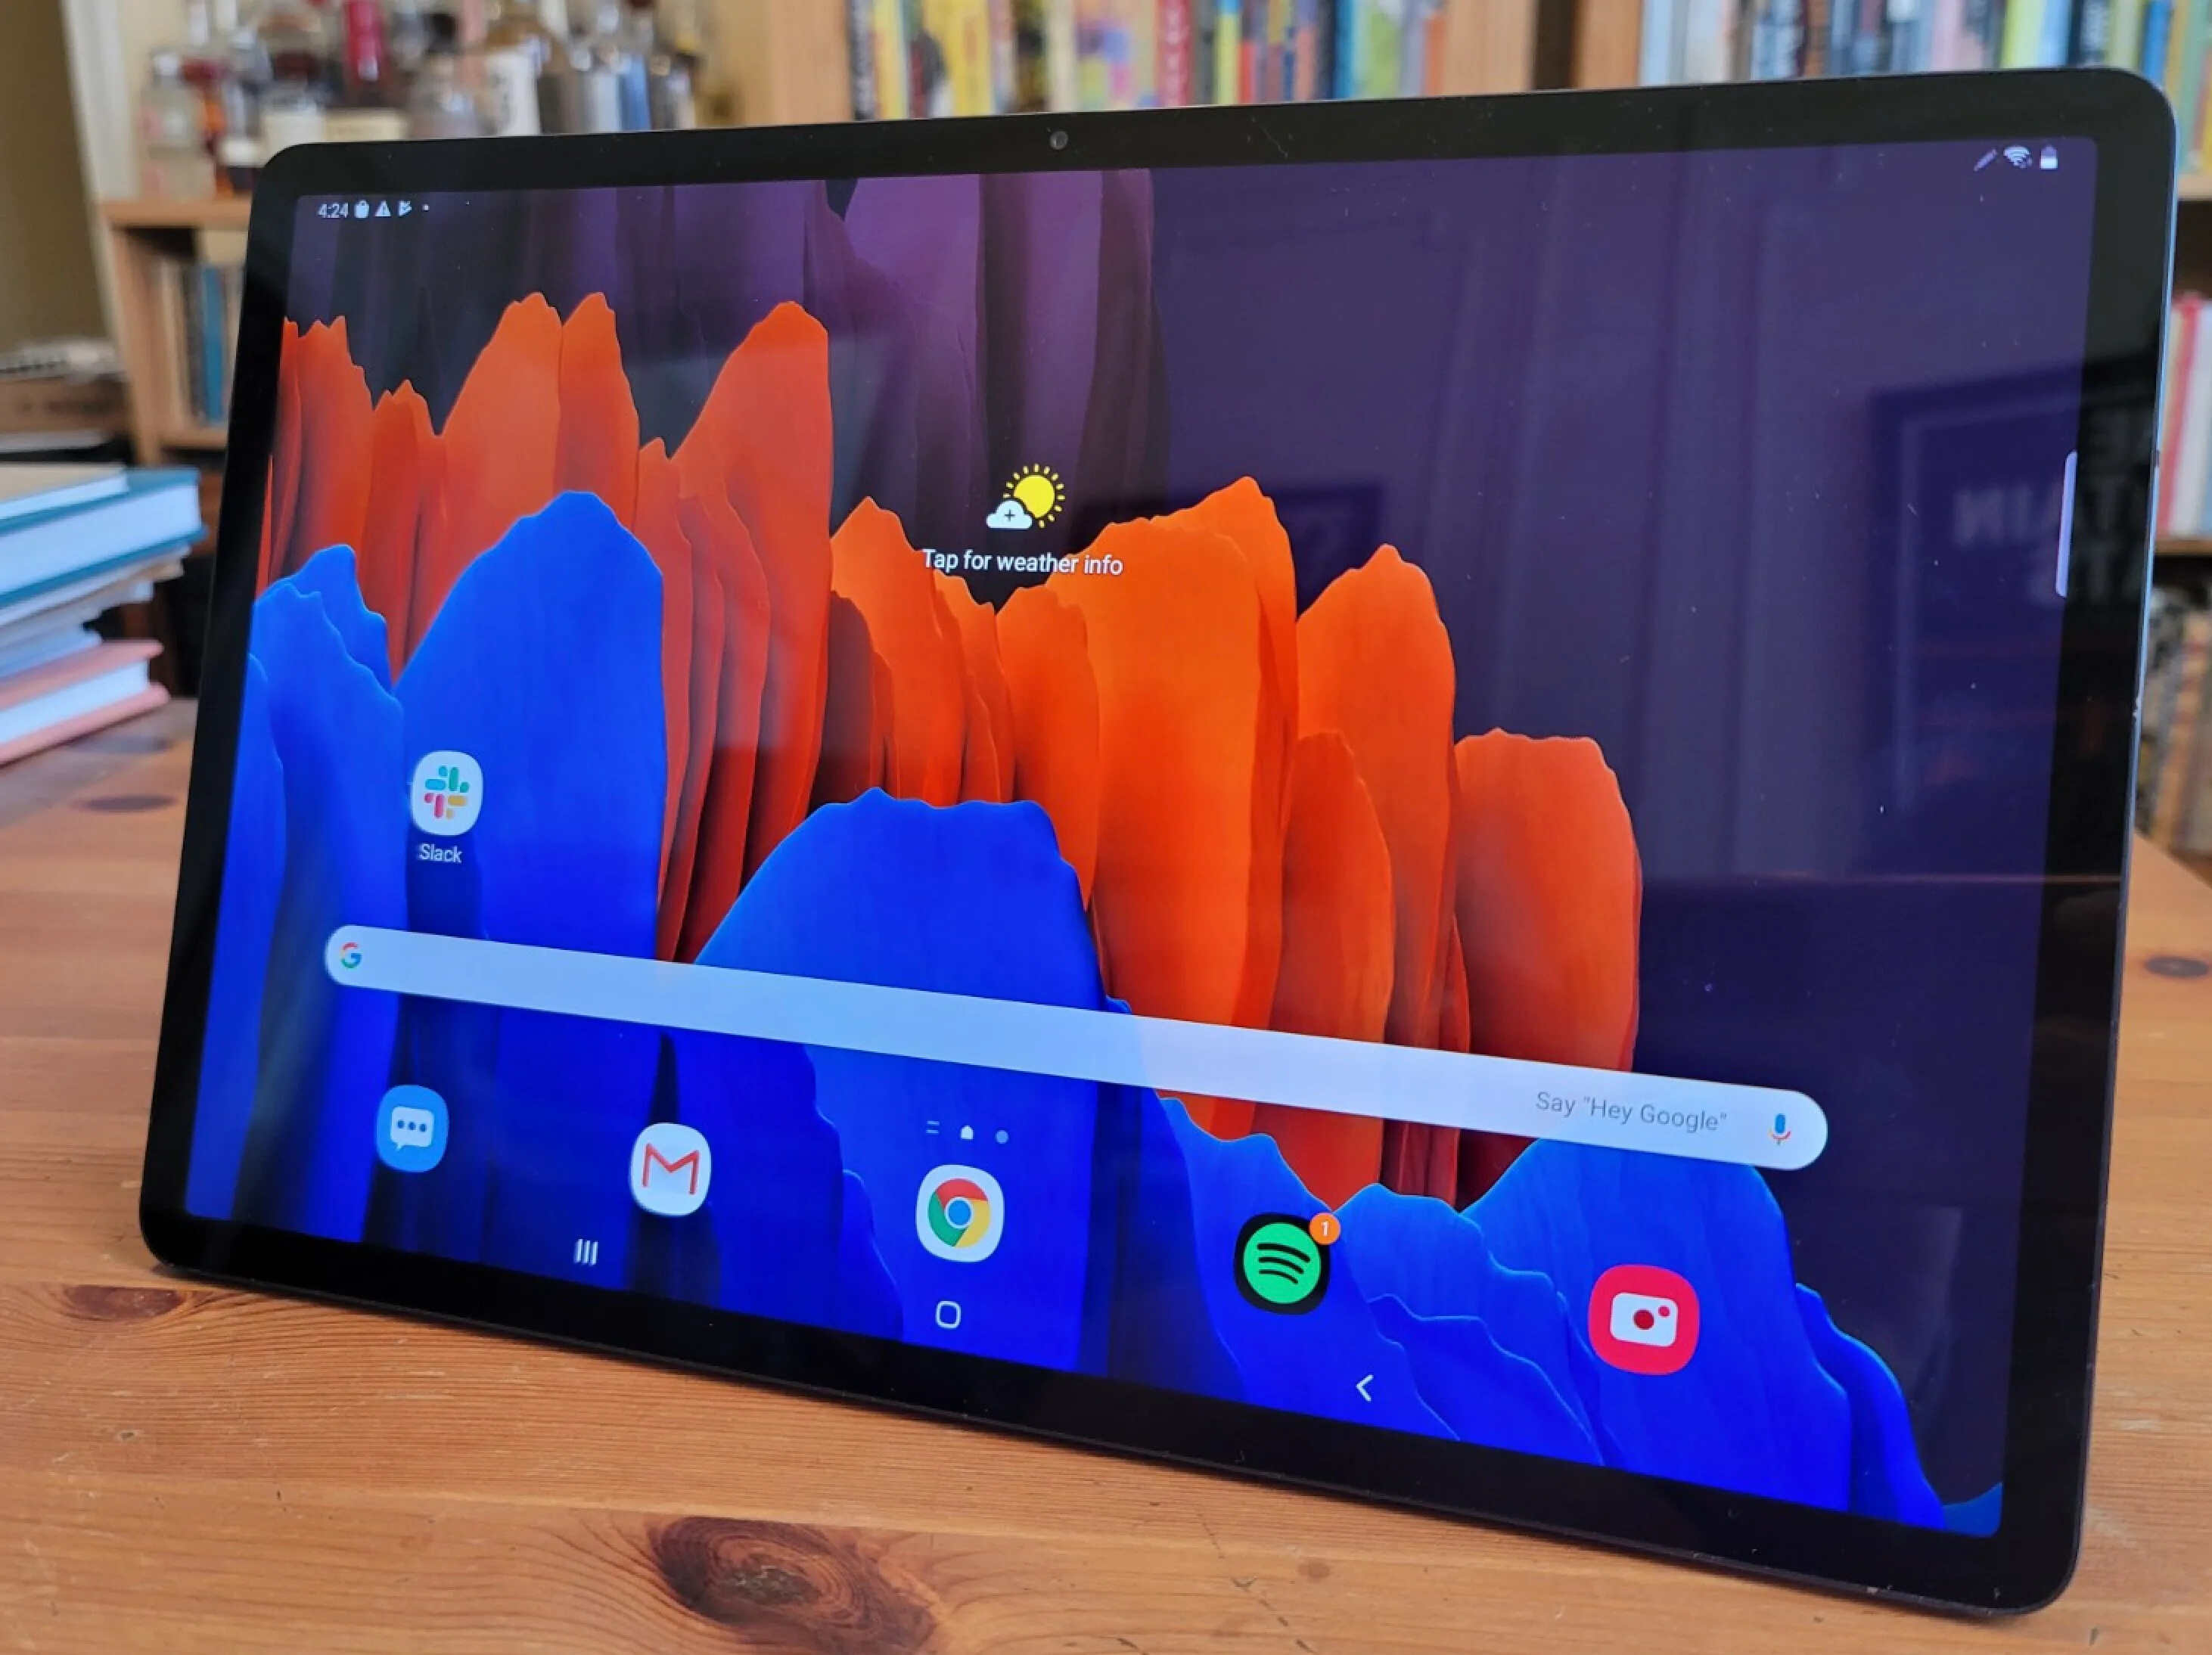
In this guide, we will take you through the step-by-step process of how to move movies to an SD card on your Samsung tablet. Whether you are using a Galaxy Tab S series or any other Samsung tablet, the process should be similar. Let’s get started!
Before diving into the steps, there are a few things you should check. First, ensure that your tablet supports the use of an SD card. Some older models or budget tablets may not have this option. Secondly, make sure you have an SD card with sufficient storage capacity. The more movies you want to move, the larger the SD card you will need.
Moving your movies to an SD card can be a simple and effective solution to expand your tablet’s storage and organize your media library. Now, let’s move on to the next section to begin the process.
Step 1: Check for SD card compatibility
The first step in moving movies to an SD card on your Samsung tablet is to check if your tablet is compatible with external storage. Most Samsung tablets have a built-in slot for an SD card, but it’s crucial to verify that your specific model supports this feature.
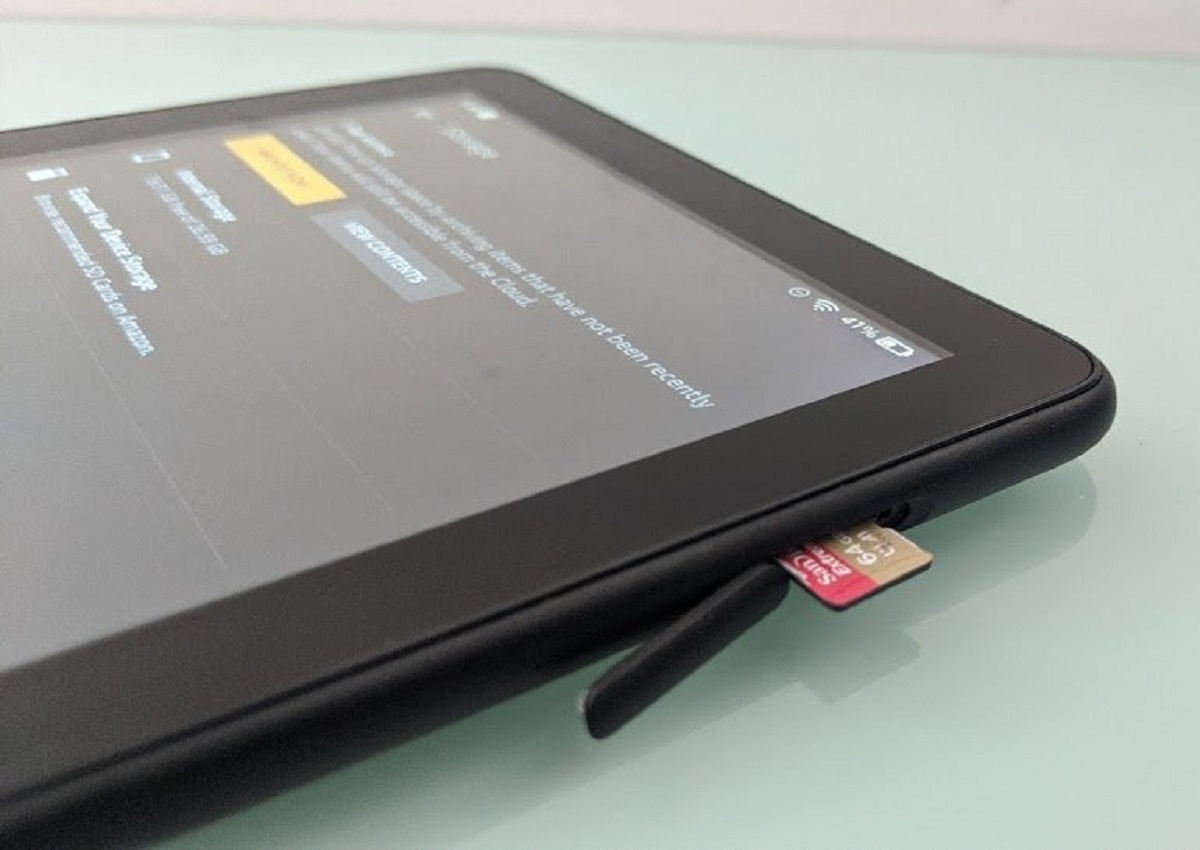
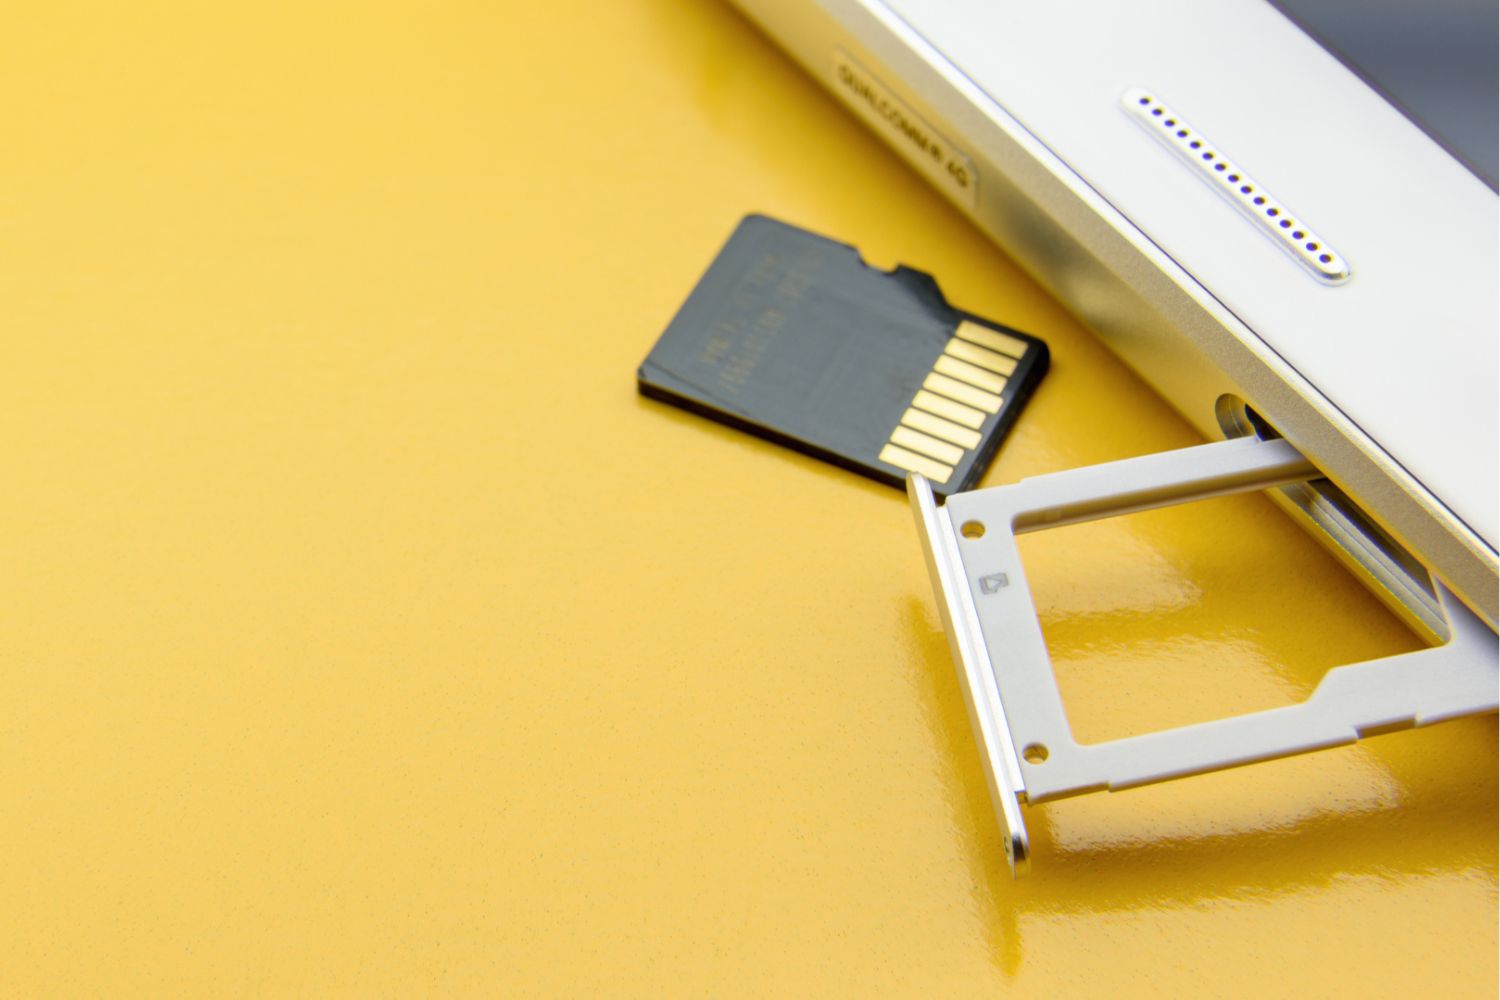
To check for SD card compatibility, start by locating the slot on your tablet where the SD card can be inserted. This slot is often found on the side or at the top of the tablet, depending on the model. Once you locate the slot, check if it has a label indicating that it is for an SD card.
If you’re unsure about the compatibility of your tablet, refer to the user manual or visit the Samsung website for specific information about your model. Alternatively, you can search online using your tablet’s model number to find out if it supports external storage.
In the event that your tablet doesn’t have an SD card slot or doesn’t support external storage, you may still be able to move movies to a microSD card through alternative methods, such as using an external adapter or USB OTG (On-The-Go) cable. However, these methods can vary depending on your tablet’s capabilities, so it’s best to consult the user manual or seek support from Samsung.
Once you have confirmed your tablet’s compatibility with an SD card, you can proceed to the next step, which is inserting the SD card into your Samsung tablet.
Step 2: Insert the SD card into your Samsung tablet
After verifying that your Samsung tablet is compatible with an SD card, the next step is to insert the SD card securely into the device. Follow these simple instructions:
- Locate the SD card slot on your tablet. Typically, it is located on the side or top of the device.
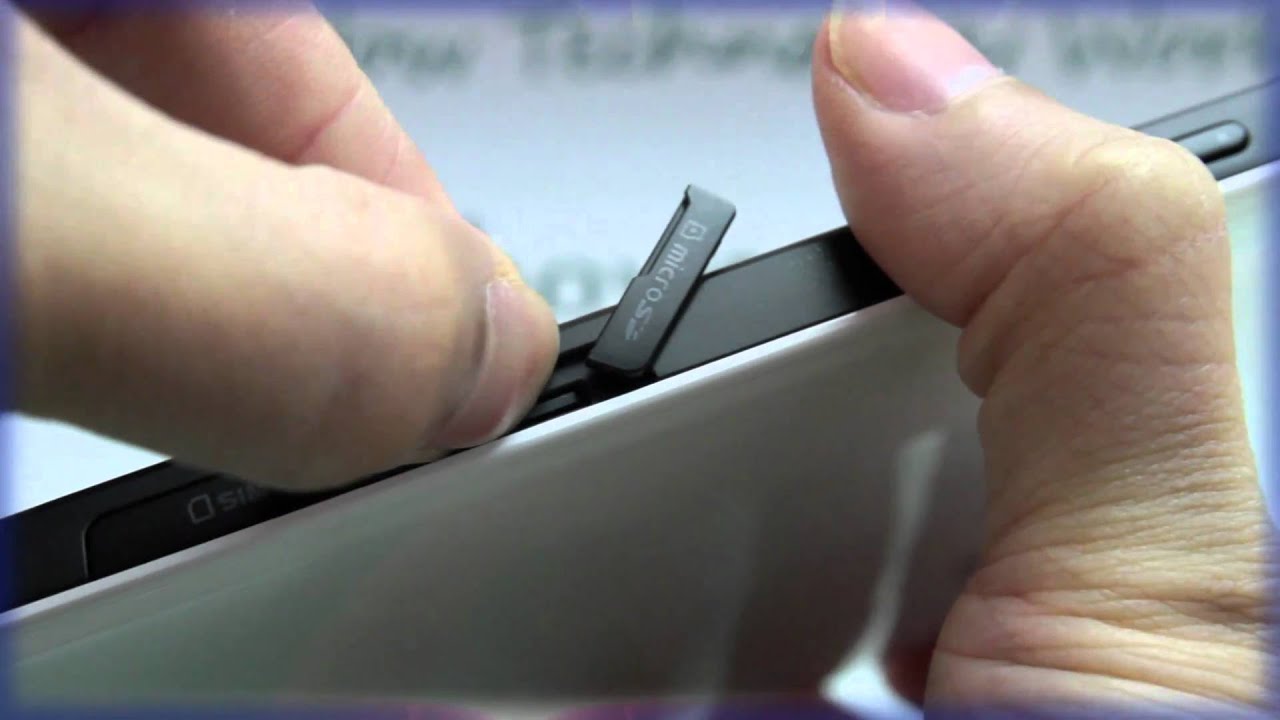
- Using your fingertip or a small pin, gently push the card tray ejector to open the SD card slot.
- Take your SD card and align it with the correct orientation. Look for the chamfered corner or the label side of the SD card to ensure proper alignment.
- Push the SD card into the slot until it clicks in place.
- Close the card tray by pushing it back into the tablet until it is flush with the device’s frame.
It’s important to ensure that the SD card is inserted correctly to avoid any damage to the card or the tablet. If you encounter any resistance while inserting the SD card, double-check the orientation and try again. Be gentle but firm when inserting the SD card to avoid bending or damaging the card or the tablet’s slot.
Once the SD card is successfully inserted, you can move on to the next step, which involves navigating to the Settings menu of your Samsung tablet.
Step 3: Navigate to the Settings menu
Now that you have inserted the SD card into your Samsung tablet, the next step is to navigate to the Settings menu. This is where you can find the necessary options to manage your storage settings and move your movies to the SD card.
To access the Settings menu on your Samsung tablet, follow these steps:
- Unlock your tablet by entering your PIN, password, or using the fingerprint scanner.
- Find the “Settings” app on your tablet’s home screen or in the app drawer. The icon usually looks like a gear or a set of sliders.
- Tap on the “Settings” app to open it and access the various settings options.
Once you have successfully opened the Settings menu, you are ready to proceed to the next step in moving your movies to the SD card. In the Settings menu, you will find the storage settings that allow you to manage your device’s storage and make the necessary changes to move your movies.
Keep in mind that the exact layout and appearance of the Settings menu may vary slightly depending on the model and version of your Samsung tablet. However, the overall structure and location of the storage settings should remain consistent.
With the Settings menu accessed, you are now prepared to move on to the next step, which involves finding and selecting the Storage option. This will allow you to access the relevant settings for managing your device’s storage and moving your movies.
Step 4: Find and select the Storage option
Once you have accessed the Settings menu on your Samsung tablet, the next step is to find and select the Storage option. This option allows you to view and manage the storage settings on your device, including the option to move your movies to the SD card.
To find and select the Storage option, follow these steps:
- Scroll through the list of options in the Settings menu and look for the option that is labeled “Storage” or “Storage & USB.”
- Tap on the Storage option to access the storage settings.
Alternatively, on some Samsung tablets, the Storage option may be located within the Device Maintenance or Device Care section of the Settings menu. If you can’t find the Storage option listed directly in the main settings menu, try looking for it in these submenus.
Once you have selected the Storage option, you will be presented with a variety of storage-related settings and information. This screen will provide you with an overview of the storage capacity, as well as the distribution of space among different categories such as apps, images, videos, and more.
On some Samsung tablet models, you may need to tap on the “Advanced” or “More” option within the Storage settings to find additional storage options, including the option to move your movies to the SD card. If this option is not readily available in the main Storage screen, navigate to the advanced or more options to proceed.
With the Storage option selected, you have successfully reached the section where you can make the necessary changes to move your movies. In the next step, we will guide you through selecting the “Movies” folder to proceed with the process.
Step 5: Select the “Movies” folder
After accessing the Storage settings on your Samsung tablet, the next step is to select the “Movies” folder. This is where you will find all the movies stored on your device and choose which ones you want to move to the SD card.
To select the “Movies” folder, follow these steps:
- Within the Storage settings, look for a section or option specifically labeled “Movies” or “Videos.”
- Tap on the “Movies” option to open the folder and view the list of movies stored on your tablet.
The “Movies” folder serves as a directory where your tablet organizes the movies or videos you have previously saved. By selecting this folder, you can access and manage the movies stored on your device.
In the “Movies” folder, you will see a list of the movies currently present on your tablet. Take a moment to browse through the list and familiarize yourself with the movies available for selection. This will help you decide which movies you want to move to the SD card.
Remember that the availability and labeling of the “Movies” folder may vary depending on the device model and the video player app you are using. Some tablets may have a separate Video or Gallery app that contains the movies, instead of a dedicated “Movies” folder. In such cases, locate the appropriate app or folder that contains your videos.
Once you have selected the “Movies” folder, you are ready to proceed with the next step, which involves choosing the movies you want to move to the SD card.
Step 6: Choose the movies you want to move to the SD card
Now that you have accessed the “Movies” folder on your Samsung tablet, it’s time to choose the specific movies you wish to move to the SD card. By selecting the movies individually, you can customize which ones to transfer and leave behind the ones you want to keep on the internal storage.
To choose the movies you want to move, follow these steps:
- Browse through the list of movies in the “Movies” folder to identify the ones you want to transfer.
- Tap on the checkbox or the selection icon associated with each movie you wish to move.
By tapping on the checkbox or selection icon next to a movie, it will be marked for transfer. This allows you to select multiple movies at once or choose them individually, depending on your preferences. Take your time to review the movies and make sure you have selected all the ones you want to move to the SD card.
If you want to select all the movies in the folder, you may find a “Select All” option in the top-right corner of the screen. This option saves you time and effort, especially if you want to transfer all the movies from your tablet’s internal storage to the SD card.
Remember, the exact method of selecting movies may vary depending on the file manager or video player app you are using. If you are not able to find the selection option, refer to the app’s user manual or consult the support resources provided by Samsung.
Once you have chosen the movies you want to move to the SD card, proceed to the next step to initiate the transfer process. In the following step, we will guide you on how to tap on the “Move” or “Copy” option.
Step 7: Tap on the “Move” or “Copy” option
With the movies you want to transfer from your Samsung tablet’s internal storage to the SD card selected, the next step is to initiate the actual move or copy process. This can be done by tapping on the appropriate “Move” or “Copy” option available in the file manager or video player app.
To tap on the “Move” or “Copy” option, follow these steps:
- Locate the menu or options icon within the file manager or video player app you are using. This icon could be represented by three dots, lines, or a gear symbol.
- Tap on the menu or options icon to open the additional actions available for the selected movies.
- Look for a command that indicates “Move” or “Copy” and select it.
The specific wording may vary depending on the app you are using. Some file managers may use the term “Move” to perform the transfer from the internal storage to the SD card, while others may provide a “Copy” option. Ensure you choose the appropriate action based on your intention to either move or copy the movies.
When you select the “Move” option, the movies will be transferred from the internal storage to the SD card, freeing up space on your tablet. On the other hand, if you choose the “Copy” option, the movies will be duplicated on the SD card while still remaining in the original location on the internal storage. The choice between move or copy depends on your preferences and storage requirements.
Once you have tapped on the “Move” or “Copy” option, the transfer process will begin, and the selected movies will be relocated to the SD card. The time taken for the process may vary depending on the number and size of the movies being transferred. It is recommended to keep your tablet sufficiently charged or connected to a power source during this process to prevent any interruptions.
With the moving or copying process initiated, you are almost done with the steps to move movies to the SD card on your Samsung tablet. In the following step, we will explain how to select the “SD card” as the destination folder for the transfer.
Step 8: Select the “SD card” as the destination folder
After initiating the move or copy process of the selected movies, the next step is to choose the “SD card” as the destination folder. This ensures that the movies are transferred to the external storage instead of remaining in the tablet’s internal storage.
To select the “SD card” as the destination folder, follow these steps:
- Within the file manager or video player app, locate the option to choose the destination folder for the transfer.
- Tap on this option to open a list of available folders.
- Scroll through the list and find the folder labeled “SD card” or “External storage.”
- Select the “SD card” or “External storage” folder as the destination for the movies.
The “SD card” folder represents the external storage on your Samsung tablet, which is typically the inserted SD card. By choosing this folder as the destination, you ensure that the movies are moved from the internal storage to the SD card.
Please note that the appearance and labeling of folders may vary depending on the file manager or video player app you are using. Some apps may display the SD card as a separate tab or section within the app, making it easier to select as the destination folder.
If you cannot find the “SD card” folder in the list, make sure that your SD card is properly inserted and recognized by your tablet. You can also try selecting other folders within the external storage section or consult the app’s user manual or support resources for further assistance.
Once you have selected the “SD card” as the destination folder, the transfer process will continue, and the selected movies will be moved from the tablet’s internal storage to the SD card. In the final step, we will guide you on how to confirm the move or copy action and complete the process.
Step 9: Confirm the move or copy action
After selecting the “SD card” as the destination folder for the transfer of your movies, the final step is to confirm the move or copy action. This ensures that the selected movies are successfully transferred from the tablet’s internal storage to the SD card.
To confirm the move or copy action, follow these steps:
- Within the file manager or video player app, look for a “Confirm” or “OK” button.
- Tap on this button to initiate the finalization of the transfer process.
By tapping on the “Confirm” or “OK” button, you confirm the action and allow the app to proceed with the transfer of the selected movies. The app will begin moving or copying the movies from the internal storage to the SD card based on your previous selections.
While the transfer process is underway, it is important to refrain from interrupting it or closing the app to ensure that the movies are successfully transferred. Depending on the number and size of the movies, the process may take some time to complete. You can monitor the progress bar or indicator within the app to get an idea of the transfer’s status.
Once the transfer is complete, you can verify the successful move or copy of the movies by navigating to the “Movies” folder on the SD card. The transferred movies should now be present in the SD card’s directory, freeing up space on the tablet’s internal storage.
Congratulations! You have successfully completed the process of moving movies to the SD card on your Samsung tablet. You can now enjoy your favorite films without worrying about storage limitations.
Remember to regularly check and manage your movies and files on the SD card to keep your device organized and make the most of the available storage capacity. Should you need to remove the SD card from your tablet, make sure to do so safely by ejecting it from the settings menu to avoid any data loss or corruption.
Thank you for following this guide, and we hope it has been helpful in optimizing your tablet’s storage for an enhanced movie-watching experience!
Conclusion
Moving movies to an SD card on your Samsung tablet can greatly enhance your storage capacity and provide more room for your favorite films. By following the step-by-step instructions outlined in this guide, you can easily transfer movies from your tablet’s internal storage to the external SD card.
In this guide, we started by checking for SD card compatibility to ensure that your tablet supports external storage. We then walked through the process of inserting the SD card securely into the device. Next, we navigated to the Settings menu where we found and selected the Storage option. From there, we located and tapped on the “Movies” folder to choose the movies we wanted to move to the SD card.
We then selected the appropriate “Move” or “Copy” option to initiate the transfer process. Following that, we chose the “SD card” as the destination folder for the movies. Finally, we confirmed the move or copy action and completed the process.
Moving movies to the SD card helps free up valuable internal storage space on your Samsung tablet, allowing you to store more content and apps without sacrificing performance. It also ensures that your movies are easily accessible whenever you want to watch them, whether offline or on the go.
Remember to regularly manage your movies on the SD card and keep your content organized. You can choose to move or copy additional movies whenever needed using the same process outlined in this guide. Additionally, if you decide to remove the SD card from your tablet, be sure to safely eject it from the settings menu to avoid any data loss.
We hope that this guide has been helpful in expanding your storage options and optimizing your movie viewing experience. Enjoy your favorite films on your Samsung tablet with the newfound freedom of ample storage!