Introduction
When it comes to managing storage space on your Android tablet, saving apps on the SD card can be a real game-changer. With limited internal storage on most tablets, the ability to utilize the SD card can help you free up precious space for other important files and documents. By moving apps to the SD card, you can maximize storage capacity and ensure smooth performance.
Whether you have a vast collection of gaming apps or essential productivity tools, saving them on the SD card provides a convenient solution. However, not all tablets support this feature, so it’s essential to check if your Android tablet is compatible with SD card storage.
In this article, we’ll guide you through the process of saving apps on the SD card on your Android tablet. We’ll cover everything from checking device compatibility to moving apps seamlessly. By following these steps, you’ll be able to make the most out of your tablet’s storage capabilities.
Why Save Apps on SD Card
Saving apps on the SD card offers several advantages for Android tablet users. Here are some reasons why you should consider moving your apps to the SD card:
- Storage Expansion: Many Android tablets come with limited internal storage, and as you download more apps, the available space quickly diminishes. By saving apps on the SD card, you can significantly expand your storage capacity and have more room for other files and media.
- Improved Performance: When internal storage is full, it can impact the performance of your tablet, causing lagging, freezing, and slow app launches. By offloading apps to the SD card, you can keep your tablet’s internal storage space freed up and ensure smoother performance.
- Flexibility and Freedom: Saving apps on the SD card allows you to install a wider range of applications without worrying about running out of internal storage. Whether it’s games, productivity tools, or multimedia apps, you can have the flexibility to download and use apps according to your needs.
- Ease of Transfer: If you switch to a new Android tablet or need to perform a factory reset on your current device, apps saved on the SD card can be easily transferred without losing any data or progress. It provides a convenient way to migrate your apps to a new device or restore them after a reset.
- Organization and Accessibility: Having apps stored on the SD card allows for better organization and quick access. You can categorize apps based on their type or purpose and create a well-structured app library, making it easier to find and use the apps you need.
With these benefits in mind, it’s clear that saving apps on the SD card is a practical solution for Android tablet users. Now let’s move on to checking if your tablet supports SD card storage.
Check if Your Android Tablet Supports SD Card Storage
Before you begin saving apps on the SD card, it’s important to verify if your Android tablet supports this feature. Not all devices have the capability to store apps on the SD card. Here’s how you can check:
- Read the User Manual: The user manual that comes with your tablet should provide information regarding the device’s storage capabilities. Look for any mentions of SD card support or external storage options.
- Check Device Specifications Online: If you don’t have the physical user manual, you can search for your tablet model online. Visiting the manufacturer’s website or reputable tech forums can give you detailed specifications, including whether the device supports SD card storage.
- Explore Settings: On your tablet, navigate to the settings menu. Look for storage or memory options and see if there is an option to format or use the SD card as internal or external storage. If you find these options, it indicates that your tablet has SD card support.
It’s important to note that even if your tablet has an SD card slot, it doesn’t necessarily mean it supports storing apps on the SD card. Some devices may only allow the use of the SD card for media files, such as photos and videos, while keeping the app storage limited to the internal memory. Therefore, it’s crucial to check for specific information regarding app storage capabilities.
If your tablet does not support SD card storage, there may still be alternative ways to optimize storage and manage your apps. This could include uninstalling unnecessary apps, clearing app cache, or utilizing cloud storage services for data-heavy applications.
Once you have confirmed that your tablet supports SD card storage, the next step is to prepare your SD card for app storage. We’ll cover this process in the next section.
Preparing Your SD Card for App Storage
Before you can start saving apps on your SD card, there are a few steps you need to take to prepare the card properly:
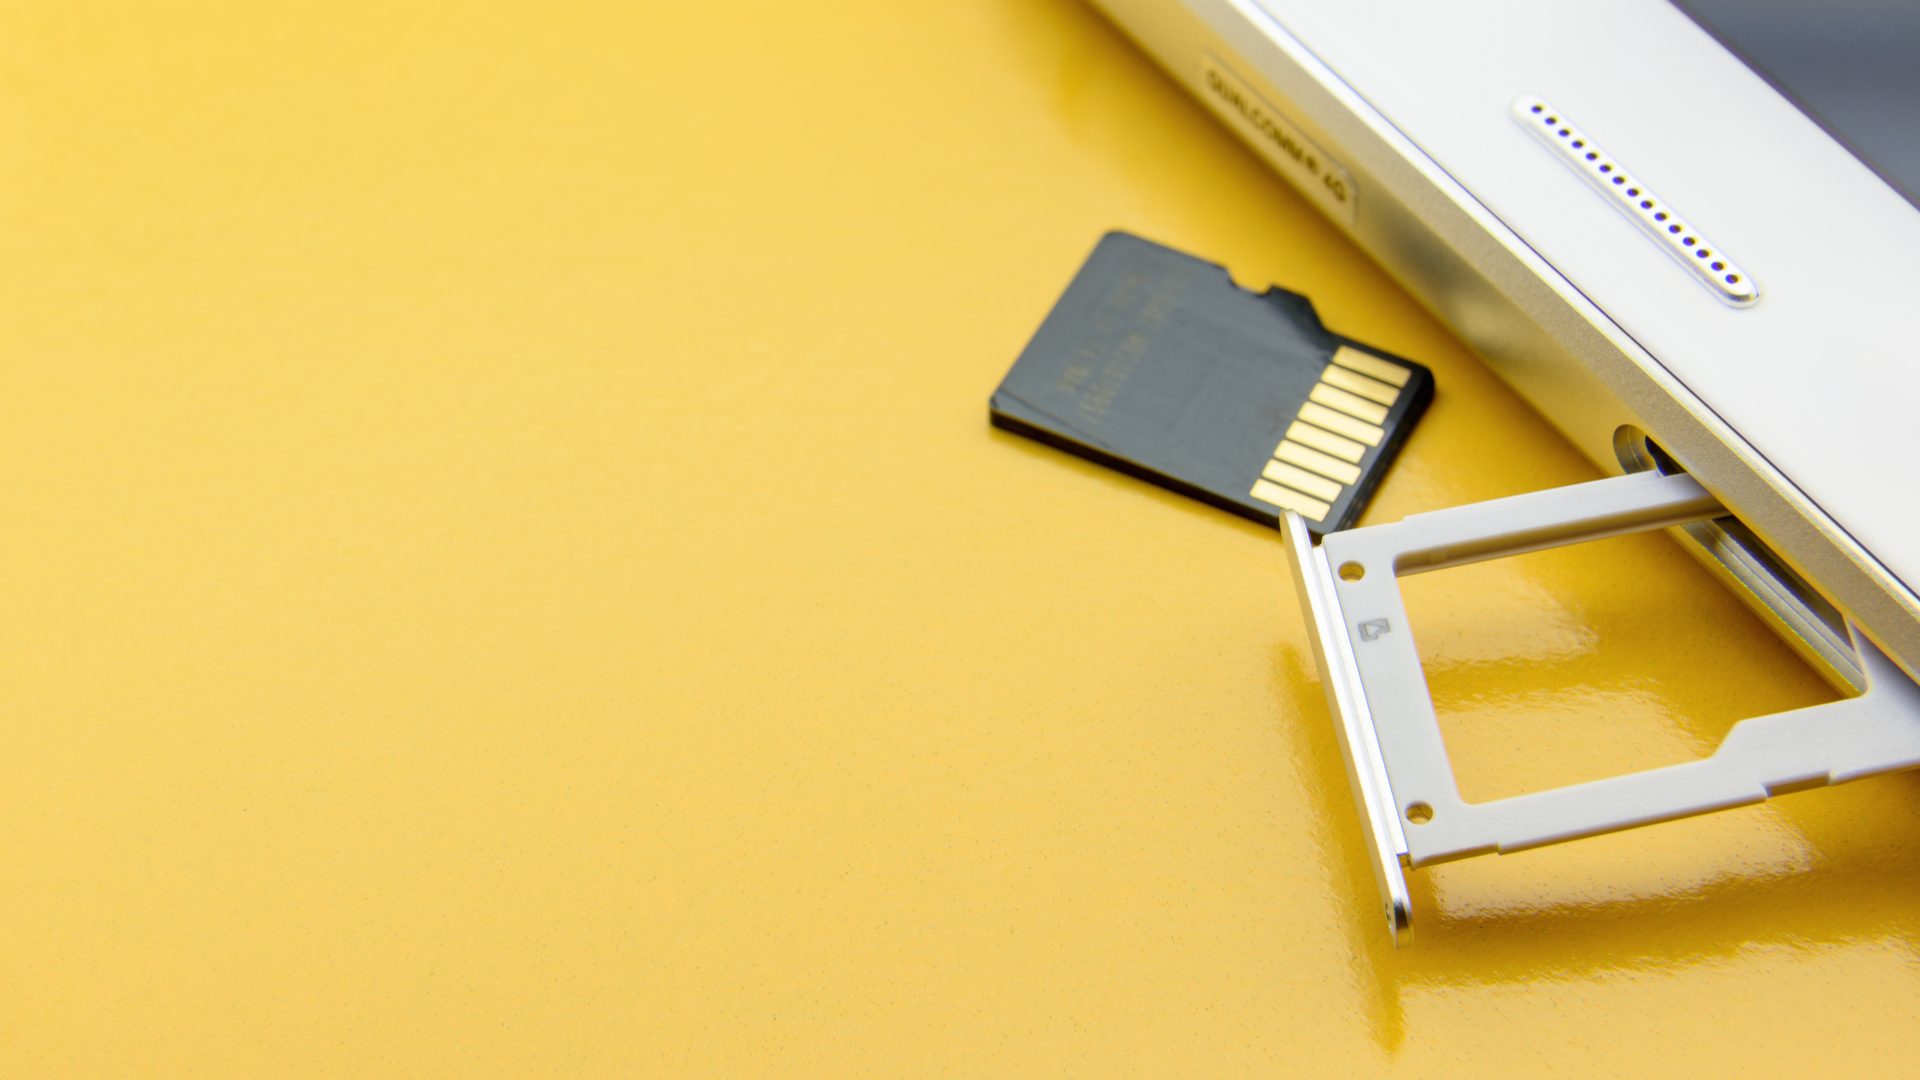
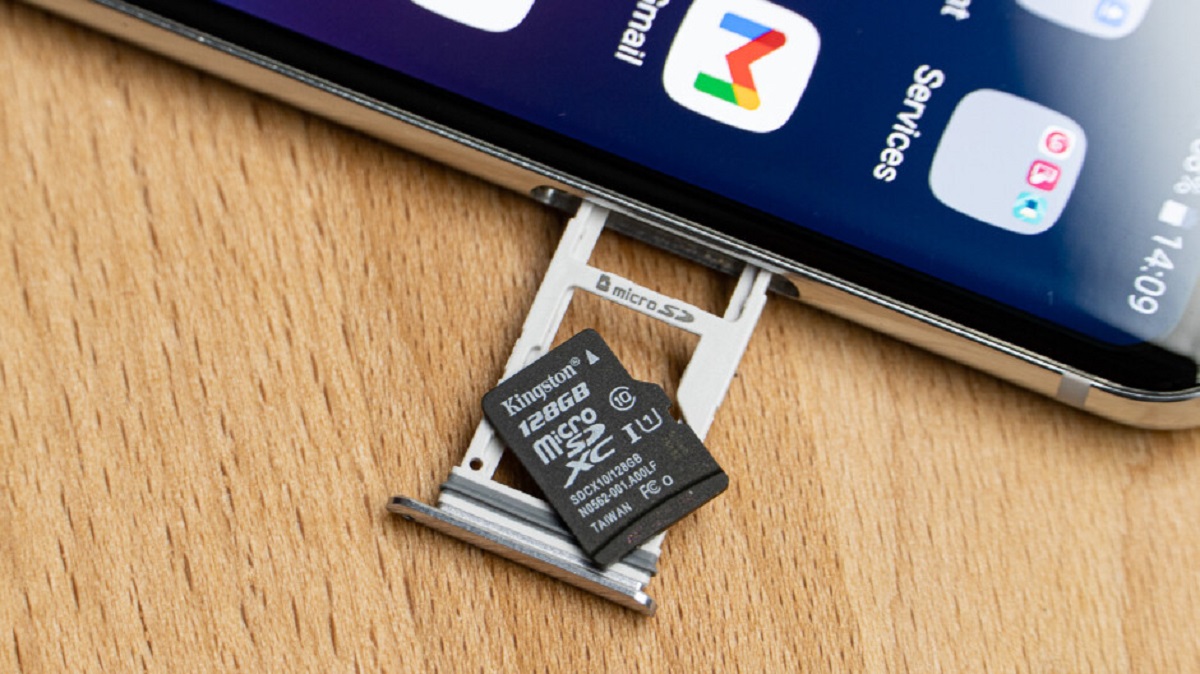
- Step 1: Inserting the SD Card: Locate the SD card slot on your tablet. Most devices have a dedicated slot for inserting an SD card. Carefully insert the card into the slot until it clicks into place. Be gentle and ensure that the card is properly aligned to avoid any damage.
- Step 2: Formatting the SD Card: To ensure compatibility and a fresh start, it’s recommended to format the SD card. This will erase any existing data on the card, so it’s advisable to make a backup of important files beforehand. To format the SD card, go to the settings menu on your tablet, navigate to the storage options, find the SD card, and select the format option. Follow the on-screen instructions to complete the formatting process.
- Step 3: Setting Up the SD Card as Default Storage: Once the SD card is formatted, you need to designate it as the default storage location for apps. This step may vary depending on the Android version and the tablet’s manufacturer, but the general process is as follows: go to the settings menu, navigate to the storage options, find the SD card, and select the option to set it as the default storage location.
It’s important to note that the specific steps and terms used may vary depending on your tablet’s interface. If you’re unsure about any of the steps, refer to the user manual or the manufacturer’s support website for detailed instructions.
By following these steps, you can ensure that your SD card is ready to store apps and provide additional storage space for your Android tablet. Now that your SD card is prepared, it’s time to move on to the next section, where we’ll explore different methods for moving apps to the SD card.
Step 1: Inserting the SD Card
The first step in preparing your SD card for app storage is to properly insert it into your Android tablet. Follow these instructions to ensure a successful insertion:
- Locate the SD Card Slot: Depending on your tablet model, the location of the SD card slot may vary. Usually, the slot can be found on the side or back of the tablet.
- Power Off Your Tablet: Before inserting or removing the SD card, it’s advisable to power off your tablet to avoid any potential damage or data loss.
- Use an SD Card Adapter (if necessary): If your tablet’s SD card slot is smaller than the SD card you have, you may need to use an SD card adapter. Insert the SD card into the adapter, making sure it fits securely.
- Insert the SD Card: Gently insert the SD card into the slot, aligning the copper contacts on the card with the corresponding pins in the slot. Apply light pressure until the card is fully inserted and you hear a click or feel it lock into place.
- Check Proper Alignment: Double-check that the SD card is correctly inserted and properly aligned. It should fit snugly without any parts sticking out. Avoid forcing the card if it doesn’t fit smoothly.
Once the SD card is securely inserted, you can proceed to the next step of formatting the card to prepare it for use as app storage. Keep in mind that the specific steps may vary slightly depending on your tablet’s make and model. If you’re unsure about the location or process of inserting the SD card, consult the user manual or refer to the manufacturer’s support website for detailed instructions.
Now that your SD card is properly inserted, let’s move on to the next step of formatting the card to get it ready for app storage.
Step 2: Formatting the SD Card
After inserting the SD card into your Android tablet, the next step in preparing it for app storage is to format the card. Formatting the SD card erases all existing data and sets it up with the necessary file system for optimal usage. Here’s how you can format your SD card:
- Access the Settings: Open the settings on your Android tablet. The location of the settings may vary depending on your device, but it is usually represented by a gear icon in the app drawer or quick settings menu.
- Find the Storage Options: In the settings menu, look for the “Storage” or “Memory” option. It may be under a “Device” or “Storage & USB” section.
- Select the SD Card: In the storage options, locate and select the SD card. It may be labeled as “SD Card,” “External Storage,” or a similar term.
- Tap on Format: Once you’ve selected the SD card, you should see an option to format it. Tap on the “Format” or “Format SD Card” button to initiate the formatting process.
- Confirm the Formatting: A warning message will appear, informing you that formatting will erase all data. Ensure that you have backed up any important files or data on the SD card. If you’re ready to proceed, confirm the formatting process by tapping on “Format” or “Erase.”
- Wait for Formatting to Complete: The formatting process may take a few moments. Be patient and wait for the process to complete. Once finished, you’ll receive a notification or see a message confirming the successful formatting of the SD card.
It’s important to note that formatting the SD card will erase all existing data, so ensure that you have backed up any important files before proceeding. Additionally, the specific steps and options may vary slightly depending on your tablet’s make and model. If you’re unsure about the formatting process, refer to the user manual or the manufacturer’s support website for detailed instructions.
Now that your SD card is successfully formatted, you’re ready to move on to the next step of setting up the SD card as the default storage for apps.
Step 3: Setting Up the SD Card as Default Storage
Once you have formatted your SD card, the next step is to set it up as the default storage location for apps on your Android tablet. Follow the steps below to configure your device:
- Access the Settings: Open the settings menu on your Android tablet. Look for the gear icon, which represents settings, in either the app drawer or the quick settings menu.
- Navigate to Storage Options: In the settings menu, find and select the “Storage” or “Memory” option. This may be located under a “Device” or “Storage & USB” section.
- Select Default Storage Location: Within the storage options, there should be a setting to choose the default storage location for apps. The option may be labeled as “Default Storage” or “Default Write Disk.” Tap on this option to proceed.
- Choose the SD Card: In the default storage location settings, you should see a list of available storage options. Select the SD card from the list to set it as the default storage for apps.
- Confirm the Selection: Once you’ve chosen the SD card as the default storage location, you may be prompted to confirm your selection or restart your device. Follow the on-screen instructions and confirm any prompts to complete the process.
It’s important to note that the specific steps and naming conventions may vary depending on your tablet’s manufacturer and the version of Android. If you’re unable to find the default storage setting or encounter any difficulties, refer to the user manual or the manufacturer’s support website for detailed instructions.
By setting up the SD card as the default storage location for apps, any new apps you install or download will be automatically saved to the SD card. However, keep in mind that not all apps can be moved to the SD card, as some may require specific permissions or restrictions that prevent them from being stored externally. In such cases, the app will remain in the internal storage of your tablet.
With the SD card now set up as the default storage, you can start moving existing apps to the SD card. In the next section, we’ll explore different methods you can use to accomplish this.
Moving Apps to the SD Card
Now that you have successfully set up the SD card as the default storage location, you can start moving apps from your Android tablet’s internal memory to the SD card. There are multiple methods you can use to accomplish this:
- Option 1: Using the App Settings: Some apps provide a built-in option to move them to the SD card. To check if an app offers this feature, go to the settings menu on your tablet, navigate to the “Apps” or “Application Manager” section, and select the app you want to move. Look for an option that allows you to “Move to SD card” or similar phrasing. Tap on this option to initiate the app transfer. Keep in mind that not all apps support this feature.
- Option 2: Using External Storage Manager: Certain Android devices come with an external storage manager that allows you to move apps to the SD card. To access this feature, go to the settings menu, navigate to the “Storage” or “Memory” section, and look for an option like “External Storage” or “Manage External Storage.” In this menu, you can select individual apps and choose to “Move to SD card” if the option is available.
- Option 3: Using Third-Party Apps: There are several third-party apps available on the Google Play Store that specialize in managing app storage and moving them to the SD card. These apps offer an intuitive interface and additional features to optimize app storage. Some popular options include “AppMgr III” and “Link2SD.” Download and install one of these apps from the Play Store, follow the on-screen instructions, and use the app to move your desired apps to the SD card.
It’s worth mentioning that not all apps can be moved to the SD card, as some may contain critical system components or restrictions that prevent them from being stored externally. Additionally, moving apps to the SD card may result in slightly slower performance compared to running them from the internal memory.
Before moving an app to the SD card, it’s also useful to consider the app’s size and usage. Apps that are frequently used or require quicker access may be better suited to remain in the internal memory.
By utilizing one of these methods, you can selectively move apps from your tablet’s internal storage to the SD card, freeing up precious space and optimizing storage capacity.
Now that you’re familiar with moving apps to the SD card, let’s explore some troubleshooting tips in case you encounter any issues during the process.
Option 1: Using the App Settings
One of the methods to move apps to the SD card is by utilizing the built-in app settings. Some apps provide the option to move them directly to the SD card, making the process quick and straightforward. Here’s how you can use the app settings to move apps:
- Access the App Settings: Go to the settings menu on your Android tablet and navigate to the “Apps” or “Application Manager” section. You can usually find this option under the “Device” or “Applications” category.
- Select the App: From the list of installed apps, locate and select the app that you want to move to the SD card. The list may be organized alphabetically or categorized based on various criteria.
- Check for Storage Options: Within the app settings, look for an option that allows you to manage the app storage or move the app to the SD card. This option may be labeled as “Storage,” “Storage Usage,” or “Move to SD card.” Tap on this option to proceed.
- Move the App: If the app supports moving to the SD card, you will see an option to move it. Tap on “Move to SD card” or a similar phrasing to initiate the move. The app will be transferred from the internal storage to the SD card.
- Confirmation and Completion: Once the move is completed, you will receive a notification or see a confirmation message. The app is now stored on the SD card, freeing up space on the internal memory.
It’s important to note that not all apps support the option to move them to the SD card. System apps and certain apps that require specific permissions or restrictions may not be eligible for direct transfer. Additionally, some apps may only allow partial movement, where certain components remain in the internal memory.
If you encounter any issues or are unable to find the storage option within the app settings, it means that the app does not support moving to the SD card via this method. In such cases, you can explore alternative methods, such as using an external storage manager or third-party apps, which we will discuss in the following sections.
Now that you’re familiar with using the app settings to move apps, let’s explore another method using an external storage manager.
Option 2: Using External Storage Manager
If your Android tablet does not have built-in options to move apps to the SD card, you can use an external storage manager to accomplish this. External storage managers provide additional features and control over app storage, including the ability to move apps from internal memory to the SD card. Here’s how to use an external storage manager:
- Install an External Storage Manager: Go to the Google Play Store on your tablet and search for external storage manager apps. Some popular options include “ES File Explorer,” “File Commander,” and “ASTRO File Manager.” Download and install the app of your choice.
- Launch the External Storage Manager: Open the external storage manager app you installed and grant any necessary permissions it requires. Typically, you’ll need to provide access to storage to manage app files.
- Navigate to the Apps Section: Once inside the external storage manager app, look for a section or tab that contains your installed apps. This may be labeled as “Apps,” “Applications,” or something similar.
- Select the App: From the list of installed apps, locate and select the app you want to move to the SD card. You may need to scroll through the list or use the search function to find the specific app.
- Choose the Move to SD Card Option: Within the app details or settings, there should be an option to move the app to the SD card. Look for a button or an option that mentions “Move to SD card” or “Transfer to external storage.” Tap on this option to initiate the move.
- Confirm the Move: A confirmation prompt will appear, informing you about the potential consequences of moving the app. Read the prompt carefully, as some apps may have restrictions or limitations with regards to being stored on the SD card. If you’re ready to proceed, confirm the move to transfer the app to the SD card.
Using an external storage manager provides an alternative method for moving apps to the SD card, even if your tablet’s built-in settings do not support it. These apps often offer additional features such as file management, cloud storage integration, and more, making them versatile tools for optimizing storage on your Android tablet.
If your tablet does not support moving apps to the SD card via the built-in settings or through an external storage manager, you can explore third-party apps specifically designed for app storage management. We’ll discuss this option in the following section.
Option 3: Using Third-Party Apps
If the built-in options and external storage managers don’t provide the desired functionality to move apps to the SD card on your Android tablet, you can turn to third-party apps specifically designed for app storage management. These apps offer advanced features and a user-friendly interface to help you efficiently transfer apps to the SD card. Here’s how you can use third-party apps for app movement:
- Search for a Third-Party App: Open the Google Play Store on your tablet and search for keywords like “app to SD” or “app mover.” You will find several third-party apps that specialize in app storage management. Some popular choices include “AppMgr III” and “Link2SD.”
- Install and Launch the App: Select the app you wish to use, download and install it on your tablet. Once the installation is complete, open the app to begin the setup process.
- Grant Necessary Permissions: Upon launching the app, it may request certain permissions to access your device’s storage and other features. Grant the required permissions to allow the app to function optimally.
- Follow the App Instructions: Each app may have a different interface and set of instructions. Follow the on-screen prompts or tutorials provided by the third-party app to understand its functionality and use the app to move your desired apps to the SD card.
- Select and Move Apps: Once you’re familiar with the app’s interface, navigate to the list of installed apps within the third-party app. Select the apps you want to move to the SD card and follow the app’s designated steps to initiate the move.
- Confirm and Complete the Transfer: After selecting the desired apps, the app will typically display a confirmation prompt before proceeding with the move. Carefully read the prompt and, if you’re ready to proceed, confirm the transfer. The app will then handle the process of moving the selected apps to the SD card.
Third-party apps provide additional flexibility and control over app storage management, offering features like batch app moving, app deletion, and more. Keep in mind that the availability of specific features may vary between different third-party apps, so it’s important to choose one that suits your needs and preferences.
Before installing a third-party app, make sure to read user reviews and check the app’s ratings to ensure its reliability and compatibility with your tablet. Additionally, pay attention to any in-app purchases or subscription requirements that may be associated with the app.
Now that you’re familiar with using third-party apps for app storage management, you can choose the method that best suits your needs to move apps to the SD card on your Android tablet.
Troubleshooting Tips
While moving apps to the SD card can be a straightforward process, you may encounter some challenges along the way. Here are some troubleshooting tips to help you resolve common issues:
- App Compatibility: Not all apps can be moved to the SD card. Some apps, particularly system apps or apps that require specific permissions, may be restricted from being stored externally. If you’re unable to find the option to move an app, it may not support the feature.
- Insufficient Space on SD Card: Ensure that your SD card has enough available space to accommodate the apps you want to move. If the card is full or nearly full, you may need to remove some files or clean up unnecessary data before attempting to move apps.
- Incompatible SD Card: Make sure that the SD card you’re using is compatible with your Android tablet. Check the card’s storage capacity and compatibility specifications to ensure it meets the requirements of your device.
- SD Card Corruption: If your SD card is experiencing corruption or errors, it may cause issues with moving apps. Try inserting the card into a computer and running a disk check or formatting it to resolve any potential issues.
- App-Specific Limitations: Some apps have restrictions that prevent them from functioning properly when moved to the SD card. If you notice any issues or crashes with a specific app after moving it, try moving it back to the internal storage to see if the problem resolves.
- App Update Issues: When an app is updated, it may be moved back to the internal storage by default. In such cases, you may need to manually move the app to the SD card again. Check the app settings or use a third-party app to transfer the app after it has been updated.
- Restart Your Device: If you encounter any unexpected issues or strange behavior after moving apps to the SD card, a simple restart of your Android tablet can often resolve the problem by refreshing the system and app configurations.
If you continue to experience difficulties or encounter unique challenges while moving apps to the SD card, it may be helpful to consult the user manual or visit the manufacturer’s support website for your specific tablet model. They may provide additional troubleshooting steps or offer personalized assistance to address your concerns.
By applying these troubleshooting tips, you can overcome common obstacles and ensure a smooth process of moving apps to the SD card on your Android tablet.
Conclusion
Saving apps on the SD card of your Android tablet can greatly enhance your device’s storage capacity and performance. By following the steps outlined in this guide, you can effectively move apps to the SD card and free up valuable internal storage space.
We started by discussing the benefits of saving apps on the SD card, including storage expansion, improved performance, flexibility, and ease of transfer. Then, we explored how to check if your Android tablet supports SD card storage and how to prepare the SD card for app storage by inserting it properly and formatting it.
Next, we explained three options for moving apps to the SD card. Using the app settings, external storage managers, or third-party apps, you can transfer apps from the internal memory to the SD card. We provided step-by-step instructions for each option, highlighting the important considerations and potential limitations.
In addition to the moving process, we shared troubleshooting tips to help you overcome common issues you may encounter during app transfers. By addressing app compatibility, SD card storage limitations, and other potential challenges, you can ensure a smoother experience when saving apps on the SD card.
In conclusion, utilizing the SD card for app storage is a valuable feature that can optimize your Android tablet’s performance and overall usability. By making the most of your device’s available storage space, you can enjoy a wide range of apps without worrying about limited internal memory. Follow the steps outlined in this guide, be mindful of any limitations, and troubleshoot any issues that may arise. With these strategies in place, you can effectively save apps on the SD card of your Android tablet and maximize its storage potential.