Introduction
In the modern age of digital music, streaming services have revolutionized the way we listen to music. Amazon Music, a popular streaming platform, offers a vast library of songs for users to enjoy on their devices. However, with limited storage space on mobile phones or tablets, saving Amazon Music directly to an SD card has become a necessity for many music enthusiasts.
In this guide, we will explore the benefits of saving Amazon Music to an SD card and provide step-by-step instructions for downloading your favorite tunes to expand your music storage options. Whether you’re using an Android device, iPhone, or PC, we’ve got you covered.
By saving Amazon Music to an SD card, you can enjoy several advantages. Firstly, it allows you to free up precious internal storage space on your device, alleviating storage constraints and allowing you to download more apps, photos, and videos. Additionally, it grants you the flexibility to listen to your favorite songs without an internet connection, making it ideal for road trips, flights, or areas with limited connectivity.
Before diving into the process of saving Amazon Music to an SD card, it’s important to ensure that your SD card is compatible with your device and has sufficient capacity. Different devices may have varying compatibility requirements, so it’s crucial to double-check your device’s specifications and follow the recommended guidelines.
In the following sections, we will provide detailed instructions on how to save Amazon Music to an SD card on Android devices, iPhones, and PCs. You’ll also find helpful tips on organizing and managing your music collection on the SD card, as well as troubleshooting common issues you may encounter along the way.
The Benefits of Saving Amazon Music to an SD Card
Saving your Amazon Music to an SD card can offer a range of benefits that enhance your music listening experience. Here are some key advantages to consider:
1. Increased Storage Capacity: Most smartphones and tablets come with limited internal storage space. By saving Amazon Music to an SD card, you can expand your storage capacity significantly. This means you can download and store more music without worrying about running out of space.
2. Offline Listening: One of the biggest advantages of saving Amazon Music to an SD card is the ability to listen to your favorite songs offline. This is particularly useful when you’re in an area with poor or no internet connectivity. Simply load up your SD card with your favorite albums and playlists, and you’re all set to enjoy your music on-the-go, without needing an internet connection.
3. Portability: With Amazon Music saved on an SD card, you can easily transfer your music collection to different devices. Whether you want to listen to your favorite tracks on a different smartphone, tablet, or even a compatible MP3 player, you can simply insert the SD card and access your music library instantly.
4. Easy Backup: By saving your Amazon Music to an SD card, you create a backup of your music collection. In case your device gets damaged, lost, or stolen, you won’t lose your precious music files. Simply insert the SD card into a new device, and your music collection will be readily available.
5. Flexibility and Freedom: Saving Amazon Music to an SD card gives you the freedom to choose where and how you listen to your music. Unlike streaming services that depend on a stable internet connection, having your music stored on an SD card means you can enjoy your music whenever and wherever you want, without worrying about buffering or connection issues.
In summary, saving Amazon Music to an SD card offers increased storage capacity, offline listening capabilities, portability across devices, easy backup options, and the freedom to enjoy your music without limitations. Now that you understand the advantages, let’s move on to the next section to check the compatibility and capacity of your SD card before proceeding with the downloading process.
Check Compatibility and Capacity of Your SD Card
Before you start saving Amazon Music to your SD card, it’s crucial to ensure that your SD card is compatible with your device and has sufficient storage capacity. Here are the steps to check compatibility and capacity:
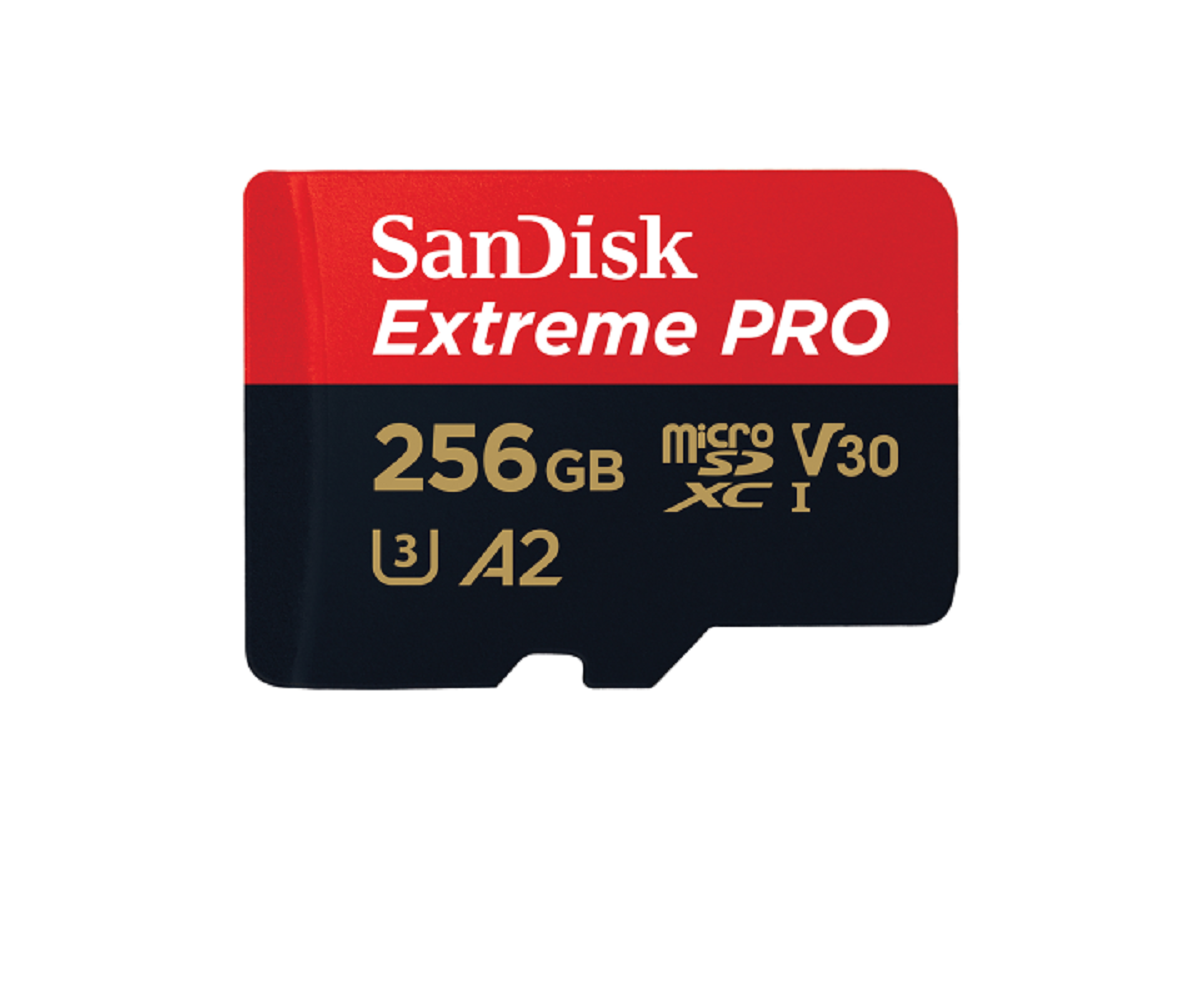
1. Device Compatibility: Different devices have different compatibility requirements for SD cards. Check your device’s user manual or specifications to determine the supported SD card types, such as microSD, miniSD, or SDHC/SDXC. Ensure that your SD card matches the required type for your device.
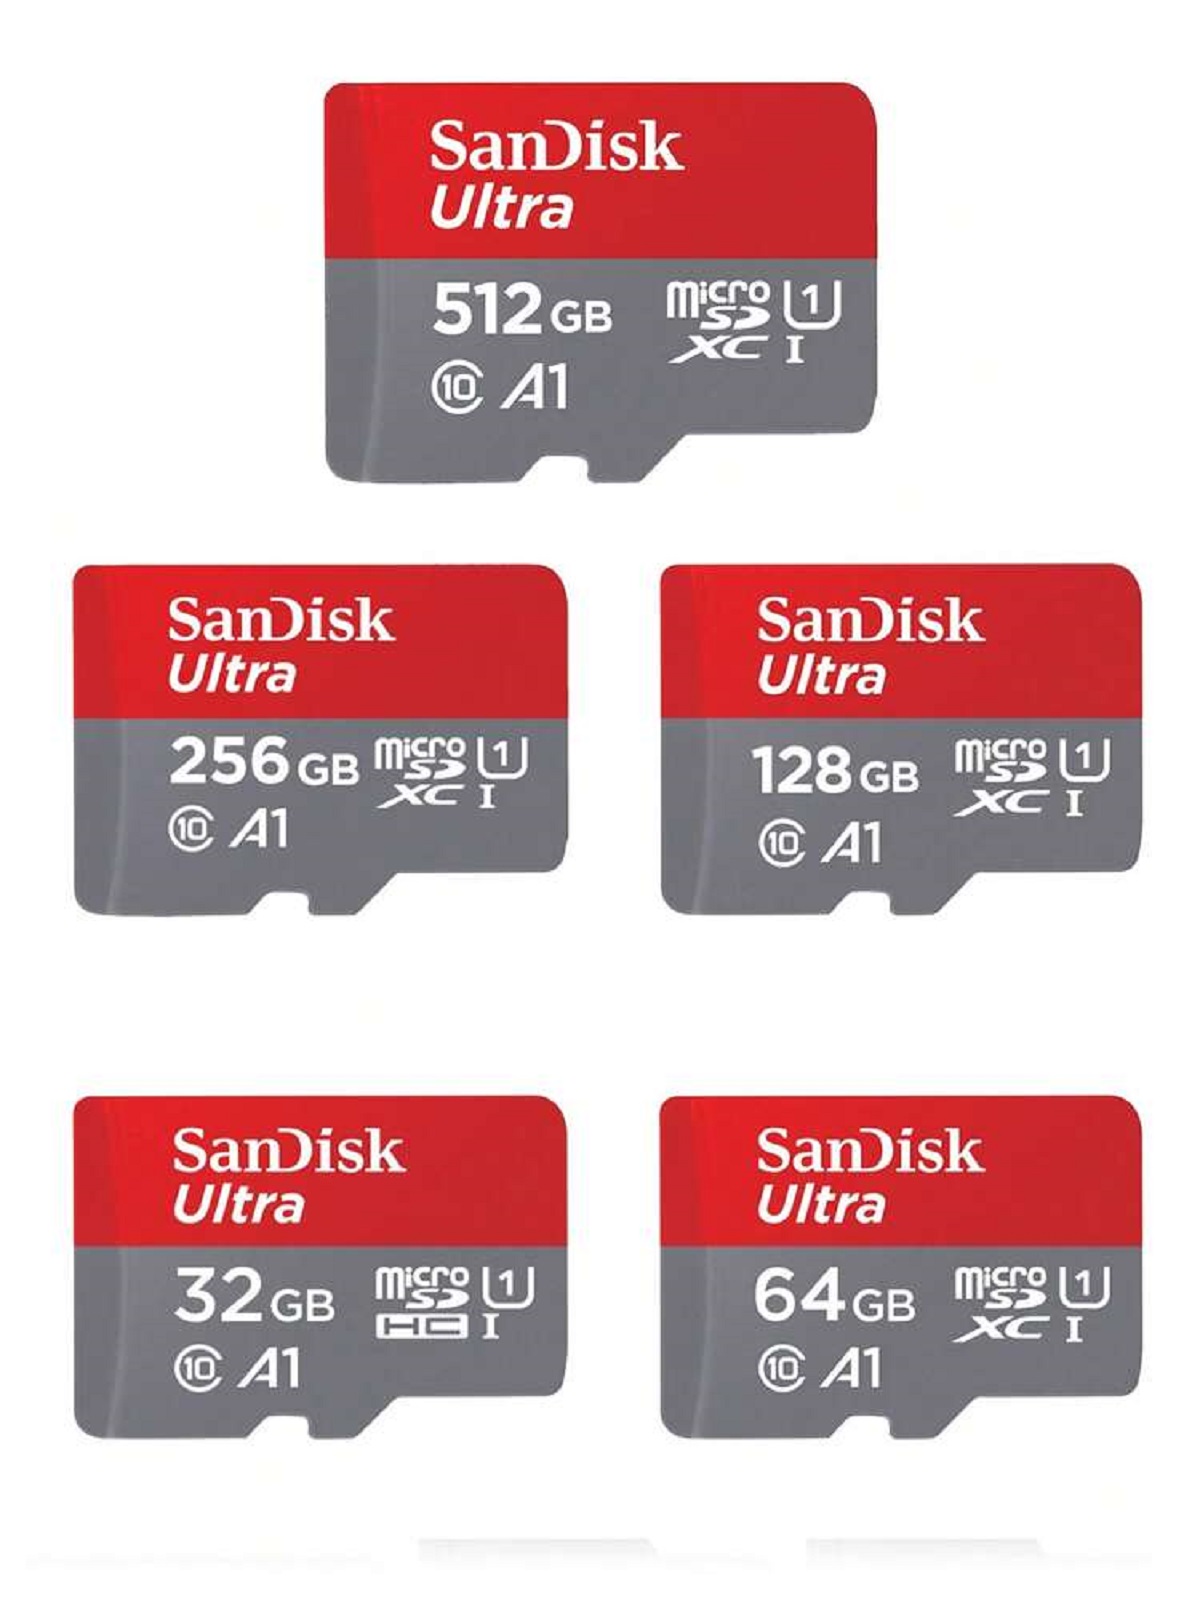
2. Storage Capacity: SD cards come in various storage capacities, ranging from a few gigabytes (GB) to several terabytes (TB). Determine your storage needs based on the size of your Amazon Music library. A larger library will require a higher capacity SD card. Keep in mind that some devices have a maximum limit on the SD card capacity they can support, so check your device’s specifications for this information as well.
3. Formatting the SD Card: If your SD card is new or has been used for a different purpose, it’s essential to format it before saving Amazon Music. Formatting prepares the SD card for storing the music files and ensures compatibility with your device. Insert the SD card into your device, go to settings, and find the storage options. From there, select the option to format the SD card.
4. Available Space: Once the SD card is inserted in your device, check the available space. Go to your device’s settings or file explorer app. Locate the SD card storage and check how much space is available. Ensure that the available space on the SD card is sufficient to accommodate your desired amount of Amazon Music.
Remember to double-check the compatibility and capacity requirements to ensure a smooth music-saving experience. Using an incompatible SD card or one with insufficient capacity may cause errors or prevent you from saving your Amazon Music collection.
In the next sections, we will provide step-by-step instructions for saving Amazon Music to an SD card on Android devices, iPhones, and PCs. Follow the respective method that matches your device to transfer your music files seamlessly. Let’s get started!
How to Download Amazon Music to Your SD Card
Once you’ve checked the compatibility and capacity of your SD card, you’re ready to start downloading Amazon Music to your SD card. In this section, we will provide step-by-step instructions for saving Amazon Music to an SD card on Android devices, iPhones, and PCs.
Method 1: Saving Amazon Music to SD Card on Android
1. Insert your SD card into your Android device and ensure it is properly mounted.
2. Open the Amazon Music app on your Android device.
3. Tap on the “My Music” tab at the bottom of the screen and navigate to the album, playlist, or song you want to save to your SD card.
4. Tap the three-dot menu icon next to the album, playlist, or song name.
5. In the menu that appears, select the “Download” or “Save” option.
6. A pop-up window will appear asking you to choose the storage location. Select your SD card from the list of available storage options.
7. Tap “OK” to start the download process. The Amazon Music app will start downloading your selected music files to the SD card.
Method 2: Saving Amazon Music to SD Card on iPhone
1. Insert your SD card into an SD card reader connected to your PC.
2. Connect your iPhone to your PC using a USB cable.
3. Open iTunes on your PC and select your iPhone from the device menu.
4. In the iTunes interface, navigate to the “Music” section.
5. Select the songs, albums, or playlists from your Amazon Music library that you want to save to your SD card.
6. Drag and drop the selected music files from iTunes to the SD card in the file explorer.
7. Wait for the transfer process to complete. Once done, safely eject the SD card from your PC.
Method 3: Saving Amazon Music to SD Card on PC
1. Insert your SD card into an SD card reader connected to your PC.
2. Open the Amazon Music app or go to the web browser version of Amazon Music on your PC.
3. Sign in to your Amazon Music account and navigate to the music you want to download.
4. Right-click on the album, playlist, or song and select the “Download” or “Save” option.
5. In the pop-up window, select the SD card as the destination for saving the downloaded music.
6. Click “OK” to start the download process. The Amazon Music app or web browser will save your selected music files to the SD card.
By following the appropriate method for your device, you can easily download and save Amazon Music to your SD card, expanding your music library and enjoying offline listening. In the next section, we will provide valuable tips on organizing and managing your music collection on the SD card.
Method 1: Saving Amazon Music to SD Card on Android
Saving Amazon Music to an SD card on your Android device is a straightforward process. Here’s how you can do it:
1. Start by inserting your SD card into your Android device. Ensure that it is properly mounted and recognized by your device.
2. Open the Amazon Music app on your Android device. If you haven’t installed it yet, you can download it from the Google Play Store.
3. Once the app is open, tap on the “My Music” tab located at the bottom of the screen. This will take you to your music library.
4. Navigate to the specific album, playlist, or song that you want to save to your SD card. You can use the search function or browse through your library to find the desired music.
5. Once you’ve located the music you want to save, tap on the three-dot menu icon next to the album, playlist, or song name. This will open a menu with various options.
6. In the menu, select the “Download” or “Save” option. This will prompt a pop-up window.
7. In the pop-up window, you will see a list of available storage locations. Select your SD card from the options provided. If your SD card is not listed, ensure it is properly inserted and recognized by your device.
8. After selecting the SD card as the storage location, tap “OK” to start the download process. The Amazon Music app will begin downloading the selected music files to the SD card.
9. You can monitor the progress of the downloads in the notification bar or within the Amazon Music app. Once the downloads are complete, you can enjoy your saved music on your Android device, even without an internet connection.
By following these steps, you can easily save Amazon Music to your SD card on an Android device. This allows for convenient offline listening and helps free up space on your device’s internal storage. Now that you know how to save music on Android, let’s explore the process for saving Amazon Music to an SD card on other devices.
Method 2: Saving Amazon Music to SD Card on iPhone
Saving Amazon Music to an SD card on an iPhone requires a slightly different approach. Here’s how you can do it:
1. Start by inserting your SD card into an SD card reader connected to your PC. Ensure that your SD card is recognized by your computer.
2. Connect your iPhone to your PC using a USB cable. Open iTunes on your PC. If you don’t have iTunes installed, you can download it from the Apple website.
3. Once iTunes is open, select your iPhone from the device menu. You may need to unlock your iPhone and grant permission for the PC to access it.
4. In the iTunes interface, navigate to the “Music” section. You will see a list of your music library, including all the songs, playlists, and albums synced with your iPhone.
5. Select the songs, albums, or playlists from your Amazon Music library that you want to save to your SD card. You can either use the search function or browse through your library to find the desired music.
6. Once you’ve selected the music, simply drag and drop the files from iTunes to the SD card in the file explorer on your PC. This will initiate the transfer process, moving the selected music files from your iPhone to the SD card.
7. Wait for the transfer process to complete. The time taken for the transfer will depend on the amount of data being moved.
8. Once the transfer is complete, safely eject the SD card from your PC. You can now remove the SD card from the SD card reader.
9. Insert the SD card into your iPhone using an SD card adapter or a compatible card reader. Open an appropriate music player app on your iPhone that supports external storage.
10. You will now be able to access and play the saved Amazon Music directly from your SD card on your iPhone.
By following these steps, you can successfully save Amazon Music to an SD card on your iPhone. This method allows for easy portability and helps free up space on your iPhone’s internal storage. Now that you know how to save music on iPhone, let’s explore the process for saving Amazon Music to an SD card on a PC.
Method 3: Saving Amazon Music to SD Card on PC
Saving Amazon Music to an SD card on your PC is a convenient way to store and access your music collection. Follow these steps to complete the process:
1. Begin by inserting your SD card into an SD card reader connected to your PC. Ensure that your SD card is recognized and accessible.
2. Open the Amazon Music app or launch the web browser version of Amazon Music on your PC. If you don’t have the app, you can download it from the Amazon website.
3. Sign in to your Amazon Music account using your credentials.
4. Navigate to the music you want to download and save to your SD card. You can browse by albums, playlists, or specific songs.
5. Right-click on the album, playlist, or song that you want to save. This will open a context menu with various options.
6. From the menu, select the “Download” or “Save” option. This will prompt a pop-up window.
7. In the pop-up window, you will be asked to choose the destination folder for the downloaded files. Select your SD card as the storage location. Ensure that the SD card is visible and accessible in the list of available storage options.
8. Click “OK” to start the download process. The Amazon Music app or web browser will initiate the download and save the selected music files directly to your SD card.
9. Depending on the size of the files and your internet speed, the download may take some time to complete. You can monitor the progress of the downloads within the app or browser.
10. Once the downloads are finished, safely eject the SD card from your PC. You can now remove the SD card from the SD card reader.
11. Insert the SD card into the appropriate slot on your device, such as a smartphone or tablet that supports external storage. Open a compatible music player app on your device.
12. You should now be able to access and enjoy your saved Amazon Music directly from the SD card on your device.
By following these steps, you can successfully save Amazon Music to an SD card on your PC. This method provides flexibility and easy playback across multiple devices. Now that you know how to save music on your PC, you can organize and manage your music collection on the SD card for easy access and enjoyment.
Tips for Organizing and Managing your Amazon Music on SD Card
Once you have saved Amazon Music to your SD card, it’s important to effectively organize and manage your music collection for easy access and enjoyment. Here are some tips to help you stay organized:
1. Folder Structure: Create a logical folder structure on your SD card to categorize your music. For example, you can have separate folders for albums, playlists, genres, or artists. This will make it easier to navigate and find specific songs or albums.
2. Rename Files: Consider renaming your music files to include relevant details such as the artist name, song title, and album. This can make it easier to identify and search for specific tracks within your collection.
3. Metadata Tagging: Ensure that the metadata of your music files is accurate and up to date. This includes information such as track name, artist, album, genre, and artwork. Correct metadata will enhance the organization and display of your music in music player apps.
4. Use Playlist Management: Create playlists within your music player app to group songs based on themes, moods, or occasions. This can help you quickly access specific collections of music without having to search through your entire library.
5. Regular Updates: As you add new music to your Amazon Music library, remember to update your SD card accordingly. Remove any outdated or unwanted files to free up space and keep your collection current and organized.
6. Backup your SD Card: Regularly backup the contents of your SD card to ensure that you don’t lose your precious music collection if the card gets damaged or lost. Consider making a duplicate copy of your files on your computer or external storage device.
7. Scan for Errors: Occasionally scan your SD card for any errors or corruption. Run a disk check utility to identify and fix any issues that may affect the performance or accessibility of your music files.
8. Keep a Spare SD Card: Consider having a spare SD card as a backup or for additional storage. This way, you can easily switch between cards or transfer files if needed.
By following these tips, you can effectively manage and organize your Amazon Music collection on your SD card, ensuring that you can quickly find and enjoy your favorite songs without any hassle. Now that you have the tools to organize your music, let’s address some common issues you may encounter and how to troubleshoot them.
Troubleshooting Common Issues
While saving Amazon Music to an SD card is a convenient way to store and access your music, you may encounter some common issues along the way. Here are a few troubleshooting tips to help you resolve these problems:
1. SD Card Not Recognized: If your device does not recognize the SD card, remove it and insert it again properly. Ensure that the SD card is compatible with your device and has been formatted correctly. If the issue persists, try using a different SD card to determine if the problem lies with the card or the device.
2. Download Errors: If you encounter errors while downloading Amazon Music to your SD card, check your internet connection and ensure that you have a stable connection throughout the download process. If the problem persists, try clearing the cache and data of the Amazon Music app and restart the download.
3. Playback Issues: If you experience playback issues with the music saved on your SD card, check if the files are properly formatted and compatible with your music player app. Some devices may have limitations on the file formats they can play. Consider using a different music player app or converting the files to a compatible format if necessary.
4. Insufficient Space: If you receive a notification stating that there is insufficient space on your SD card, check the available storage on the card. Delete any unnecessary files or transfer them to another storage device to free up space. If the problem persists, you may need to consider using a higher capacity SD card.
5. Compatibility Issues: If you are trying to use the SD card on multiple devices, ensure that the devices support the same file systems. Different devices may require different file systems (such as FAT32 or exFAT), so make sure your SD card is formatted to the appropriate file system for compatibility.
6. File Corruption: In some cases, music files may become corrupted due to various reasons. If you encounter corrupted files on your SD card, consider re-downloading or transferring the files again. If the issue persists, you may need to obtain a new copy of the music files.
7. Device Software Updates: Ensure that your device’s software is up to date. Software updates often include bug fixes and improvements that may address compatibility or performance issues with SD cards.
If you continue to experience issues with saving or accessing Amazon Music on your SD card, it may be helpful to consult the manufacturer’s documentation or contact customer support for further assistance. Remember to keep your SD card and device firmware updated regularly to ensure optimal performance and compatibility with Amazon Music.
By being aware of these common issues and following the troubleshooting steps, you can overcome any obstacles and enjoy your Amazon Music hassle-free on your SD card.
Conclusion
Saving Amazon Music to an SD card provides numerous benefits, including increased storage capacity, offline listening capabilities, portability, and easy backup options. Whether you are using an Android device, iPhone, or PC, the process of saving Amazon Music to an SD card is relatively straightforward.
Before starting, it’s important to check the compatibility and capacity of your SD card to ensure a smooth experience. Make sure your SD card matches the requirements of your device and has sufficient space to accommodate your desired music collection.
By following the specific methods outlined in this guide, you can successfully save Amazon Music to your SD card on Android, iPhone, or PC. Remember to organize and manage your music effectively by creating folders, renaming files, and properly tagging metadata. This will enable you to easily navigate and find your favorite songs.
In case you encounter any issues, refer to the troubleshooting tips provided to resolve common problems such as recognition issues, download errors, or playback issues.
With your Amazon Music safely stored on an SD card, you can enjoy your favorite tunes anytime, anywhere, without relying on an internet connection. Whether you’re on a road trip, at the gym, or simply relaxing in the comfort of your home, your extensive music library is at your fingertips.
So go ahead, start saving Amazon Music to your SD card and unlock a world of musical possibilities. Enjoy the freedom of offline listening and the convenience of having your entire music collection in the palm of your hand!