Introduction
Welcome to the digital age, where our music libraries have transitioned from shelves filled with CDs to virtual collections stored in the cloud. For many music enthusiasts, Amazon Music has been a go-to platform for streaming and purchasing music online. It offered a convenient way to build a personalized music library accessible across multiple devices.
However, changes are inevitable, and sometimes they can catch us off guard. If you’re wondering what happened to your Amazon Music library and why some of your cherished tracks seem to have vanished, you’re not alone. This article aims to shed some light on the situation and provide guidance on how to navigate the changes to regain access to your music.
Amazon Music recently underwent some updates and restructuring, which may have resulted in changes to your library. It’s essential to understand these changes to effectively manage and access your music collection. Whether you’re a long-time user of Amazon Music or just starting out, the information covered here will help you make sense of the situation and regain control of your music.
In the following sections, we’ll explore how to find your Amazon Music library, sync your music across devices, re-download purchased music, manage and import music to Amazon Music, as well as troubleshoot common issues that you may encounter. So, let’s dive in and uncover the mysteries behind the changes to your Amazon Music library.
Understanding the Changes
In order to adapt to evolving user needs and improve the overall music streaming experience, Amazon Music has made some changes to its platform. One significant change is the transition from Amazon Music Storage to Amazon Music Library.
Prior to these changes, Amazon Music Storage allowed users to upload and store their own music files, including tracks not available in the Amazon Music catalog. However, as of April 30, 2018, Amazon Music Storage is no longer available for new subscriptions. Existing Amazon Music Storage users can continue to access their uploaded music until January 2019.
With the launch of Amazon Music Library, the focus has shifted towards providing a more extensive collection of music available for streaming and purchasing. Users can still upload their personal music files, but the limitations and restrictions on storage and playback may differ from the previous system.
Additionally, changes to licensing agreements with record labels and artists could result in some tracks being removed from the Amazon Music catalog. This means that certain songs or albums you previously had in your library may no longer be available for streaming or purchase.
These changes may come as a disappointment to some Amazon Music users, especially those who relied heavily on the storage and accessibility of their personal music files. However, the transition to Amazon Music Library aims to provide a more streamlined and comprehensive music streaming experience by focusing on a vast selection of music available through Amazon’s catalog.
Now that we have a basic understanding of the changes, let’s move on to the next section, where we’ll learn how to locate your Amazon Music library and ensure it’s synced across your devices.
Finding Your Amazon Music Library
Locating your Amazon Music library is the first step to regaining access to your cherished tunes. Depending on the device you’re using, there are a few different methods to find your library.
For desktop and web users, accessing your Amazon Music library is as simple as visiting the Amazon Music website. Log in with your Amazon account credentials and navigate to the “Your Library” section. Here, you’ll find all your purchased and uploaded music organized by albums, artists, playlists, and more. You can browse and stream your favorite songs directly from the website.
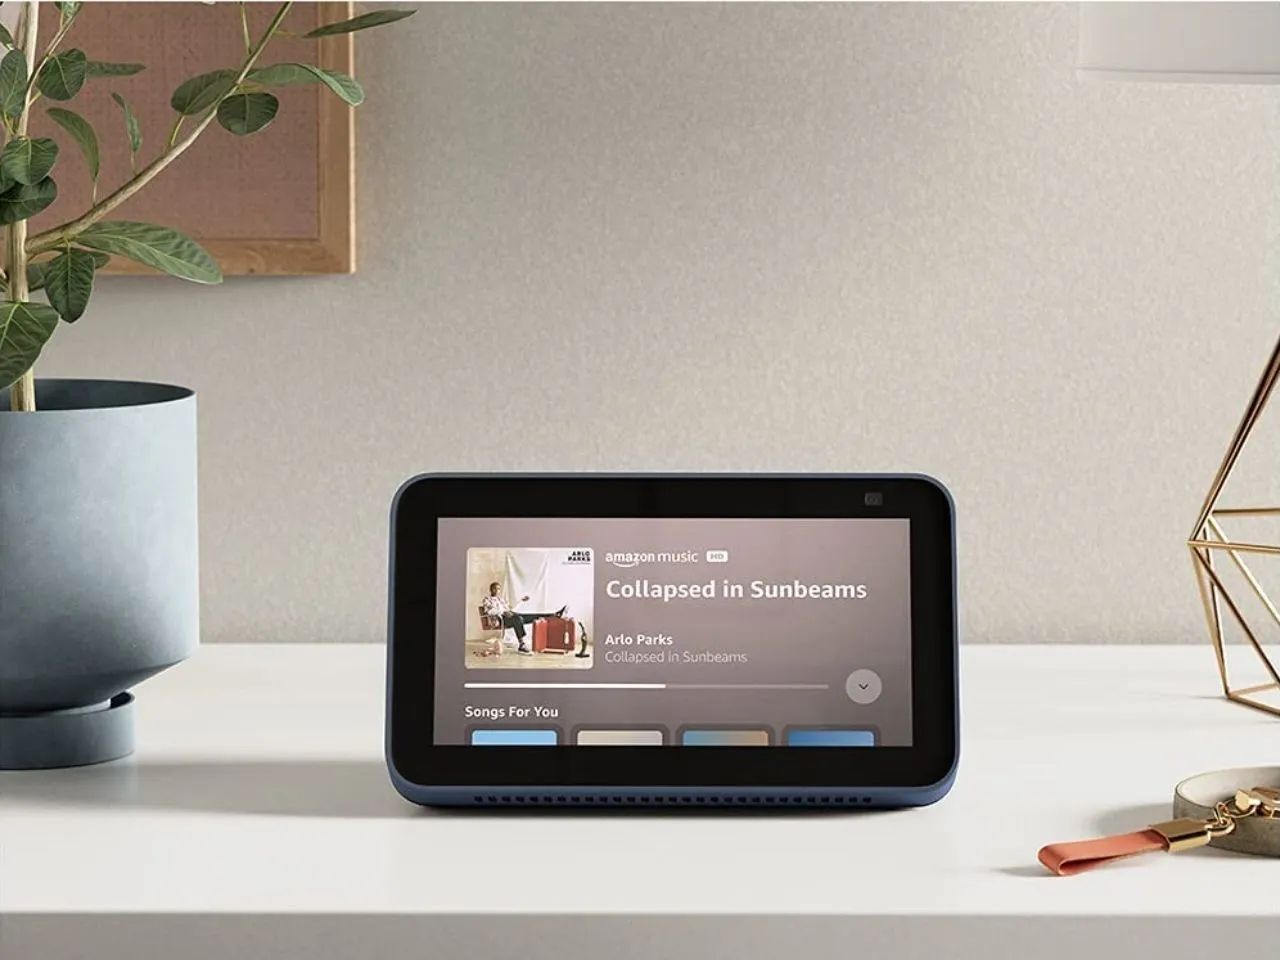
If you prefer using a mobile device, Amazon offers dedicated apps for both iOS and Android. Download and install the Amazon Music app from the respective app store, then sign in to your Amazon account. Once logged in, you’ll find your music library within the app’s navigation menu. From there, you can explore your collection, create playlists, and enjoy uninterrupted music playback on the go.
If you’re an Amazon Echo user, you can also access your Amazon Music library by using voice commands. Simply say “Alexa, play my music library” or specify a particular song, artist, or playlist you want to listen to.
It’s important to note that your Amazon Music library is tied to your Amazon account. Therefore, you should ensure that you’re using the correct account credentials to log in, especially if you have multiple Amazon accounts.
Now that you know how to find your Amazon Music library, let’s move on to the next section where we’ll learn how to sync your music across different devices for a seamless listening experience.
Syncing Your Music Across Devices
One of the advantages of using Amazon Music is the ability to access your music library across multiple devices. Whether you’re switching between your phone, tablet, or computer, you can ensure that your music stays in sync for a seamless listening experience.
To sync your music across devices, you’ll need to make use of the Amazon Music app or the Amazon Music website, depending on the device you’re using.
If you’re using the Amazon Music app on a mobile device, the app will automatically sync your music library whenever you’re connected to the internet. This means that any changes you make – such as adding new songs, creating playlists, or deleting tracks – will be reflected on all your devices. Make sure you’re signed in to the same Amazon account on all devices to ensure proper syncing.
For desktop users accessing Amazon Music through the website, the syncing process is also automatic. However, you may need to refresh your library or playlists to see the latest changes. Simply click the refresh button within the app or website to update your library and ensure that all devices are up to date.
In addition to automatic syncing, the Amazon Music app offers an offline mode, which allows you to download songs, albums, and playlists for offline playback. This is particularly useful when you’re in an area with limited internet connectivity or if you want to conserve data usage. Keep in mind that downloaded music files will take up storage space on your device, so ensure you have enough space available for your desired content.
By syncing your music across devices, you can enjoy a consistent music listening experience, no matter which device you choose to use. Now that you know how to sync your music, let’s move on to the next section where we’ll explore how to re-download purchased music that may have been lost or removed.
Re-downloading Purchased Music
If you’ve noticed that some of your purchased music is missing from your Amazon Music library, don’t worry – there are steps you can take to re-download your purchased songs and albums.
First, make sure you’re logged in to your Amazon account and navigate to the Amazon Music website or app. Once you’re in your music library, locate the “Purchased” or “Downloaded” section. Here, you should find a list of all the songs and albums you’ve purchased through Amazon.
To re-download a specific song or album, simply click the “Download” button next to the respective item. The file will be downloaded and added back to your library, allowing you to access it for streaming or offline playback.
If you prefer to download your entire purchased music collection, there may be an option to download your entire library in one go. Look for a “Download All” or similar button within the app or website to initiate the process. Keep in mind that this may take some time, depending on the size of your library and your internet connection speed.
In case you encounter any issues while attempting to re-download your purchased music, such as songs not showing up or download errors, it’s recommended to contact Amazon Music customer support for assistance. They can help troubleshoot the issue and ensure that you regain access to your complete music collection.
Now that you know how to re-download your purchased music, let’s move on to the next section where we’ll discuss how to manage and import music to your Amazon Music library.
Managing and Importing Music to Amazon Music
In addition to the music available through the Amazon Music catalog, you can also manage and import your own music files into your Amazon Music library. This allows you to have all your music in one place, making it convenient to access and enjoy.
To manage your music, you can create playlists, organize your songs by artists or albums, and add custom tags or descriptions to enhance your library’s organization. Whether it’s creating a workout playlist or curating a collection of your favorite tracks, you have the flexibility to customize your music library to suit your preferences.
To import your own music files, there are a few methods available. One way is to use the Amazon Music app for PC or Mac, which enables you to upload your songs directly from your computer. Simply download and install the app, sign in to your Amazon account, and follow the instructions to upload your music files.
Another option is to use the Amazon Music web uploader, which allows you to upload your music files through a web browser. Login to your Amazon account, navigate to the Amazon Music website, and select the “Upload your music” option. Follow the provided instructions to select and upload your desired files.
It’s important to note that there may be limitations on the number of songs you can upload or on the types of file formats supported by Amazon Music. Refer to Amazon’s guidelines for more information on the specific requirements and restrictions.
By managing and importing your own music to Amazon Music, you can create a comprehensive and personalized music library that combines both your purchased music and your own uploaded tracks. This ensures that all your favorite songs are easily accessible within a single platform.
Now that you know how to manage and import music to your Amazon Music library, let’s move on to the next section where we’ll address common issues you may encounter and provide troubleshooting tips.
Troubleshooting Common Issues
While using Amazon Music, you may come across some common issues that can disrupt your music streaming experience. Here, we’ll address a few of these issues and provide troubleshooting tips to help you resolve them.
One frequent issue is songs or albums not appearing in your library, even after you’ve purchased them. If you encounter this problem, try signing out of your Amazon account and then signing back in. This action can often sync your purchased music and make it visible in your library.
If you’re experiencing playback issues, such as songs skipping or not playing correctly, ensure that you have a stable internet connection. Slow or interrupted internet can affect the streaming experience. You can also try clearing your app’s cache or restarting your device to resolve any temporary glitches.
Quite often, playback issues can be related to the quality of your internet connection. If you’re using a mobile data plan, make sure you have a strong signal or switch to a Wi-Fi network for better stability and faster streaming speeds. Additionally, consider adjusting the streaming quality settings within the app to reduce buffering or interruptions.
If your uploaded music files are not correctly matching or displaying the correct metadata, you can try using third-party music tagging software to ensure that the file information is accurate. This can help Amazon Music properly identify and organize your music.
In cases where you encounter persistent issues that are not resolved by the troubleshooting tips above, it’s advisable to contact Amazon Music customer support for further assistance. They have a dedicated team of professionals who can provide more specific guidance and resolve any technical problems you may be facing.
Now that we’ve covered some common issues and provided troubleshooting tips, you should be better equipped to address any challenges that may arise while using Amazon Music.
Finally, let’s sum up the information discussed in this article.
Conclusion
Amazon Music has undergone changes that may have affected your music library, but with the information provided in this article, you can navigate these changes and regain control of your music collection. Understanding the transition from Amazon Music Storage to Amazon Music Library is key to managing your music effectively.
By finding your Amazon Music library and syncing it across devices, you can enjoy a seamless music streaming experience no matter where you are. Re-downloading purchased music that may have been lost or removed ensures that your favorite songs are once again accessible.
Furthermore, managing and importing music to your Amazon Music library allows you to create a personalized collection that combines both purchased and uploaded tracks. Take advantage of the customization options available in Amazon Music to enhance your music organization.
If you encounter any issues, such as missing songs or playback problems, troubleshooting tips are available to help you resolve these common problems. Don’t hesitate to reach out to Amazon Music customer support for further assistance if needed.
Remember to keep your account credentials secure and ensure that you’re using the correct Amazon account for accessing your music library.
With the knowledge gained from this article, you can make the most of your Amazon Music experience and continue enjoying your favorite tunes with ease.