Introduction
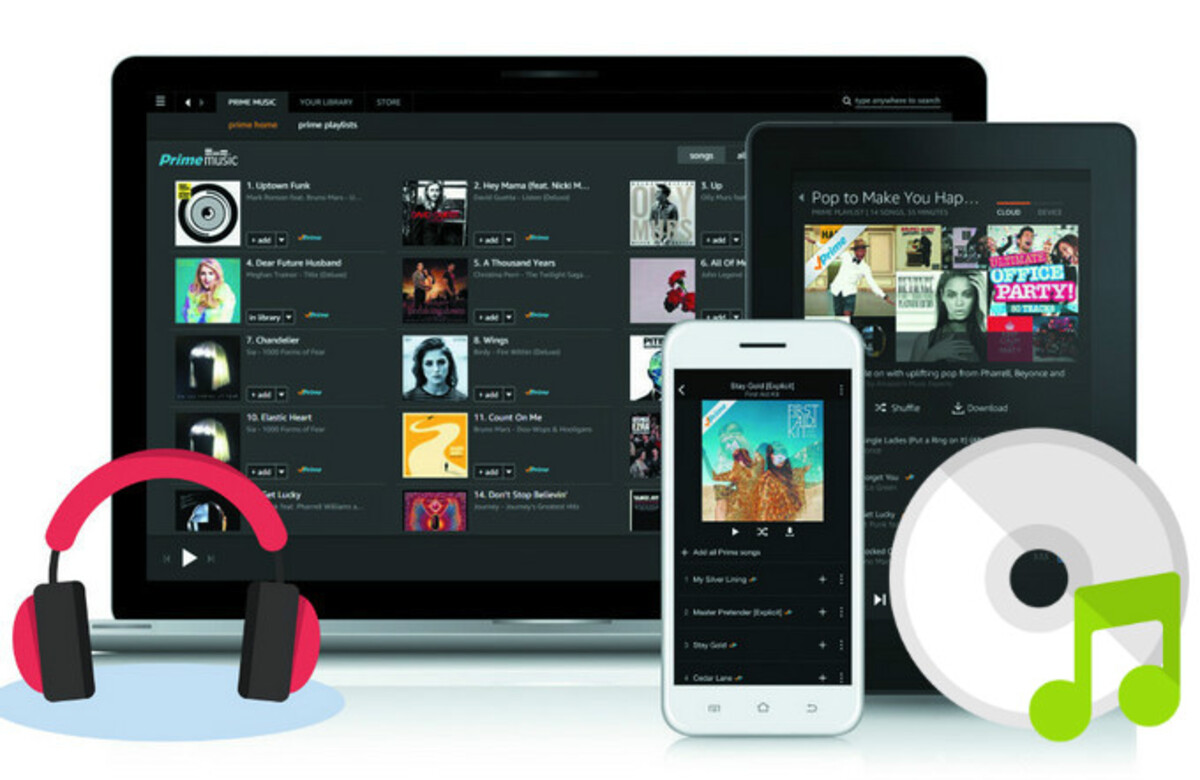
Are you tired of carrying around a stack of CDs and want to bring your favorite tunes with you wherever you go? Amazon Music has made it easier than ever to upload your CD collection to their platform, allowing you to access your music library anytime, anywhere.
Uploading your CDs to Amazon Music not only frees up physical space but also provides you with the convenience of streaming and downloading your music on multiple devices. Whether you’re on a road trip, working out at the gym, or simply relaxing at home, having your entire CD collection at your fingertips is a game-changer.
In this guide, we will walk you through the step-by-step process of uploading your CD collection to Amazon Music. You don’t need to be a tech wizard or have any prior experience – it’s a straightforward process that anyone can follow. By the end of this guide, you’ll be enjoying your favorite CD tracks without the need for physical discs.
Before we delve into the steps, it’s important to note that you will need an Amazon Music account. If you don’t have one yet, don’t worry – we’ll cover how to create an account as part of the process. So let’s get started and transform your CD collection into a digital music library on Amazon Music.
Step 1: Convert the CD to digital format
The first step in uploading your CD collection to Amazon Music is to convert the CDs into a digital format. This allows you to create digital copies of your CDs that can be easily uploaded and accessed on the Amazon Music platform. Here’s how to do it:
- Rip the CD: To begin, you’ll need a computer with a CD drive. Insert the CD into the drive, and using media player software such as iTunes, Windows Media Player, or VLC, rip the tracks from the CD onto your computer’s hard drive. These programs typically have an option to “Rip” or “Import” the CD.
- Choose the audio format: When ripping the CD, you’ll have the option to choose the audio format for the files. For compatibility with Amazon Music, it’s recommended to select the MP3 format, which provides a good balance between file size and audio quality. However, you can choose other formats if you prefer.
- Organize the digital files: Once the ripping process is complete, you’ll have a folder on your computer with the digital copies of your CD tracks. It’s a good idea to create a separate folder for each album to keep your collection organized. You can rename the files if necessary to ensure they have the correct track and album names.
- Add album artwork: To enhance the visual experience when accessing your music on Amazon Music, consider adding album artwork to the digital files. You can find album artwork online and save it as an image in each album’s folder. Ensure that the artwork is in a compatible format, such as JPEG or PNG.
- Backup the digital files: It’s always a good idea to have a backup of your digital music files. Consider creating a backup on an external hard drive or cloud storage service to protect your collection from any potential data loss.
Once you have successfully converted your CD collection into a digital format, you’re ready to move on to the next step: creating an Amazon Music account.
Step 2: Create an Amazon Music account
To begin uploading your CD collection to Amazon Music, you’ll need to create an Amazon Music account. If you already have an Amazon account, you can use the same credentials to log in. If not, follow these steps to create a new account:
- Go to the Amazon Music website: Open your preferred web browser and navigate to the Amazon Music website.
- Click on “Sign In”: At the top-right corner of the page, click on “Sign In”. If you already have an Amazon account, enter your email address or phone number and password to sign in. If you don’t have an account, click on “Create your Amazon account”.
- Create an account: Fill in the required information, including your name, email address, and a password. Make sure to create a strong password to protect your account. Click on “Create your Amazon account” to proceed.
- Verify your account: Amazon will send a verification code to the email address you provided. Check your inbox, locate the email from Amazon, and enter the verification code on the website to verify your account.
- Select your Amazon Music plan: Amazon Music offers various subscription options, including a free plan, Prime Music (available for Amazon Prime members), and Amazon Music Unlimited (a paid subscription with access to a vast music library). Choose the plan that best suits your needs and preferences.
- Complete the setup: Follow the on-screen prompts to complete the setup process. You may be prompted to provide additional information, such as your payment method, depending on the plan you selected.
Once you have successfully created an Amazon Music account, you can proceed to the next step: installing the Amazon Music app.
Step 3: Install the Amazon Music app
In order to upload your CD collection to Amazon Music, you’ll need to install the Amazon Music app on your device. The app is available for various platforms, including Windows, macOS, iOS, and Android. Follow these steps to install the app:
- Visit the app store: Open the app store on your device. If you’re using an iPhone or iPad, open the App Store. For Android devices, open the Google Play Store. If you’re using a desktop or laptop computer, visit the Amazon Music website and look for the download link or instructions for your specific operating system.
- Search for Amazon Music: In the app store or on the Amazon Music website, search for “Amazon Music” in the search bar.
- Select the app: Look for the official Amazon Music app and select it from the search results.
- Download and install: On mobile devices, tap the “Install” or “Get” button to begin the download and installation process. On computers, follow the provided instructions to download and install the app.
- Open the app: Once the installation is complete, open the Amazon Music app on your device.
- Sign in to your account: If you’re not already signed in, enter your Amazon Music account credentials – the same email address and password you used to create your account.
Once you have successfully installed and logged into the Amazon Music app, you’re ready to move on to the next step: uploading your CD collection.
Step 4: Upload the CD to Amazon Music
Now that you have your CDs converted to a digital format and the Amazon Music app installed, it’s time to upload your CD collection to Amazon Music. Follow these steps to upload your CDs:
- Open the Amazon Music app: Launch the Amazon Music app on your device. Make sure you are signed in to your Amazon Music account.
- Click on the “Upload” button: Look for the “Upload” or “Upload your music” button within the app’s interface. It is usually located at the top-right corner of the screen.
- Browse and select the digital files: A file browser window will appear. Navigate to the folder where you have stored your digital files from the CD conversions. Select the folder or individual songs you want to upload to Amazon Music.
- Start the upload: Once you have chosen the files, click on the “Open” or “Upload” button in the file browser window to start the upload process. The progress of the upload will be displayed on the screen.
- Wait for the upload to complete: The upload time will depend on the size of the files and your internet connection speed. Larger files may take longer to upload. It is recommended to have a stable internet connection during the upload process.
- Repeat for additional CDs: If you have more CDs to upload, repeat the previous steps for each CD. You can create separate folders within the Amazon Music app to keep your uploaded CDs organized.
Once the upload is complete, you will be able to access your CD collection on Amazon Music from any device with the app installed. Enjoy listening to your favorite CDs anytime, anywhere!
Step 5: Verify the uploaded CD
After uploading your CDs to Amazon Music, it’s essential to verify that the uploaded tracks are accurate and complete. This step ensures that your music library on Amazon Music reflects your CD collection correctly. Here’s how to verify the uploaded CD:
- Open your Amazon Music library: Launch the Amazon Music app on your device or visit the Amazon Music website and sign in to your account.
- Navigate to the uploaded CD: Look for the uploaded CD in your music library. You can use the search bar or browse through your collection to locate it.
- Check the track listing: Click on the CD or album to view the track listing. Ensure that all the tracks from the CD are present and in the correct order. If any tracks are missing or out of order, you may need to re-upload the CD.
- Verify the album artwork: Check if the album artwork is displayed correctly for the uploaded CD. It should match the original CD cover, providing a visual representation of the album.
- Play sample tracks: Choose a few different tracks from the uploaded CD and play them to confirm that the audio quality is satisfactory. Make sure there are no playback issues or errors.
- Make corrections if necessary: If you notice any discrepancies or errors in the uploaded CD, you can edit the track information, album artwork, or re-upload the CD if needed. Amazon Music allows you to edit the metadata of your uploaded music to ensure accuracy.
By verifying the uploaded CD, you can be confident that your music library on Amazon Music accurately represents your CD collection. It ensures a seamless listening experience without any missing tracks or incorrect information.
Step 6: Organize your uploaded CDs
Now that you have successfully uploaded your CDs to Amazon Music, it’s time to organize your music library for easy navigation and a better listening experience. Follow these steps to organize your uploaded CDs:
- Create playlists: Playlists allow you to group songs from different CDs into custom collections. Create playlists based on genres, moods, or specific themes to organize your music in a personalized way. You can add songs from multiple CDs to a single playlist.
- Use folders or collections: Amazon Music offers features like folders or collections to organize your uploaded CDs. Create separate folders for different artists or genres. You can also group CDs by years or create collections based on your preference.
- Apply metadata: Check the metadata (such as song titles, artist names, and album names) of your uploaded CDs. You can modify or update the metadata to ensure consistency and accuracy. This will make it easier to search and browse through your music library.
- Add personal tags: Amazon Music allows you to add personal tags or labels to your tracks or albums. This can be helpful for further categorization or identifying specific moods, events, or occasions associated with the music.
- Use search and filters: Take advantage of the search and filter options within the Amazon Music app to quickly locate specific CDs or tracks. You can search by album, artist, genre, or even specific keywords in the song titles.
- Consider collaborative playlists: If you want to share your music collection with friends or family, you can create collaborative playlists where others can contribute their favorite songs. This adds a social element to your music library.
By organizing your uploaded CDs, you can easily find and access your favorite music. It enhances the overall user experience and allows you to enjoy your music collection to the fullest. Take some time to set up your organization system, and you’ll have a well-structured and enjoyable music library on Amazon Music.
Conclusion
Uploading your CD collection to Amazon Music is a fantastic way to digitize your music library and enjoy your favorite tunes on the go. By following the step-by-step process outlined in this guide, you can easily convert your CDs into a digital format, create an Amazon Music account, install the app, and upload your CDs to the platform.
Remember to verify the uploaded CDs to ensure accuracy and make any necessary corrections. Organizing your uploaded CDs through playlists, folders, tags, and metadata allows for effortless navigation and a customized listening experience within your Amazon Music library.
Whether you’re looking to declutter your physical space, access your music from multiple devices, or simply embrace the digital music era, uploading your CDs to Amazon Music is the way to go. With the convenience of streaming and downloading, you’ll have your entire CD collection at your fingertips, ready to be enjoyed anytime, anywhere.
So, gather your CDs, start the conversion process, and embark on the journey to create your own digital music library on Amazon Music. It’s time to bring the joy of music into the digital era and explore the endless possibilities of your favorite tracks!