Introduction
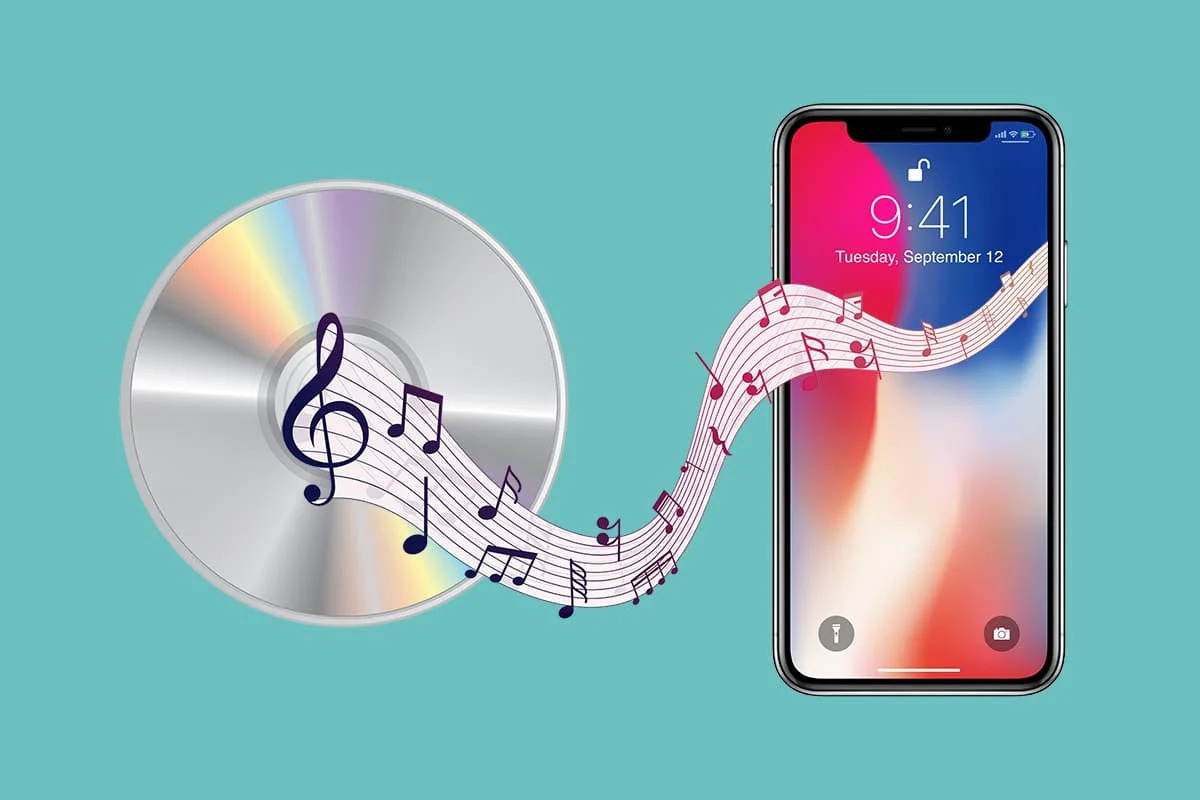
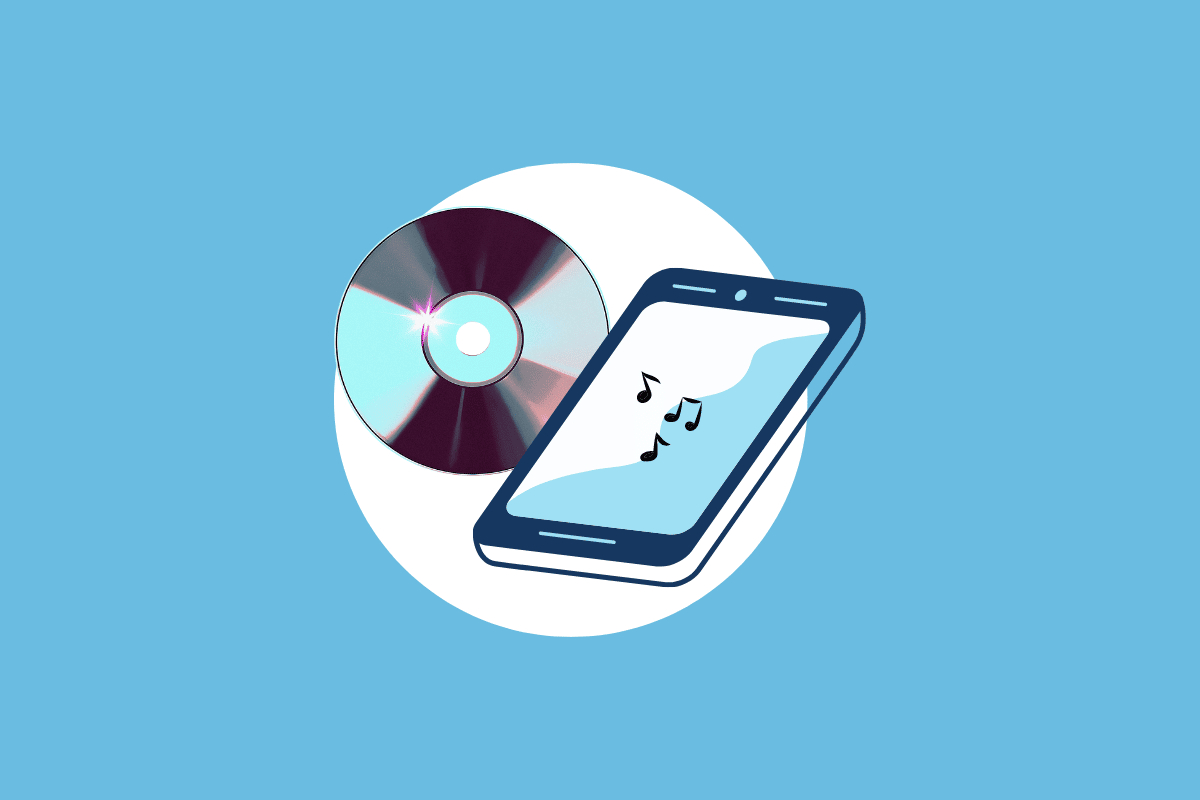
Music is an integral part of our lives, and with the widespread availability of digital downloads, it has never been easier to enjoy our favorite tunes. While streaming platforms like Spotify and Apple Music have become popular, there is still something nostalgic and satisfying about creating a music collection on a physical format like a CD. Downloading music to a CD allows you to have a tangible copy of your favorite songs, play them in car stereos or CD players, and even gift them to friends and family.
In this article, we will guide you through the process of downloading music to your CD. We will cover everything from finding and selecting music to downloading and burning it onto a CD. We’ll also provide troubleshooting tips and alternatives to burning music to a CD.
Before we delve into the details, let’s first understand what a CD is and why you might want to download music onto it. CDs, or compact discs, have been a popular medium for music storage since the 1980s. They offer a higher quality audio experience compared to cassette tapes and vinyl records, and are still widely used today. While digital streaming services have gained prominence, CDs continue to be favored by audiophiles and those who appreciate having a physical collection of music.
Downloading music to a CD allows you to curate a personalized music library that you can take with you anywhere. Whether you want to create a mixtape of your favorite tracks, compile songs for a road trip, or simply enjoy the convenience of playing music without an internet connection, downloading music to a CD offers a multitude of benefits.
In the following sections, we will explore how to find and select music to download, choose the right music downloading platform, download music to your computer, burn music onto a CD, troubleshoot common issues, organize your music library on CDs, and explore alternatives to CD burning.
By the end of this article, you will be equipped with the knowledge and skills to download music to your CD and create a personal music collection that can be enjoyed anytime and anywhere.
What is a CD and why would you want to download music to it?
A CD, short for compact disc, is a portable optical storage medium that revolutionized the music industry in the 1980s. It consists of a thin, circular disc made of polycarbonate plastic with a reflective layer and is inserted into a CD player or computer drive for playback. CDs have a capacity of storing audio, video, or data files, but in this context, we will focus on their role in storing music.
So, why would you want to download music to a CD when streaming services offer access to millions of songs at your fingertips? There are a few reasons why downloading music to a CD can be advantageous:
- Portability: CDs are compact and easy to carry, making them a convenient option for music lovers on the go. You can bring your favorite music with you and play it in car stereos, portable CD players, and other devices that support CD playback.
- Persistent access: Unlike streaming services where songs may be removed or unavailable due to licensing agreements, having a downloaded music collection on a CD ensures that you will always have access to your favorite songs. You can enjoy your music even in areas without reliable internet connectivity.
- Personalized collection: Downloading music to a CD allows you to curate a personalized collection of songs. You can create playlists, mixtapes, or compilation albums that reflect your unique tastes and preferences. It gives you the freedom to arrange the songs in the order you desire, creating a seamless listening experience.
- Gift option: Burning music onto a CD can also serve as a thoughtful and personal gift for friends and family. Handcrafted mix CDs can be a great way to share your favorite music or create a nostalgic playlist for someone special.
- Audiophile experience: For music enthusiasts with a keen ear for high-quality audio, CDs offer a superior sound experience compared to compressed audio formats used in streaming. CDs provide a lossless audio quality that allows you to fully immerse yourself in the nuances and details of the music.
While streaming may be the go-to choice for many, downloading music to a CD provides a tangible and immersive way to enjoy your favorite tracks. It offers a unique blend of convenience, personalization, and audio quality that makes the process of creating and listening to music a more fulfilling experience.
Finding and selecting music to download
Before you can download music to your CD, you need to find and select the songs you want to include in your collection. Here are a few methods to help you discover and choose the right music:
- Online music stores: Online platforms such as iTunes, Amazon Music, and Google Play Music offer vast catalogs of songs that you can purchase and download legally. These stores usually have a search feature, allowing you to search for specific artists, albums, or songs. You can preview the songs before buying them, ensuring that you select the ones you truly enjoy.
- Streaming services: While streaming services primarily focus on online playback, some platforms like Spotify and Apple Music allow you to download songs for offline listening. Explore their vast libraries, create playlists of your favorite tracks, and use the download feature to save them to your device. From there, you can transfer the downloaded songs to your CD.
- Music blogs and websites: Music blogs and websites dedicated to specific genres or artists can be a great resource for discovering new music. Many blogs offer free and legal downloads of songs as a way to promote emerging artists or share their love for specific genres. You can explore these sites, read reviews, and download songs that capture your interest.
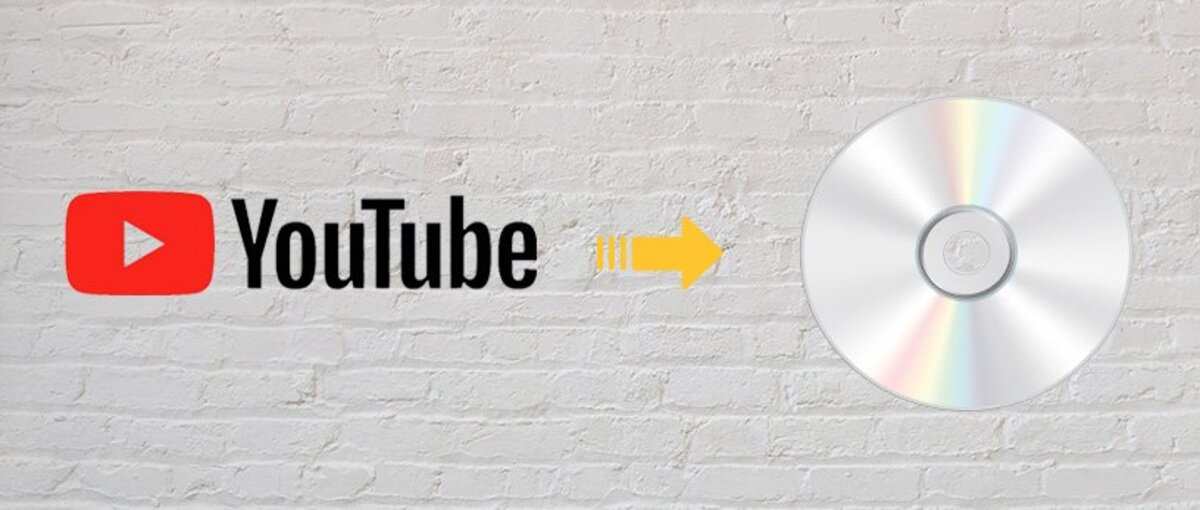
- YouTube: YouTube is not just a platform for watching videos; it is also home to a vast collection of music. Many artists and record labels upload their songs to YouTube, and you can use various tools and websites to convert YouTube videos into audio files. Just make sure to respect copyright laws and only download music from official channels or authorized sources.
- Local music scene: Don’t forget to explore the local music scene in your area. Attend concerts, visit record stores, and support independent artists. Many local bands and musicians offer their music for sale or free download on their websites or social media pages. This is a great way to discover unique and hidden gems that you won’t find elsewhere.
When selecting music to download, consider your personal preferences and the purpose of your CD. Are you creating a playlist for a specific event or mood? Do you want a mix of different genres or a themed collection? Take your time, explore different artists and genres, and choose songs that resonate with you. Remember, the beauty of music lies in its ability to evoke emotions and create connections, so select songs that bring you joy, comfort, or a sense of nostalgia.
Now that you have a better understanding of how to find and select music, let’s move on to the next section: choosing the right music downloading platform.
Choosing the right music downloading platform
With the plethora of music downloading platforms available, it’s important to choose the right one that meets your needs and preferences. Here are a few factors to consider when selecting a music downloading platform:
- Legal and licensed: Ensure that the platform you choose is legal and operates under the necessary licenses. By doing so, you can support artists, respect copyright laws, and have peace of mind knowing that you are downloading music legally.
- Catalog availability: Check the platform’s music catalog to ensure that it offers a wide variety of songs and artists across different genres. The more extensive the catalog, the higher the chances of finding the music you love.
- Audio quality: Consider the audio quality provided by the platform. Some platforms offer high-quality audio files, such as lossless formats, while others may compress the files to save space. If audio quality is a priority for you, opt for platforms that offer higher fidelity options.
- User-friendly interface: A user-friendly interface can enhance your experience while browsing and downloading music. Look for platforms that are easy to navigate, offer intuitive search functions, and provide helpful organization features like playlists and favorites.
- Offline listening: If you want the option to listen to music without an internet connection, check if the platform allows for offline listening. Some platforms offer the ability to download songs to your device, enabling you to enjoy your music on the go without the need for constant internet access.
- Compatibility: Ensure that the platform is compatible with your devices and operating systems. Whether you use a Windows PC, Mac, iOS, or Android device, make sure the platform offers support for your preferred devices.
- Pricing and subscription options: Consider the pricing and subscription options offered by the platform. Some may have a pay-per-song or album model, while others may offer subscription plans that allow unlimited downloads for a monthly fee. Evaluate your budget and choose a platform that aligns with your financial preferences.
- Additional features: Explore any additional features offered by the platform. This could include personalized recommendations, curated playlists, social sharing features, or integration with other apps or devices. These extra features can enhance your music discovery and listening experience.
Taking these factors into account, explore different music downloading platforms and compare their offerings. Read reviews, try out free trial periods if available, and consider the experiences and recommendations of others. It’s essential to choose a platform that not only provides the music you want but also aligns with your preferences in terms of user experience, audio quality, and affordability.
Now that you have chosen the right music downloading platform, it’s time to move on to the next step: downloading the music to your computer.
How to download music to your computer
Downloading music to your computer is a straightforward process that allows you to have a digital copy of your favorite songs. Follow these steps to download music to your computer:
- Choose your music downloading platform: Select the platform that you have chosen in the previous section. Ensure that you have an account set up and logged in.
- Search for the desired music: Use the platform’s search function to find the songs, albums, or artists you want to download. You can browse by genre, artist name, or use specific keywords to refine your search.
- Select the music: Once you find the desired music, click on it to access the details page. If you want to download a full album, look for an option to download the entire album instead of individual songs.
- Choose the download format: Some platforms may offer different download formats, such as MP3, FLAC, or AAC. Choose the format that suits your preferences and device compatibility. Keep in mind that higher-quality formats may result in larger file sizes.
- Initiate the download: Look for a download button or link on the platform’s interface. Click on it to begin the download process. Depending on the platform and your internet connection speed, the download time may vary.
- Choose the download location: When prompted, select the location on your computer where you want to save the downloaded music files. It could be a folder specifically created for organizing your music library or a default folder such as “Downloads.”
- Monitor the download progress: Keep an eye on the download progress to ensure that all files are successfully downloaded. Large music libraries or slow internet connections may require more time for the downloads to complete.
- Repeat steps for additional music: If you want to download more songs, albums, or playlists, repeat the above steps until you have downloaded all the desired music.
Once you have downloaded the music to your computer, take some time to organize the files into folders or your preferred music management software. Create a system that allows you to easily find and access your downloaded music based on genres, artists, or albums.
Now that you have successfully downloaded music to your computer, the next step is to burn the music onto a CD. Stay tuned for the next section where we will guide you through the process.
Burning music to a CD
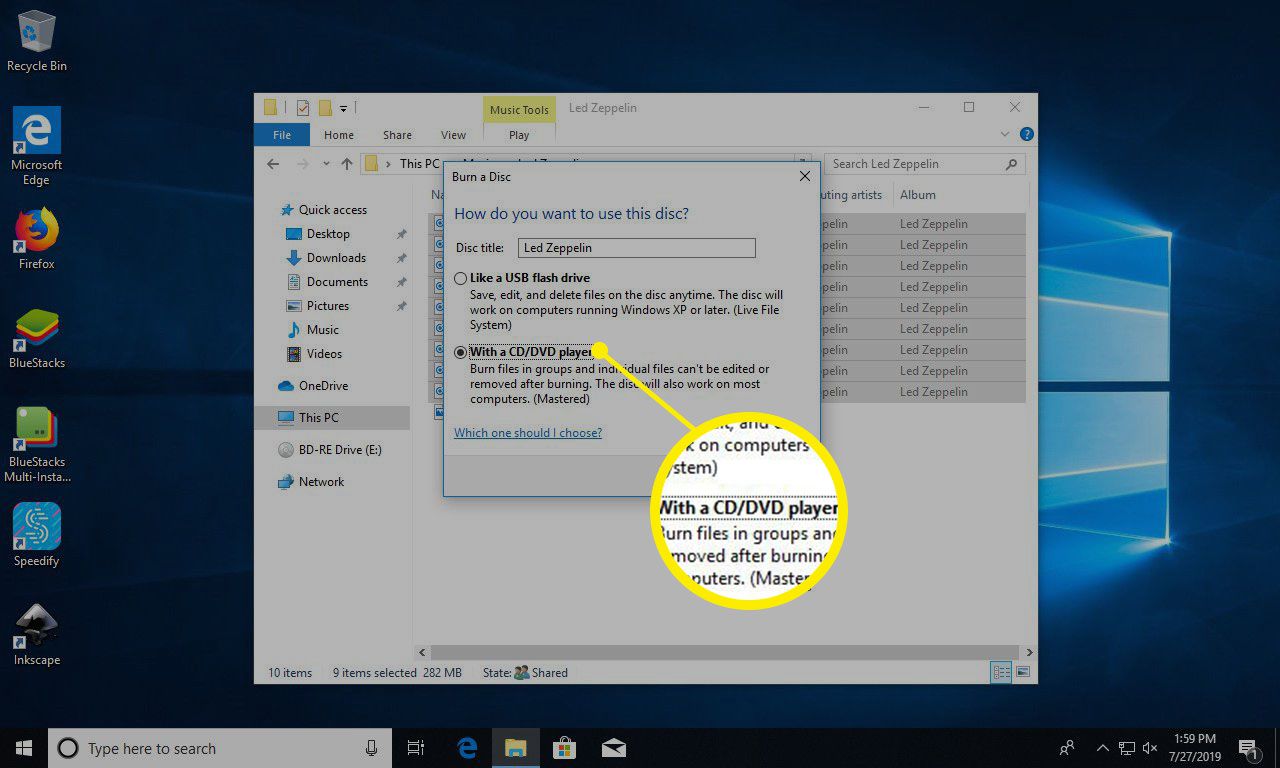
Burning music onto a CD is the process of transferring the downloaded music files from your computer to a blank CD. Follow these steps to burn music to a CD:
- Gather the necessary materials: Make sure you have a blank CD-R or CD-RW, as well as a computer with a CD burner and burning software installed. Most computers come with built-in CD burning software, but if you don’t have one, you can download free software like Windows Media Player or iTunes.
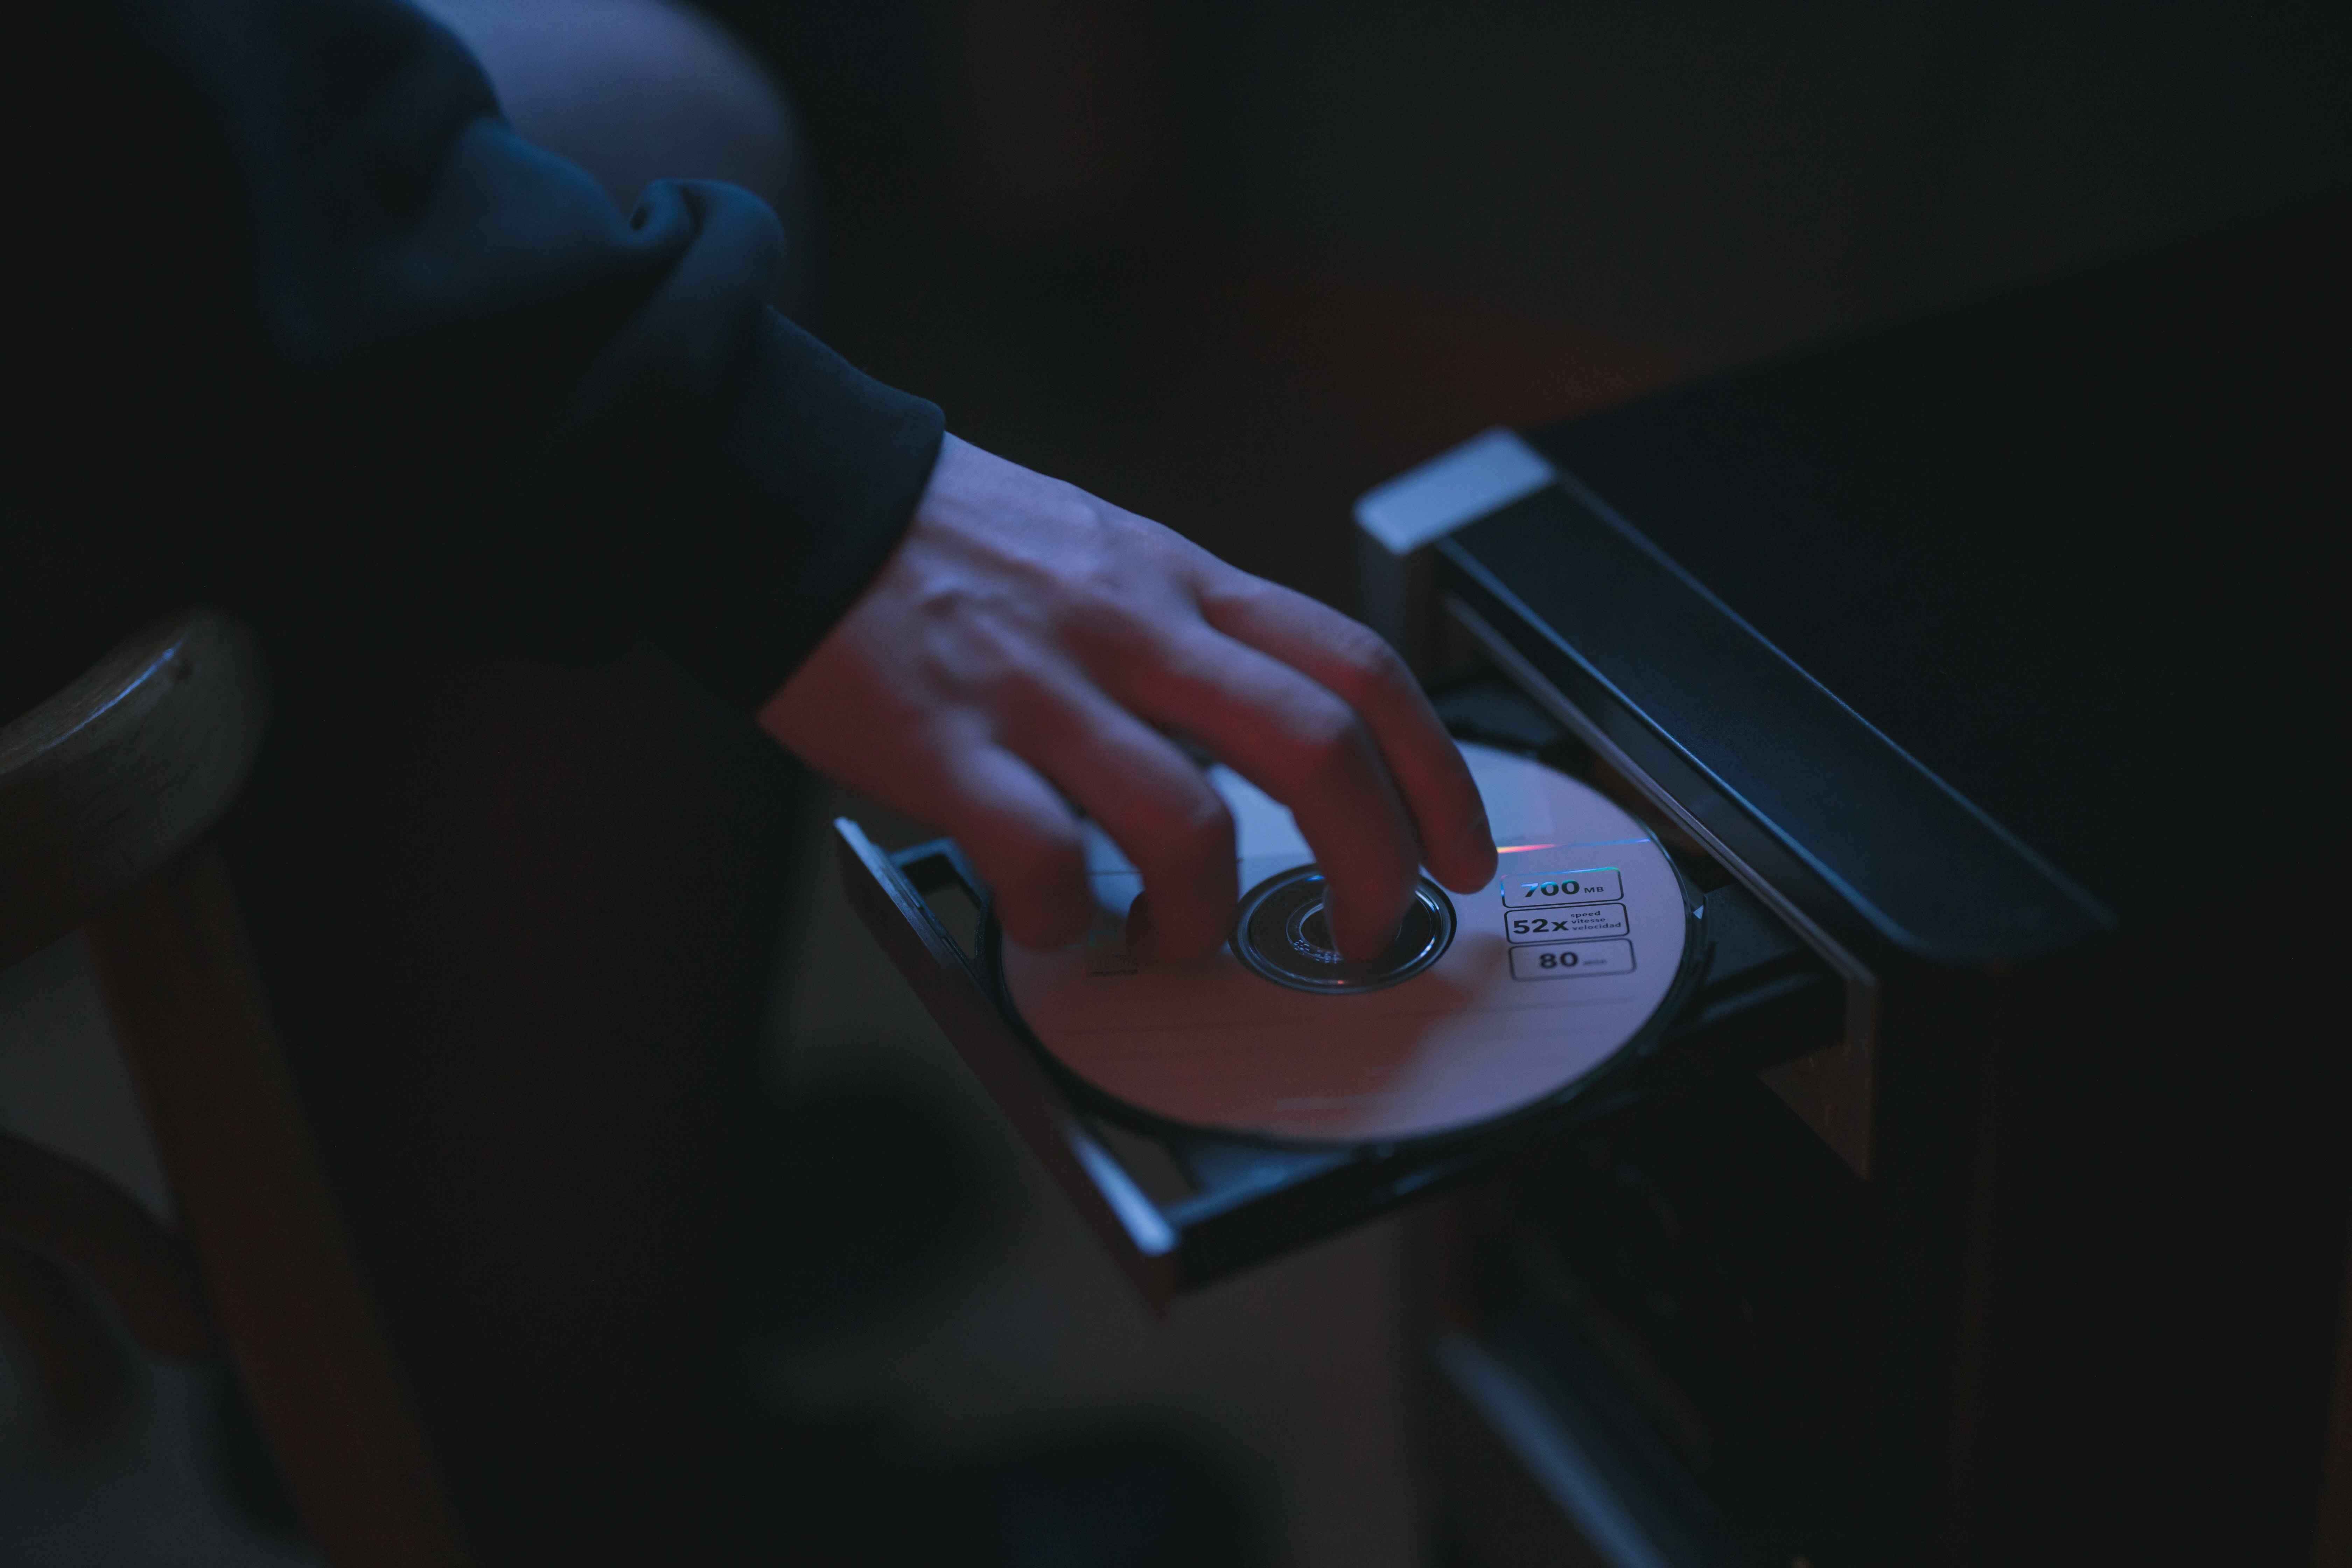
- Insert the blank CD: Open the CD/DVD drive tray on your computer and place the blank CD in the tray. Close the tray.
- Open the CD burning software: Launch the CD burning software on your computer. If it doesn’t open automatically, you can usually find it in the “Start” menu or by searching for the software’s name.
- Create a new audio CD project: Within the CD burning software, look for an option to create a new audio CD project. This option is usually found in the “File” or “New” menu.
- Add the music files to the project: Browse your computer’s storage or music library within the CD burning software and select the downloaded music files you want to burn onto the CD. You can usually drag and drop the files into the CD project window.
- Arrange the music files: Arrange the music files in the desired order of playback on the CD. You can usually click and drag the files within the project window to rearrange them.
- Verify the available space: Check the available space indicator in the CD burning software. Ensure that the total size of the selected music files does not exceed the capacity of the blank CD. CD-Rs typically have a capacity of 700 MB or 80 minutes of audio, while CD-RWs can hold up to 650 MB.
- Start the burning process: Once you are satisfied with the arrangement and size of the music files, look for a “Burn” or “Start” button in the CD burning software. Click it to begin the burning process.
- Wait for the burning process to complete: The CD burning software will start writing the music files onto the blank CD. The progress will be displayed on-screen, and you may see an indicator showing the remaining time.
- Eject the finished CD: Once the burning process is complete, the CD burning software will notify you. Eject the finished CD from your computer’s CD/DVD drive tray.
- Label the CD: Use a permanent marker to label the burned CD with the artist name, album name, or any other identifying information. This will help you easily identify the contents of the CD later.
Congratulations! You have successfully burned music onto a CD. The CD is now ready to be played in any CD player or stereo system that supports audio CDs. Enjoy your personalized music collection!
In the next section, we’ll address some common issues you may encounter when downloading music to a CD and provide troubleshooting tips to help you overcome them.
Troubleshooting common issues when downloading music to a CD
While downloading music to a CD is a relatively straightforward process, you may encounter some common issues along the way. Here are a few troubleshooting tips to help you overcome these challenges:
- Compatibility issues: Ensure that the CD burning software you’re using is compatible with your computer’s operating system. If you’re using an older or alternative operating system, you may need to find CD burning software specifically designed for it.
- Error messages during burning: If you receive error messages during the burning process, double-check that you have sufficient free space on the CD. Additionally, ensure that the CD-R or CD-RW is clean and free from scratches or smudges.
- Incompatibility with CD player/CD drive: If the burned CD doesn’t play in your CD player or car stereo, check if the CD player supports burned CDs or only plays commercially produced CDs. Some older CD players may have limited compatibility with burned discs.
- Audio quality issues: If you notice a decrease in audio quality after burning the music to a CD, ensure that you’re using high-quality music files. MP3 files with higher bitrates (256 kbps or higher) generally provide better audio quality than lower bitrate files. Additionally, make sure the burning software isn’t compressing the audio during the burning process.
- Incorrect track order: If the track order on the burned CD doesn’t match the intended sequence, check the order within the CD burning software before initiating the burning process. Rearrange the songs as necessary, ensuring that they are in the desired order before burning the CD.
- Skipping or freezing during playback: If the burned CD skips, freezes, or doesn’t play smoothly, it could be due to certain factors such as low-quality CDs, dirty CD players, or recording errors. Try using higher-quality CD-R discs and ensure that the CD player’s lens is clean. If the issue persists, consider using a different CD burning software or a different CD drive.
- File format issues: Ensure that the CD burning software supports the file formats of the music you’re trying to burn. If you encounter difficulties, you may need to convert the music files into a supported format before proceeding with the burning process. There are various file conversion tools available online for this purpose.
If you still encounter issues despite following these troubleshooting tips, check the support documentation or seek assistance from the CD burning software’s help center or community forums. They can provide more specific guidance tailored to the software you are using.
Now that we have addressed some potential issues that may arise during the CD burning process, let’s move on to the next section where we’ll provide tips for organizing your music library on CDs.
Tips for organizing your music library on CDs
Organizing your music library on CDs allows for easier navigation and enhances your overall listening experience. Here are some tips to help you effectively organize your music on CDs:
- Create folders or playlists: Organize your music into folders or playlists based on genres, artists, or moods. This will make it easier to locate specific songs or create customized listening experiences depending on your preferences.
- Use descriptive labels: When labeling your burned CDs, be sure to include relevant information such as the artist’s name, album title, and any additional identifying details. This will help you quickly identify the contents of each CD without having to listen to them.
- Consider chronological order: If you have multiple CDs containing music from the same artist, you may choose to organize them in chronological order. This allows you to trace the artist’s musical progression over time and provides a cohesive listening experience.
- Keep an index or catalog: Maintain an index or catalog of all the music CDs you have burned. This can be in the form of a spreadsheet or a dedicated software. Include details such as the CD’s title, contents, date burned, and any additional notes. This index will prove invaluable when you need to quickly search for a specific CD or track.
- Store CDs in protective cases or sleeves: To prevent scratches or damage, consider storing your CDs in protective cases, sleeves, or CD wallets. These storage solutions keep your CDs organized, protected, and easily accessible.
- Backup your digital music files: It’s important to have backup copies of your digital music files on your computer or an external storage device. This ensures that you have a backup in case of any data loss or damage to the original music files.
- Regularly clean your CDs: Over time, CDs can gather dust, fingerprints, or other debris that may affect playback quality. Clean your CDs regularly using a soft, lint-free cloth, wiping from the center of the CD outwards. Avoid using solvents or harsh cleaning agents that can damage the CD surface.
- Periodically revisit and update your music collection: As your musical tastes evolve and new music is released, periodically revisit your CD collection to add new albums or remove songs that no longer resonate with you. This ensures that your music library stays current and reflects your changing preferences.
By following these tips, you can maintain a well-organized and accessible music library on your CDs. Remember, the goal is to create a system that suits your preferences and makes it easy for you to find and enjoy your favorite music.
Now, let’s explore some alternatives to burning music to a CD in the next section.
Alternatives to burning music to a CD
While burning music to a CD is a popular method for creating a physical music collection, there are alternative options available that offer additional convenience and flexibility. Here are a few alternatives to consider:
- Digital music libraries: Instead of burning music to a CD, you can create a digital music library on your computer or external storage devices. Organize your music files into folders and use media player software to manage and play your collection. This allows for easy searching, sorting, and creating playlists without the need for physical discs.
- External hard drives or USB drives: If you prefer a portable option similar to a CD, you can store your music files on external hard drives or USB drives. These devices offer large storage capacity and allow you to carry your entire music collection with you, connecting to various devices such as computers, car stereos, or smart TVs.
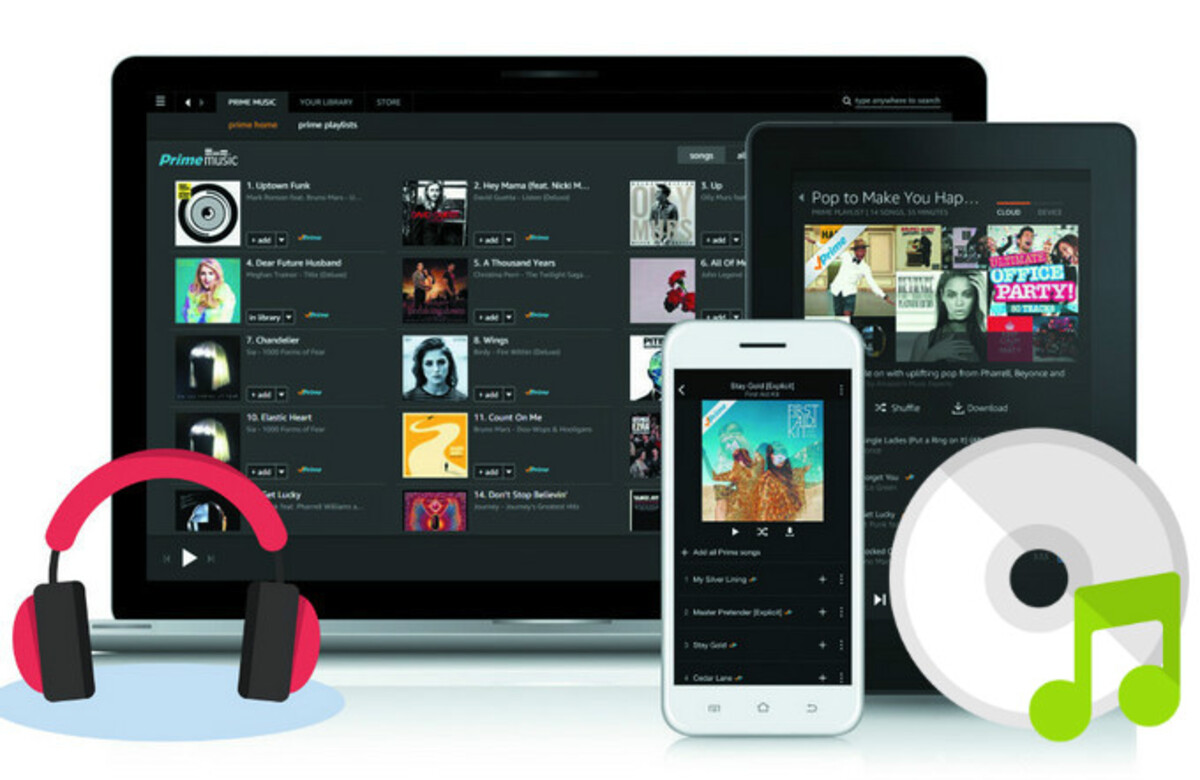
- Cloud storage and streaming services: Cloud storage and streaming services like Google Drive, Dropbox, or Amazon Music offer convenient alternatives to physical CDs. You can upload your music files to the cloud and access them from any device with an internet connection. Additionally, streaming platforms like Spotify, Apple Music, or Tidal allow you to stream music directly without the need for downloading or burning CDs.
- Bluetooth and wireless streaming: With the rise of wireless technology, you can connect your devices wirelessly to speakers, sound systems, or smart TVs. Use Bluetooth, Wi-Fi, or AirPlay features to stream music from your computer, smartphone, or tablet straight to your audio devices, eliminating the need for physical media altogether.
- Virtual DJ software and mixtape creation: If you enjoy creating personalized mixtapes or DJ sets, consider using virtual DJ software. These applications allow you to mix and blend music tracks digitally, creating seamless transitions and custom playlists. You can then share your mixes digitally with others or play them at events without the need for physical CDs.
- Smartphone and portable media players: Many smartphones and portable media players offer ample storage capacity and dedicated music player apps. You can transfer your music files to these devices and play your favorite tunes on the go, eliminating the need for CDs while still having a portable music solution.
These alternatives offer convenience, portability, and a wider range of features compared to traditional CDs. Consider your personal preferences, lifestyle, and technological capabilities when deciding which alternative best suits your needs.
Remember, while CDs provide a tangible and nostalgic music experience, technology has evolved to provide us with more flexible and digital options. Embrace the alternatives that align with your preferences and enjoy your music wherever and whenever you please.
We’ve covered various aspects of downloading music to a CD and explored alternative options. Now, you are equipped to embark on your journey of creating, organizing, and enjoying your personalized music collection. Happy listening!
Conclusion
Downloading music to a CD allows you to create a tangible and personalized music collection that can be enjoyed in a variety of settings. Throughout this article, we covered the process of downloading music to a CD, starting with understanding what a CD is and why you might want to download music onto it. We explored how to find and select music to download, choose the right music downloading platform, download music to your computer, and burn music onto a CD.
We also addressed common troubleshooting issues that may arise during the downloading and burning process and provided tips for organizing your music library on CDs. Furthermore, we explored alternative options such as digital music libraries, cloud storage and streaming services, external storage devices, and virtual DJ software, catering to different preferences and technological advancements.
Whichever method you choose, the goal is to create a tailored music collection that reflects your unique tastes and preferences. Whether you prefer the nostalgia and convenience of physical CDs or the flexibility of digital libraries, the process of curating and organizing your music adds a personal touch to your listening experience.
Now that you have gained knowledge about downloading music to a CD, organizing your music collection, and exploring alternative options, it’s time to embark on your journey of creating your perfect music library. Remember to adapt the process to your specific needs and enjoy the music that brings joy, comfort, and inspiration to your life.
Music has the power to uplift, soothe, and connect people, and by downloading music to a CD, you are preserving the artistry and the emotions that musicians pour into their work. Embrace the world of digital downloads and physical CDs, and savor the joy of music in whichever format suits you best.