Introduction
Welcome to the world of music! If you have a CD collection and want to enjoy your favorite tracks on your computer, you’re in the right place. In this guide, we’ll show you the step-by-step process of downloading music from a CD to your computer. Whether you’re a music enthusiast or someone who simply wants to digitize their collection, this article will provide you with the necessary instructions to get started.
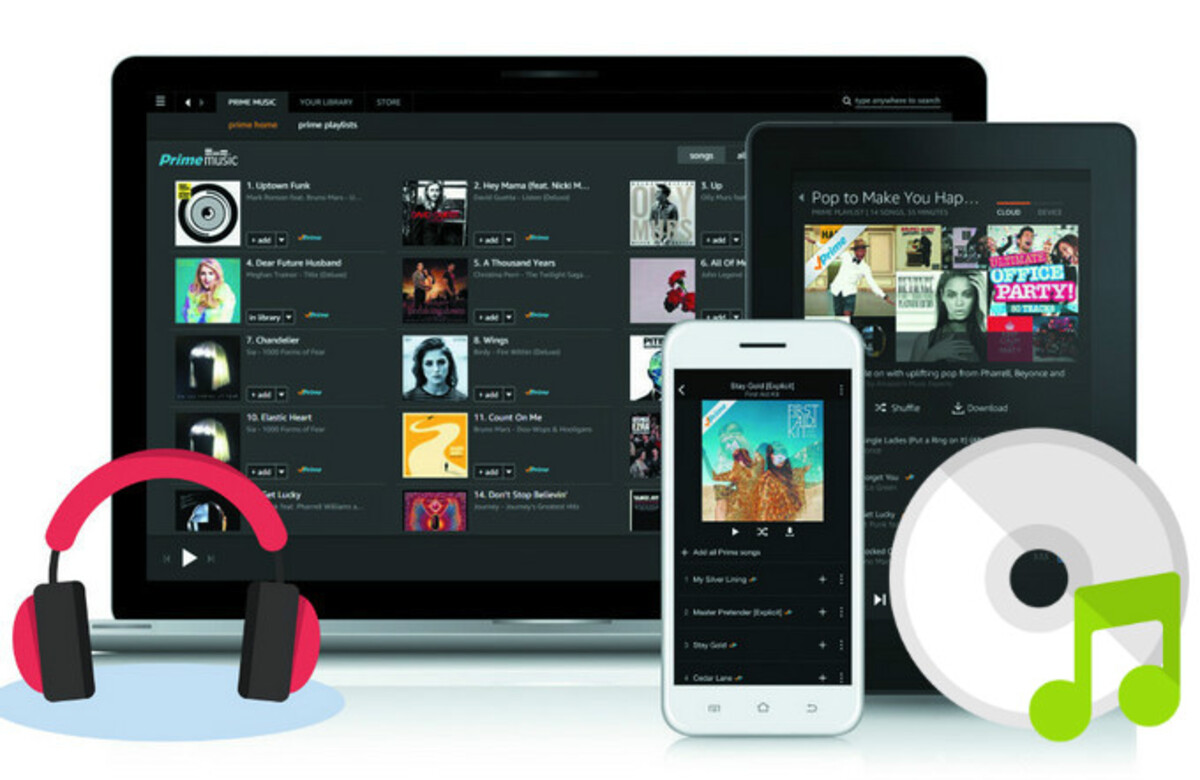
In the digital age, CDs are becoming less common as music has transitioned to online streaming platforms. However, many music lovers still have a CD collection they want to access on their computers. By downloading the music onto your computer, you can easily create playlists, transfer it to portable devices, or simply enjoy your favorite tunes without the need for a physical CD.
Downloading music from a CD to your computer is relatively straightforward. All you need is a computer with a CD drive, media player software, and a few minutes of your time. The process involves ripping the audio data from the CD and saving it as a digital file on your computer. You can then listen to the songs at your convenience or transfer them to other devices.
Throughout this guide, we’ll provide detailed instructions for each step of the process. Whether you’re using Windows Media Player, iTunes, or a third-party media player, the general procedure remains the same. By following these steps, you’ll be able to download your favorite music from a CD and build your digital music library.
So, if you’re ready to embark on this musical journey, let’s dive into step one: inserting the CD into your computer’s CD drive.
Step 1: Insert the CD into your computer’s CD drive
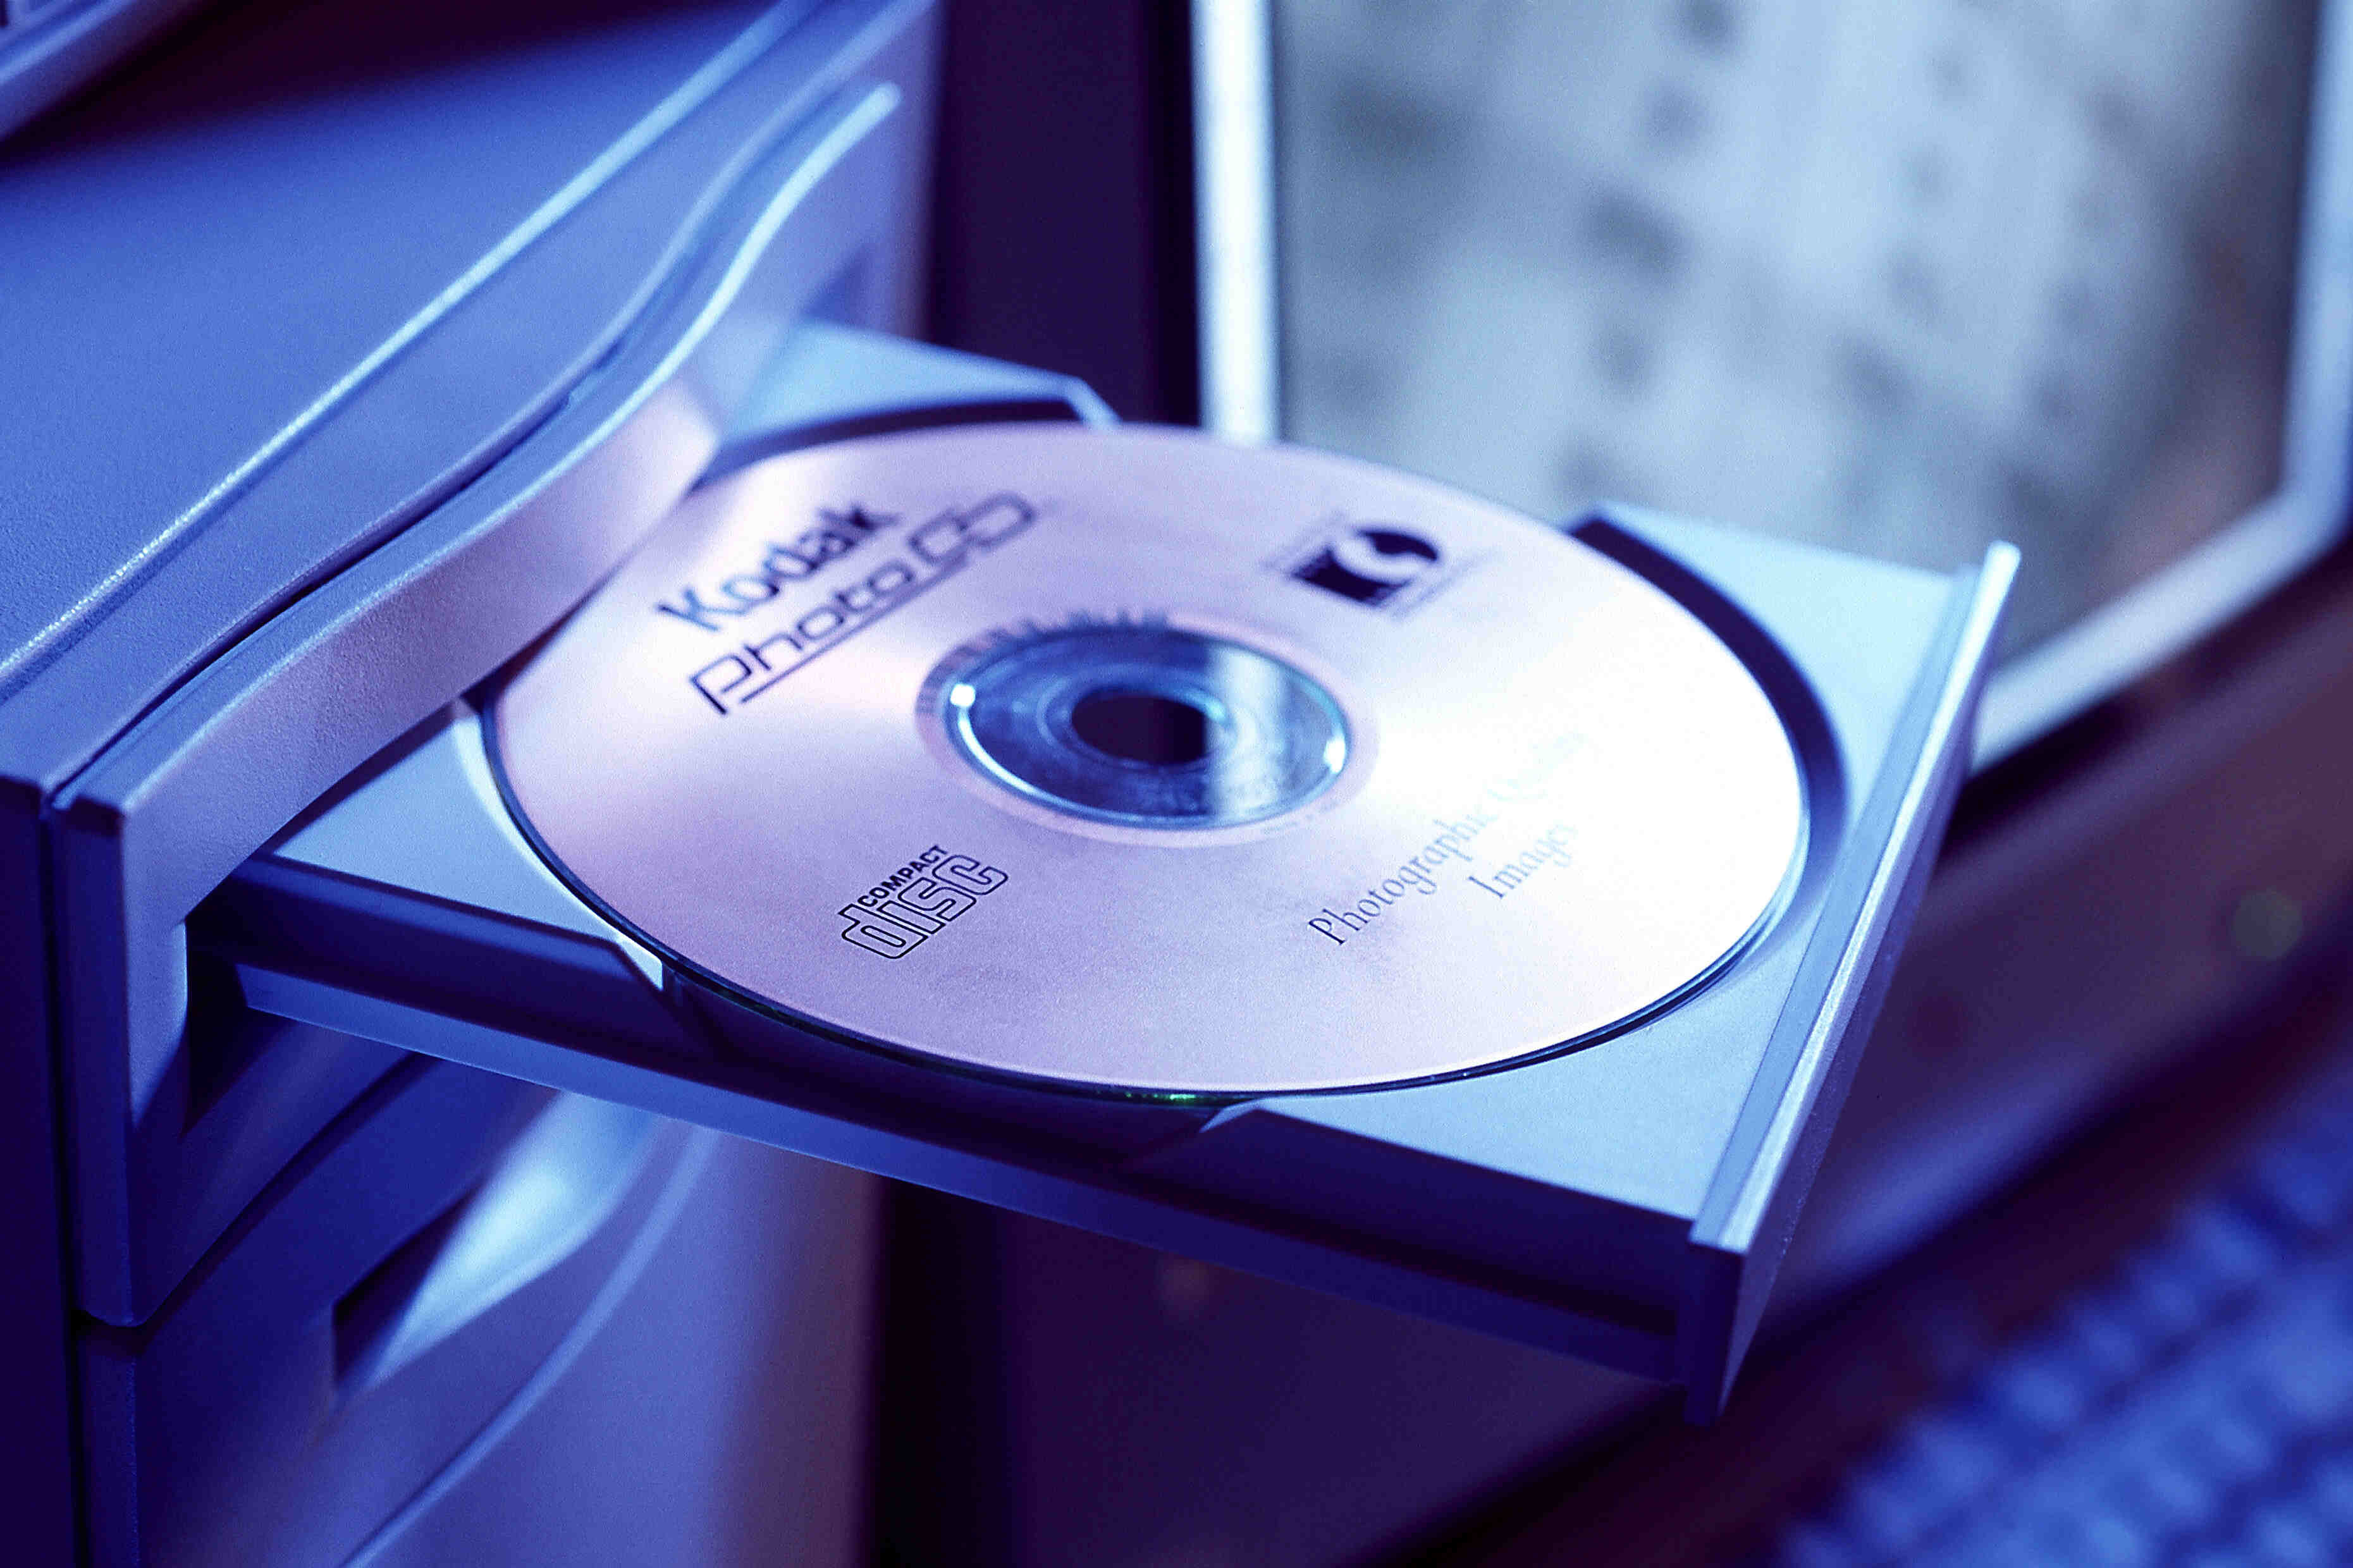
The first step in downloading music from a CD to your computer is to insert the CD into your computer’s CD drive. This step is essential as it allows your computer to recognize the CD and access its contents.
To begin, locate the CD drive on your computer. It is usually located on the front or side of the computer tower, or on the side of a laptop. The CD drive is a slot where you can insert the CD.
Gently push the CD into the CD drive until it is fully inserted. Make sure to align the CD with the guides or markings on the drive to ensure it is properly placed. Once inserted, you will hear a slight clicking sound, indicating that the CD is securely in position.
After inserting the CD, your computer may take a few moments to recognize it. The CD drive will spin, and the computer will detect the presence of the disc. In some cases, a pop-up window may appear on your screen, displaying the name of the CD and giving you the option to open it. If this happens, you can proceed to Step 2.
If a pop-up window does not appear, you can manually access the CD by opening your preferred media player software. Most computers come with pre-installed media player software such as Windows Media Player or iTunes. Alternatively, you can use a third-party media player of your choice.
Now that the CD is successfully inserted into your computer’s CD drive, you’re ready to move on to Step 2 and open your media player software to access the CD’s contents.
Step 2: Open your preferred media player software
With the CD inserted into your computer’s CD drive, it’s time to open your preferred media player software. Media player software allows you to manage and play various types of media files, including music, videos, and more. By opening the software, you can access the contents of the CD and begin the process of downloading the music to your computer.
If you’re using a Windows computer, one of the most common media player options is Windows Media Player. To open it, click on the Start menu in the bottom left corner of your screen, search for “Windows Media Player,” and click on the application when it appears in the search results. Alternatively, you may find a shortcut icon on your desktop or taskbar that you can click to launch the program.
For Mac users, iTunes is the default media player software. To open it, click on the Launchpad icon in your dock, search for “iTunes,” and click on the application when it appears in the search results. You can also find iTunes in your Applications folder.
If you prefer to use a different media player software, such as VLC Media Player or Winamp, make sure it is installed on your computer, and open it by locating the program icon on your desktop, taskbar, or in the Applications folder.
Once you’ve opened your preferred media player software, it may take a few moments to load and initialize. The software will display a user interface that provides various options and features for managing and playing media files. Take a moment to familiarize yourself with the layout and controls of the media player software.
Now that your media player software is open and ready, you can move on to Step 3, where we’ll guide you through locating the CD in the media player’s library and accessing its contents.
Step 3: Locate the CD in the media player’s library
After opening your preferred media player software, the next step is to locate the CD in the media player’s library. This will allow you to access the songs on the CD and begin the process of downloading them to your computer.
In most media player software, the library or collection area is where you can find and organize your music files. The exact location and appearance of the library may vary depending on the software you are using, but typically, it can be found in the main menu, sidebar, or navigation panel of the media player.
Look for an option or tab labeled “Library” or “Music.” Click on it to open the library view, which displays the music files and albums that are currently available in the media player.
Once you’re in the library view, you will need to locate the CD that you inserted into your computer’s CD drive. The media player software should automatically detect the CD and populate it in the library or display it as a separate entry.
The CD’s entry usually includes the name of the album, artist, and the total number of tracks available on the CD. It may also show album artwork if it’s available. Look for the CD’s entry and click on it to select it. This will allow you to access the individual songs on the CD.
In some media player software, you may need to click on a specific option, such as “Import CD” or “Rip CD,” to initiate the process of transferring the music files from the CD to your computer. If this option is available, click on it to proceed. Otherwise, the media player software may automatically start loading the CD’s contents.
Once you have successfully located the CD in the media player’s library and selected it, you’re now ready to move on to Step 4, where we’ll guide you through selecting the songs you want to download from the CD.
Step 4: Select the songs you want to download
With the CD loaded in the media player’s library, you can now proceed to select the songs you want to download to your computer. This step allows you to choose the specific tracks that you wish to have as digital files for offline listening or further customization.
In the media player software’s library view, you will see a list of all the songs available on the CD. These songs are typically displayed as individual tracks under the CD’s entry. Take a moment to browse through the list and familiarize yourself with the songs.
To select specific songs for download, you can use various methods depending on the media player software you’re using. In most media players, you can click on the checkboxes or select a specific song by clicking on it. You can also use keyboard shortcuts or drag and drop functionality to make your selection.
If you want to select all the songs on the CD, there is usually an option to “Select All” or a similar command available. This allows you to quickly choose all the tracks in one go.
On the other hand, if you only want to download a few specific songs, you can hold down the “Ctrl” key (for Windows) or the “Command” key (for Mac) and click on the individual songs you wish to select.
Take your time to go through the list and select the songs that you want to download. You can choose based on your favorite tracks, particular artists, or any other criteria that align with your preferences.
Once you have made your selection, the selected tracks will typically be highlighted or marked in some way to indicate that they are chosen for download. You can also double-check your selection by looking for a “Selected Songs” or “Selected Tracks” section in the media player’s interface.
Now that you have successfully selected the songs you want to download, it’s time to move on to Step 5, where we’ll guide you through choosing the file format and destination folder for the downloaded songs.
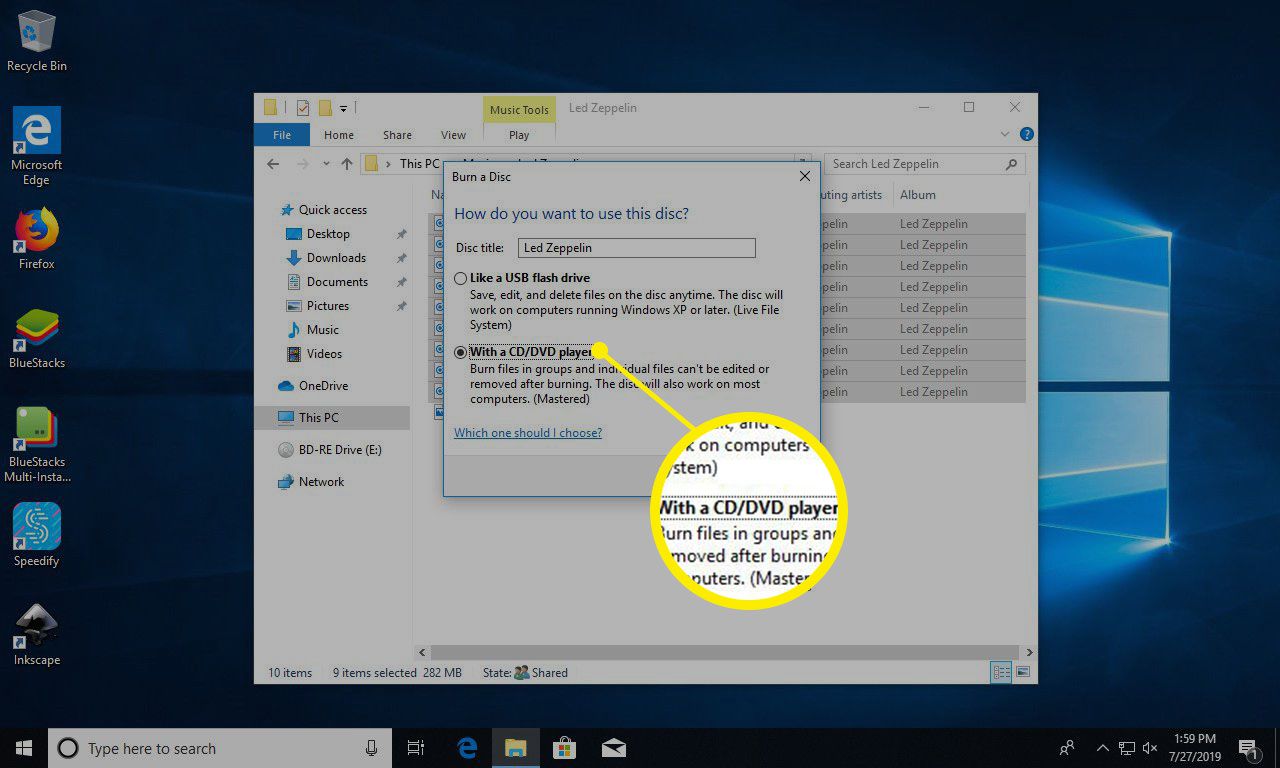
Step 5: Choose the file format and destination folder for the downloaded songs
After selecting the songs you want to download from the CD, the next step is to choose the file format and destination folder for the downloaded songs. This step allows you to specify how the music files will be saved on your computer and where they will be stored.
In most media player software, you will have the option to choose the file format for the downloaded songs. Common file formats for audio files include MP3, AAC, and WAV, among others. To choose the file format, look for a “Settings” or “Preferences” option in the media player software’s menu or toolbar. Once you’ve accessed the settings, navigate to the section or tab that pertains to audio file formats.
In the audio file format section, you will typically find a list of available formats. Select the format that best suits your needs or preferences. For compatibility across various devices and platforms, MP3 is generally a widely supported and recommended file format. However, if you prioritize higher audio quality and storage space is not a concern, you may opt for a lossless format like WAV or FLAC.
After choosing the file format, you will need to specify the destination folder where the downloaded songs will be saved on your computer. By default, the media player software may suggest a location such as the “Music” or “Downloads” folder. However, you can customize the destination folder to your liking.
To set the destination folder, navigate to the “Settings” or “Preferences” section of the media player software. Look for an option related to the file storage location or the destination folder for downloaded files. Once you’ve located the appropriate setting, click on it to open a file browser window.
In the file browser window, you can navigate to the desired folder where you want to save the downloaded songs. You can create a new folder if needed or select an existing folder. Once you’ve chosen the destination folder, confirm your selection and save the changes.
It’s important to note that the file format and destination folder settings may vary slightly depending on the media player software you’re using. However, the general process remains similar across different applications.
Now that you have chosen the file format and destination folder for the downloaded songs, you’re ready to proceed to Step 6, where we’ll guide you through initiating the download process.
Step 6: Initiate the download process
With the songs selected and the file format and destination folder determined, it’s time to initiate the download process. This step involves actually transferring the music files from the CD to your computer, converting them to the chosen file format, and saving them in the specified location.
In your media player software, there should be a dedicated button or option to start the download process. Look for a button labeled “Rip,” “Import,” “Download,” or a similar command. Click on this button to begin the download process.
Once the download process starts, the media player software will begin reading the selected songs from the CD. It will convert them to the chosen file format and save them in the specified destination folder on your computer’s hard drive.
During the download process, you may see a progress bar or indicator that shows the status of the transfer. This allows you to monitor the progress and estimate the time remaining until the download is complete.
Depending on the length and number of songs being downloaded, the process may take a few minutes to complete. It’s important to ensure that your computer remains powered on and that the CD remains inserted in the CD drive until the download process finishes.
Once the download process is complete, you will receive a notification or confirmation message from the media player software. This indicates that the selected songs have been successfully transferred and saved as digital files on your computer.
Now that you’ve initiated the download process, you’re one step closer to enjoying your favorite music on your computer. In the next step, Step 7, we’ll guide you through monitoring the progress of the download to ensure it completes successfully.
Step 7: Monitor the progress of the download
Once you have initiated the download process, it’s important to monitor the progress to ensure that the transfer of songs from the CD to your computer completes successfully. This step allows you to track the status of the download and verify that all selected songs have been successfully saved as digital files on your computer.
During the download process, most media player software provides a progress bar, status indicator, or a visual representation of the transfer. This feature allows you to monitor the progress and estimate the time remaining until the download is complete.
You can keep an eye on this progress indicator to ensure that the download is progressing smoothly. Depending on the size of the files being transferred and the speed of your computer, the download process may take several minutes. It’s essential to be patient and avoid interrupting the process until it reaches 100% or displays a completion message.
In addition to the progress indicator, some media player software may provide more detailed information about each track’s individual transfer. This can include details such as the current song being downloaded, the transfer speed, and the time remaining for that particular track.
It’s important to note that in certain media player software, especially those with advanced customization options, you may have the option to adjust the quality settings, bitrate, or other parameters during the download process. If you are interested in customizing the audio quality or other settings, take note of these options and adjust them accordingly.
If, for any reason, the download process encounters an error or is unable to transfer a particular song, the media player software will usually provide an error message or alert. In such cases, take note of the specific error message and refer to the software’s support documentation for troubleshooting steps to resolve the issue.
Once the download process reaches 100% and all the selected songs have been successfully transferred, you can consider the download complete. Congratulations! The downloaded songs are now available on your computer for offline listening and further customization.
Now that you have monitored the progress of the download and ensured its completion, you’re ready to move on to the next step, Step 8, where we’ll guide you through accessing the downloaded songs on your computer.
Step 8: Access the downloaded songs on your computer
With the download process complete, it’s time to access the downloaded songs on your computer. This step allows you to locate and enjoy the music files that you have transferred from the CD to your computer’s hard drive.
To access the downloaded songs, navigate to the destination folder that you specified during Step 5 of the process. This is the folder where the media player software saved the transferred music files.
Open File Explorer (Windows) or Finder (Mac) and navigate to the folder you chose as the destination for the downloaded songs. You can typically find it in the “Music” or “Downloads” folder, or any other location you designated.
In the destination folder, you will see the downloaded songs listed as individual files. They will typically have the same name as the original tracks on the CD, often accompanied by a file extension indicating the chosen file format (such as .mp3, .aac, or .wav).
To play the downloaded songs, you can double-click on each file, which should open it with your default media player software. Alternatively, you can right-click on the file and select “Open With” to choose a specific media player program if desired.
Within your media player software, you can navigate to the library or music section to view the downloaded songs. They should now appear alongside your other music files in the software’s library view.
From here, you can create playlists, organize the songs into albums or genres, edit the metadata (such as song titles and artist names), or transfer them to other devices such as smartphones or tablets.
It’s important to note that the process of accessing the downloaded songs may vary slightly depending on the media player software you’re using. However, the general idea remains the same: navigate to the destination folder where the songs were saved and open them with your media player software.
Congratulations! You have successfully downloaded and accessed your favorite songs from the CD on your computer. Now you can enjoy your music library anytime, anywhere, without the need for the physical CD.
In this guide, we have provided you with a step-by-step process for downloading music from a CD to your computer. By following these instructions, you can digitize your music collection, create personalized playlists, and enjoy your favorite tracks on your computer or portable devices. Happy listening!
Conclusion
Congratulations on successfully downloading music from a CD to your computer! In this guide, we walked you through the step-by-step process, starting from inserting the CD into your computer’s CD drive to accessing the downloaded songs on your computer.
By following these instructions, you were able to utilize your preferred media player software, select the desired songs, choose the file format and destination folder, initiate the download process, monitor the progress, and finally, access the downloaded songs on your computer.
Digitizing your music collection not only allows you to enjoy your favorite tracks at your convenience but also provides flexibility in creating customized playlists and transferring the songs to your portable devices. With the songs saved as digital files, you no longer have to rely on the physical CDs to listen to your favorite music.
Remember to keep your media player software up to date and explore the various features and options available to enhance your music listening experience. Additionally, you can further personalize your music collection by editing the metadata, organizing songs into playlists, or exploring other customization options offered by your media player software.
We hope that this guide has been helpful in assisting you with the process of downloading music from a CD to your computer. Should you encounter any difficulties or have further questions, consult the support documentation of your media player software or seek assistance from online forums and communities dedicated to music and technology.
Thank you for following along, and enjoy your newly digitized music library!