Introduction
Welcome to the digital age, where music is no longer confined to CDs. With the evolution of technology, downloading music directly to your computer has become the norm. Whether you want to upgrade your CD collection to a digital format or simply enjoy the convenience of having all your music stored in one place, downloading a CD to your computer can be a straightforward and rewarding process. In this article, we will guide you through the step-by-step process of downloading a CD to your computer, allowing you to enjoy your favorite tunes with just a few clicks.
Before we dive into the process, it’s important to note that downloading a CD to your computer requires a CD drive and compatible software. Most computers come with a built-in CD drive, but if yours doesn’t, you can easily purchase an external CD drive that connects to your computer via USB.
Now that we have the necessary hardware, let’s get started! In the following steps, we will walk you through the process of downloading a CD to your computer, from preparing your computer to verifying the downloaded files. Are you ready to embark on this musical journey? Let’s roll up our sleeves and dive in.
Step 1: Prepare your computer
Before you can start downloading a CD to your computer, you need to ensure that your computer is ready for the task. Here are a few preparatory steps to follow:
- Ensure you have enough storage space: Before downloading the CD, check that you have sufficient free space on your computer’s hard drive. Music files can take up a significant amount of space, so make sure you have enough room to accommodate the files.
- Connect your CD drive: If you’re using an external CD drive, connect it to your computer via a USB port. Ensure that the drive is securely connected to avoid any interruptions during the downloading process.
- Disable any antivirus software: Some antivirus programs may interfere with the CD downloading process. To prevent any complications, temporarily disable your antivirus software before proceeding. Just remember to re-enable it once the download is complete to keep your computer protected.
- Ensure your internet connection is stable: Although downloading a CD doesn’t require an internet connection, it’s always a good idea to have a stable connection. This is especially important if you plan to verify the downloaded files or if the CD contains additional digital content that requires an internet connection.
By following these preparatory steps, you’ll ensure that your computer is ready to handle the CD downloading process smoothly. Now that your computer is prepared, it’s time to move on to the next step: inserting the CD into your computer’s CD drive.
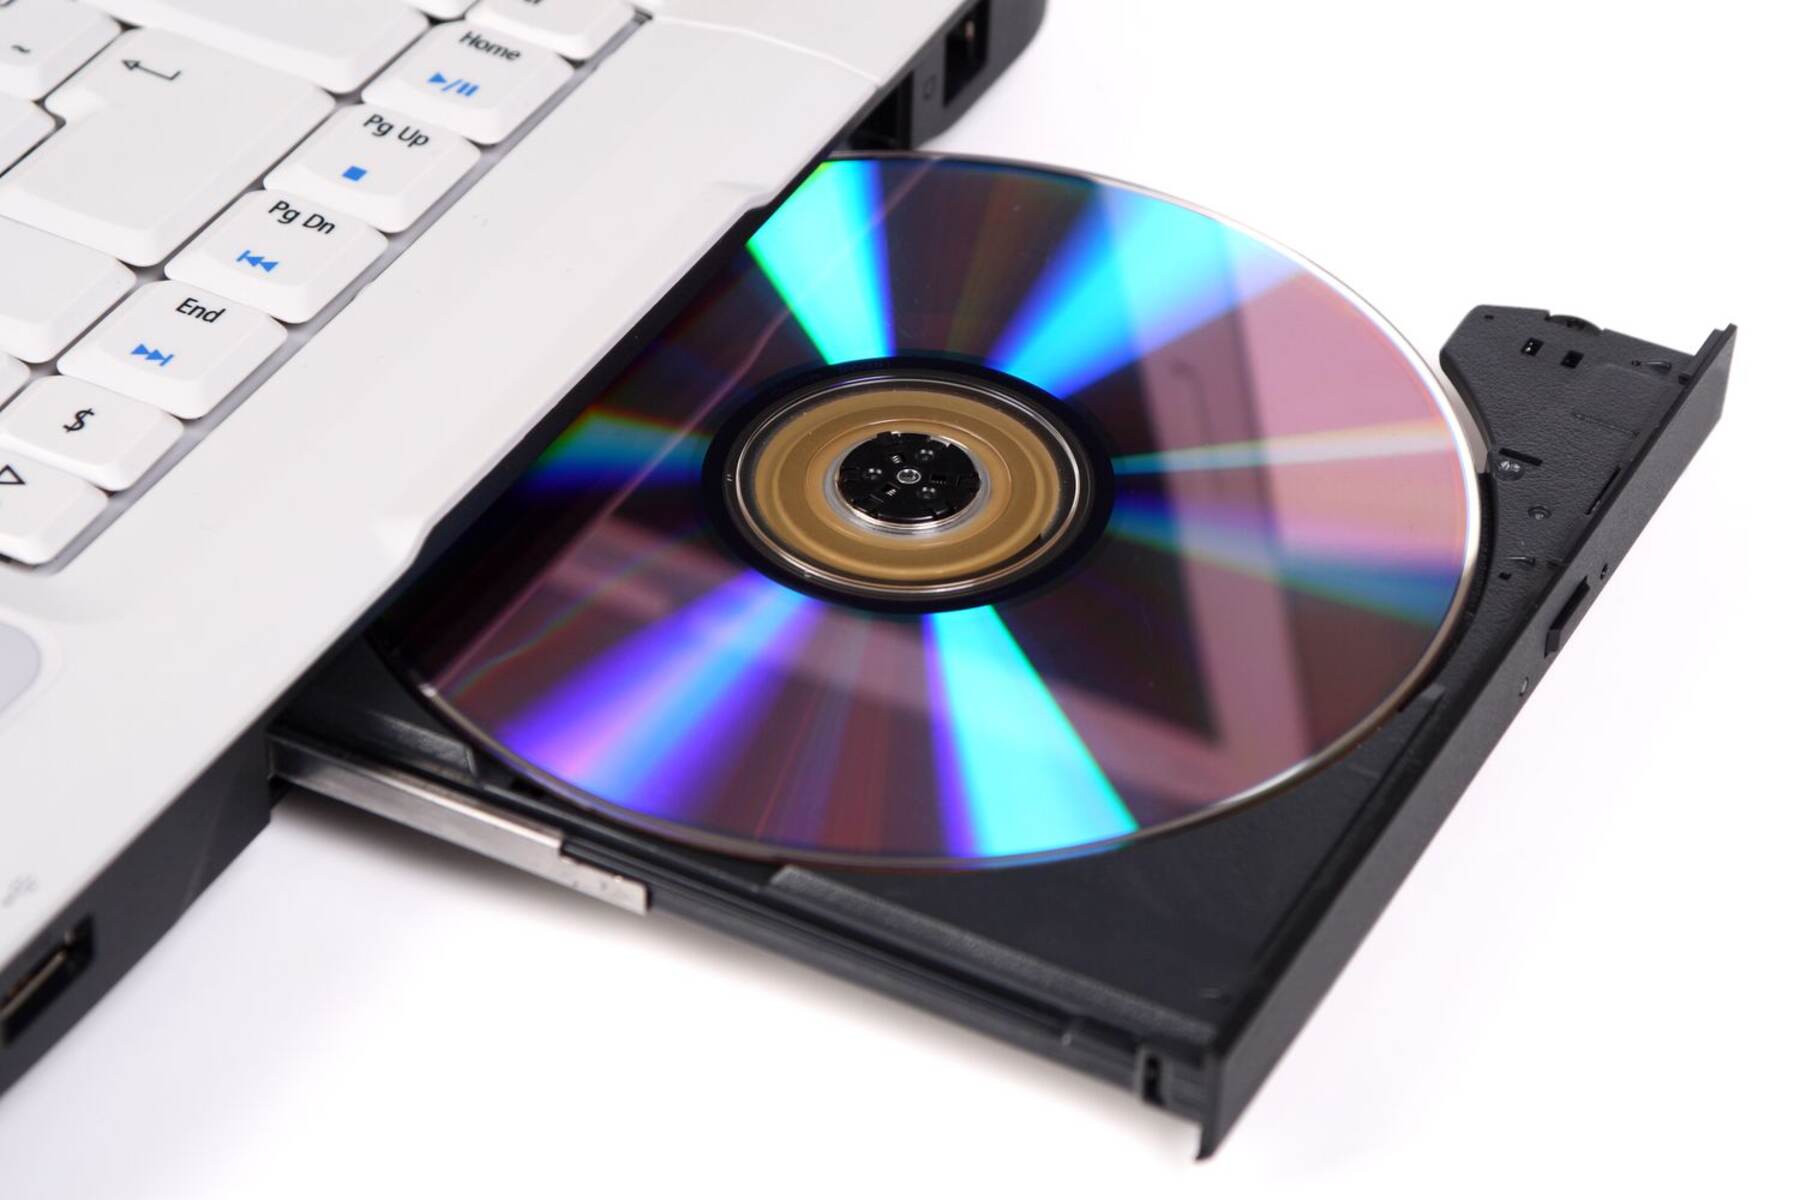
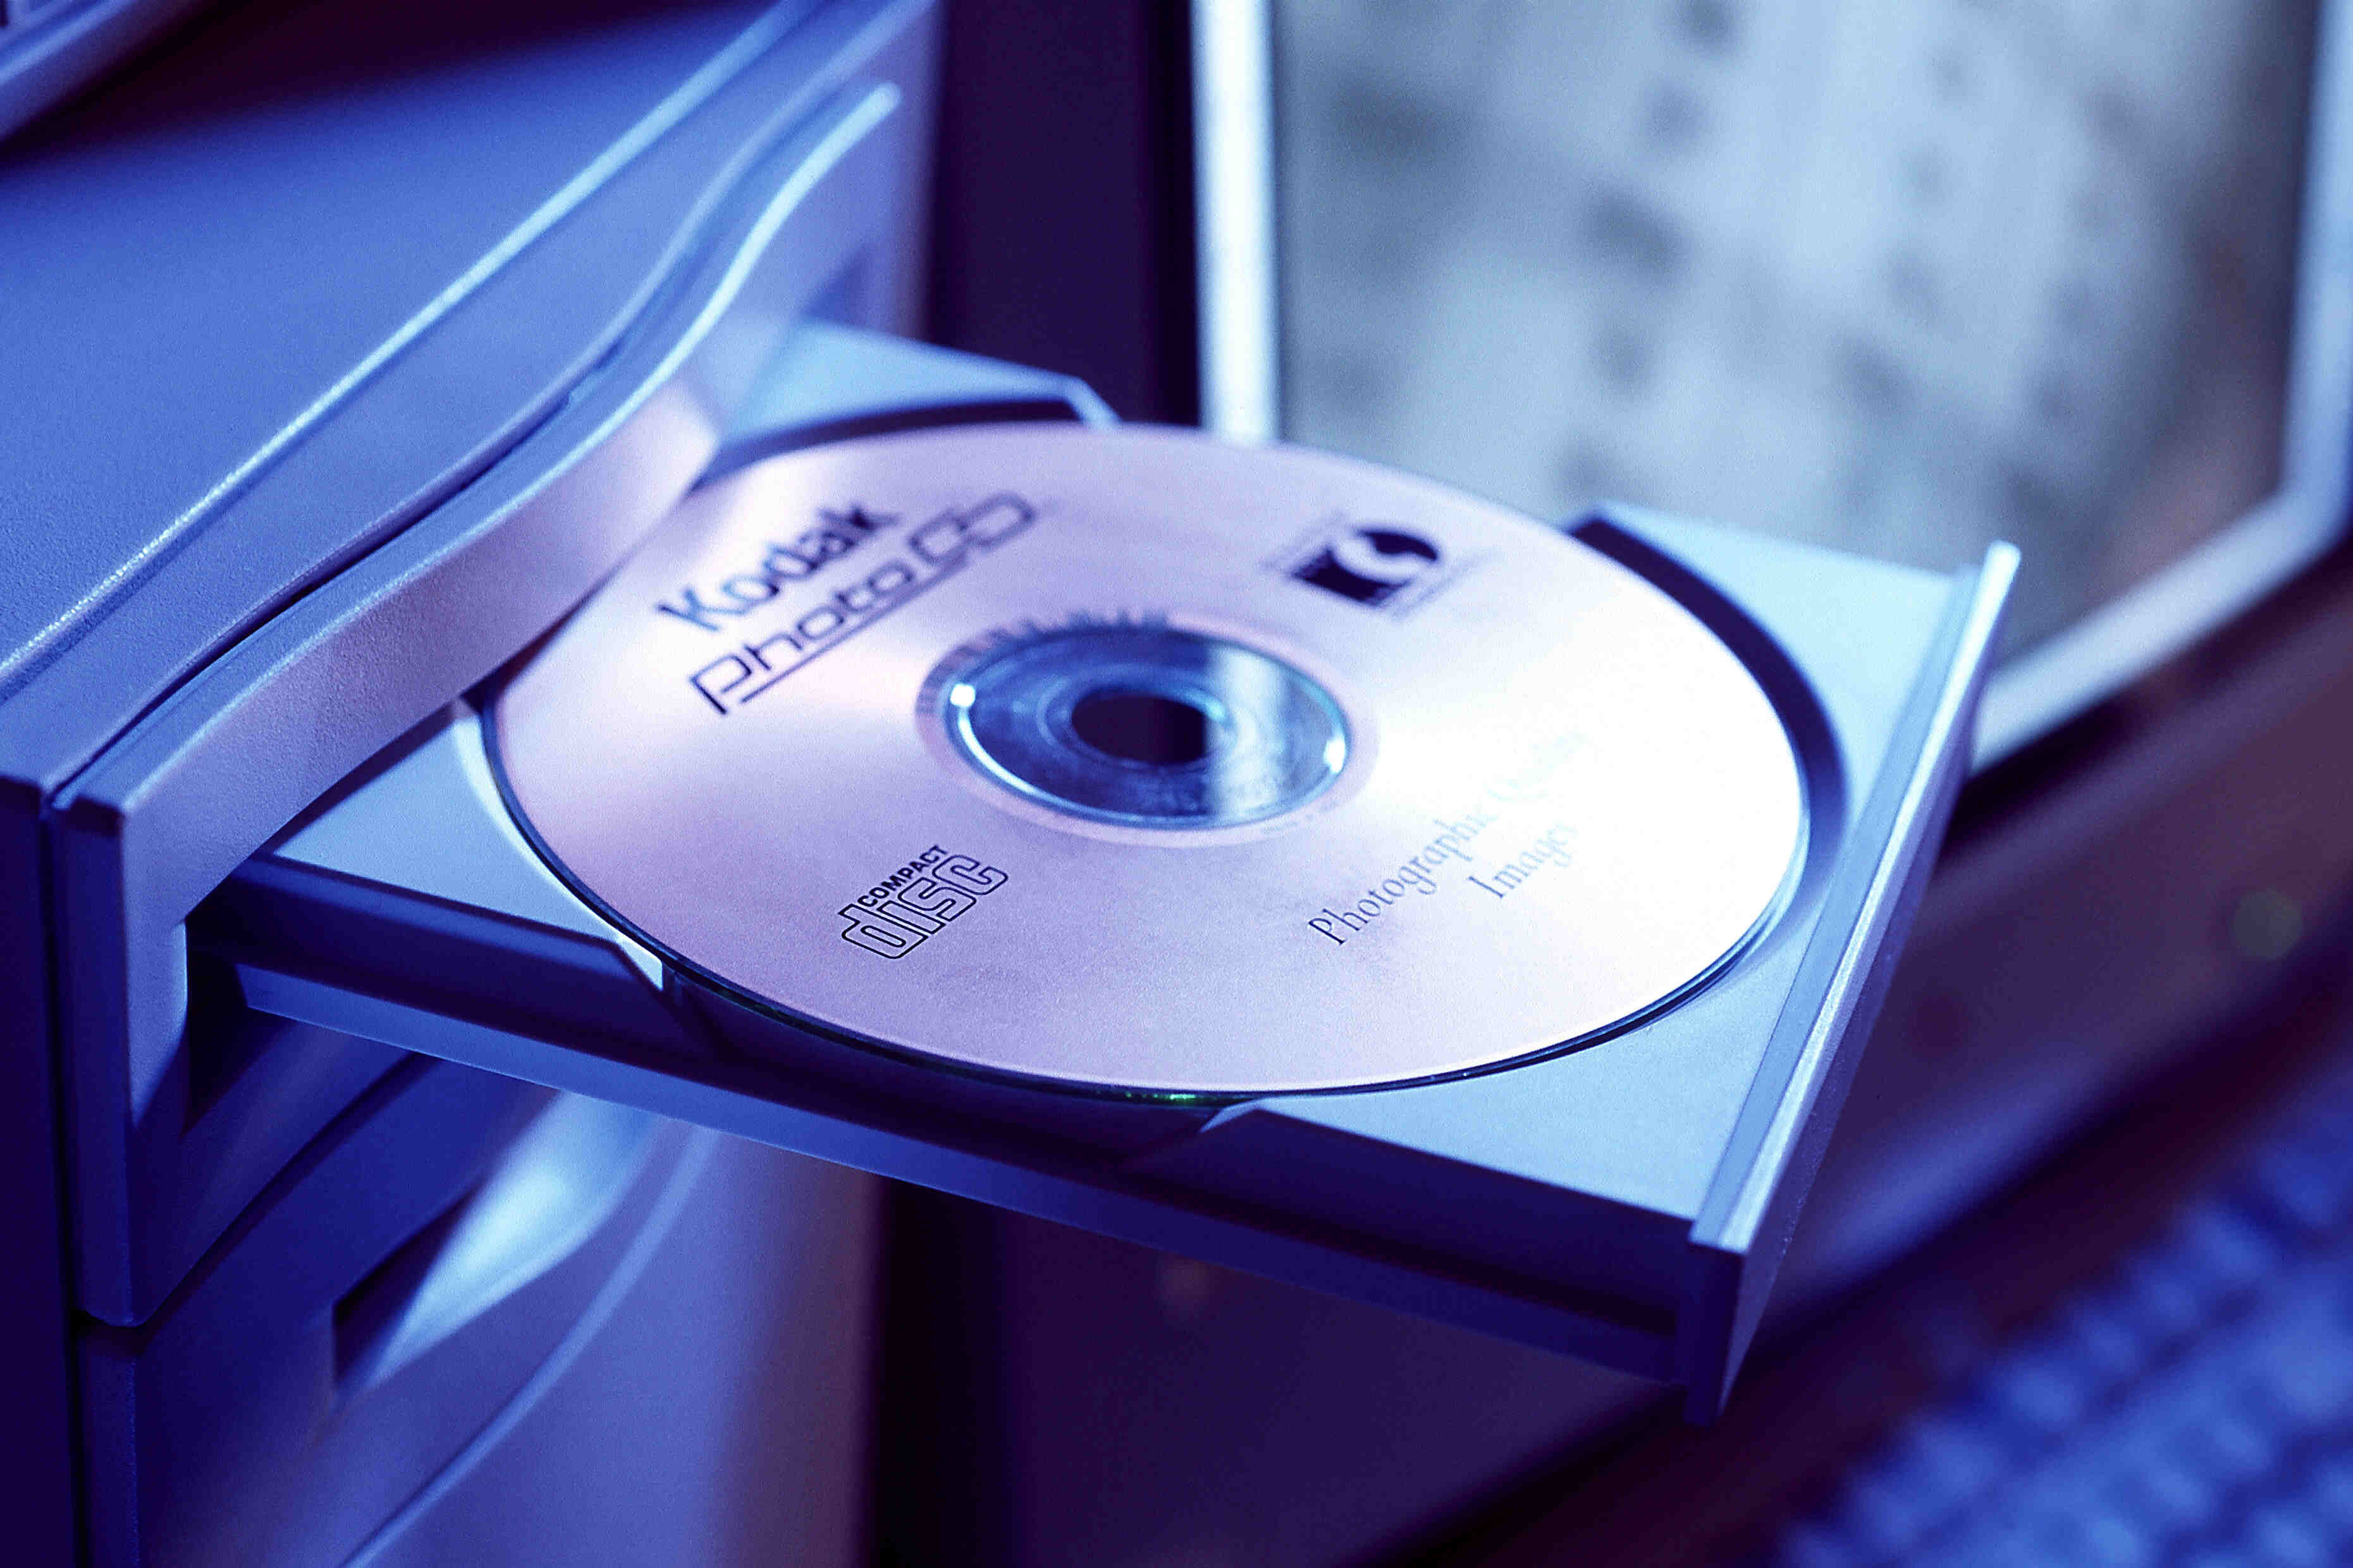
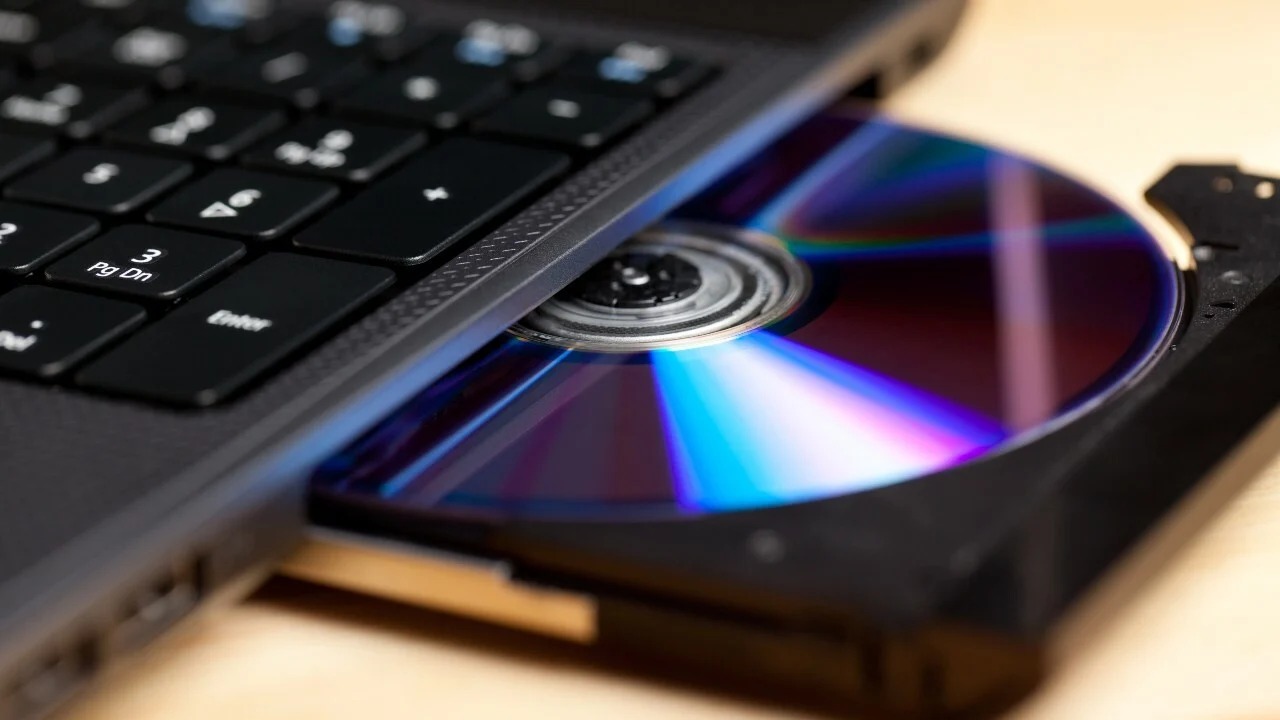
Step 2: Insert the CD
Now that your computer is prepared, it’s time to insert the CD into your computer’s CD drive. Follow these simple steps:
- Locate the CD drive: On most computers, the CD drive is located on the front panel of the computer tower or on the side of a laptop. Look for a small rectangular slot or tray.
- Open the CD drive: If your computer has a tray-style CD drive, gently press the button or push the designated lever to open the tray. For slot-style CD drives, the CD drive will automatically open when you push the CD towards the opening.
- Position the CD correctly: Take the CD and hold it with the label side facing up. Carefully place the CD onto the tray or slot, ensuring it is properly aligned with the center spindle or guides to prevent any potential damage.
- Close the CD drive: For tray-style CD drives, gently push the tray back into the computer until it clicks into place. Slot-style CD drives will automatically pull the CD into the drive once you’ve inserted it.
After you’ve inserted the CD, give your computer a moment to recognize and detect the CD. You may hear the CD drive spin as it reads the disc, which is normal. Once the computer has successfully recognized the CD, you’re ready to move on to the next step: opening the CD on your computer.
Step 3: Open the CD on your computer
Now that you have inserted the CD into your computer’s CD drive, it’s time to open the CD on your computer and access its contents. Follow these steps to open the CD:
- Open File Explorer (Windows) or Finder (Mac): On a Windows computer, navigate to the Start menu, then click on “File Explorer” or use the shortcut key “Win + E”. If you’re using a Mac, open “Finder” from the dock.
- Locate the CD: In File Explorer or Finder, you should see a list of drives and devices on your computer. Look for the CD drive icon, usually labeled with the CD’s name or the CD drive letter.
- Double-click to open the CD: Double-click on the CD drive icon to open the CD’s contents. After doing so, you should see a list of files and folders stored on the CD.
- Explore the CD contents: Browse through the files and folders on the CD to see what’s available for download. Depending on the CD, you may find individual music tracks, an audio playlist, or additional digital content.
Opening the CD on your computer allows you to access the contents and select the files you want to download. Take your time to explore the CD and familiarize yourself with its organization. Once you’ve identified the files you wish to download, it’s time to move on to the next step: selecting the files for download.
Step 4: Select the files you want to download
After opening the CD on your computer, it’s time to choose the files you want to download. Depending on the CD’s contents, you may have various options to consider. Follow these steps to select the files you wish to download:
- Identify the files: Take a look at the files and folders displayed on the CD. If you’re downloading a music CD, you’ll typically find individual music tracks or a folder containing the tracks. Browse through the files and make note of the files you want to download.
- Select individual files: If you only want to download specific files, such as certain tracks from a music CD, simply click on the file(s) you wish to download. You can select multiple files by holding down the “Ctrl” key (Windows) or the “Command” key (Mac) while clicking the files.
- Select entire folders: If you want to download all the files within a folder, click on the folder itself to highlight it. Typically, folders are denoted by a folder icon and have a name associated with them. Once selected, all the files within the folder will be included in the download.
- Review your selection: Before proceeding to the next step, double-check your selection to ensure you’ve chosen the correct files. This will help avoid any unnecessary downloads or missing files later on.
Once you’ve selected the files you want to download, move on to the next step: choosing a folder on your computer to save the downloaded files.
Step 5: Choose a folder to save the files to
Now that you have selected the files you wish to download from the CD, it’s time to choose a folder on your computer where you want to save these files. Follow these simple steps to choose a folder:
- Create a new folder (optional): If you prefer to create a new folder specifically for these downloaded files, you can do so by right-clicking in the location where you want to create the folder. Then, select “New Folder” from the menu that appears and give the folder a suitable name.
- Navigate to the desired folder: Using File Explorer (Windows) or Finder (Mac), navigate to the location where you want to save the downloaded files. This can be a specific folder or the desktop for easier access.
- Select the folder: Once you have reached the desired location, click on the folder to highlight it. This will indicate that any downloaded files will be saved within this selected folder.
Choosing a dedicated folder ensures that the downloaded files are organized and easily accessible. Additionally, it helps prevent any confusion or clutter on your computer. After you have chosen the folder, it’s time to move on to the next step: starting the download process.
Step 6: Start the download
After selecting the desired files and choosing the folder to save them in, it’s time to initiate the download process. Follow these steps to start the download:
- Right-click on the selected files or folder: Place your cursor over the selected files or folder, then right-click (Windows) or control-click (Mac) to open the context menu.
- Select “Copy” from the menu: In the context menu, locate and click on the “Copy” option. This will copy the selected files or folder to your computer’s clipboard.
- Navigate to the folder you selected: Using File Explorer (Windows) or Finder (Mac), navigate to the folder you chose in the previous step. This is the location where you want to save the downloaded files.
- Right-click and select “Paste” from the menu: Once you have reached the desired folder, right-click (Windows) or control-click (Mac) and choose “Paste” from the context menu. This action will initiate the download process, copying the selected files from the CD to your computer.
- Monitor the download progress: Depending on the size of the files and the speed of your computer, the download process may take some time. Keep an eye on the progress bar or any indicators that show the download status. Be patient and avoid interrupting the process.
By following these steps, you will successfully initiate the download process and start copying the selected files from the CD to your computer. Depending on the size and number of files, the duration of the download may vary. Ensure that you have enough storage space on your computer to accommodate the downloaded files. Now that the download is in progress, let’s move on to the next step: waiting for the download to complete.
Step 7: Wait for the download to complete
Once you have started the download process, it’s important to be patient and allow the files to transfer from the CD to your computer. The duration of the download will depend on factors such as the size of the files and the speed of your computer. Follow these tips as you wait for the download to complete:
- Avoid interrupting the download: It’s crucial to refrain from interrupting the download process. Closing the download window or shutting down your computer prematurely can result in incomplete or corrupted files.
- Monitor the progress: Keep an eye on the progress bar or any indicators that show the download status. This will give you an idea of how much time is remaining until the download completes.
- Perform other tasks while waiting: While you wait for the download to finish, you can continue using your computer for other tasks. Just be mindful not to overload your system or engage in activities that may slow down the download process.
- Ensure sufficient power: If you’re using a laptop, make sure that it remains connected to a power source throughout the download. This will prevent the computer from running out of battery and potentially interrupting the download.
Remember, the download process may take some time, especially if you are downloading a large number of files or if the files are of significant size. Be patient and allow the download to complete at its own pace. Once the download is finished, it’s time to move on to the next step: verifying the downloaded files.
Step 8: Verify the downloaded files
Now that the download process is complete, it’s essential to verify the downloaded files to ensure their integrity and accuracy. Follow these steps to verify the downloaded files:
- Open the folder containing the downloaded files: Navigate to the folder where you saved the downloaded files. You can use File Explorer (Windows) or Finder (Mac) to locate and open the folder.
- Compare file names and sizes: Compare the names and sizes of the downloaded files with the original files on the CD. It’s important to ensure that the downloaded files match the corresponding files on the CD. If there are any discrepancies, you may need to re-download or troubleshoot the files.
- Listen to a sample (music CDs): If you have downloaded music files from a CD, listen to a sample of the tracks to confirm that the quality is satisfactory. Play a few seconds of each track to ensure that there are no errors or issues with the playback.
- Check additional digital content (if applicable): Some CDs may contain extra digital content, such as album art, lyrics, or bonus material. Verify that these additional files have been successfully downloaded and are accessible.
By verifying the downloaded files, you can ensure that they have been accurately transferred from the CD to your computer. This step helps to prevent any potential errors or missing files, offering peace of mind that your downloaded content is intact. If you encounter any issues during the verification process, you may need to repeat the download or troubleshoot the problem. Once you have successfully verified the downloaded files, it’s time to proceed to the final step: ejecting the CD from your computer.
Step 9: Eject the CD
After you have completed the download process and verified the downloaded files, it’s time to safely eject the CD from your computer’s CD drive. Follow these simple steps to eject the CD:
- Close any open files: Before ejecting the CD, make sure that you have closed any files or folders that were accessed from the CD. This ensures that none of the files are in use, preventing any potential errors.
- Locate the CD drive: Look for the CD drive icon on your computer screen or the physical location of the CD drive on your computer tower. This may be labeled with the CD’s name or the CD drive letter.
- Eject the CD: On most CD drives, there is a small button located near the tray or slot. Press this button to eject the CD. Alternatively, you can right-click on the CD drive icon on your computer screen and select “Eject” from the context menu.
- Remove the CD: Once the CD is ejected, gently remove it from the CD drive tray or slot. Handle the CD with care to avoid any scratches or damage.
- Store the CD safely: After removing the CD, store it in a safe place to prevent any loss or damage. Consider using a CD case or sleeve to protect it from dust and scratches.
Ejecting the CD marks the final step of the process, indicating that the download is complete and you can now enjoy your downloaded files on your computer. Congratulations! You have successfully downloaded a CD to your computer and can now access and enjoy your favorite songs or other content conveniently.
Conclusion
Downloading a CD to your computer offers a convenient way to access and enjoy your favorite music and other digital content. By following the step-by-step process outlined in this article, you can transfer files from a CD to your computer with ease. Here is a summary of the steps we covered:
- Prepare your computer by ensuring sufficient storage space and connecting a CD drive if necessary.
- Insert the CD into the CD drive of your computer.
- Open the CD on your computer using File Explorer or Finder.
- Select the files or folders you want to download from the CD.
- Choose a folder on your computer to save the downloaded files.
- Start the download by copying the selected files to your computer’s chosen folder.
- Wait for the download to complete, ensuring a stable power source and avoiding interruptions.
- Verify the downloaded files by comparing names, sizes, and checking for any additional content.
- Eject the CD safely from your computer’s CD drive.
By following these steps, you can successfully download a CD to your computer and enjoy your music or other digital content anytime, anywhere. Remember to keep your downloaded files organized and properly backed up to prevent any loss or accidental deletion. With your favorite music at your fingertips, you’re ready to embark on an incredible audio journey right from your computer.