Introduction
Want to transfer your favorite music collection from a CD to your computer? Whether you’re looking to create digital backups of your CDs or simply want to listen to your music library on your computer or portable devices, downloading a CD to your computer is a convenient and straightforward process.
In this guide, we will walk you through the step-by-step process of downloading a CD to your computer. With just a few clicks, you’ll be able to enjoy your music tracks in digital format, ready to be accessed anytime and anywhere.
Before we delve into the specific steps, it’s important to understand that downloading a CD to your computer involves copying the audio files from the CD and converting them into a format compatible with your computer’s media player. This allows you to play the tracks on your computer or transfer them to other devices, such as smartphones or MP3 players.
While the process may vary slightly depending on the operating system you are using, the basic steps remain the same. In this guide, we will focus on the general procedure that applies to both Windows and Mac computers.
So, if you’re ready to unlock your music collection and take it with you wherever you go, let’s get started with downloading a CD to your computer!
Step 1: Prepare Your Computer
Before you start the process of downloading a CD to your computer, it’s important to ensure that your computer is ready for the task. Here are a few things you should do to properly prepare your computer:
- Check Software Compatibility: Verify that your computer has a compatible media player installed. Windows computers typically come with Windows Media Player, while Mac computers have iTunes as the default media player. If you prefer a different media player, ensure it supports CD ripping functionality.
- Clear Storage Space: Make sure you have enough free space on your computer’s hard drive to accommodate the audio files you will be downloading from the CD. CDs can hold anywhere from 650 to 800 megabytes of data, so ensure you have sufficient storage space available.
- Connect External CD Drive (If Necessary): If your computer doesn’t have a built-in CD drive, you will need to connect an external CD drive to read the disc. Simply connect the drive to your computer via USB, and it should be recognized automatically.
- Ensure a Stable Internet Connection: While downloading the audio files from the CD doesn’t require an internet connection, it’s always a good idea to have a stable internet connection available. This is especially important if you plan to look up track information or album artwork during the download process.
By preparing your computer in advance, you’ll have a smooth and hassle-free experience when it comes time to download the music from your CD. Once you’ve completed these preliminary steps, you’re ready to move on to the next step, which is inserting the CD into your computer’s CD drive.
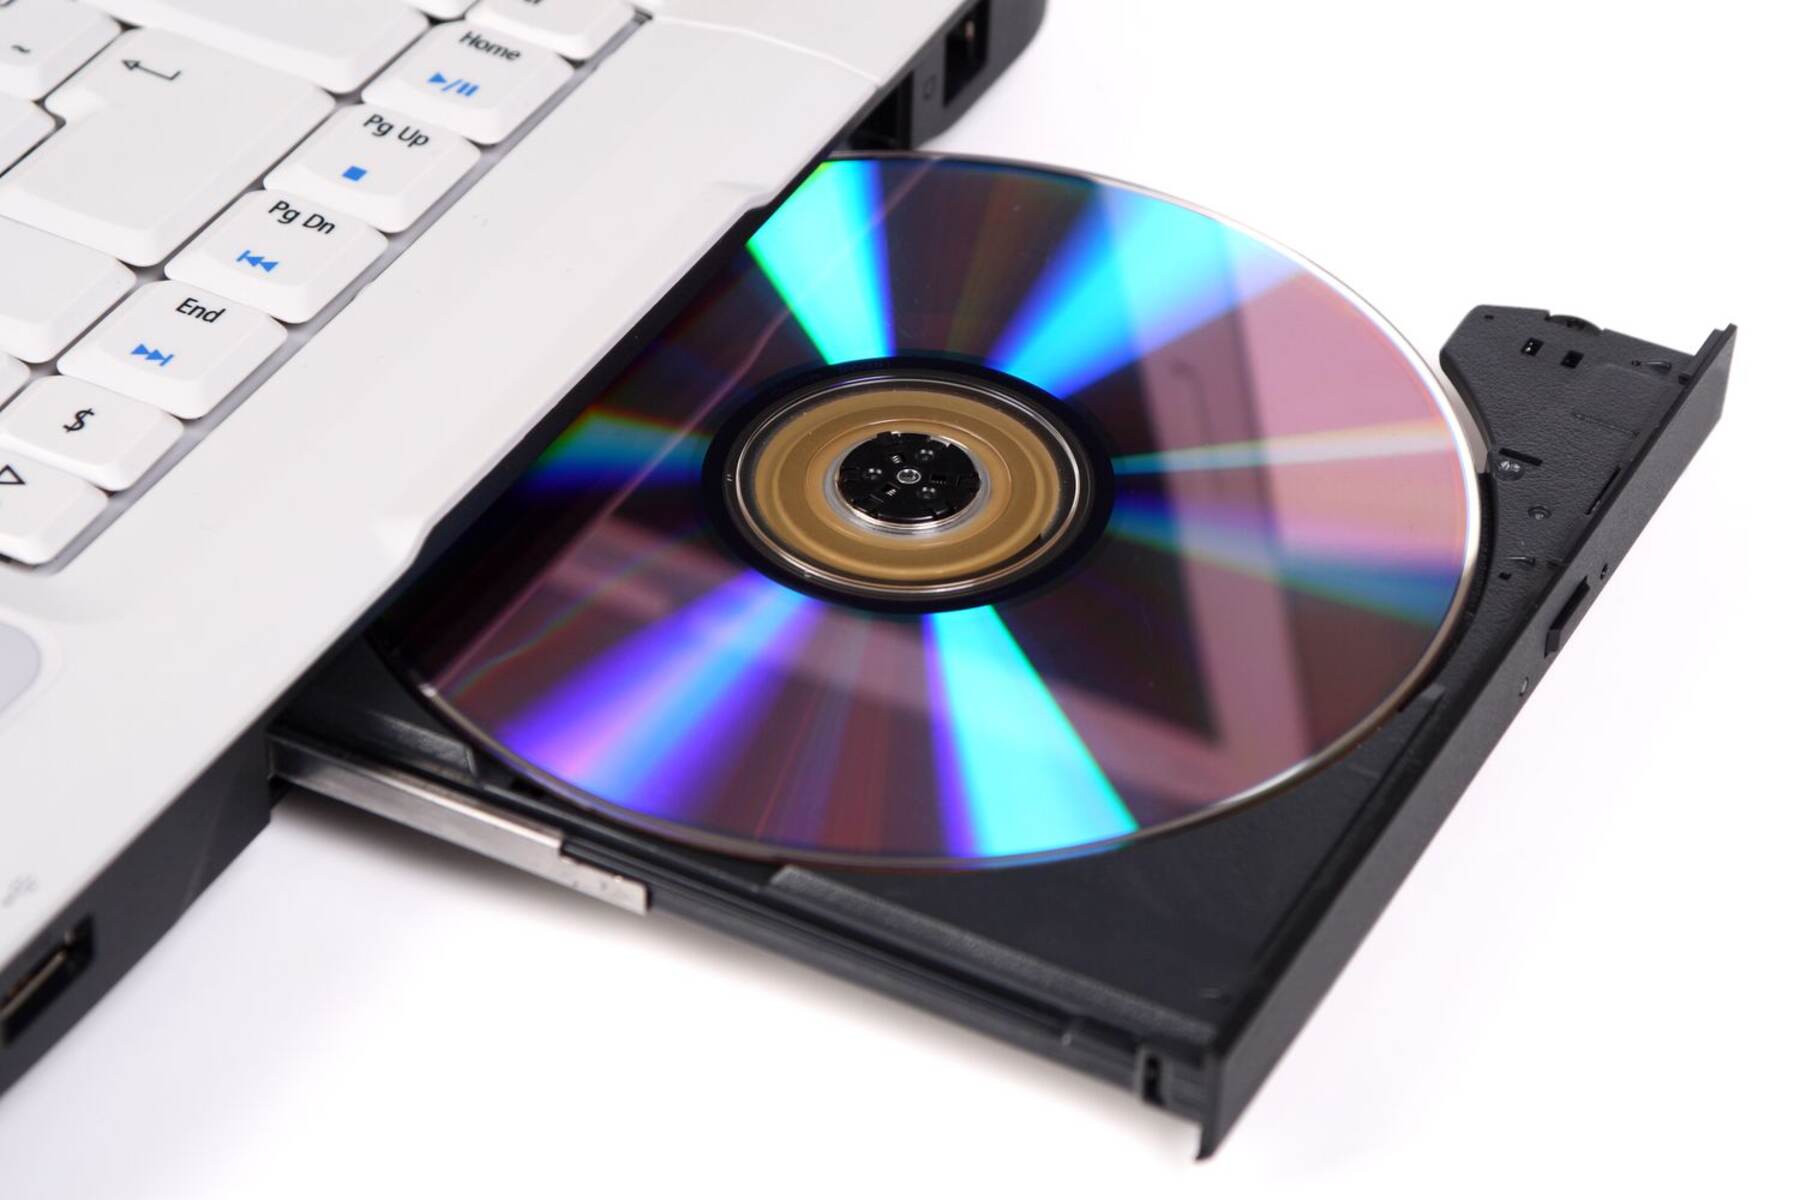
Step 2: Insert the CD
Now that your computer is prepared, it’s time to insert the CD that you want to download into your computer’s CD drive. Here’s how you can do it:
- Locate the CD Drive: Depending on your computer’s design, the CD drive may be located on the front or side of your computer. Look for a slot or a tray that can accommodate the CD.
- Open the CD Drive: If your CD drive has a tray, press the eject button to open it. If your computer has a slot-loading CD drive, simply insert the CD into the designated slot.
- Insert the CD: Carefully place the CD into the CD drive, ensuring that the label side (the side with the printed information) is facing upwards. Push the CD gently until it is fully inserted into the drive.
At this point, your computer should recognize the CD and display the name of the album or a list of the tracks. If a media player automatically opens and starts playing the CD, you can close it for now. We’ll move on to the next step, where you’ll have the opportunity to choose which files from the CD you want to download.
Remember that handling CDs requires attention and care. Avoid touching the shiny surface of the CD to prevent fingerprints or scratches that could interfere with playback quality. Once the CD is inserted successfully, you’re all set to proceed to the next step.
Step 3: Choose the Files to Download
Now that you have inserted the CD into your computer’s CD drive, it’s time to choose which files you want to download. This step allows you to select specific tracks or albums from the CD, giving you more control over the downloading process. Follow these steps to choose the files:
- Open Your Media Player: Launch the media player software that you have on your computer, such as Windows Media Player or iTunes. The media player should automatically recognize the CD and display the list of tracks.
- Select Individual Tracks: If you only want to download specific tracks from the CD, you can manually select the ones you want. Click on the checkboxes next to the desired tracks to mark them for download. You may find an option to select all tracks if you wish to download the entire CD.
- Select Full Albums: If you prefer to download complete albums rather than individual tracks, look for an album selection option. This allows you to choose entire albums worth of music with just a few clicks.
Take your time to explore the features and options of your media player as different software may have variations in the selection process. Additionally, some media players automatically select all tracks on the CD by default, so make sure you review and adjust the selection according to your preferences.
Once you’ve made your selections, you’re ready to move on to the next step, where you will choose the destination folder for the downloaded files. This is where the tracks will be saved on your computer for future access.
Step 4: Select the Destination Folder
After choosing the files you want to download from the CD, it’s time to select the destination folder where the downloaded files will be stored on your computer. This allows you to organize your music collection and easily locate your downloaded tracks. Follow these steps to select the destination folder:
- Browse for Target Folder: Most media players have a default destination folder where downloaded files are saved. However, you can customize this location according to your preferences. Look for the options or preferences menu in your media player to locate the folder settings.
- Check Default Folder: If you’re satisfied with the default folder location, you can proceed with the downloading process. However, if you prefer a different folder, click on the “Browse” or “Change” button to explore your computer’s directory and select a new folder location.
- Create a New Folder (Optional): If you want to create a new folder specifically for the downloaded files, select the desired parent directory, then click on the “New Folder” button. Give the folder a descriptive name to make it easier to identify later.
- Confirm Folder Selection: Once you’ve chosen the destination folder or created a new one, confirm your selection by clicking “OK” or “Select Folder” (the wording may vary depending on your media player).
By selecting a specific destination folder, you can maintain a well-organized music library on your computer. This makes it easier to locate and manage your downloaded tracks, especially if you have a vast collection of music albums.
Now that you’ve chosen the destination folder, you’re ready to move on to the next step, where you will start the downloading process and convert the audio files from the CD into a compatible format for your computer.
Step 5: Start the Downloading Process
With the destination folder selected, it’s time to begin the downloading process and convert the audio files from the CD into a format that your computer can understand and play. Follow these steps to start downloading the files:
- Find the Download Button: Look for a “Download” or “Rip” button in your media player. It is usually located near the top of the interface, labeled with an icon that resembles a downward arrow or a ripping symbol.
- Configure Download Settings: Before initiating the download, take a moment to review and configure the download settings. This may include choosing the file format (such as MP3 or AAC), the audio quality, and additional options like including track info or album artwork.
- Start the Download: Once you’ve adjusted the download settings, click on the “Download” or “Rip” button to start the process. The media player will begin converting the selected audio files from the CD and saving them to the destination folder on your computer.
- Monitor the Progress: Depending on the number of tracks and the speed of your computer, the downloading process may take a few minutes or longer. Monitor the progress bar or indicator in your media player to keep track of how many files have been successfully downloaded.
- Wait for Completion: Allow the media player to complete the downloading process. Avoid using other resource-intensive applications or ejecting the CD during this time to ensure a seamless and error-free conversion.
Once the download is complete, you’ll have a digital copy of the CD’s audio files stored in your selected destination folder. These files can now be played on your computer or transferred to other devices for enjoyment.
Now that you’ve started the downloading process, you’re one step closer to having your CD’s music available in digital format. In the next step, we’ll discuss how to check the downloaded files and ensure their completeness and quality.
Step 6: Check the Downloaded Files
After the downloading process is complete, it’s important to check the downloaded files to ensure their accuracy and quality. This step allows you to confirm that all the tracks have been successfully converted and saved to your computer. Follow these steps to check the downloaded files:
- Open the Destination Folder: Navigate to the destination folder where you saved the downloaded files. You can usually access it through the media player’s library or by directly opening the folder on your computer.
- Verify File Names and Extensions: Check the file names to make sure they correspond to the tracks you selected from the CD. Additionally, confirm that the file extensions are in the expected format, such as .mp3, .m4a, or .wav.
- Review Files’ Metadata: Right-click on one of the downloaded files and select “Properties” or a similar option. This will allow you to view the file’s metadata, including the track name, artist, album, and other details. Ensure that the metadata matches the information from the CD.
- Play the Downloaded Files: Double-click on one of the downloaded files to play it. Listen to a few seconds of each track to verify that they play correctly and sound as expected. This will help ensure that there are no issues with the downloaded files.
- Check for Missing or Corrupted Files: If any of the tracks are missing or seem to be corrupted, it’s best to re-download them from the CD. This could indicate an issue during the initial download process or a problem with the CD itself.
By checking the downloaded files, you can catch any potential errors or issues early on. This allows you to take the necessary steps to rectify the situation and ensure that your music collection is complete and of high quality.
Once you’ve confirmed the accuracy and integrity of the downloaded files, you can proceed to the final step where we discuss safely ejecting the CD from your computer’s CD drive.
Step 7: Safely Eject the CD
After you have checked and verified the downloaded files, it’s important to safely eject the CD from your computer’s CD drive. Safely ejecting the CD ensures that no damage or data loss occurs during the removal process. Follow these steps to safely eject the CD:
- Pause or Stop Playback: If your media player is still playing the tracks from the CD, pause or stop playback to prevent any interference during the ejection process.
- Locate the Eject Button: Look for an eject button on your computer’s CD drive or within the media player software. The eject button is usually depicted as a triangle pointing upwards or a button labeled “Eject.”
- Press the Eject Button: Press the eject button once to initiate the ejection process. The CD drive will open, allowing you to safely remove the CD.
- Remove the CD Carefully: Gently grasp the edges of the CD and carefully pull it out of the CD drive. Avoid applying excessive force or scratching the surface of the CD.
- Close the CD Drive: After removing the CD, press the eject button again or manually close the CD drive to prevent dust or debris from entering the drive.
By following these steps, you can ensure that the CD is safely ejected from your computer without causing any damage to the CD drive or the CD itself. Remember to handle CDs with care and store them in protective cases to maintain their longevity.
Congratulations! You’ve successfully downloaded the CD to your computer, checked the downloaded files, and safely ejected the CD. You now have a digital copy of your favorite music tracks ready to be enjoyed on your computer or transferred to your preferred devices.
Enjoy your digital music collection and happy listening!
Conclusion
Downloading a CD to your computer is a simple yet rewarding process that allows you to enjoy your favorite music tracks in digital format. By following the steps outlined in this guide, you can easily transfer your CD collection to your computer and have your music library readily accessible.
We began by preparing your computer, ensuring that you have the necessary software, storage space, and a stable internet connection. Next, we covered the steps to insert the CD into your computer’s CD drive, choose the specific tracks or albums you want to download, and select the destination folder for the downloaded files.
Once the setup was complete, we moved on to the downloading process itself. We guided you on how to initiate the download, configure the settings, monitor the progress, and wait for the completion of the conversion. After ensuring the accuracy and quality of the downloaded files, we discussed the importance of safely ejecting the CD from your computer.
By following these steps, you can successfully download CDs to your computer and build a digital music library that can be enjoyed anytime and anywhere. Whether you want to listen to your favorite tracks on your computer, transfer them to your portable devices, or create backup copies of your CDs, downloading them to your computer is a convenient and efficient method.
Remember to handle CDs with care, maintain a well-organized music library, and regularly backup your downloaded files to ensure their safety. With your music collection now digitized, you have the flexibility to create playlists, shuffle tracks, and enjoy your music library in new and exciting ways.
So go ahead, start downloading your CDs to your computer, and embrace the digital music era. Enjoy the convenience, accessibility, and endless possibilities that come with having your favorite songs just a click away!