Introduction
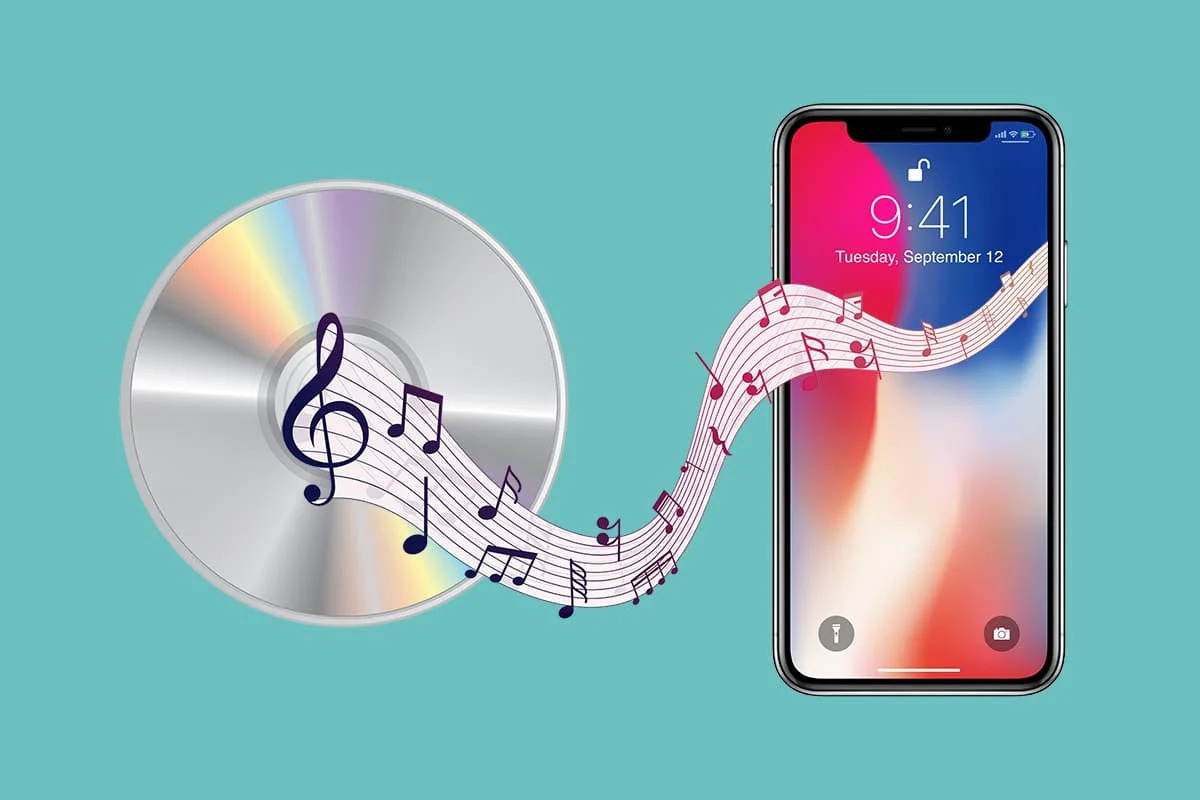
Are you a music enthusiast looking to enjoy your favorite CDs on your iPhone? Look no further – here we will guide you on how to download CDs to your iPhone in just a few simple steps. Whether you prefer using iTunes or exploring third-party apps, we have you covered!
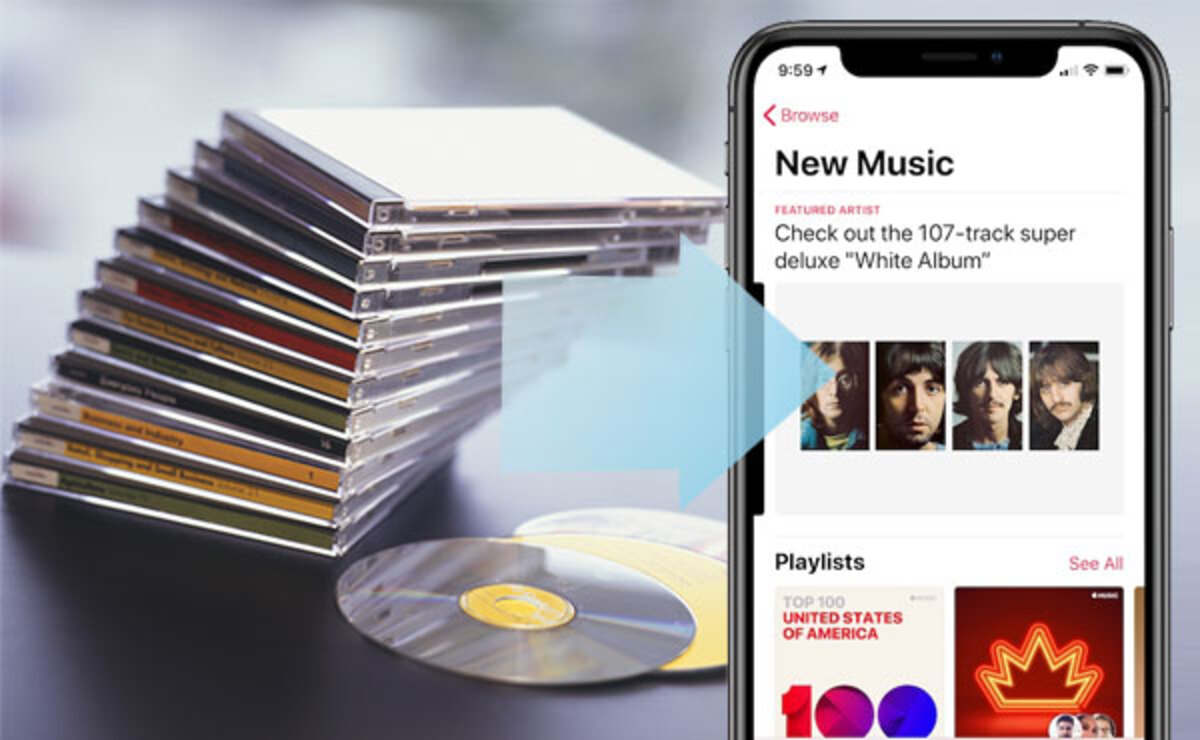
Listening to music stored on CDs has its charm and personal touch. However, with the advancements in technology, many people now prefer to have their music readily available on their mobile devices. With your iPhone, you can create a digital music library that can be accessed anytime and anywhere.
In this guide, we will first show you how to import your CDs into iTunes, Apple’s default media player. Then, we will walk you through transferring the music from iTunes to your iPhone. For those who wish to explore alternative options, we will also discuss using third-party apps to download CDs directly to your iPhone.
While the process may seem daunting at first, rest assured that it is relatively straightforward. Once you’ve followed these steps, you’ll be able to listen to your favorite albums on your iPhone with ease, whether you’re on the go or relaxing at home.
So, let’s dive into the instructions and get your CDs downloaded onto your iPhone in no time!
Step 1: Importing CDs to iTunes
The first step in downloading CDs to your iPhone is to import them into iTunes. iTunes is a media player and library management software developed by Apple, which also allows you to sync and transfer your media to your iPhone.
Here’s how to import your CDs into iTunes:
- Open iTunes on your computer. If you don’t have iTunes installed, you can download it from the Apple website.
- Insert your CD into your computer’s CD drive. iTunes should automatically detect the CD and display it in the upper-left corner of the iTunes window.
- If iTunes doesn’t automatically open the CD, click on the CD icon in the upper-left corner of the iTunes window. This will open the CD info page.
- Review the CD information, including the album name and track list. If necessary, you can make edits to the information by clicking on the fields and entering the correct details.
- Choose your import settings. In the CD info page, you’ll find an “Import Settings” button. Click on it to open the import settings menu.
- In the import settings menu, you can choose the format for your imported music. The most common format is AAC, which provides high-quality audio while conserving storage space. You can also choose to import the songs in MP3 format if desired.
- Once you’ve selected your preferred import settings, click the “OK” button to save the changes.
- Back on the CD info page, click the “Import CD” button. This will begin the process of importing the CD’s audio tracks into your iTunes library.
- Wait for the import process to complete. The time it takes will depend on the length of the CD and the speed of your computer. You can monitor the progress at the top of the iTunes window.
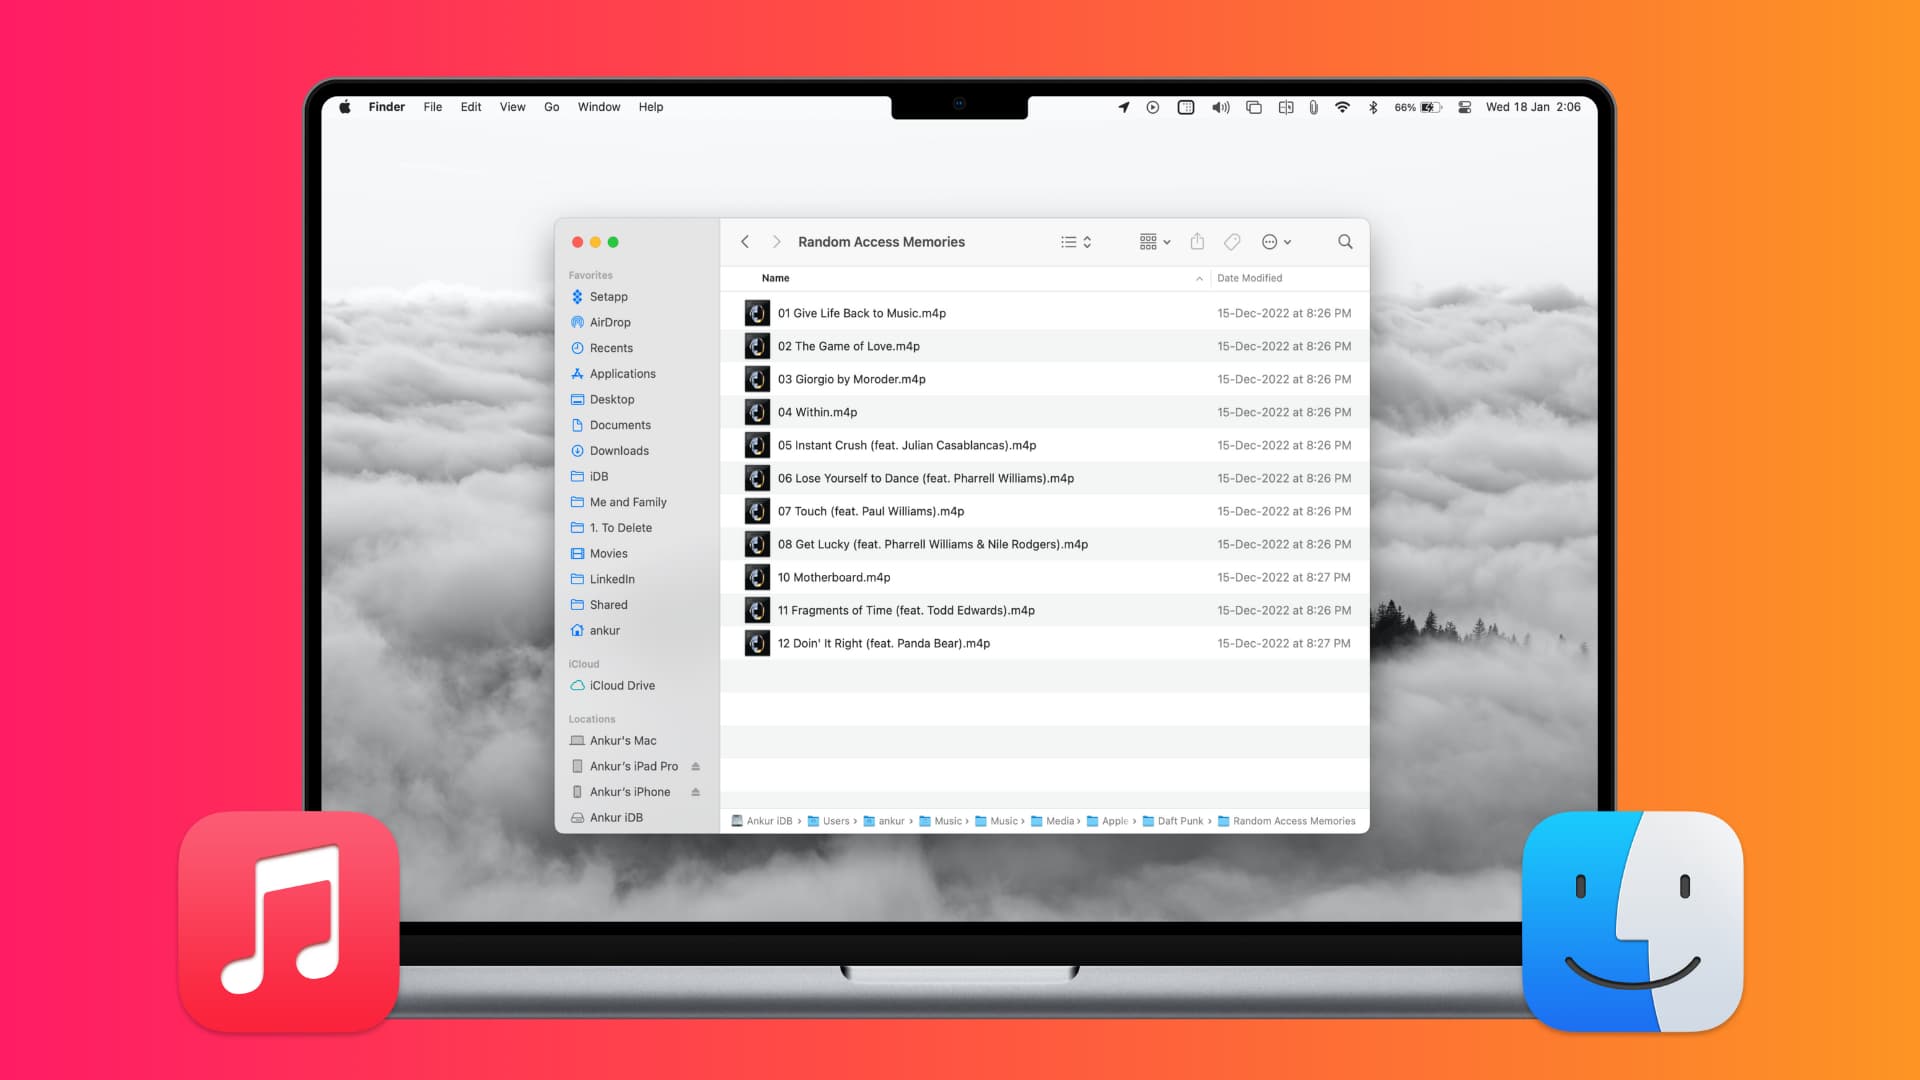
- Once the import is finished, the CD will appear in your iTunes library. You can now eject the CD from the CD drive.
Now that you’ve successfully imported your CD into iTunes, you’re ready to transfer the music to your iPhone. In the next step, we’ll guide you through the process of syncing your iPhone with iTunes to enjoy your favorite music on the go.
Step 2: Transferring Music from iTunes to iPhone
Now that you have imported your CDs into iTunes, the next step is to transfer the music from iTunes to your iPhone. This process allows you to sync your iTunes library with your iPhone, ensuring that your favorite tracks are readily available for listening.
Here’s how you can transfer music from iTunes to your iPhone:
- Connect your iPhone to your computer using the USB cable that came with it. iTunes will automatically recognize your device and display it in the top-left corner of the iTunes window.
- Click on the iPhone icon to access the device’s summary page. This page provides an overview of your iPhone’s settings and information.
- In the left sidebar, click on “Music” to access the music settings for your iPhone.
- In the main window, you’ll find various options to manage your music. You can choose to sync your entire music library or select specific playlists, artists, or albums. If you want to manually manage your music, you can enable the “Manually manage music and videos” option.
- Select your preferred music syncing option. If you’re syncing your entire music library, click on the checkbox next to “Sync Music.” If you want to choose specific playlists, artists, or albums, select those options instead.
- Once you’ve made your selection, click the “Apply” or “Sync” button at the bottom-right corner of the iTunes window. This will initiate the syncing process and transfer the selected music from iTunes to your iPhone.
- Wait for the syncing process to complete. The time it takes will depend on the amount of music being transferred. You can monitor the progress at the top of the iTunes window. Ensure that you keep your iPhone connected to your computer until the sync is finished.
- Once the syncing is complete, you can disconnect your iPhone from your computer. Your music will now be available on your iPhone’s Music app.
- Navigate to the Music app on your iPhone and start enjoying your favorite tracks from your iTunes library. You can organize your music by playlists, albums, artists, or songs for easy access.
Congratulations! You have successfully transferred your music from iTunes to your iPhone. Now you can listen to your favorite tunes wherever you go.
Step 3: Using Third-Party Apps to Download CDs to iPhone
In addition to iTunes, there are various third-party apps available that allow you to directly download CDs onto your iPhone. These apps provide an alternative method for enjoying your music without the need for a computer. Here’s how you can use third-party apps to download CDs to your iPhone:
- Search for and install a reliable third-party app from the App Store that supports CD downloads. Some popular apps include iDownloader, Evermusic, and VLC.
- Launch the app on your iPhone once it’s successfully installed.
- Insert the CD that you want to download onto your iPhone into an external CD drive, if needed. Some third-party apps may support direct CD ripping using the iPhone’s built-in camera, eliminating the need for an external CD drive.
- Within the app, locate the “CD Download” or “Import From CD” option. The exact location may vary depending on the app you’re using.
- Follow the on-screen prompts to import the songs from the CD into the app. The app may automatically detect and display the CD information, including the album name and track list.
- If prompted, choose your preferred audio format for the downloaded songs. Most apps offer the option to download music in formats like MP3 or AAC.
- Allow the app to complete the CD ripping process, which may take some time depending on the length of the CD and the app’s processing capabilities.
- Once the CD downloading process is finished, the songs will be available within the app’s library.
- You can now play and listen to the songs directly from the app. Some apps may even offer additional features such as creating playlists, organizing music by artists or albums, or even offline playback.
Using third-party apps to download CDs onto your iPhone provides flexibility and convenience, especially if you don’t have access to a computer or prefer a more streamlined approach to importing your music directly onto your device.
Remember to explore different apps and read user reviews to find one that suits your needs and offers reliable and efficient CD downloading capabilities.
With the help of these third-party apps, you can enjoy your favorite CDs on your iPhone without the need for computer involvement.
Conclusion
Congratulations! You have now learned how to download CDs to your iPhone. Whether you choose to use iTunes or explore third-party apps, you now have the ability to enjoy your favorite music on your iPhone, anytime and anywhere.
By following the simple steps outlined in this guide, you can import your CDs into iTunes, transfer the music to your iPhone, or use third-party apps to directly download CDs onto your device. Each method offers its own advantages, allowing you to choose the option that best suits your preferences and circumstances.
Remember to keep your iTunes library and iPhone synced to ensure that your music stays up to date and accessible. Additionally, regularly explore the App Store for new and innovative third-party apps, as they may offer added features and functionality beyond CD downloading.
Now that you have successfully downloaded your CDs to your iPhone, you can enjoy all your favorite songs on the go, whether you’re commuting, exercising, or simply relaxing. Immerse yourself in the music that moves you and enhances your daily experiences.
Feel free to revisit this guide whenever you need a refresher on the process, or share it with others who may benefit from downloading their CDs onto their iPhones.
Happy listening!