Introduction
Welcome to the digital age, where CDs are becoming a thing of the past and everything is going digital. However, if you’re nostalgic for those classic albums or have a rare CD that you want to enjoy on your iPhone, you’re in luck! In this guide, we will walk you through the steps to download a CD to your iPhone, allowing you to listen to your favorite tunes whenever and wherever you like.
Downloading a CD to your iPhone may seem like a daunting task, especially if you’re not familiar with the technicalities involved. But fear not! We’ve simplified the process into easy-to-follow steps that even the least tech-savvy individuals can accomplish. By the end of this guide, you’ll be rocking out to your favorite CD tracks on your iPhone.
To download a CD to your iPhone, you’ll need a few things. First and foremost, you’ll need your iPhone, of course. Make sure it has sufficient storage space to accommodate the music from the CD. You’ll also need the CD itself, as well as a computer with iTunes installed. iTunes is a software developed by Apple that allows you to manage and sync your media library on your devices.
In the next steps, we’ll guide you on how to import the CD tracks into iTunes, and then sync them to your iPhone. The process might take some time, depending on the speed of your computer and the size of the CD. So, grab a cup of coffee, sit back, and let’s get started on preserving those cherished CD tracks on your iPhone.
Before we jump straight into the process, it’s important to note that the steps provided in this guide are applicable for Windows and Mac computers. The screenshots and instructions may slightly vary depending on the version of iTunes you have installed, but the overall process remains the same.
Ready to embark on this musical journey? Let’s dive into step one and prepare your iPhone and CD for the downloading process.
Step 1: Prepare Your iPhone and CD
Before you start downloading a CD to your iPhone, you need to ensure that your iPhone and CD are ready for the process. Here are the steps to get them prepared:
- Make sure your iPhone has enough storage space: Before transferring the CD tracks to your iPhone, ensure that you have enough available storage space to accommodate the music files. You can go to Settings on your iPhone and navigate to General > iPhone Storage to check the available space.
- Insert the CD into your computer’s CD drive: Take your CD and carefully insert it into the CD drive on your computer. Depending on your computer, the CD drive might be a built-in component or an external device. Once inserted, your computer should recognize the CD and start reading its contents.
- Launch iTunes on your computer: Open the iTunes application on your computer. If you don’t have iTunes installed, you can download it from the Apple website. iTunes is available for both Windows and Mac operating systems.
- Check iTunes import settings: In iTunes, click on the Edit menu (Windows) or iTunes menu (Mac), and select Preferences. In the Preferences window, go to the General tab and click on the Import Settings button. Here, you can select the audio format for importing CDs. The default is usually set to AAC, which is a good choice for most users. However, if you prefer a different format, such as MP3, you can change it here. Once you’re satisfied with the import settings, click OK to save the changes.
By following these steps, you’ve taken the necessary measures to ensure that your iPhone and CD are ready for the downloading process. In the next step, we’ll guide you on how to import the CD tracks into iTunes, so you can start enjoying your music library on your iPhone. So, let’s move on to step two: importing the CD to iTunes.
Step 2: Import CD to iTunes
Now that you’ve prepared your iPhone and CD, it’s time to import the CD tracks into iTunes. By doing so, you’ll be creating a digital copy of the CD on your computer, which can then be synced to your iPhone. Here’s how you can import the CD to iTunes:
- Ensure that the CD is recognized in iTunes: Once you have launched iTunes on your computer, you should see the CD icon appear in the top-left corner of the iTunes window. If you don’t see the CD icon, make sure the CD is inserted correctly and try refreshing the iTunes window.
- Select the CD tracks you want to import: Click on the CD icon in iTunes to view the tracks on the CD. By default, all the tracks will be selected for import. If you only want to import specific tracks, you can uncheck the ones you don’t need.
- Choose the import settings: At the top of the iTunes window, you’ll find an option called “Import CD”. Click on the arrow next to it to expand the dropdown menu. From this menu, you can choose the import settings for the CD tracks. For most users, the default settings will suffice. However, if you prefer a specific audio format or want to adjust the sound quality, you can customize the settings here.
- Start the CD import process: Once you’ve selected the desired import settings, click on the “Import CD” button. iTunes will now start importing the CD tracks into your iTunes library. The progress of the import will be displayed at the top of the iTunes window.
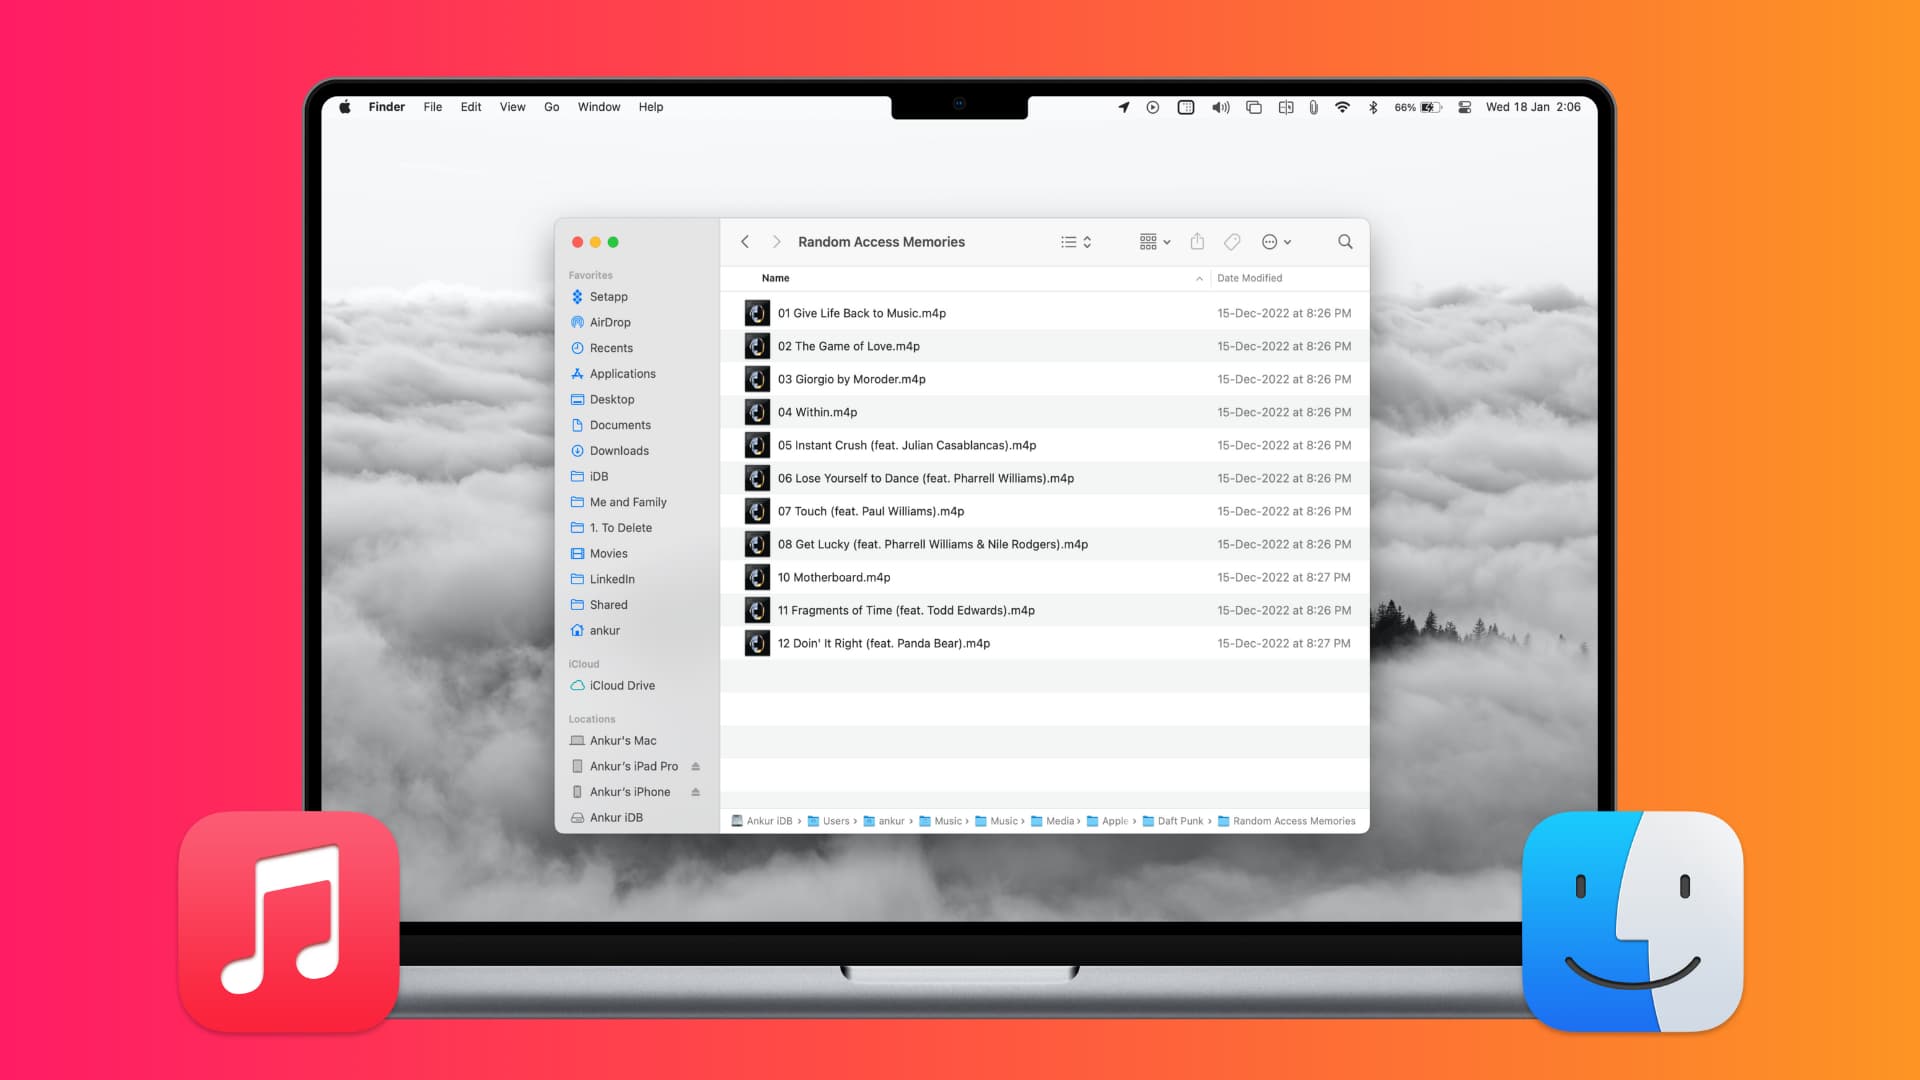
- Verify the CD import: Once the import process is complete, you can verify that the CD tracks have been successfully imported into your iTunes library. You can do this by clicking on “Music” in the top-left corner of the iTunes window and checking the list of songs in your library. The newly imported CD tracks should be listed there.
By following these steps, you’ve successfully imported the CD tracks into your iTunes library. The next step is to connect your iPhone to your computer and sync the music from iTunes to your iPhone. This will allow you to enjoy your CD tracks on the go. So, let’s move on to step three: connecting your iPhone to your computer.
Step 3: Connect Your iPhone to Computer
Now that you have successfully imported the CD tracks into your iTunes library, it’s time to connect your iPhone to your computer. By doing so, you’ll be able to transfer the music from iTunes to your iPhone and enjoy your favorite CD tracks wherever you go. Here are the steps to connect your iPhone to your computer:
- Use the appropriate cable: Depending on your iPhone model, you will need to use either a Lightning cable or a 30-pin dock connector cable to connect your iPhone to your computer. Find the appropriate cable and ensure it is in good condition.
- Connect the iPhone to your computer: Take one end of the cable and plug it into the charging port at the bottom of your iPhone. Then, take the other end of the cable and plug it into a USB port on your computer. Make sure you plug it into a USB port directly on your computer, rather than using a USB hub, as hubs can sometimes have compatibility issues.
- Unlock your iPhone: Once your iPhone is connected to your computer, unlock it by entering your passcode or using Face ID or Touch ID, depending on your iPhone model. You may also need to trust the computer if it’s your first time connecting the iPhone to it.
Once your iPhone is successfully connected to your computer, you’re ready to move on to the next step: syncing the music from iTunes to your iPhone. In the following step, we’ll guide you through the process of syncing the CD tracks to your iPhone, ensuring that you can enjoy your favorite music anytime and anywhere. So, let’s proceed to step four: syncing music to your iPhone.
Step 4: Sync Music to iPhone
Now that your iPhone is connected to your computer, it’s time to sync the music from your iTunes library to your iPhone. By syncing your iPhone, you will transfer the CD tracks you imported into iTunes onto your device, allowing you to listen to your favorite tunes on the go. Here’s how you can sync music to your iPhone:
- Select your iPhone in iTunes: In the top-left corner of the iTunes window, you’ll find an iPhone icon. Click on it to select your iPhone. This will bring up the Summary page for your device, displaying information about your iPhone.
- Navigate to the Music tab: On the left-hand side of the iTunes window, you’ll see different tabs such as Summary, Music, Movies, etc. Click on the “Music” tab to access the music syncing options.
- Choose the music you want to sync: In the Music tab, you’ll find various options for syncing music to your iPhone. You can choose to sync your entire music library or select specific playlists, albums, artists, or genres. If you want to sync the CD tracks specifically, make sure the box next to “Sync Music” is checked and select the appropriate options.
- Start the syncing process: Once you’ve chosen your desired music syncing options, click on the “Apply” or “Sync” button at the bottom-right corner of the iTunes window. iTunes will now start syncing the selected music from your library to your iPhone. The progress will be displayed on the top of the iTunes window.
- Wait for the sync to complete: The syncing process may take some time, depending on the amount of music you’re syncing and the speed of your computer. Make sure not to disconnect your iPhone until the syncing is complete to avoid any data loss or errors.
Once the syncing process is finished, the CD tracks you imported into iTunes will be transferred to your iPhone. You can disconnect your iPhone from your computer and start enjoying your favorite CD tracks wherever you go. In the next step, we’ll talk about how you can access and enjoy the CD tracks on your iPhone. So, let’s move on to step five: enjoying your CD on your iPhone.
Step 5: Enjoy Your CD on iPhone
Congratulations! You have successfully synced the CD tracks from your iTunes library to your iPhone. Now it’s time to sit back, relax, and enjoy your favorite CD on your iPhone wherever you go. Here’s how you can access and enjoy your CD tracks on your iPhone:
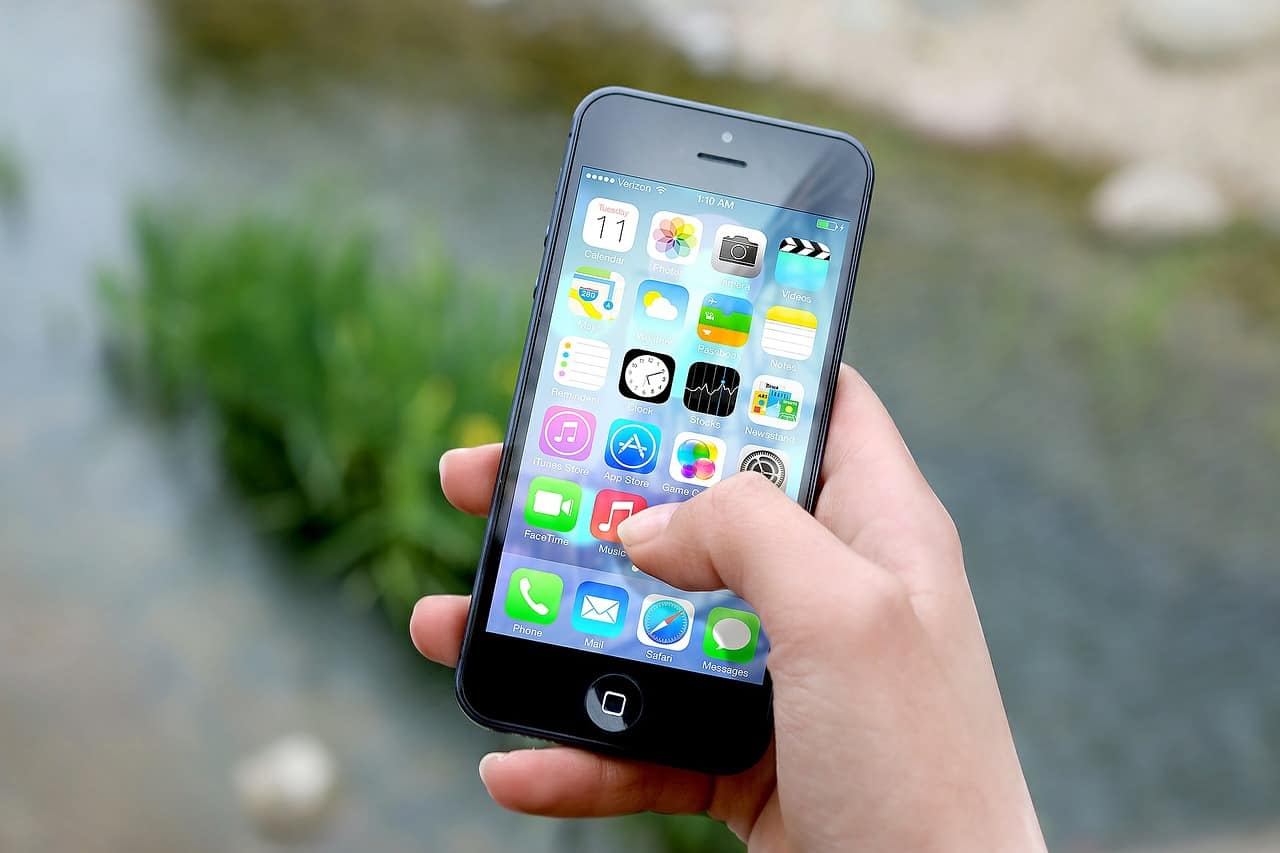
- Open the Music app: On your iPhone, find and tap the Music app icon, which looks like a musical note on a white background. This will open the Music app, where you can access your music library.
- Navigate to your music library: In the Music app, you’ll see various tabs at the bottom, including Library, For You, Browse, and Radio. Tap on the “Library” tab to access your personal music library.
- Find your CD tracks: In the Library tab, you’ll find different categories such as Songs, Artists, Albums, and more. Depending on how you synced your music, you can navigate through these categories to find the CD tracks you imported. You can search for specific songs or albums using the search bar at the top of the screen.
- Play your CD tracks: Once you locate the CD tracks in your music library, you can simply tap on a track to start playing it. You can control playback using the buttons at the bottom of the screen, including play/pause, skip forward/backward, and volume control.
- Create playlists and personalize your listening experience: To enhance your listening experience, you can create playlists in the Music app to group your favorite CD tracks together. You can also explore other features, such as shuffle mode, repeat mode, and personalized recommendations based on your listening preferences.
With your CD tracks now accessible on your iPhone, you can enjoy your favorite music anytime and anywhere. Whether you’re commuting, working out, or simply relaxing at home, your iPhone allows you to carry your cherished CD tunes with you. So grab your headphones, select your favorite CD tracks, and immerse yourself in the music you love.
Remember to sync your iPhone with iTunes periodically to add new CD tracks or update your music library. This way, you’ll always have your favorite music at your fingertips. Now that you’ve successfully learned how to download a CD to your iPhone, you can rediscover your music collection in a whole new way. Happy listening!
Conclusion
With the steps outlined in this guide, you have learned how to download a CD to your iPhone and enjoy your favorite music tracks wherever you go. By preparing your iPhone and CD, importing the CD to iTunes, connecting your iPhone to your computer, syncing the music, and finally, enjoying your CD on your iPhone, you have successfully transformed your physical CD into a digital format that is easily accessible on your device.
Downloading a CD to your iPhone may seem complex at first, but with the help of iTunes and the simple steps provided, you can quickly and easily transfer your music library. Whether you’re looking to preserve beloved tracks from an old CD or simply want to enjoy a rare album on your iPhone, this guide has provided you with the necessary knowledge and steps to do so.
Keep in mind that this process can be applied to any CD you want to download to your iPhone. By following the steps mentioned, you can build your personal library of music that caters to your taste and preferences, ensuring that you always have your favorite tunes at your fingertips.
Remember to regularly sync your iPhone with iTunes to add new tracks, update your music library, and keep your music collection up to date. By doing so, you can continue to expand your musical horizons and enjoy a wide range of CDs right on your iPhone.
So, go ahead and start downloading those CDs to your iPhone. Rediscover the joy of listening to your favorite tracks and immerse yourself in the world of music whenever and wherever you please. The possibilities are endless, and your iPhone is now your gateway to a vast collection of music, ready to accompany you on your daily adventures.