Introduction
Welcome to the world of music on your Mac! Whether you’re a music enthusiast or simply looking to expand your music library, downloading music to your Mac can open a world of listening possibilities. With numerous methods available, you can easily access your favorite songs, albums, and artists right from your computer.
In this guide, we will explore various methods to download music to your Mac, catering to different preferences and needs. From downloading tracks from online music platforms to transferring songs from your iPhone, we’ve got you covered. With these techniques, you’ll be able to build a diverse music collection that you can enjoy anytime, even when you’re offline.
Before we dive into the specifics of each method, it’s important to mention that it’s always best to download music legally and respect the rights of artists, musicians, and copyright holders. Many online platforms and services offer paid subscriptions or licensed free music that ensures artists receive proper compensation for their work. We encourage you to support artists and the music industry by using legitimate sources whenever possible.
Now that we have that covered, let’s explore the various methods available for downloading music to your Mac. Whether you prefer to use online platforms, streaming services, or even extract music from CDs, there’s a method that will suit your needs. So, get ready to expand your music collection and enhance your listening experience on your Mac!
Method 1: Downloading music from online music platforms
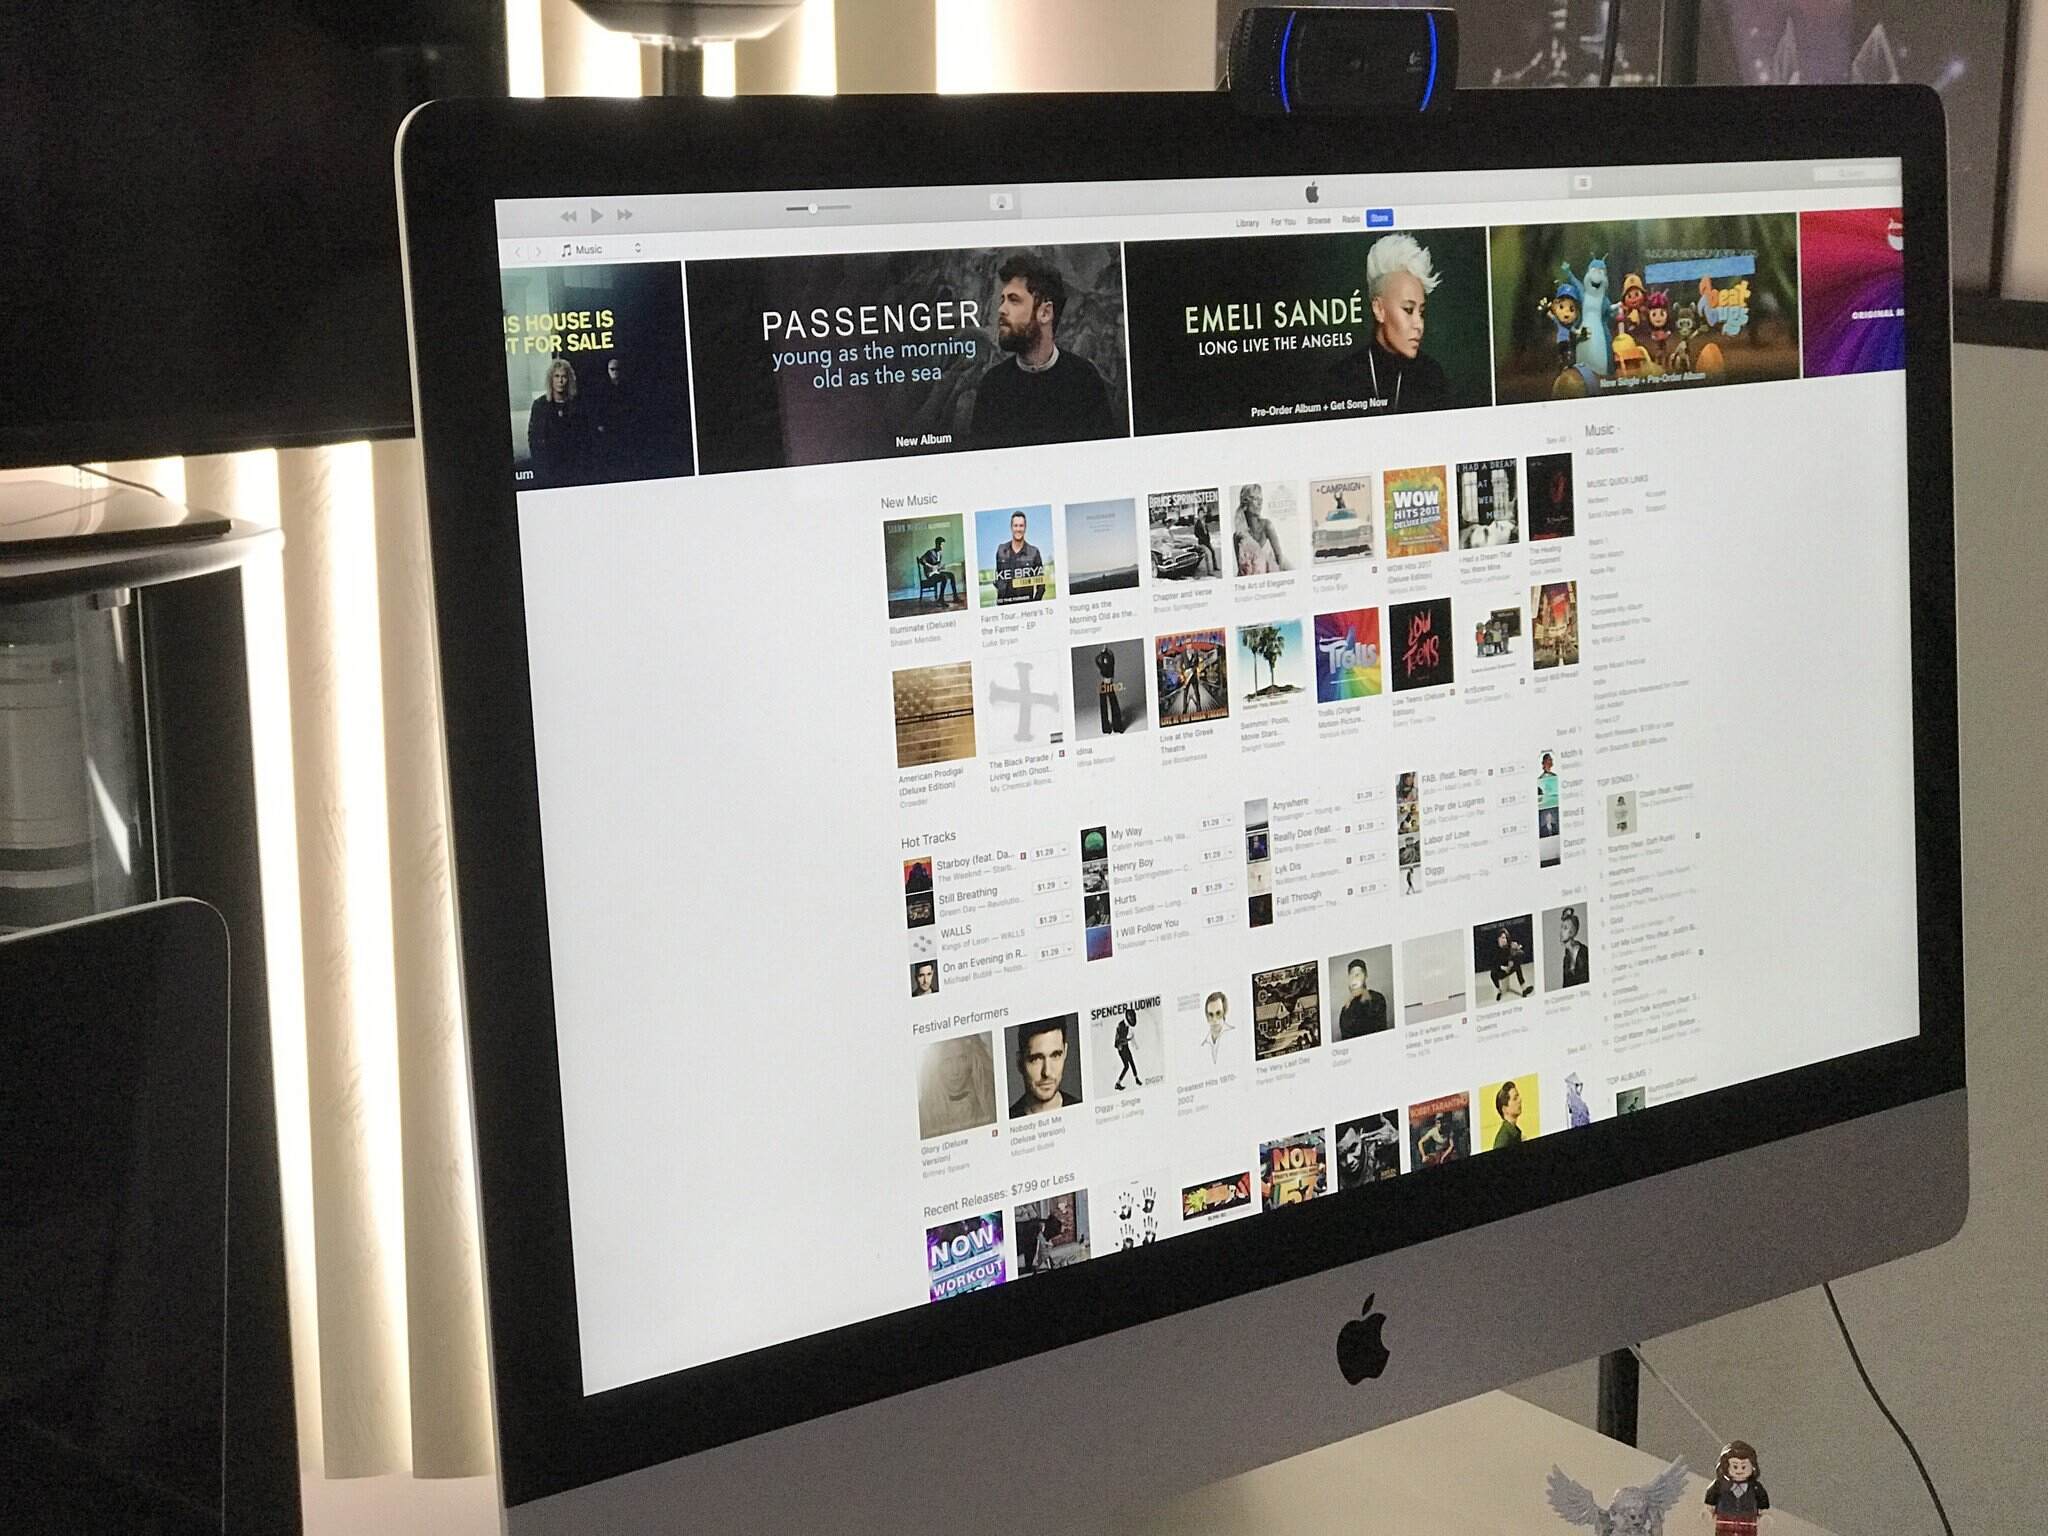
One of the easiest ways to download music to your Mac is by utilizing online music platforms. These platforms offer a vast library of songs from various genres and artists, allowing you to discover new music and download it directly to your computer. Here’s how you can do it:
- Choose a reputable online music platform: Select a platform that suits your preferences and offers a wide selection of music. Popular options include iTunes, Amazon Music, Google Play Music, and Spotify.
- Create an account: Sign up for a free account if available or subscribe to a premium plan to access additional features and benefits.
- Search for your desired music: Use the platform’s search function to find the songs or albums you want to download. You can search by artist name, song title, or genre.
- Select the songs for download: Once you’ve found the music you want, click on the download button or add the songs to your library for offline access. Some platforms may require you to purchase the songs before downloading them.
- Check the downloaded files: After the download is complete, go to your computer’s designated download folder or the platform’s default music folder to locate the files. Ensure that the files are properly downloaded and are in the desired format (MP3, AAC, etc.).
- Transfer the music to your preferred music player: If you have a specific music player on your Mac, such as Apple Music or VLC, you can transfer the downloaded music files to that application for seamless playback.
By utilizing online music platforms, you can easily expand your music library and enjoy your favorite songs offline. Remember to follow the platform’s terms of service and respect copyright laws when downloading music from these platforms.
Method 2: Using music streaming services with offline listening option
If you prefer to stream music rather than download it directly to your Mac, you can take advantage of music streaming services that offer an offline listening option. These services allow you to save songs, albums, or playlists to your device for offline playback, giving you the flexibility to enjoy your favorite music without an internet connection. Here’s how you can use music streaming services for offline listening on your Mac:
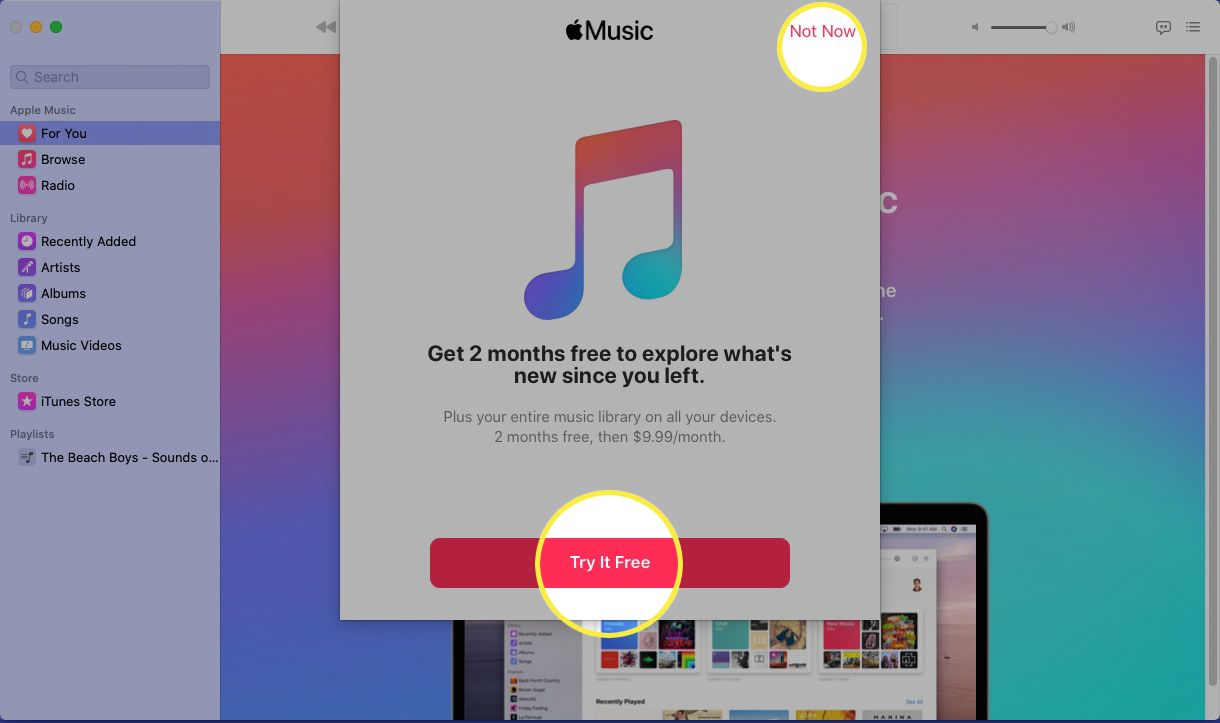
- Choose a music streaming service: Select a reputable music streaming service that offers an offline listening feature. Popular options include Spotify, Apple Music, Tidal, and Amazon Music.
- Sign up for an account: Create a free account or subscribe to a premium plan to access the offline listening feature.
- Install the streaming service application: Download and install the official application for the streaming service on your Mac from the respective website or the Mac App Store.
- Search for your desired music: Use the service’s search function to find the songs, albums, or playlists you want to listen to offline.
- Enable offline mode: Look for the option to save the music for offline listening and enable it. This will download the selected music to your Mac.
- Access your offline music: Once the music has finished downloading, you can access it within the streaming service’s application. Look for a dedicated offline or downloads section.
- Enjoy your music offline: Now, you can listen to your favorite music anytime, even without an internet connection. Open the streaming service application, select your downloaded content, and press play.
Using music streaming services with offline listening options gives you the flexibility to explore a vast collection of music while being able to enjoy it offline. Take advantage of curated playlists, personalized recommendations, and discover new artists without worrying about data consumption or internet connectivity.
Method 3: Transferring music from iPhone or other devices
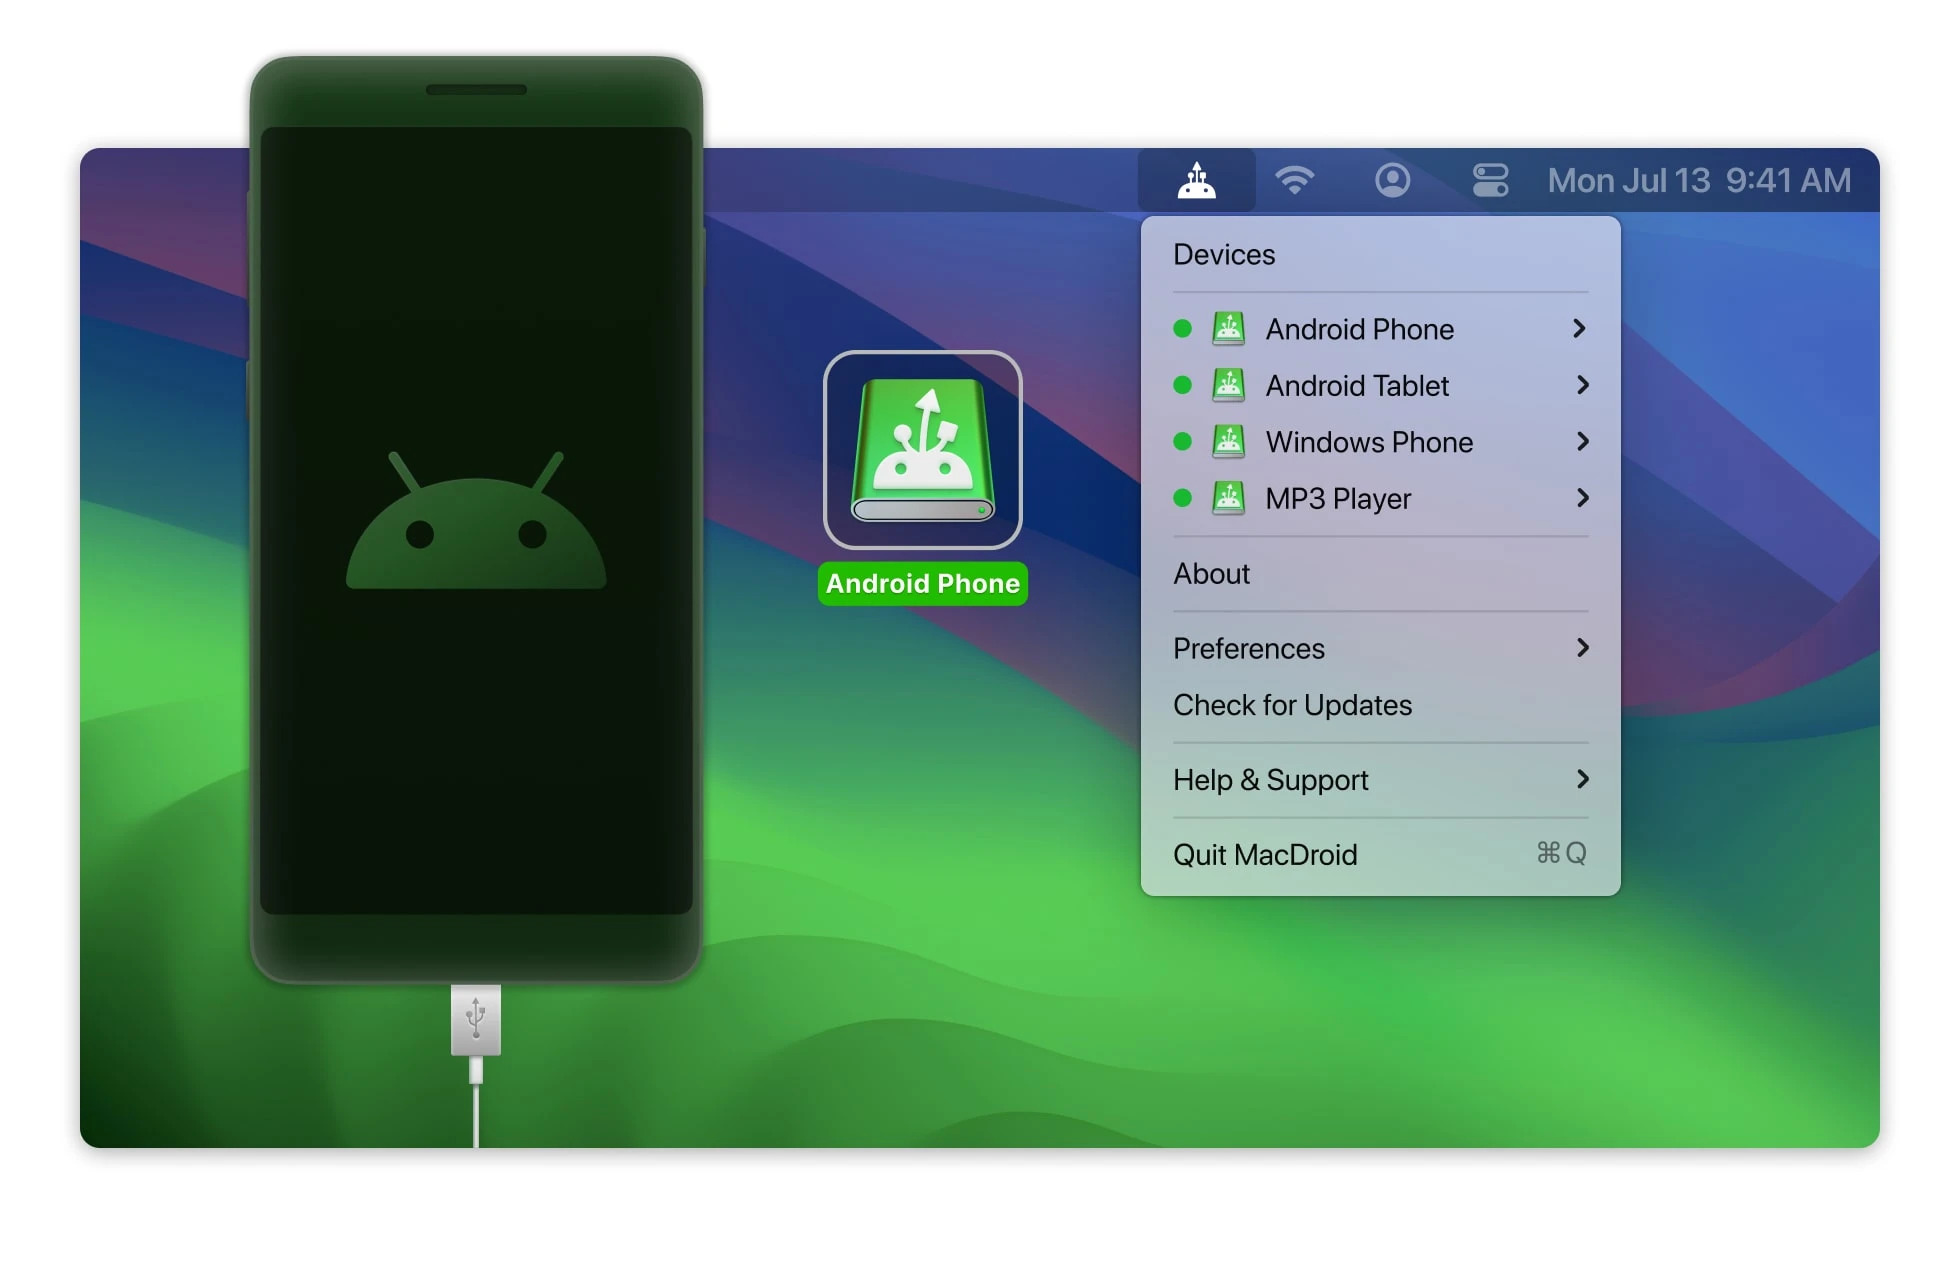
If you have a collection of music on your iPhone or other devices and want to transfer it to your Mac, there are several methods you can use. Transferring music allows you to access your favorite songs on your Mac without the need for an internet connection. Here are some ways to transfer music from your iPhone or other devices to your Mac:
- Connect your device to your Mac: Use a USB cable to connect your iPhone or other device to your Mac. Ensure that both devices are recognized and connected.
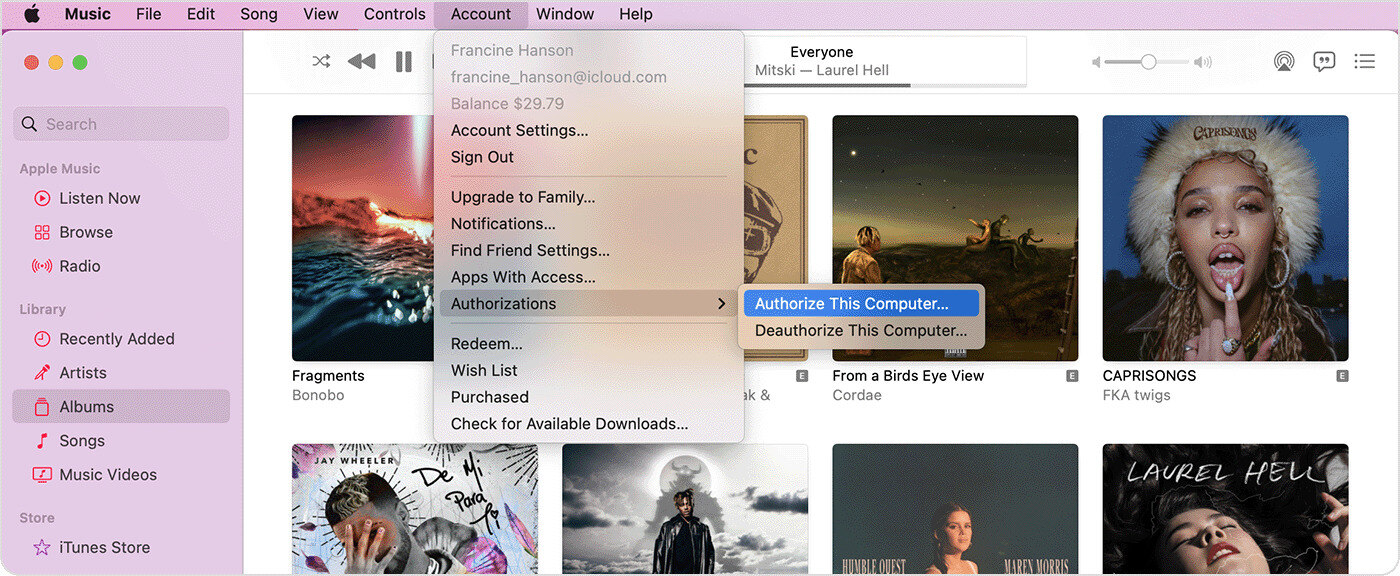
- Authorize your device: On your Mac, if you haven’t already done so, authorize your device to connect with your computer. Follow the on-screen prompts to grant access.
- Access your device’s music: Open the appropriate software or application on your Mac to access the music on your device. For iPhone users, iTunes or Finder (macOS Catalina and later) will allow you to manage your device’s content.
- Select and transfer music: Choose the music you want to transfer from your iPhone or device to your Mac. You can select individual songs, entire albums, or playlists.
- Initiate the transfer: Click the appropriate transfer button or select the option to transfer the chosen music from your device to your Mac. Ensure that you have enough storage space on your Mac to accommodate the transferred music.
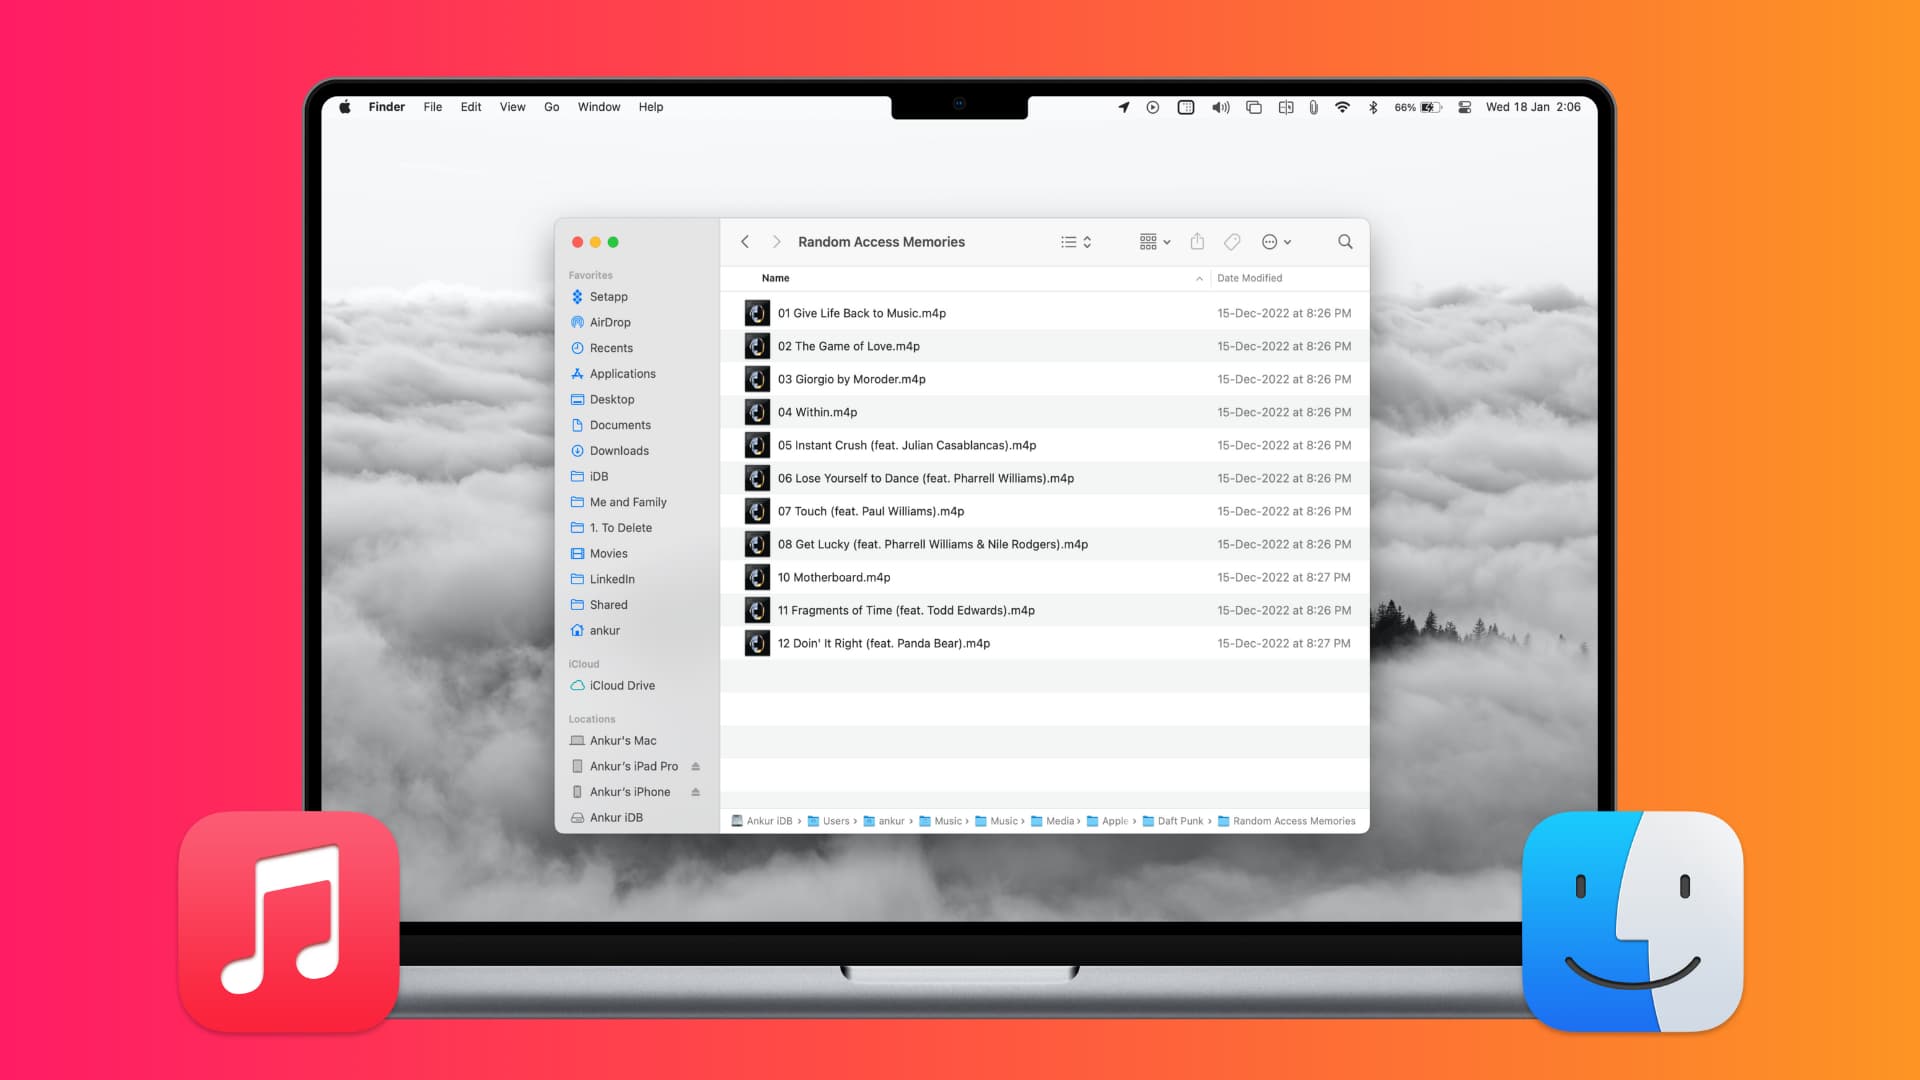
- Verify the transfer: Once the transfer is complete, check your Mac’s music library or designated folder to confirm that the files have been successfully transferred. Make any necessary organization or sorting adjustments if desired.
By transferring music from your iPhone or other devices to your Mac, you can keep your music collection synced and easily accessible. This method is particularly useful if you have a vast music library on your device or if you frequently add new songs to your mobile device.
Method 4: Downloading music from YouTube or other video platforms
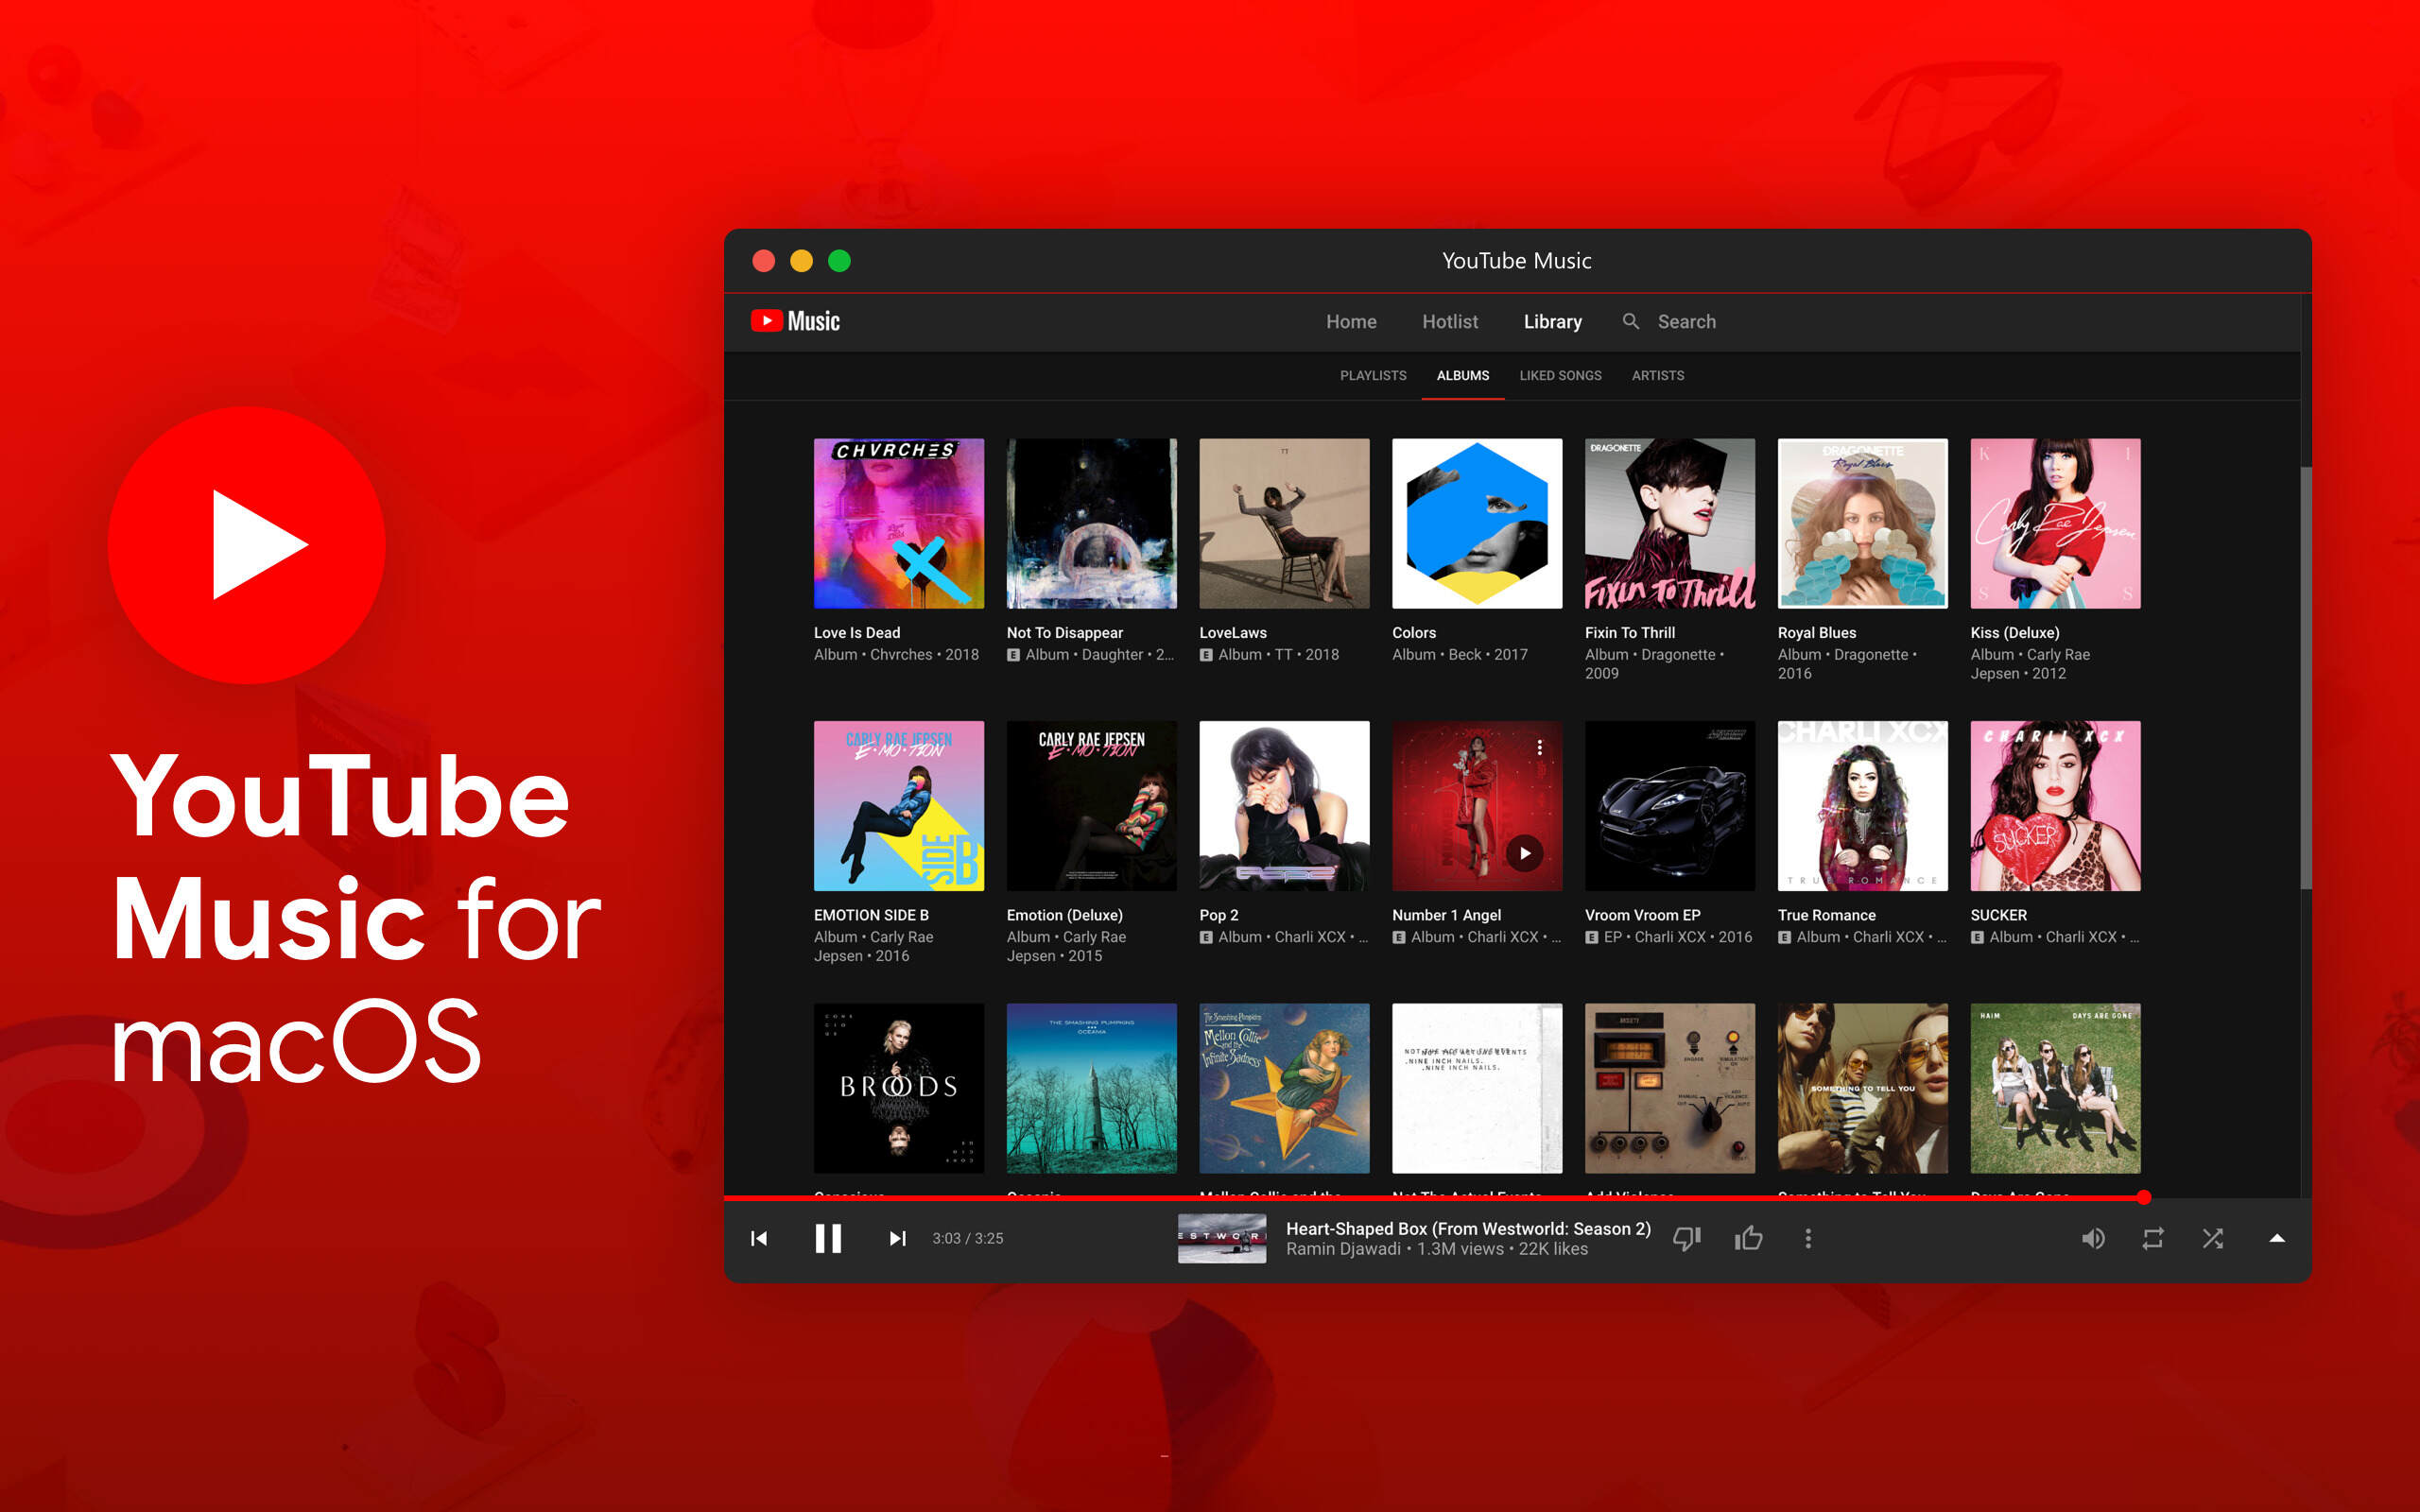
YouTube and other video platforms are not solely for watching videos – they also offer a plethora of music content. If you come across a song on YouTube that you want to download and listen to on your Mac, there are methods to do so. Here’s how you can download music from YouTube or other video platforms:
- Find a reliable YouTube to MP3 converter: Search for a trustworthy online service or software that allows you to convert YouTube videos to MP3 format. Some popular options include YTMP3.cc, ClipGrab, and 4K Video Downloader.
- Copy the video URL: Go to the YouTube video that contains the music you want to download and copy its URL from the address bar.
- Paste the URL into the converter: Visit the chosen YouTube to MP3 converter’s website or open the software on your Mac. Paste the YouTube video’s URL into the provided field or click on the appropriate option to import the URL.
- Select the desired audio quality: Choose the audio quality (bitrate) you prefer for the downloaded music file. Higher bitrates generally provide better audio fidelity, but they result in larger file sizes.
- Convert and download the music: Initiating the conversion process will extract the audio from the YouTube video and convert it into an MP3 format. Once the conversion is complete, click on the download button to save the music file to your Mac.
- Verify the downloaded file: Open your Mac’s designated download folder or the location where you saved the downloaded music file. Ensure that the file is in the desired format (MP3) and that it plays without any issues.
Downloading music from YouTube or other video platforms allows you to access your favorite songs even if you can’t find them in traditional music libraries. Just be aware of copyright restrictions and ensure you have permission to download and use the music for personal use.
Method 5: Ripping music from CDs
If you have a collection of CDs and want to enjoy them on your Mac, ripping the music from the CDs is the way to go. Ripping allows you to convert the audio files from your CDs into digital formats that can be stored and played on your Mac. Here’s how you can rip music from CDs:
- Insert the CD into your Mac: Place the CD you want to rip into your Mac’s CD/DVD drive. The drive should recognize the CD and display its contents.
- Open an iTunes or music player application: If you’re using a Mac with iTunes, the application should automatically open and display the CD’s tracklist. If not, open a compatible music player application of your choice.
- Import the CD: Within the music player, look for an option to import or rip the CD. This process will read the CD tracks and convert them into digital music files.
- Choose the import settings: Before importing, you can specify the audio format (MP3, AAC, etc.) and quality settings. Higher quality settings may result in larger file sizes.
- Select the tracks to import: If you don’t want to rip the entire CD, you can choose specific tracks or select “Import all” to rip the entire album.
- Start the import process: Click the import or rip button to begin the ripping process. The music player will start reading the CD, converting the tracks to digital files, and saving them on your Mac.
- Verify the imported music: Once the import process is complete, go to your music player’s library and locate the imported tracks. Play a few tracks to ensure the quality and compatibility of the ripped music.
Ripping music from CDs is a great way to transition your physical music collection into a digital format that can be easily accessed and enjoyed on your Mac. This method allows you to preserve your favorite CDs while also making them accessible for playback on your computer.
Conclusion
Downloading music to your Mac opens up a world of possibilities for enjoying your favorite songs and discovering new artists. In this guide, we have explored various methods to download music, catering to different preferences and needs.
By utilizing online music platforms, you can easily expand your music library with just a few clicks. Streaming services with offline listening options allow you to access a vast collection of music without the need for an internet connection. Transferring music from your iPhone or other devices ensures that your favorite tracks are synced and readily available on your Mac. Downloading music from YouTube or other video platforms offers a way to access unique and hard-to-find songs. Ripping music from CDs allows you to convert your physical collection into a digital format.
Remember that respecting copyright laws and supporting artists are crucial when downloading or streaming music. In addition, always prioritize reputable sources and ensure that your actions align with legal and ethical standards.
Now it’s time to pick the method that suits your needs and preferences best. Whether you want to explore the vast music libraries of online platforms, enjoy your favorite songs offline with streaming services, transfer music from your devices, download unique tracks from videos, or digitize your CD collection, the choice is yours.
So, get ready to enhance your music experience on your Mac, expand your library, and enjoy listening to your favorite songs anytime, anywhere!