Introduction
Do you love gaming on your Xbox console and want to share your epic gaming moments with friends or the online gaming community? Xbox captures are a great way to show off your skills, awesome gameplay, or funny moments. But, if you want to have a copy of your captures on your PC for editing or sharing purposes, you might be wondering how to download them.
In this article, we will explore different methods to download Xbox captures to your PC. Whether you are using the Xbox App on Windows 10, utilizing OneDrive, or using an external capture device, we have got you covered. So, let’s jump right into it and discover how you can easily transfer your Xbox captures to your PC.
Before we get started, there are a few prerequisites you need to fulfill to ensure a smooth downloading process:
- Your Xbox console should be connected to the internet.
- You need a Microsoft account linked to your Xbox console.
- Your PC should have enough storage space to accommodate the captures.
Now that you have met the prerequisites, let’s dive into the different methods you can use to download Xbox captures to your PC.
Prerequisites
Before you proceed to download Xbox captures to your PC, there are a few prerequisites you need to fulfill:
- Internet Connection: Ensure that your Xbox console is connected to the internet. This is crucial for transferring your captures to your PC.
- Microsoft Account: You must have a Microsoft account linked to your Xbox console. This account will be used to access and manage your captures.
- Storage Space: Make sure that your PC has enough storage space to accommodate the captures you want to download. Captures can take up a significant amount of storage, especially if you have multiple videos or high-resolution images.
By fulfilling these prerequisites, you will ensure a smooth and uninterrupted process when downloading Xbox captures to your PC. Now, let’s explore the various methods you can use to transfer your captures.
Method 1: Using the Xbox App on Windows 10
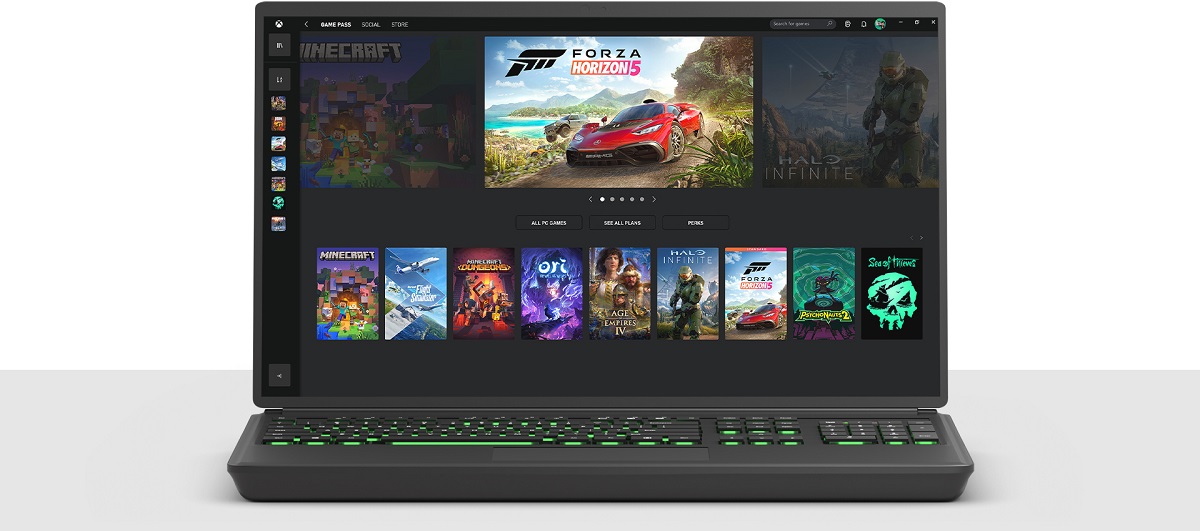
If you are using a Windows 10 PC, you can take advantage of the Xbox App to easily download your Xbox captures. Here are the steps to follow:
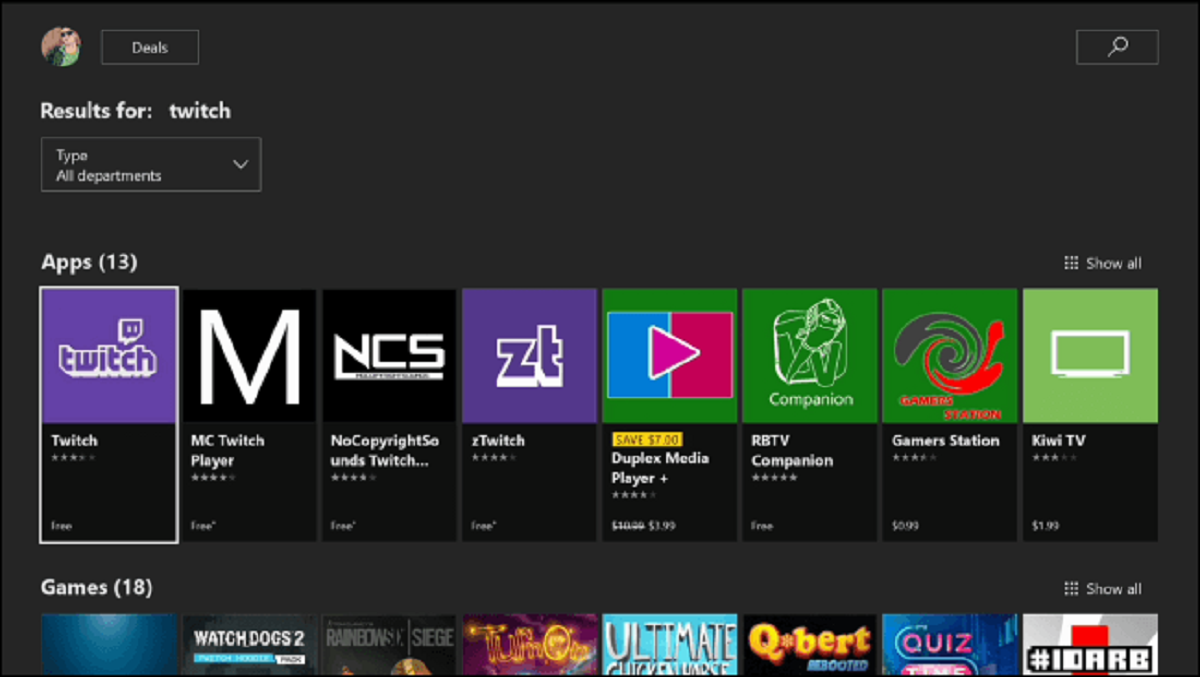
- Open the Xbox App on your Windows 10 PC. You can find it in the Start menu or by searching for “Xbox” in the search bar.
- Sign in to the Xbox App using the same Microsoft account that is linked to your Xbox console.
- In the Xbox App, navigate to the “Game DVR” section. Here, you will find all your captures, including screenshots and videos.
- Select the capture you want to download by clicking on it.
- Once the capture is opened, you will see various options. To download the capture, click on the “Download” button or icon. The capture will be saved to the default “Game DVR” folder on your PC.
- If you wish to change the download location or folder, you can do so by accessing the settings of the Xbox App.
That’s it! You have successfully downloaded your Xbox capture using the Xbox App on your Windows 10 PC. Now, you can access the capture on your PC and utilize it as per your requirements.
Using the Xbox App provides a convenient and straightforward method to transfer your captures from your Xbox console to your PC. However, if you prefer using an alternative method or want more control over the download process, you can explore the next method.
Method 2: Using OneDrive
If you have a OneDrive account, you can leverage its cloud storage capabilities to download your Xbox captures to your PC. Here’s how you can do it:
- On your Xbox console, select the capture you want to download and choose the “Upload” option.
- From the available destinations, select “OneDrive” as the upload location.
- Once the upload is complete, grab your PC and open a web browser.
- Log in to your OneDrive account using the same Microsoft account linked to your Xbox console.
- Navigate to the “Game DVR” folder in your OneDrive account. Here, you will find all the captures that you uploaded from your Xbox console.
- Locate the capture you want to download and Right-click on it.
- Choose the “Download” option from the context menu.
- The capture will be downloaded to your PC, and you can access it in your designated download folder.
By utilizing OneDrive, you can easily sync your Xbox captures with your PC and have them readily available for download. It offers the advantage of cloud storage, allowing you to access your captures from any device with internet access. However, if you prefer a more direct method using external hardware, let’s explore the next method.
Method 3: Using an External Capture Device
If you want more control and flexibility over your Xbox captures, using an external capture device is an excellent option. This method allows you to record and save gameplay footage directly to your PC. Here’s how you can use an external capture device to download your Xbox captures:
- Connect the external capture device to your Xbox console and your PC. Follow the device-specific instructions for proper setup.
- Open the capture software or app on your PC, which is usually provided by the manufacturer of the device. Examples include Elgato Game Capture, AVerMedia Live Gamer, or HD PVR.
- Configure the settings of the capture software according to your preferences, such as video resolution, frame rate, and audio settings.
- On your Xbox console, navigate to the capture you want to download and start playing the footage.
- In the capture software on your PC, you should see a “Record” button or a similar feature. Click on it to start recording the gameplay.
- Once you have recorded the desired footage, stop the recording in the capture software.
- The captured video will now be saved on your PC in the specified location, typically in a folder created by the capture software.
By using an external capture device, you have full control over the capturing process, allowing you to customize settings and record gameplay in high quality. It offers the advantage of directly saving the captures to your PC, eliminating the need for additional transfers or downloads. With the captured video on your PC, you can now edit or share it as per your preferences.
Conclusion
Downloading Xbox captures to your PC is a straightforward process that allows you to have a copy of your gameplay footage and screenshots for editing or sharing purposes. In this article, we explored three different methods to accomplish this task: using the Xbox App on Windows 10, utilizing OneDrive, or using an external capture device.
If you are using a Windows 10 PC, the Xbox App offers a convenient way to download your captures. Simply sign in to the app, navigate to the “Game DVR” section, select the capture, and click on the “Download” button.
If you have a OneDrive account, you can take advantage of its cloud storage capabilities. Upload your captures from your Xbox console to OneDrive, and then download them to your PC by logging in to your OneDrive account and selecting the desired captures.
Alternatively, using an external capture device gives you more control over the capturing process. By connecting the device to your Xbox console and PC, you can record gameplay footage directly to your PC with customized settings.
Choose the method that aligns with your preferences and requirements to easily download your Xbox captures to your PC. Remember to fulfill the prerequisites, such as having an internet connection, a Microsoft account linked to your Xbox console, and sufficient storage space on your PC.
Now, you can showcase your gaming skills, funny moments, or epic gameplay on your PC, edit them, and share them with friends, family, or the online gaming community. Enjoy reliving those memorable gaming moments and continue to capture and share your gaming adventures!