Introduction
Streaming has become an increasingly popular medium for gamers to showcase their skills, interact with their audience, and even generate income through subscriptions and donations. While streaming on platforms like Twitch or YouTube is commonly done with a capture card and a dedicated streaming PC, many Xbox gamers often wonder if they can stream directly from their console without investing in additional equipment.
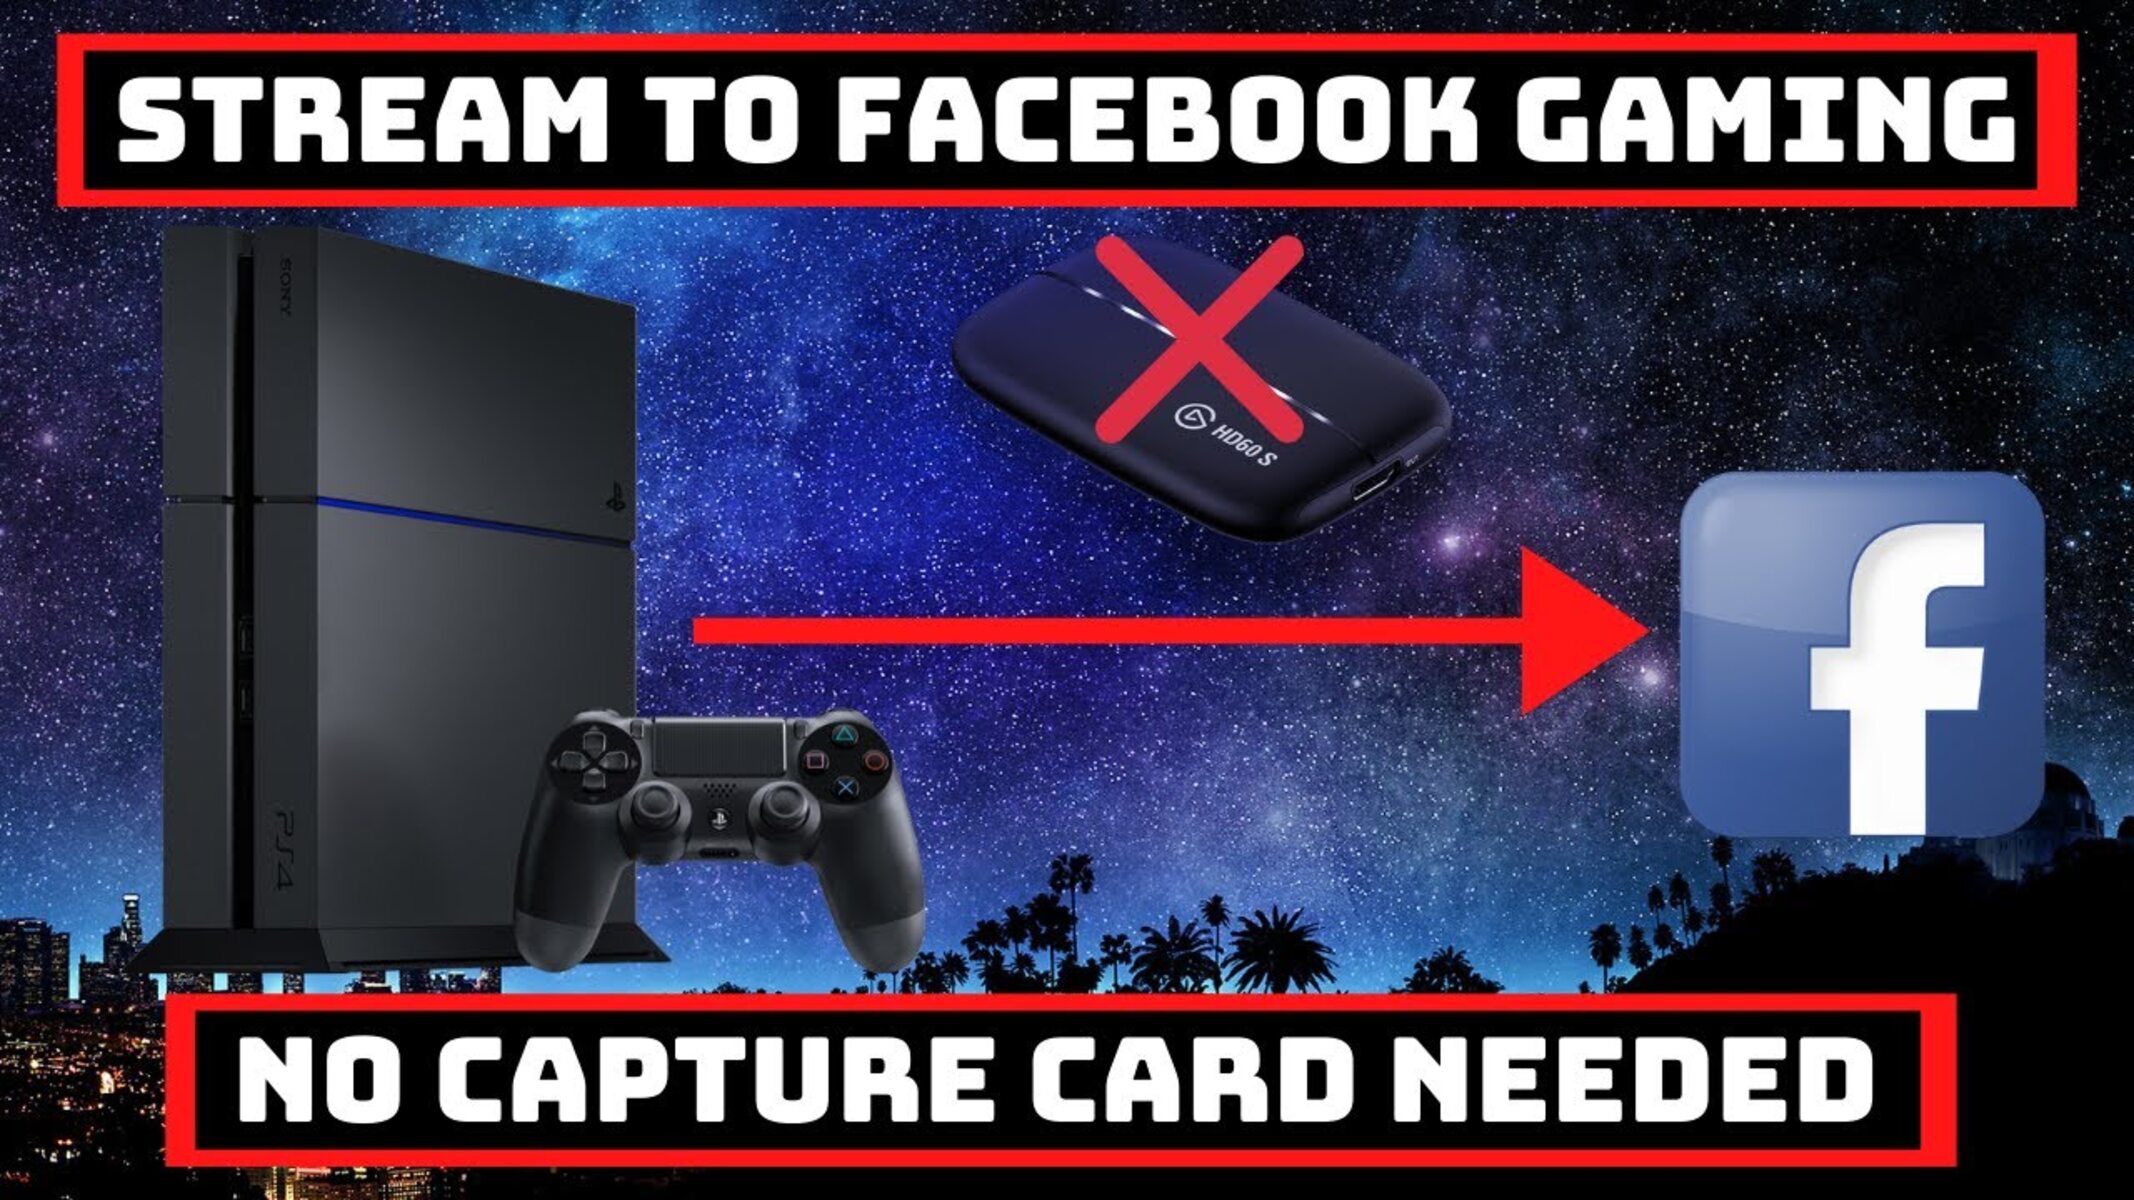
Fortunately, with the help of Streamlabs, a popular streaming software, you can easily stream from your Xbox without the need for a capture card. Streamlabs offers a user-friendly interface and a range of customizable features to enhance your streaming experience.
In this guide, we will walk you through the steps required to stream on Streamlabs with your Xbox, without the need for a capture card. While capturing gameplay without a capture card is limited to 720p resolution and 30fps, this method is a cost-effective solution to get started and build an audience without the need for additional hardware.
Requirements
Before you get started with streaming on Streamlabs using your Xbox, there are a few requirements that you need to meet:
-
An Xbox One or Xbox Series X/S console: Streamlabs is compatible with both the Xbox One and the latest Xbox Series X/S consoles. Make sure you have one of these consoles to proceed.
-
A Windows PC or laptop: You will need a Windows PC or laptop to run Streamlabs and connect your Xbox for streaming. Streamlabs does not currently support macOS.
-
A stable internet connection: Streaming requires a reliable internet connection with sufficient upload speed. Ideally, you should have a minimum upload speed of 5 Mbps for a smooth streaming experience.
-
A Streamlabs account: To stream on Streamlabs, you need to create a free account on their website. This account will be used to access and customize your stream settings.
-
A USB cable or network connection: You will need a USB cable to connect your Xbox controller to your PC for streaming. Alternatively, if you have an Xbox Series X/S, you can connect it to your PC through your network.
-
Streamlabs OBS: Streamlabs OBS is the software you will be using to stream from your Xbox. You can download it for free from the Streamlabs website.
Once you have fulfilled these requirements, you are ready to move on to the next steps of setting up your Xbox and Streamlabs for streaming. Make sure to have the necessary hardware and software in place for a seamless streaming experience.
Step 1: Download and Install Streamlabs
The first step to streaming on Streamlabs with your Xbox is to download and install the Streamlabs software on your Windows PC or laptop. Follow the steps below to get started:
-
Open a web browser on your PC and navigate to the Streamlabs website.
-
Click on the “Download” button to download the Streamlabs OBS software.
-
Once the download is complete, open the downloaded file to start the installation process.
-
Follow the on-screen instructions to install Streamlabs OBS on your PC. Make sure to select the appropriate options and agree to the terms and conditions.
-
Once the installation is complete, launch Streamlabs OBS.
Congratulations! You have successfully downloaded and installed Streamlabs OBS on your PC. Now you are ready to connect your Xbox to your PC and configure the necessary settings to start streaming. Proceed to the next step to learn how to connect your Xbox to your PC.
Step 2: Connect Your Xbox to Your PC
To stream from your Xbox using Streamlabs, you’ll need to connect your Xbox console to your PC. There are two methods to do this, depending on your Xbox model:
-
Method 1: USB Cable Connection
If you have an Xbox One, you can connect it to your PC using a USB cable. Follow these steps:
-
Connect one end of the USB cable to the USB port on your Xbox One controller.
-
Connect the other end of the USB cable to a USB port on your PC.
-
Wait for your PC to recognize the controller. Once recognized, you can proceed to the next step.
-
-
Method 2: Network Connection
If you have an Xbox Series X/S, you can connect it to your PC over your network. Follow these steps:
-
On your Xbox Series X/S, go to “Settings” and navigate to “Devices & connections” > “Remote features”.
-
Enable the “Enable remote features” option.
-
Write down the IP address displayed on your Xbox Series X/S.
-
On your Windows PC, open the Xbox Console Companion app.
-
Click on “Connect” and enter the IP address of your Xbox Series X/S.
-
Follow the on-screen instructions to complete the connection process.
-
Once you have successfully connected your Xbox to your PC, you can proceed to the next step to configure the necessary settings on your Xbox and Streamlabs.
Step 3: Configure Xbox Settings
To ensure a smooth streaming experience on your Xbox, you need to configure a few settings. Follow these steps to configure your Xbox settings:
-
On your Xbox, go to “Settings” and select “Preferences”.
-
Select “Broadcast & Capture” from the menu.
-
Under “Broadcast & Capture”, select “Broadcast”.
-
Toggle the “Enable Broadcast” option to turn it on.
-
Choose your desired broadcast quality. Keep in mind that without a capture card, the maximum resolution you can achieve is 720p at 30fps.
-
Customize your broadcast settings, such as audio preferences and microphone settings, according to your preferences.
-
Once you have configured your settings, exit the “Preferences” menu.
By configuring these settings on your Xbox, you have prepared it for streaming. Now, let’s move on to the next step and configure Streamlabs to broadcast your Xbox gameplay and customize your stream settings.
Step 4: Configure Streamlabs
After connecting your Xbox to your PC and configuring the necessary settings on your console, it’s time to configure Streamlabs to start streaming. Follow these steps to configure Streamlabs:
-
Open Streamlabs OBS on your PC.
-
Click on the “+” button under “Sources” to add a new source.
-
Select “Display Capture” or “Game Capture” to capture your Xbox gameplay.
-
If you choose “Display Capture”, select your Xbox screen from the dropdown menu.
-
If you choose “Game Capture”, select the Xbox game you want to stream from the dropdown menu.
-
Adjust the source position and size to fit your stream layout.
-
Click on the “Settings” tab in Streamlabs OBS.
-
Under the “Output” section, select your preferred streaming platform, such as Twitch or YouTube.
-
Enter your stream key or login credentials for the selected platform.
-
Configure additional settings, like stream quality, bitrate, and audio options.
-
Once you have configured all the necessary settings, click on the “Start Streaming” button.
Congratulations! You have successfully configured Streamlabs to capture and broadcast your Xbox gameplay. You can now move on to the next step to customize your stream and make it more engaging for your viewers.
Step 5: Customize Your Stream
One of the great features of streaming on Streamlabs is the ability to customize your stream and make it unique. Here are some steps to help you customize your stream and make it more engaging for your viewers:
-
Click on the “Scene Collections” tab in Streamlabs OBS to access different pre-made scene collections.
-
Select a scene collection that suits your stream’s theme or create a new one from scratch.
-
Click on the “+” button under “Sources” to add different elements to your stream, such as webcam feed, overlays, alerts, and widgets.
-
Customize the position, size, and appearance of each element by clicking and dragging them on the preview window.
-
Use the “Themes” tab in Streamlabs OBS to browse and apply different themes to your stream, giving it a visually appealing look.
-
Experiment with different alert sounds, overlays, and transitions to make your stream more dynamic.
-
Consider adding widgets like a chat box, donation goal, or follow/subscriber count to engage with your audience.
-
Take advantage of Streamlabs’ extensive library of free and premium overlays and themes to customizedesign your stream.
-
Make sure to preview your stream before going live to ensure everything looks and sounds as intended.
Remember, the purpose of customizing your stream is to make it unique and stand out from others. Add your own personal touch, reflect your personality, and create a visually appealing and engaging experience for your viewers. Once you’re satisfied with the customization, it’s time to go live and start streaming your Xbox gameplay. Proceed to the final step to learn how to go live on Streamlabs.
Step 6: Go Live and Start Streaming
After configuring and customizing your stream, it’s time to go live and start streaming your Xbox gameplay to your audience. Follow these steps to go live on Streamlabs and share your gaming adventures:
-
Ensure your Xbox is turned on and your Xbox gameplay is on the screen you want to stream.
-
In Streamlabs OBS, double-check that your scene and sources are correctly set up.
-
Ensure your microphone, webcam, and other audio devices are functioning properly.
-
In Streamlabs OBS, click on the “Start Streaming” button to go live.
-
You are now live and your Xbox gameplay is being broadcasted to your chosen streaming platform!
-
Interact with your audience by monitoring the stream chat and responding to comments and questions.
-
Engage your viewers by explaining your gameplay strategies, sharing anecdotes, and providing entertaining commentary.
-
Keep an eye on the viewer count and pay attention to the feedback to improve your stream.
-
Once you are ready to end your stream, simply click on the “Stop Streaming” button in Streamlabs OBS.
Congratulations! You have successfully gone live and started streaming your Xbox gameplay using Streamlabs OBS. Remember to promote your stream through social media and engage with your viewers even outside the streaming platform to grow your audience. Happy streaming and enjoy sharing your gaming adventures with the world!
Conclusion
Streaming on Streamlabs with your Xbox without a capture card opens up a world of possibilities for showcasing your gaming skills and engaging with your audience. By following the steps outlined in this guide, you can easily set up your Xbox and Streamlabs to start streaming your gameplay without investing in additional hardware.
Remember to meet the necessary requirements, including having an Xbox One or Xbox Series X/S console, a Windows PC or laptop, a stable internet connection, and a Streamlabs account. Download and install Streamlabs OBS, connect your Xbox to your PC, and configure your Xbox and Streamlabs settings. Customize your stream with overlays, alerts, and widgets to make it visually appealing and engaging for your viewers.
Finally, go live and start streaming your Xbox gameplay, interact with your audience, and have fun sharing your gaming adventures. Engage with your viewers, respond to their comments and questions, and use their feedback to improve your stream. Promote your stream through social media and grow your audience over time.
Streaming on Streamlabs with your Xbox without a capture card is a cost-effective way to enter the world of streaming and connect with fellow gamers. So grab your controller, fire up Streamlabs OBS, and go live with your Xbox gameplay. Happy streaming!