Introduction
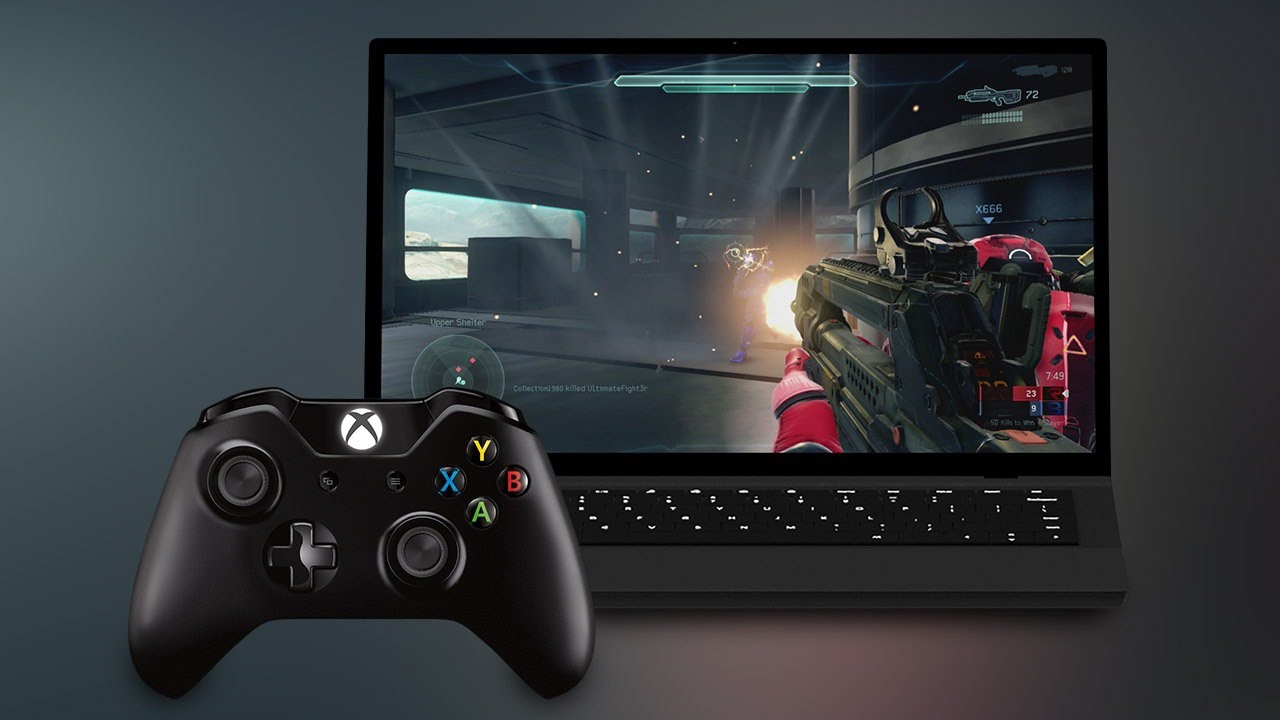
Welcome to our guide on how to connect an Xbox Controller to a PC! If you’re an avid gamer, you’re probably already aware of the superior gaming experience that an Xbox controller can provide. Whether you’re playing intense action games or immersive RPGs, being able to use a controller can enhance your gameplay and make it more enjoyable.
Connecting an Xbox controller to a PC may seem like a daunting task, but fear not! In this article, we will walk you through the step-by-step process of connecting your Xbox controller to your PC, so you can start enjoying your favorite games with ease.
Before we dive into the details, let’s go over the things you will need to successfully connect your Xbox controller to your PC. First and foremost, you will need an Xbox controller. This can be either an Xbox One controller or an Xbox 360 controller. Additionally, you will need a USB cable to connect the controller to your PC. Make sure the cable is in good condition and has a functioning USB connector. Finally, ensure that your PC has the necessary drivers and software to recognize and configure the Xbox controller.
Now that you have an overview of what we’ll cover in this guide and the necessary tools, let’s jump into the step-by-step instructions to get your Xbox controller up and running on your PC. So, grab your controller and let’s get started!
Things you Will Need
Before you start the process of connecting your Xbox controller to your PC, there are a few things you will need to gather. Make sure you have the following items ready:
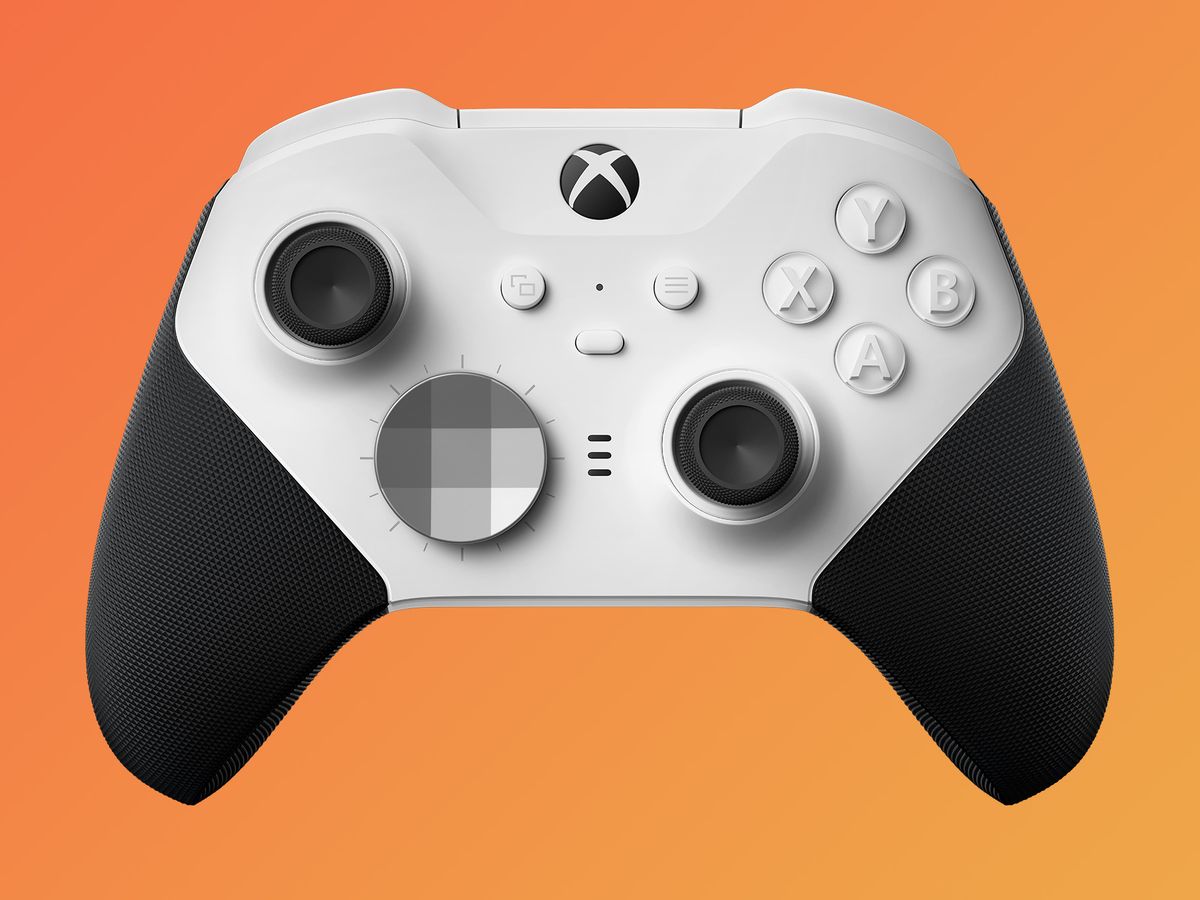
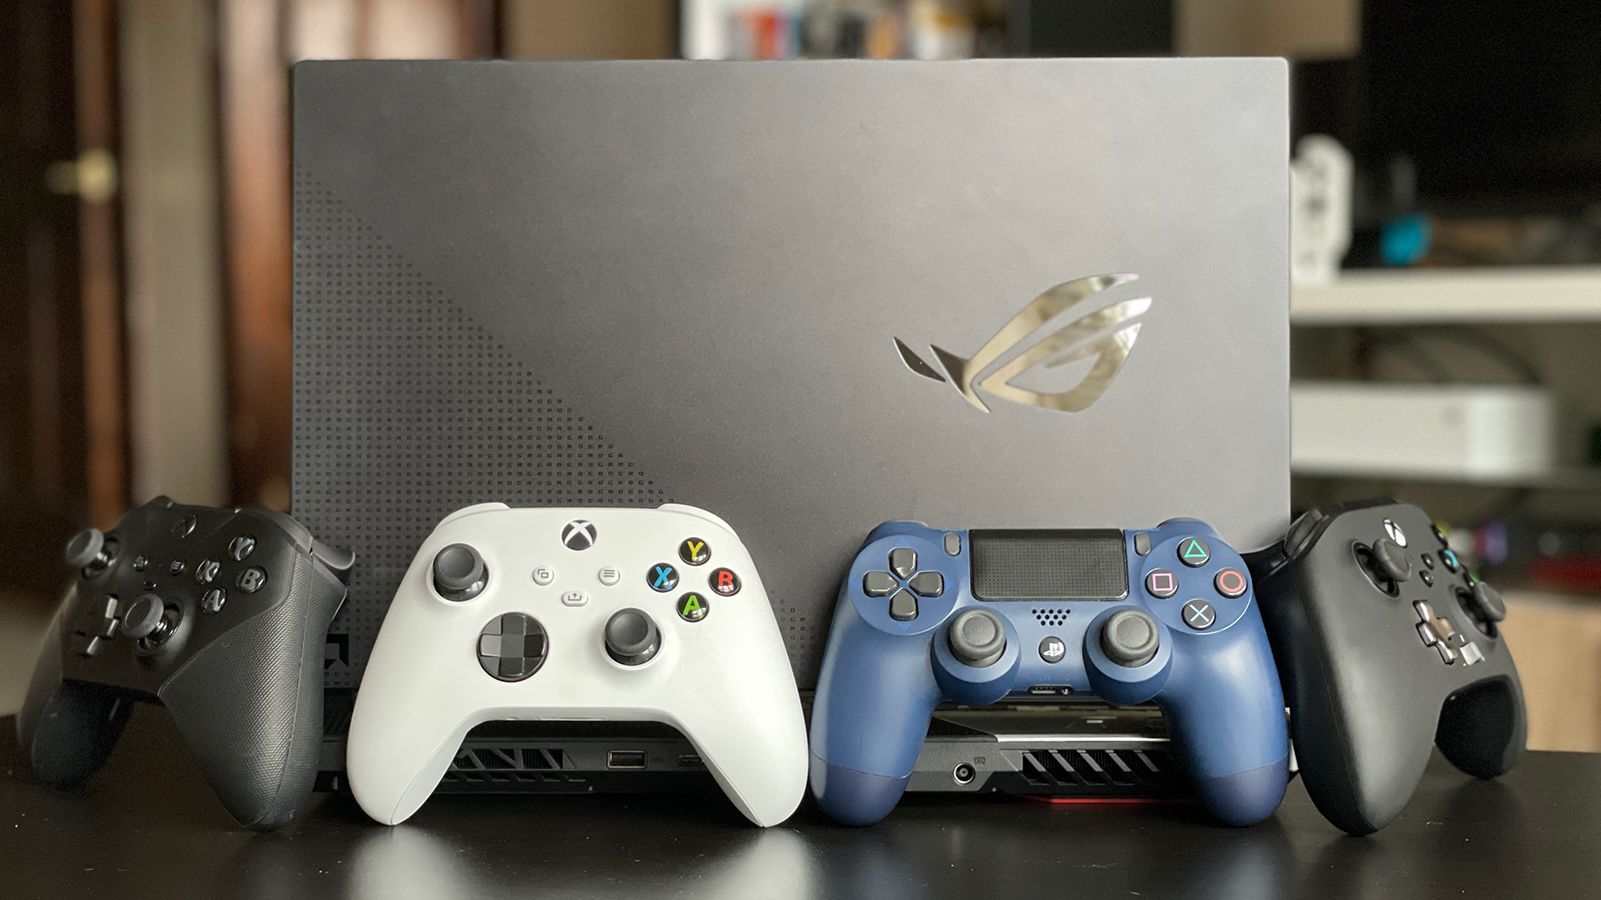
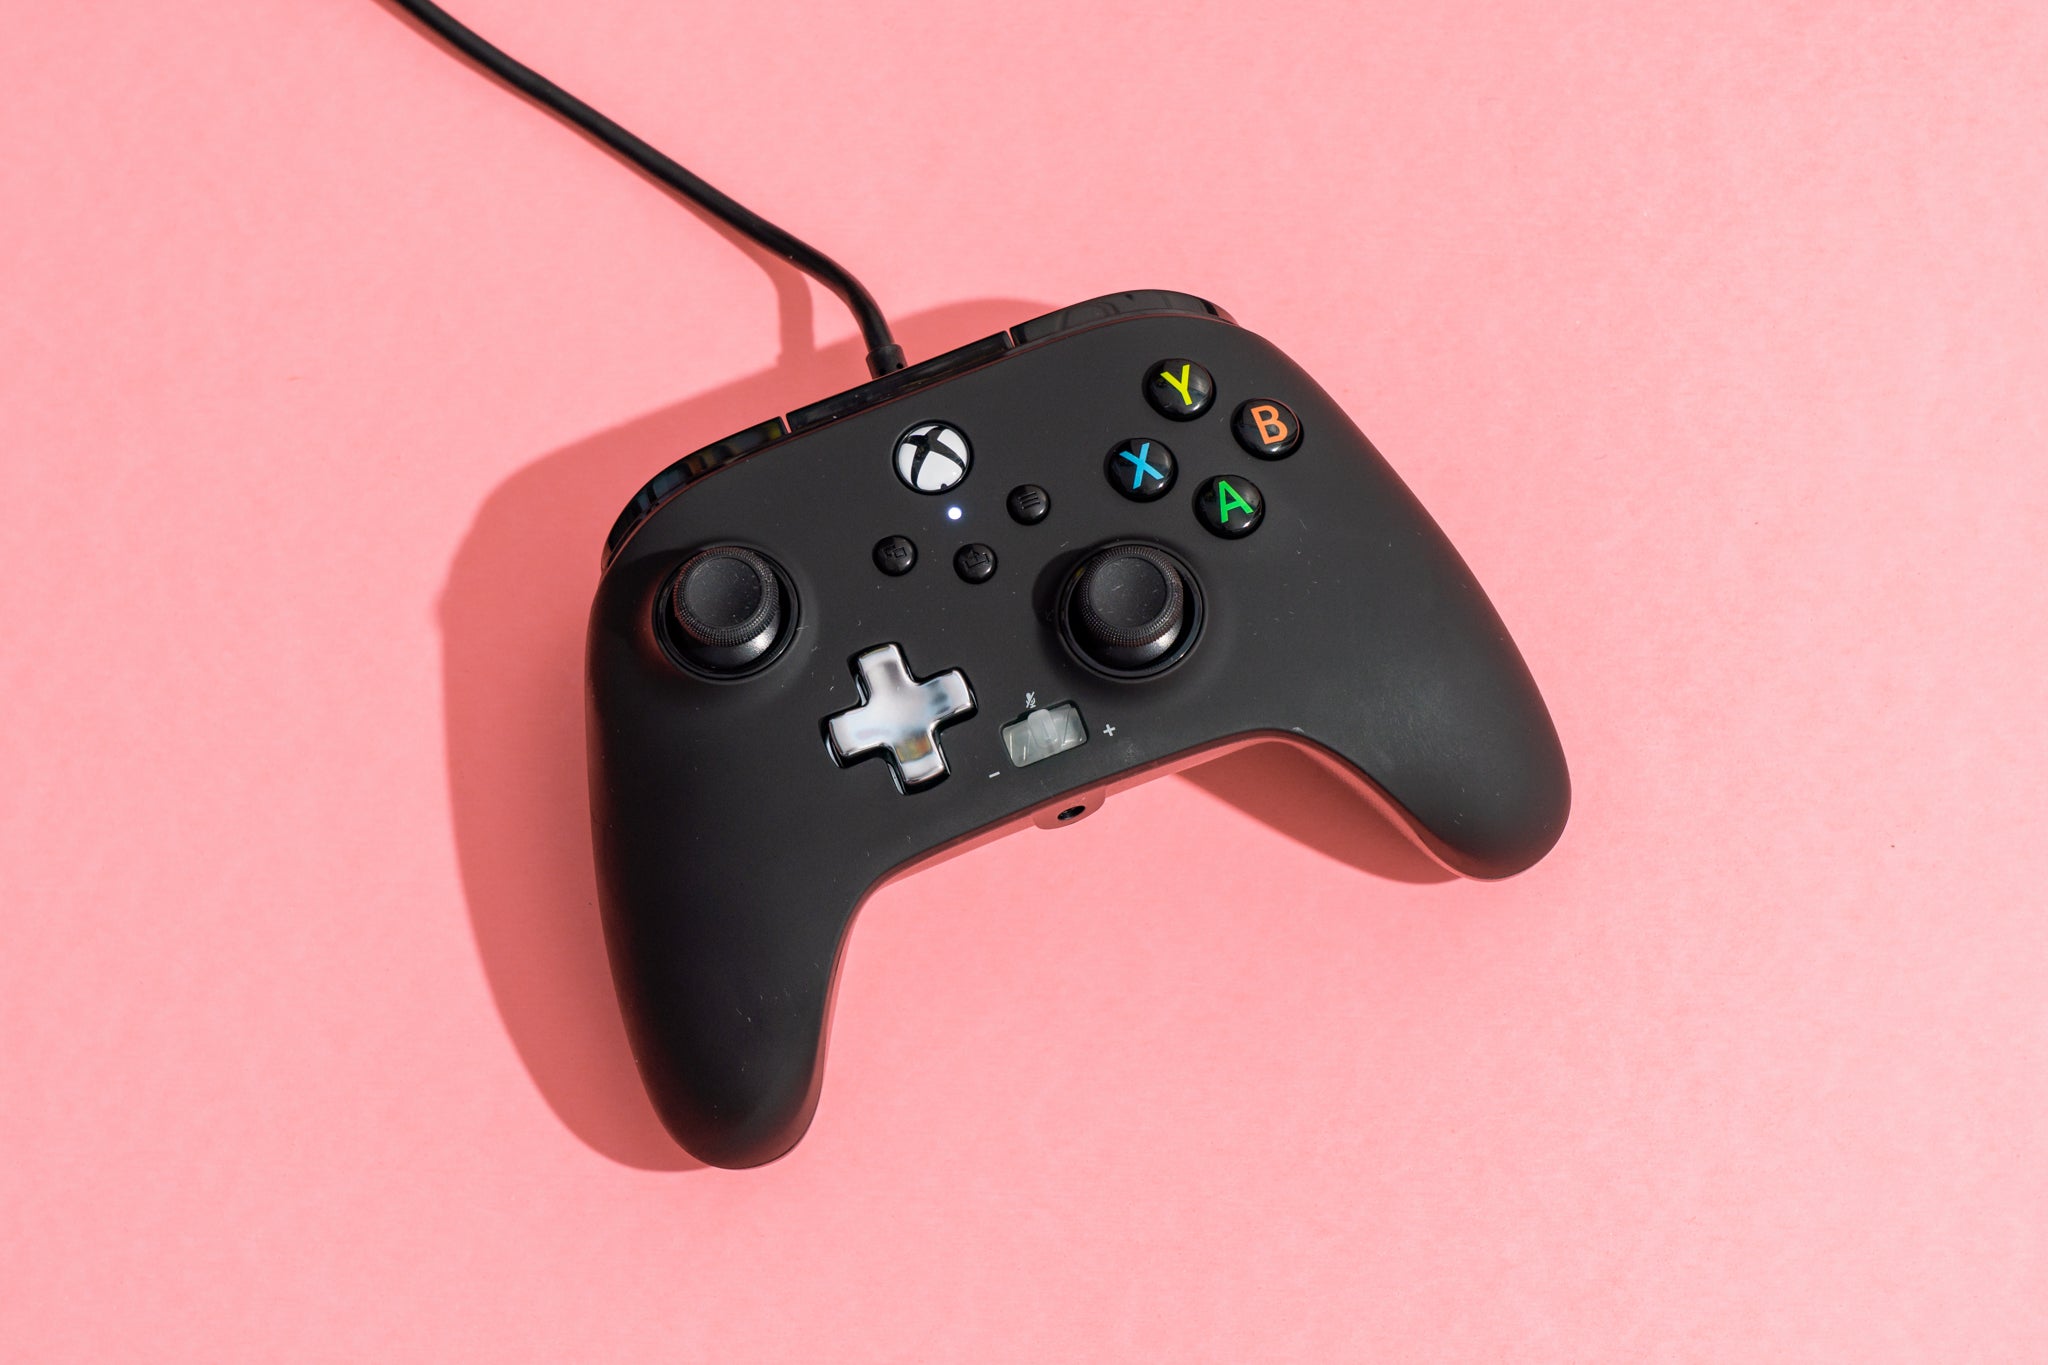
- An Xbox controller: You can use either an Xbox One controller or an Xbox 360 controller. If you already own one, great! If not, you can purchase one from a local gaming store or online retailers.
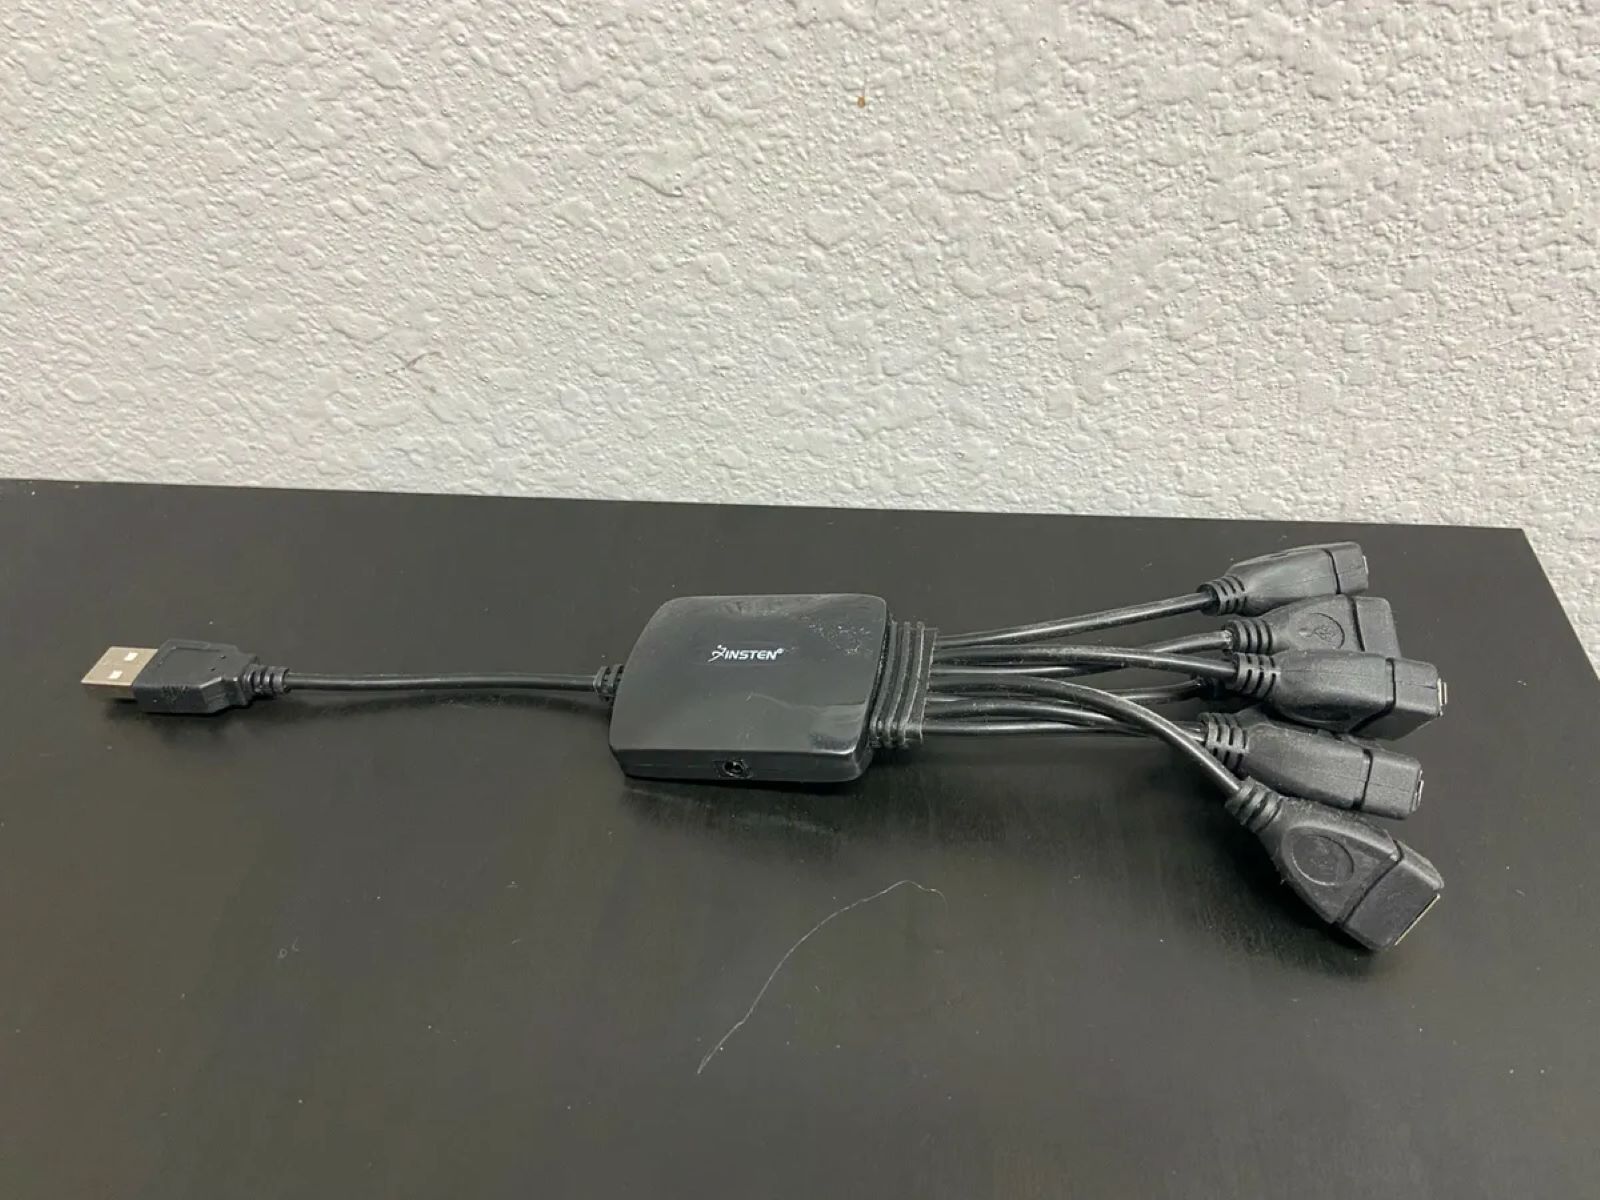
- A USB cable: You will need a USB cable to connect your Xbox controller to your PC. Make sure the cable is compatible with your controller and has a functioning USB connector. If you have a wired Xbox controller, you can use the cable that comes with it. If you have a wireless Xbox controller, you will need a USB cable that is compatible with it.
- A PC with the necessary drivers and software: To connect your Xbox controller to your PC, you will need to ensure that your PC has the necessary drivers and software. This will allow your PC to recognize and configure the Xbox controller. Most modern PCs have built-in support for Xbox controllers, but if you’re using an older PC, you may need to install the appropriate drivers or software.
Once you have gathered these items, you’re ready to move on to the next steps. Having these items prepared will ensure a smooth and hassle-free process of connecting your Xbox controller to your PC. So, let’s proceed to the next section and get started on connecting your Xbox controller!
Step 1: Install the Necessary Drivers
Before you can connect your Xbox controller to your PC, it’s important to ensure that your PC has the necessary drivers installed. These drivers allow your PC to recognize and communicate with the controller. The good news is that most modern PCs have built-in support for Xbox controllers, so you may not need to install any additional drivers. However, if you’re using an older PC or experiencing any issues, you may need to install the drivers manually.
To check if the drivers are already installed on your PC, follow these steps:
- Connect your Xbox controller to your PC using a USB cable. Make sure the cable is securely plugged into both the controller and your PC.
- Wait for your PC to recognize the controller. Usually, Windows will automatically install the necessary drivers. Check the bottom right corner of your screen for any pop-up notifications indicating that the drivers are being installed.
- If your PC doesn’t automatically install the drivers, you can manually install them by following these steps:
- Go to the official Microsoft website and search for “Xbox controller drivers”.
- Find and download the appropriate drivers for your operating system.
- Once downloaded, run the installer and follow the on-screen instructions to install the drivers.
After the drivers are installed, your PC should recognize the Xbox controller when it’s connected via the USB cable. You can move on to the next step to connect the controller to your PC and start using it for gaming.
In this step, we covered how to install the necessary drivers for your Xbox controller. Whether your PC automatically installs the drivers or you need to install them manually, this step ensures that your PC recognizes the controller and prepares it for connection. Now that you have the drivers installed, let’s move on to the next step and connect your Xbox controller to your PC.
Step 2: Connect the Xbox Controller to your PC
Now that you have installed the necessary drivers, it’s time to connect your Xbox controller to your PC. The process is relatively simple and straightforward. Follow these steps to establish a connection:
- Grab your Xbox controller and the USB cable that came with it or a compatible USB cable.
- Insert one end of the USB cable into the USB port on your PC.
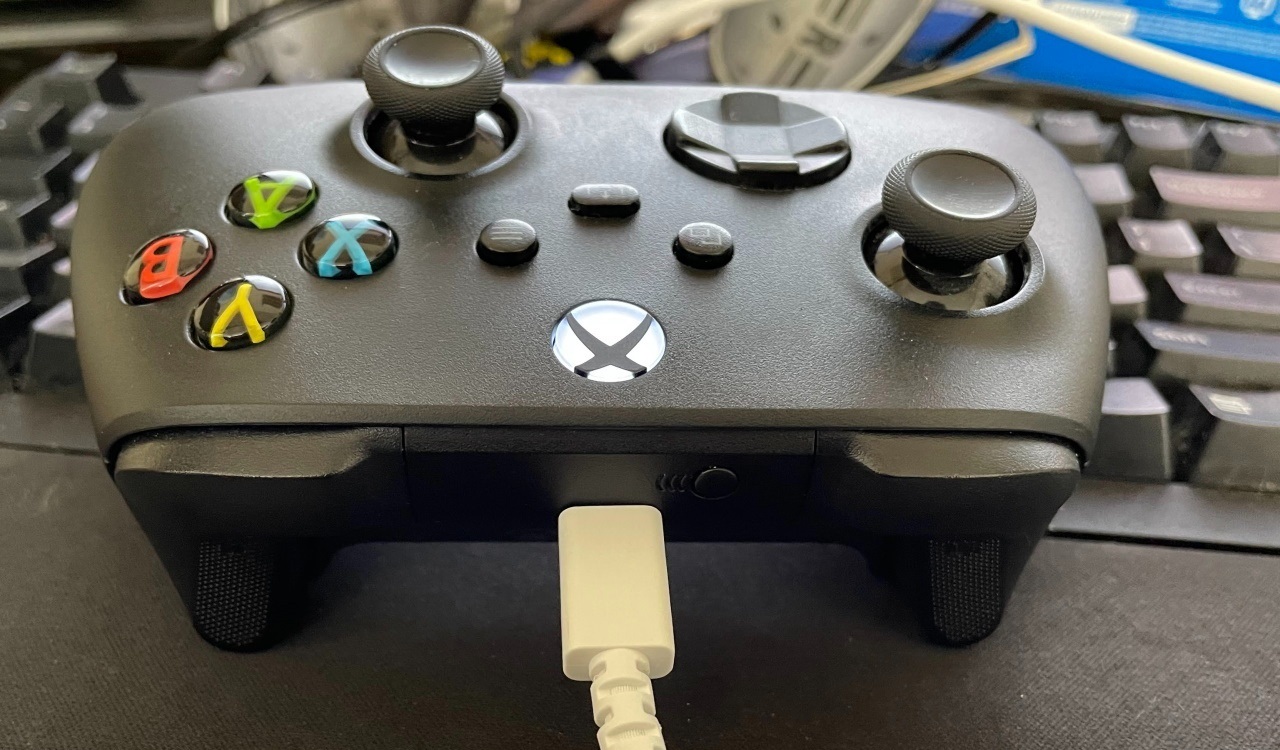
- Take the other end of the USB cable and plug it into the USB port located on the top of your Xbox controller.
- Ensure that the connection is secure by gently tugging on the cable. You should feel it snugly fit into both the PC and the controller.
- Once the cable is properly connected, your PC should recognize the controller and set it up automatically. You may see a notification in the bottom right corner of your screen indicating that the device is being set up.
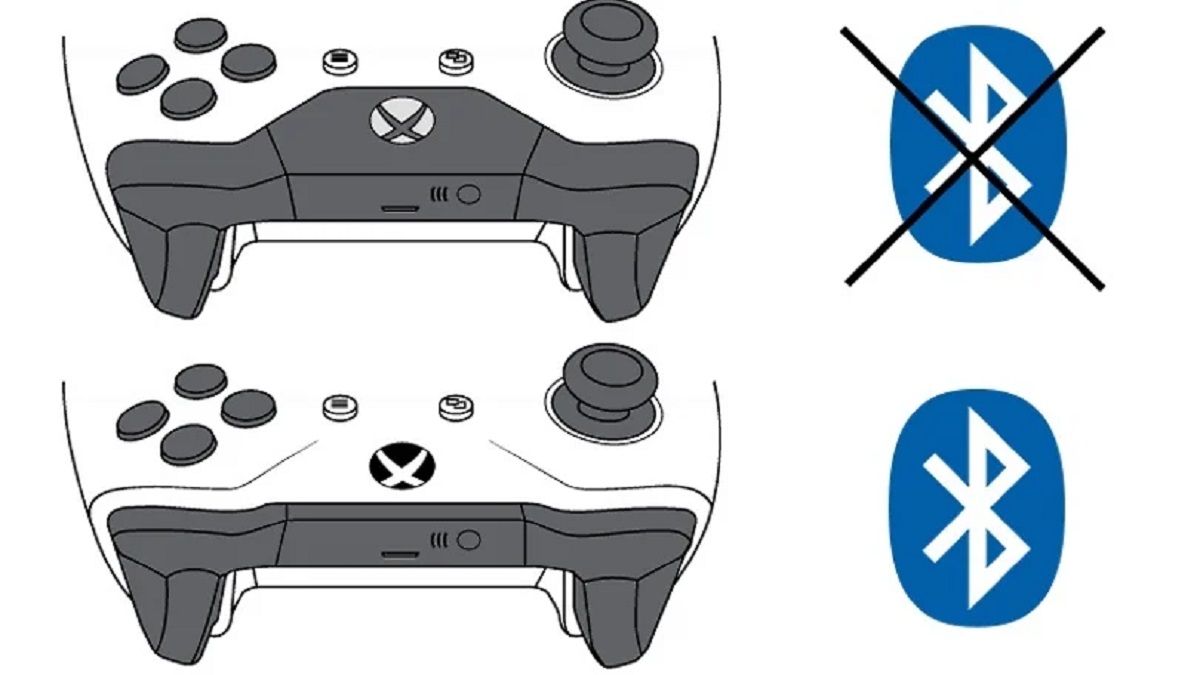
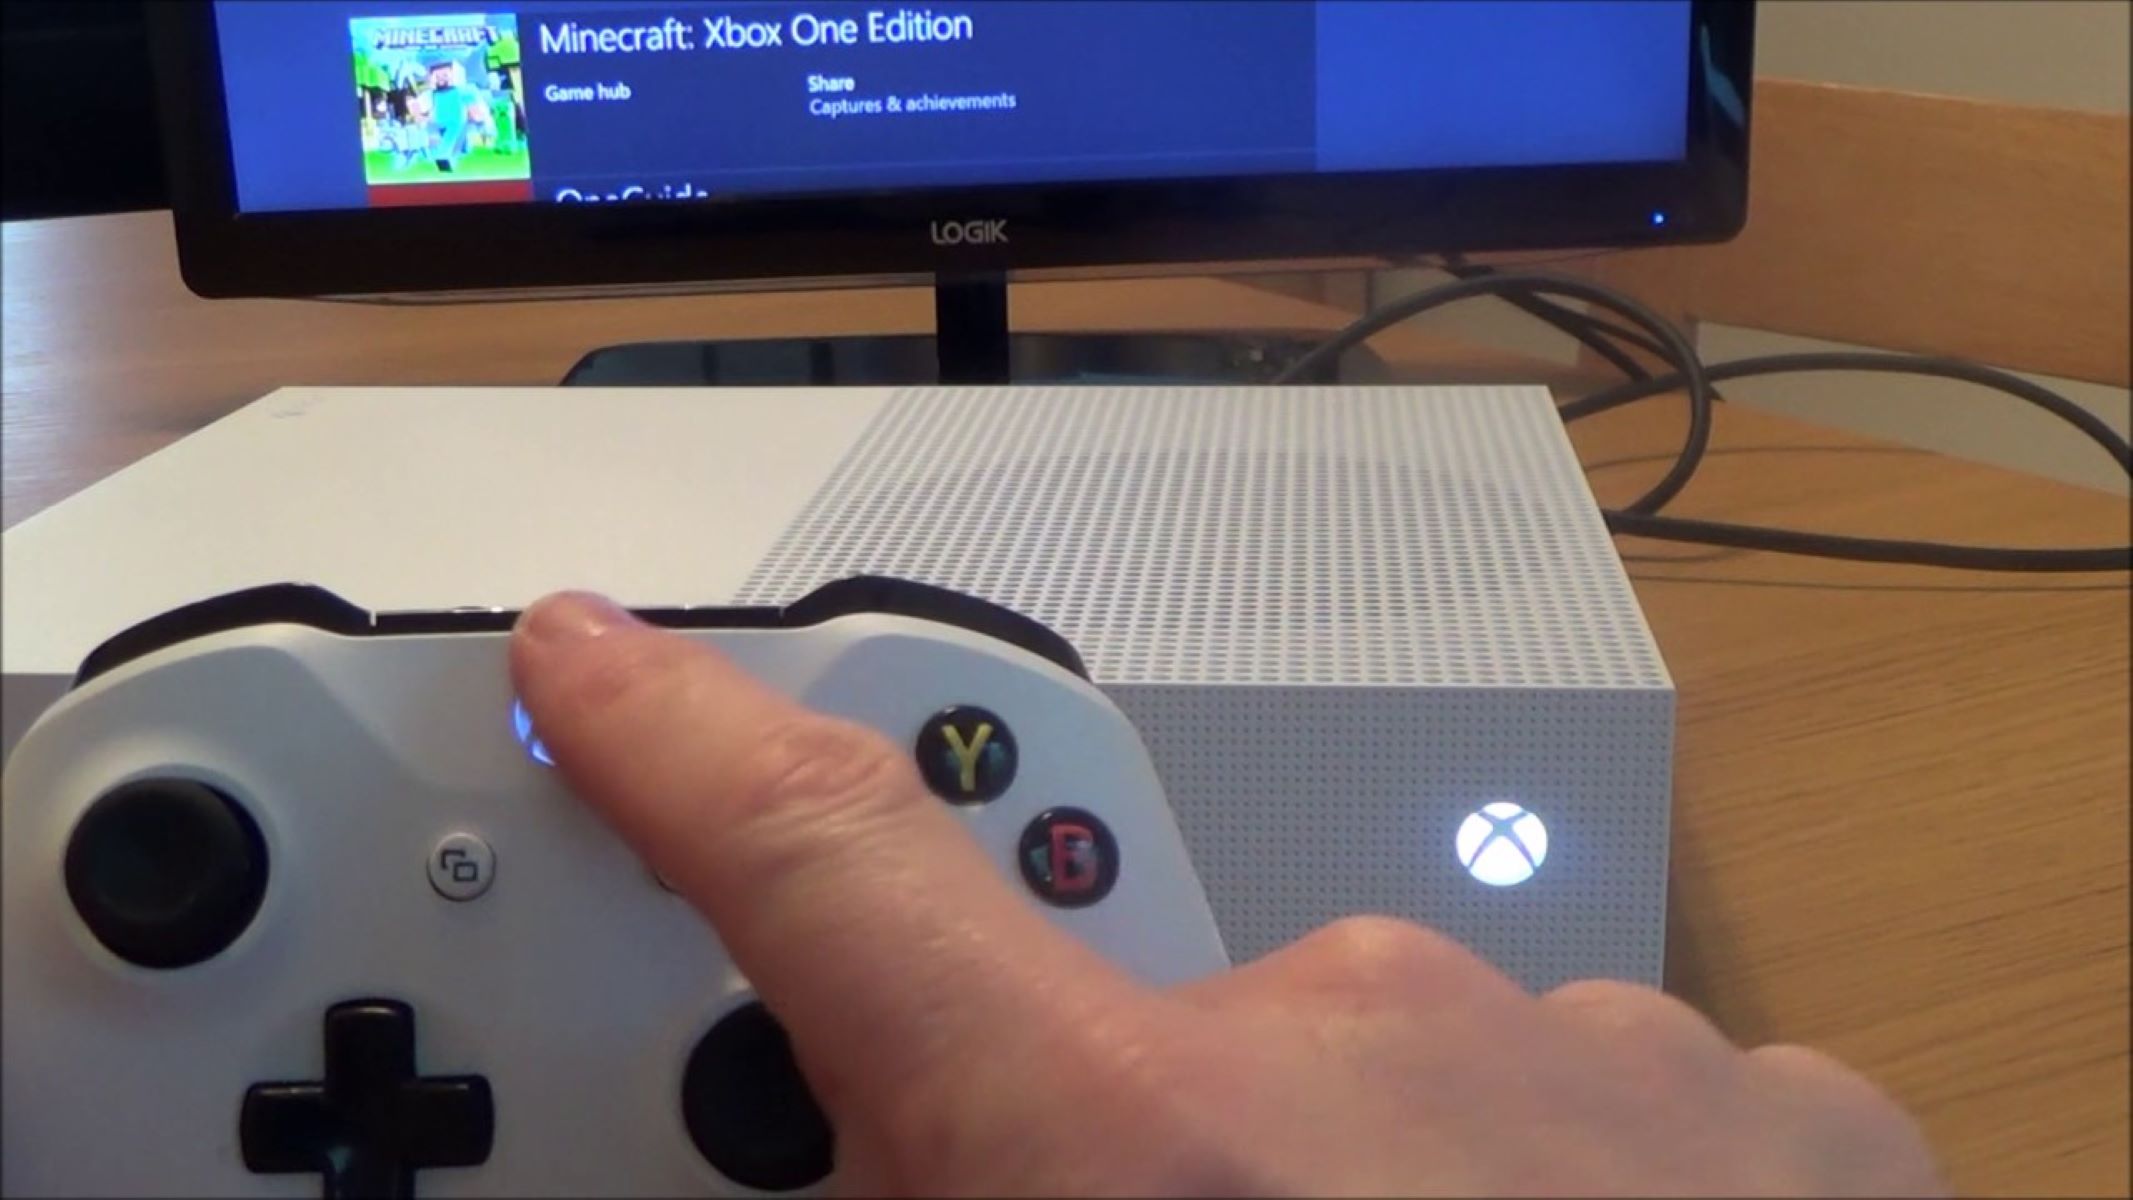
- If you’re using a wireless Xbox controller, you can connect it to your PC using the Xbox Wireless Adapter. Simply plug the adapter into a USB port on your PC and press the sync button on both the controller and the adapter until they connect.
Congratulations! You have successfully connected your Xbox controller to your PC. The USB cable or Xbox Wireless Adapter establishes a stable connection between the controller and your PC, allowing you to use it to play games and navigate your PC’s interface.
In this step, we covered how to physically connect your Xbox controller to your PC using a USB cable or Xbox Wireless Adapter. By following these steps, you’ve ensured a solid connection and set the stage for the next step, which involves setting up the controller in Windows.
Step 3: Set up the Controller in Windows
Now that your Xbox controller is connected to your PC, it’s time to set it up in Windows. This step ensures that your PC recognizes the controller and allows you to customize its settings if needed. Follow these steps to set up your Xbox controller in Windows:
- Open the Start menu on your PC and search for “Control Panel”. Click on the Control Panel app to open it.
- In the Control Panel, navigate to the “Hardware and Sound” section and click on “Devices and Printers”. This will open a window displaying all the devices connected to your PC.
- Look for your Xbox controller in the list of devices. It may appear as “Xbox 360 Controller” or “Xbox One Controller” depending on the type of controller you’re using.
- Right-click on the Xbox controller and select “Game controller settings” from the context menu. This will open the Game Controllers window.
- In the Game Controllers window, select your Xbox controller and click on the “Properties” button. This will open the properties window for your controller.
- Test the controller by pressing buttons and moving the analog sticks. You should see the corresponding buttons and axes move in real-time on the screen.
- If you want to customize the controller settings, such as button mapping or sensitivity, click on the “Settings” or “Options” button within the properties window. This will vary depending on the version of Windows you’re using.
- Make any desired changes to the controller settings and click “Apply” or “OK” to save the changes.
That’s it! You have now set up your Xbox controller in Windows. Your PC recognizes the controller, and you can customize its settings to suit your preferences. Take some time to test the controller and ensure that all the buttons and analog sticks are functioning properly before moving on to the next step.
In this step, we covered how to set up the Xbox controller in Windows by accessing the Control Panel and configuring the controller settings. By following these steps, you’ve personalized the controller to your liking and ensured that it works smoothly with your PC. Now, let’s move on to the final step and test the controller.
Step 4: Test the Controller
Now that you have connected and set up your Xbox controller in Windows, it’s time to test its functionality. Testing the controller ensures that all the buttons, triggers, analog sticks, and other features are working correctly. Follow these steps to test your Xbox controller:
- Open a game or application on your PC that supports controller input. It can be a game from your Steam library, an emulator, or any other application that allows controller input.
- In the game or application, navigate to the settings or options menu and look for the controller settings.
- Within the controller settings, make sure that the input method is set to “Controller” or “Xbox Controller”. This ensures that the game/application recognizes and accepts input from your Xbox controller.
- Start playing the game or using the application and test all the buttons, triggers, and analog sticks on the controller. Make sure that each input corresponds correctly to the actions in the game/application.
- If you encounter any issues or notice any inputs not working as expected, you can troubleshoot by recalibrating the controller or adjusting the control settings in the game/application.
By testing your Xbox controller, you can ensure that it is functioning properly and responsive in your chosen game or application. Take the time to play around with different controls and configurations to find the settings that suit you best. Your gaming experience will be greatly enhanced when you have full control over your character or actions using the Xbox controller.
In this final step, we’ve covered how to test your Xbox controller to ensure its functionality in a game or application. By following these steps, you can rest assured knowing that your controller is working as intended and ready for hours of gaming enjoyment.
Conclusion
Congratulations on successfully connecting and setting up your Xbox controller to your PC! By following the steps outlined in this guide, you can now enjoy a seamless gaming experience with your favorite games. The process of connecting an Xbox controller to a PC may have seemed daunting at first, but with the right tools and instructions, it becomes a straightforward task.
We began by gathering the necessary items: an Xbox controller, a USB cable, and a PC with the required drivers and software. Ensuring you have these items ready before starting the process sets the stage for a smooth setup. Next, we installed the necessary drivers, either automatically or manually, to ensure that your PC recognizes the Xbox controller. With the drivers in place, we moved on to connecting the controller to the PC using a USB cable or the Xbox Wireless Adapter for wireless controllers.
After establishing a physical connection, we proceeded to set up the Xbox controller in Windows. This involved accessing the Control Panel, navigating to the Game Controllers settings, and testing the controller to ensure proper functionality. Finally, we tested the controller in a game or application to verify that all buttons, triggers, and analog sticks were working as expected.
Now that you have completed these steps, you are ready to dive into your gaming adventures with the convenience and enhanced experience of using an Xbox controller on your PC. Whether you’re exploring vast virtual worlds or engaging in intense multiplayer battles, having the familiarity and precision of a controller can greatly enhance your gameplay.
Remember, if you encounter any issues along the way, consult the troubleshooting resources provided by Microsoft or seek assistance from fellow gamers. With patience and perseverance, you can overcome any obstacles and fully enjoy the immersive world of PC gaming.
Thank you for choosing our guide to connect your Xbox controller to your PC. We hope that this article has been helpful and that you’re now well-equipped to embark on your gaming journey. So grab your controller, fire up your favorite game, and have an incredible gaming experience!