Introduction
Connecting your Xbox One controller to your PC via Bluetooth opens up a whole new world of gaming possibilities. Whether you want to play your favorite PC games with the comfort and precision of a console controller or enjoy the flexibility of controller support in various applications, the ability to connect your Xbox One controller to your PC is a game-changer.
In this article, we will guide you through the process of connecting your Xbox One controller to your PC using Bluetooth. With just a few simple steps, you’ll be ready to experience gaming on your PC like never before.
Note that not all Xbox One controllers are Bluetooth compatible, so it’s important to check your controller’s version before attempting to connect it wirelessly to your PC. Additionally, make sure your PC has Bluetooth capabilities to establish a successful connection. Don’t worry if your PC doesn’t have built-in Bluetooth; you can always use an external Bluetooth adapter.
So, without further ado, let’s dive into the step-by-step process of connecting your Xbox One controller to your PC via Bluetooth.
Prerequisites
Before you begin the process of connecting your Xbox One controller to your PC via Bluetooth, there are a few prerequisites you need to consider:
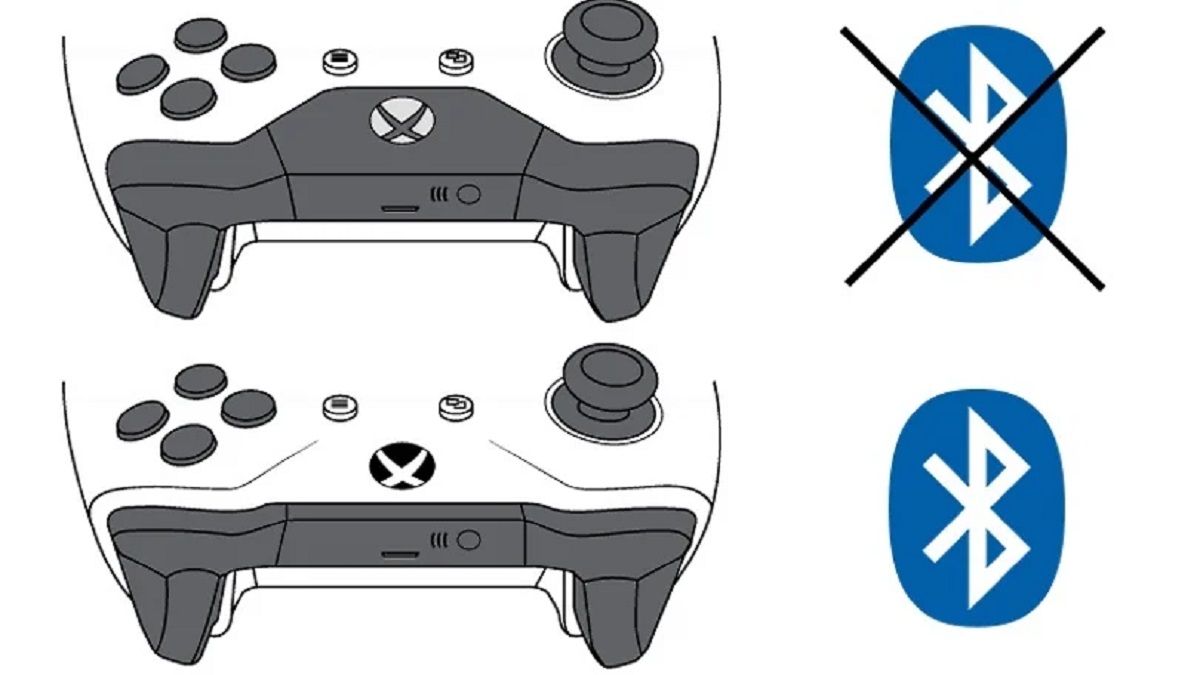
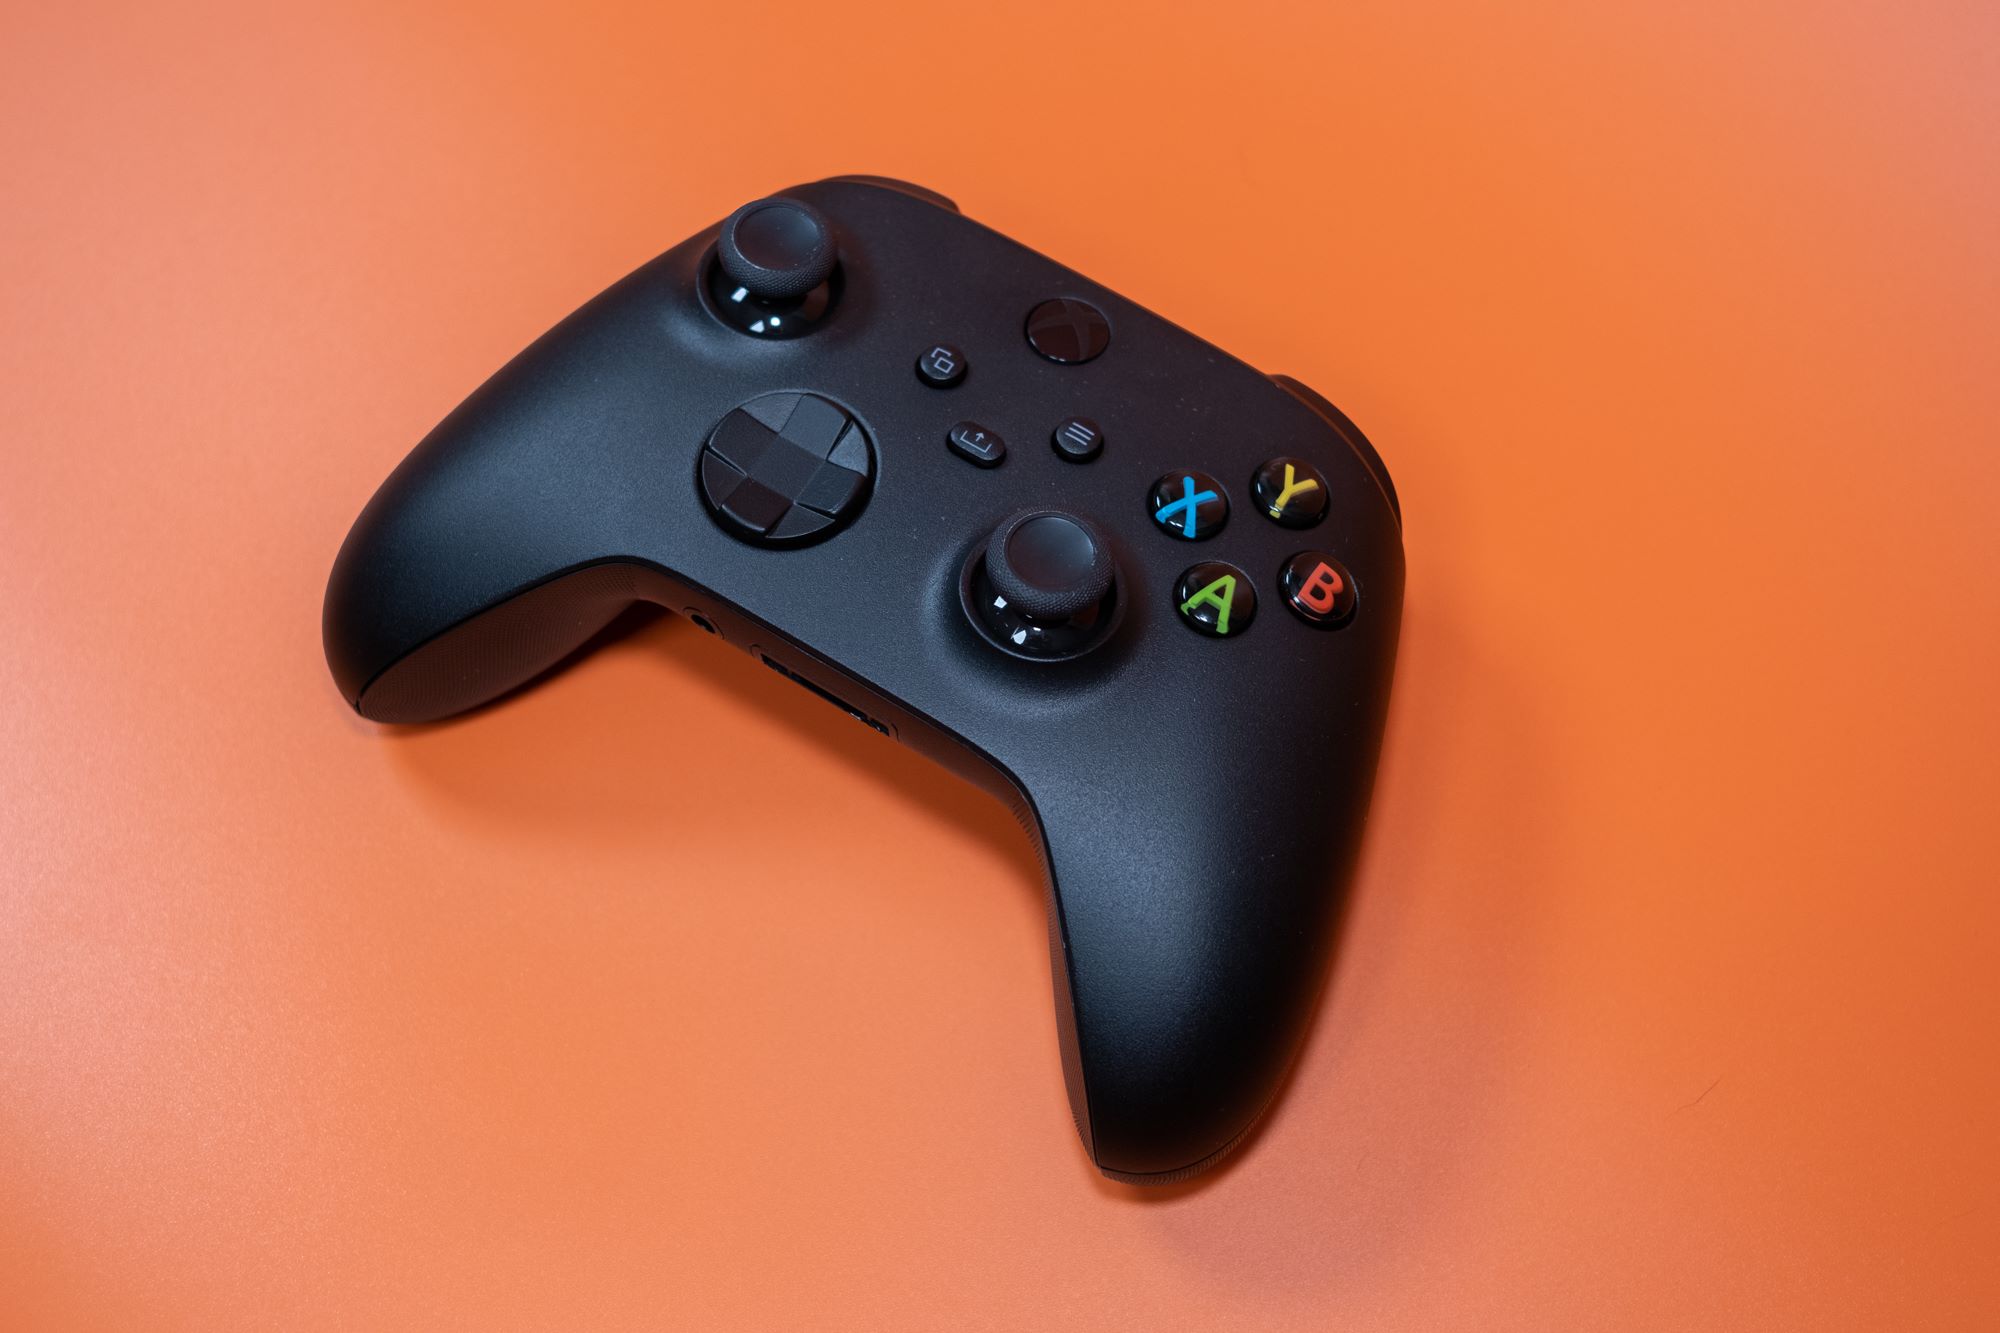
- Xbox One controller with Bluetooth compatibility: Not all Xbox One controllers have built-in Bluetooth. To check if your controller is Bluetooth-enabled, look for the Xbox button on the front of the controller. If the button is surrounded by plastic instead of being part of the faceplate, it means your controller is Bluetooth-compatible.
- PC with Bluetooth capabilities: In order to connect your Xbox One controller wirelessly to your PC, your computer needs to have built-in Bluetooth capabilities. If your PC doesn’t have Bluetooth, you can easily purchase an external Bluetooth adapter that connects to a USB port.
- Latest Windows 10 updates: Make sure that your PC is running the latest version of Windows 10 with all the necessary updates installed. This ensures compatibility and smooth functionality between the Xbox One controller and your PC.
Once you have confirmed that you meet these prerequisites, you’re ready to move on to the next steps and connect your Xbox One controller to your PC via Bluetooth.
Step 1: Check for Bluetooth Compatibility
Before attempting to connect your Xbox One controller to your PC via Bluetooth, it is important to check whether your controller is Bluetooth compatible. Not all Xbox One controllers have built-in Bluetooth capabilities, so this step is crucial to ensure a successful connection.
Here’s how you can check for Bluetooth compatibility on your Xbox One controller:
- Inspect the controller: Examine the front of your controller and look for the Xbox button. If the Xbox button is part of the faceplate, it means your controller does not have built-in Bluetooth. However, if the Xbox button is surrounded by plastic and is separate from the faceplate, your controller is Bluetooth compatible.
- Check the model and version: If you are unsure whether your controller has Bluetooth, you can also check the model and version information. The newer Xbox One controllers, such as the Xbox One S and Xbox One Elite Series 2, have Bluetooth capabilities.
If you have determined that your Xbox One controller is Bluetooth-compatible, you can proceed to the next steps to connect it to your PC. However, if your controller does not have Bluetooth, you can still connect it to your PC using a wired connection.
Now that you have verified the Bluetooth compatibility of your Xbox One controller, let’s move on to the next step of putting the controller in pairing mode.
Step 2: Put the Xbox One Controller in Pairing Mode
In order to connect your Xbox One controller to your PC via Bluetooth, you need to put the controller in pairing mode. This allows your PC to discover and establish a wireless connection with the controller. Follow the steps below to put your Xbox One controller in pairing mode:
- Turn on the controller: Press and hold the Xbox button on your controller to power it on.
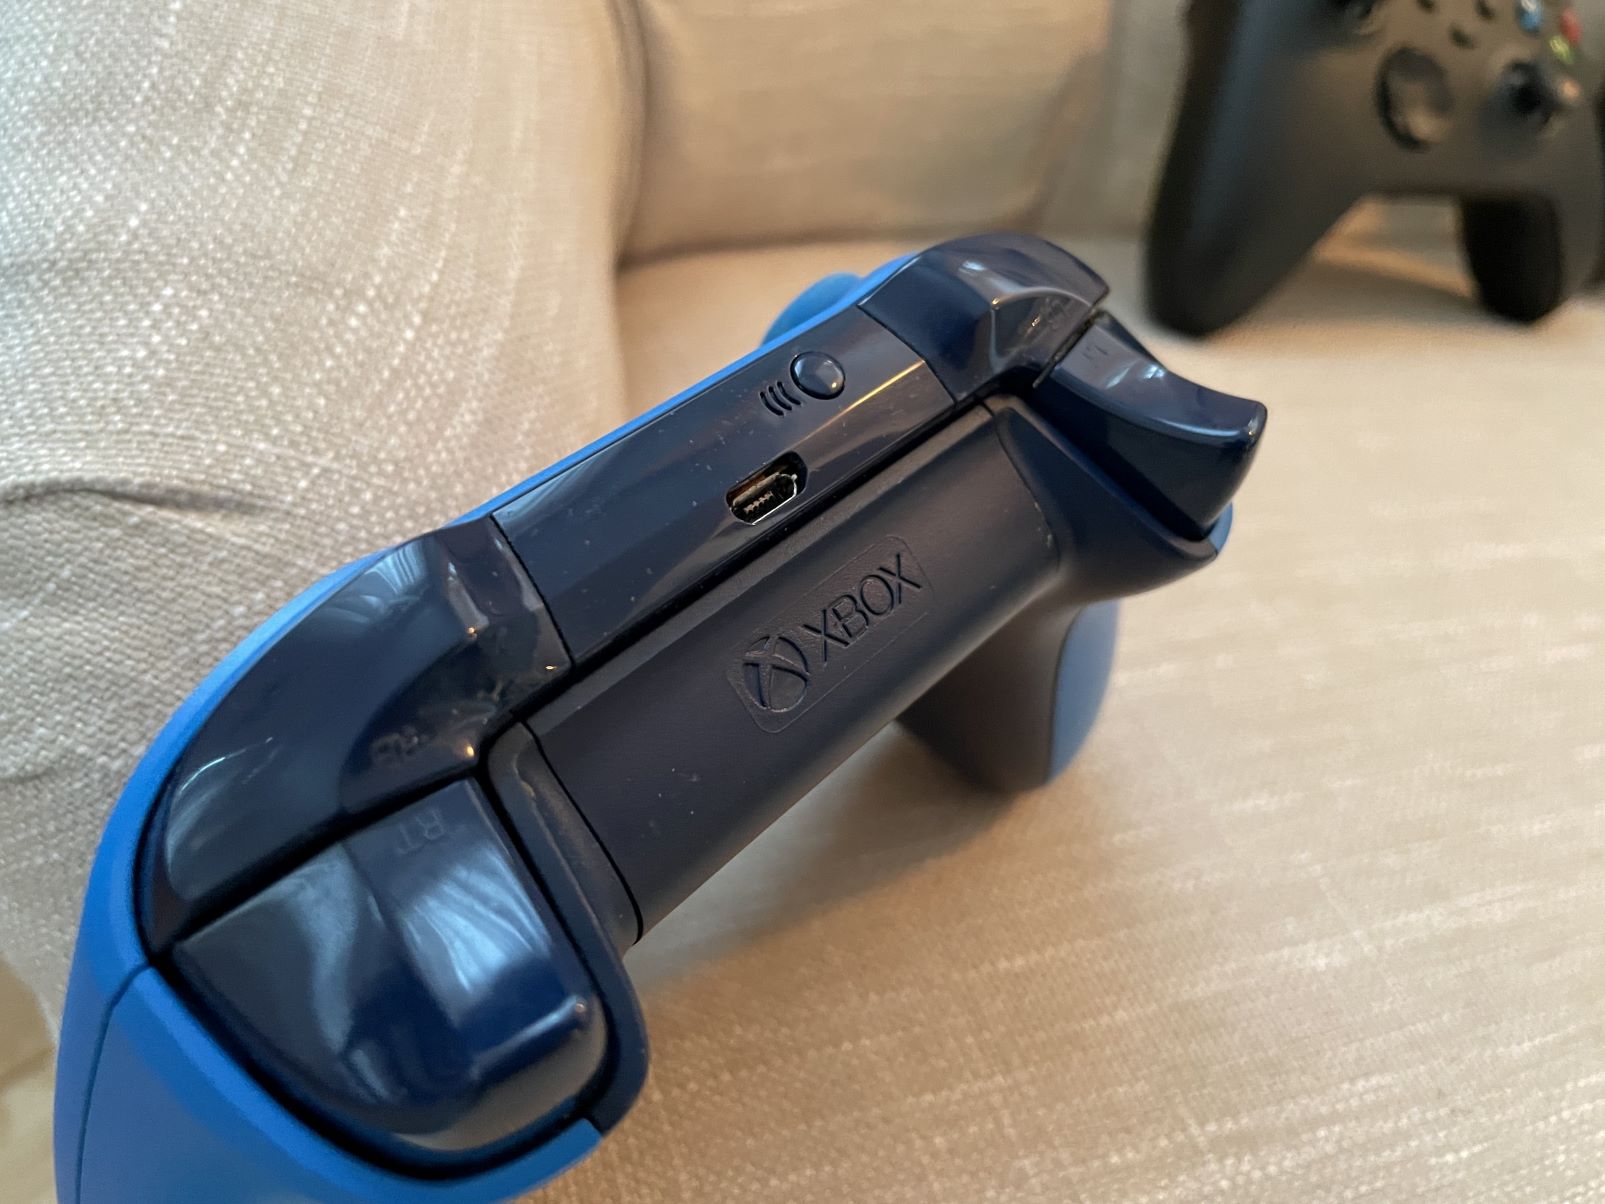
- Activate pairing mode: Locate the small circular button near the top of the controller, next to the USB port. This is the Pairing button.
- Press the Pairing button: Press and hold the Pairing button for a few seconds until the Xbox button begins to flash rapidly. This indicates that the controller is now in pairing mode.
After successfully activating pairing mode on your Xbox One controller, it is now ready to connect to your PC. Keep the controller nearby as you proceed to the next step.
Now that your Xbox One controller is in pairing mode, you can move on to the next step of connecting the controller to your PC using Bluetooth.
Step 3: Connect the Controller to Your PC
With your Xbox One controller in pairing mode, it’s time to connect it to your PC using Bluetooth. Follow the steps below to establish a wireless connection between your controller and PC:
- Open the Settings menu: On your PC, click on the Start menu and select “Settings” (represented by a gear icon).
- Go to Devices: In the Settings menu, click on “Devices” to access the Bluetooth & other devices settings.
- Enable Bluetooth: In the Bluetooth & other devices settings, make sure the Bluetooth toggle is switched on. This enables your PC to search for and connect to Bluetooth devices.
- Add a device: Click on “Add Bluetooth or other device” to start the device discovery process.
- Select Xbox Wireless Controller: In the Add a device window, click on “Bluetooth” to search for Bluetooth devices. It may take a moment for the PC to detect your Xbox One controller.
- Pair the controller: Once your Xbox One controller appears in the list of available devices, click on it to initiate the pairing process. Follow any on-screen prompts to complete the pairing.
- Wait for the connection: After successful pairing, your PC will establish a connection with the Xbox One controller. This may take a few seconds.
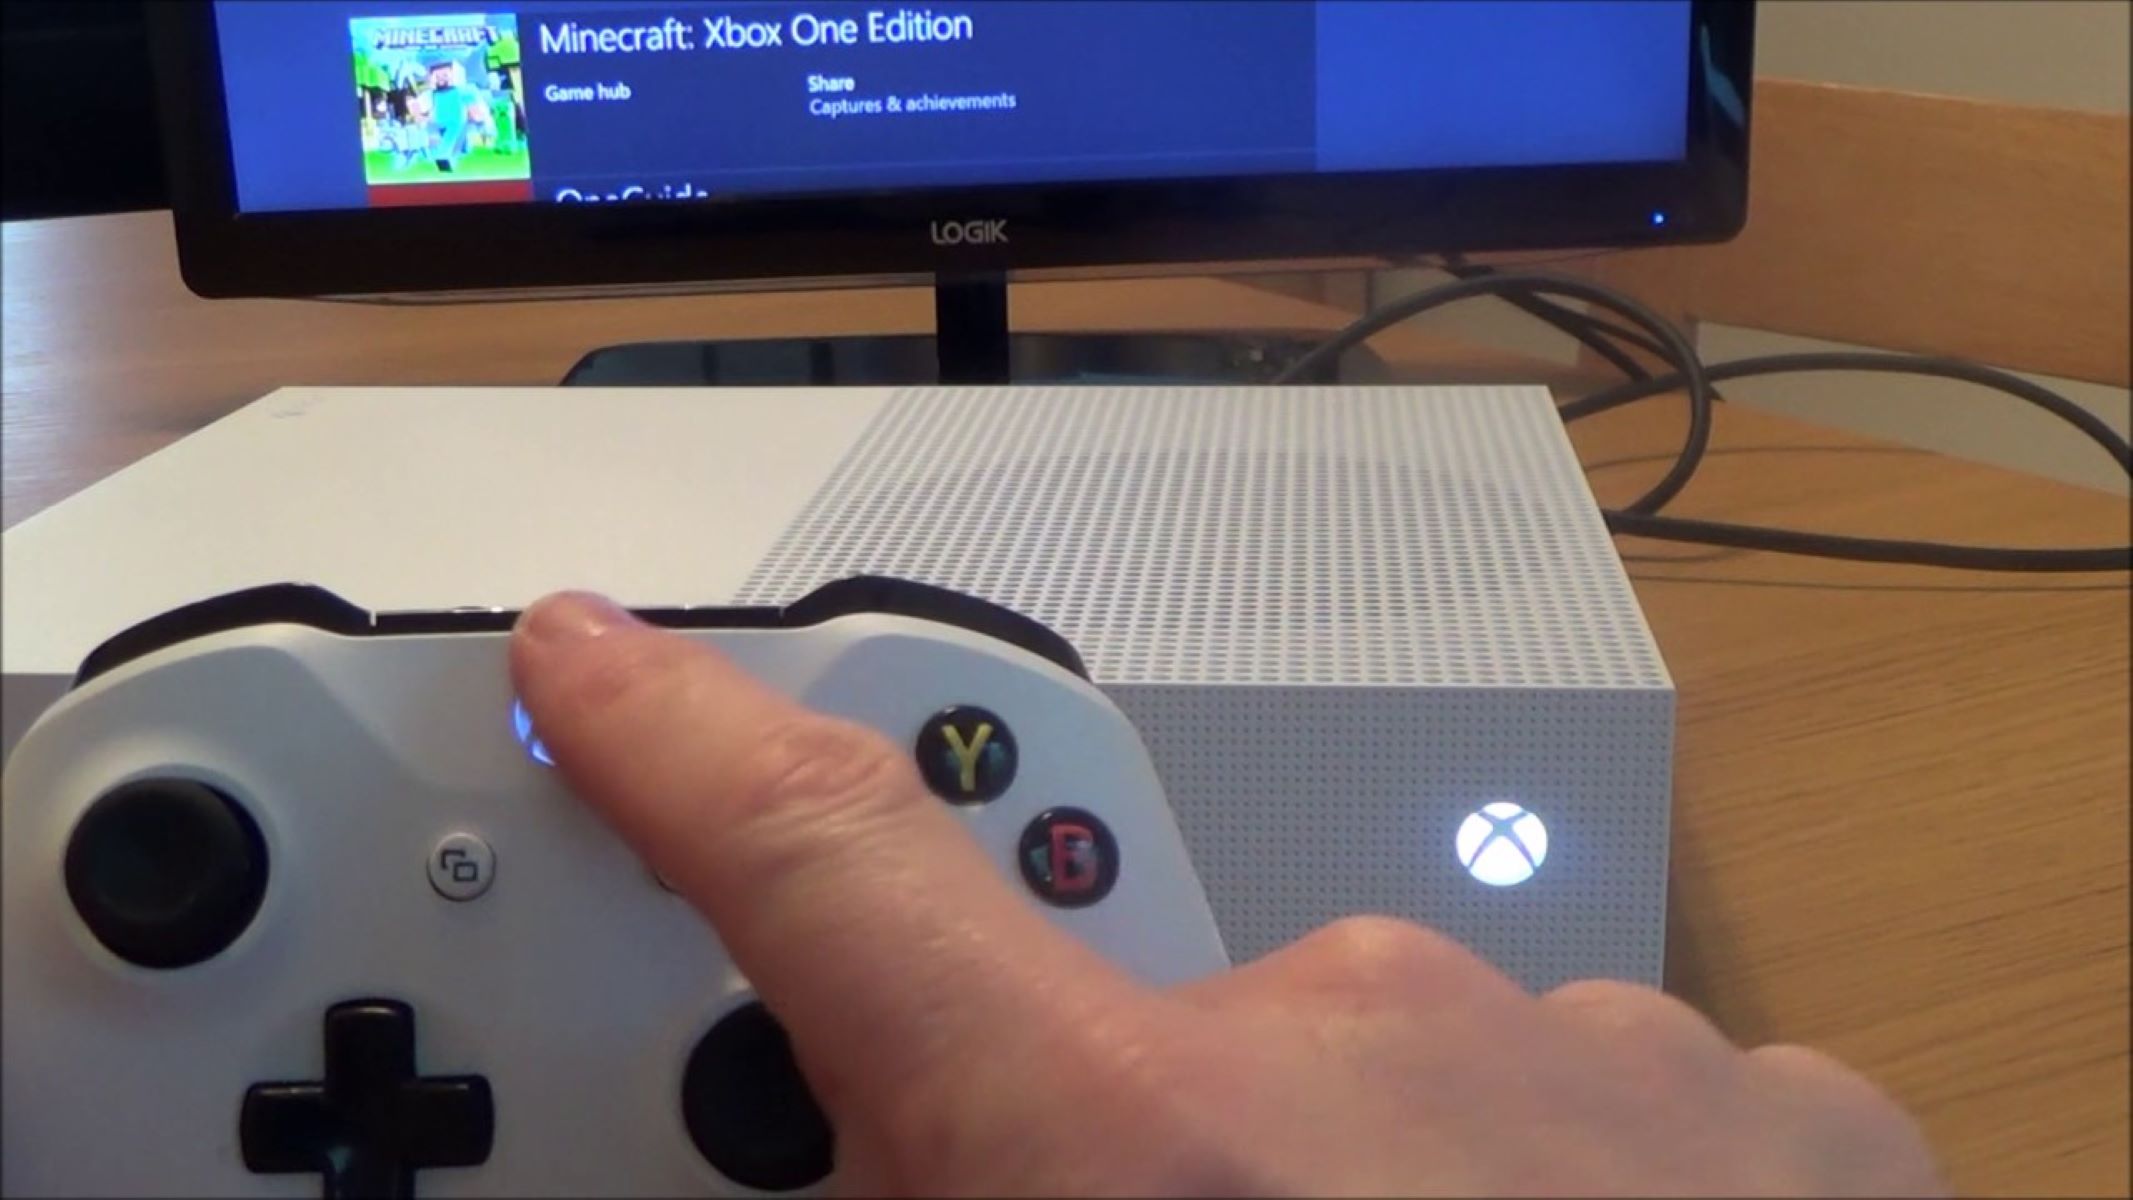
Once the connection is established, your Xbox One controller will be ready to use with your PC. The Xbox button on the controller should now be lit, indicating a successful connection.
Congratulations! You have successfully connected your Xbox One controller to your PC via Bluetooth. Now it’s time to test the connection and ensure everything is working properly.
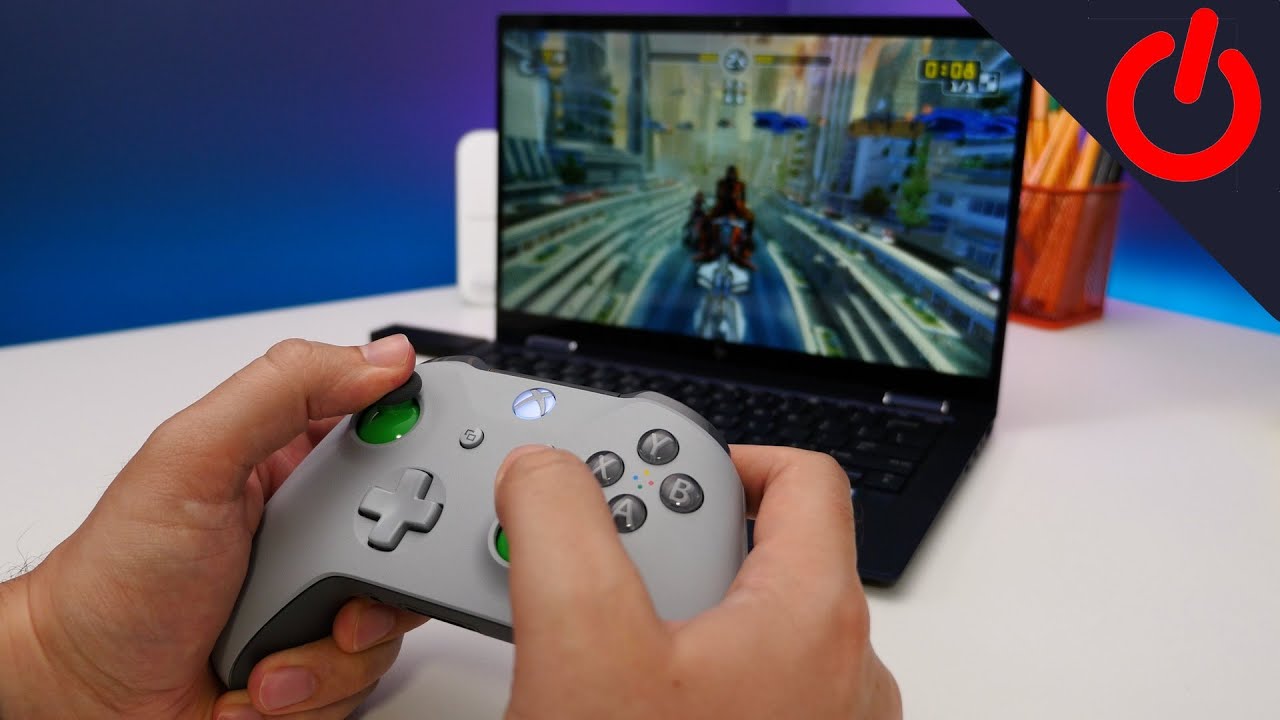
Step 4: Test the Controller Connection
After connecting your Xbox One controller to your PC via Bluetooth, it’s important to test the controller’s connection to ensure that it is functioning correctly. Follow the steps below to test the connection:
- Launch a game or application: Open a game or application on your PC that supports controller input. This can be a PC game or even an emulator.
- Check controller settings: Within the game or application, navigate to the settings menu and look for controller settings or input options. Make sure the game recognizes your Xbox One controller.
- Try the controller inputs: Test the various buttons, triggers, and analog sticks on your Xbox One controller to ensure that they are responsive and properly mapped within the game or application.
- Adjust controller settings if necessary: If you encounter any issues with the controller inputs or feel that the button mappings are incorrect, you may need to adjust the controller settings within the game or application.
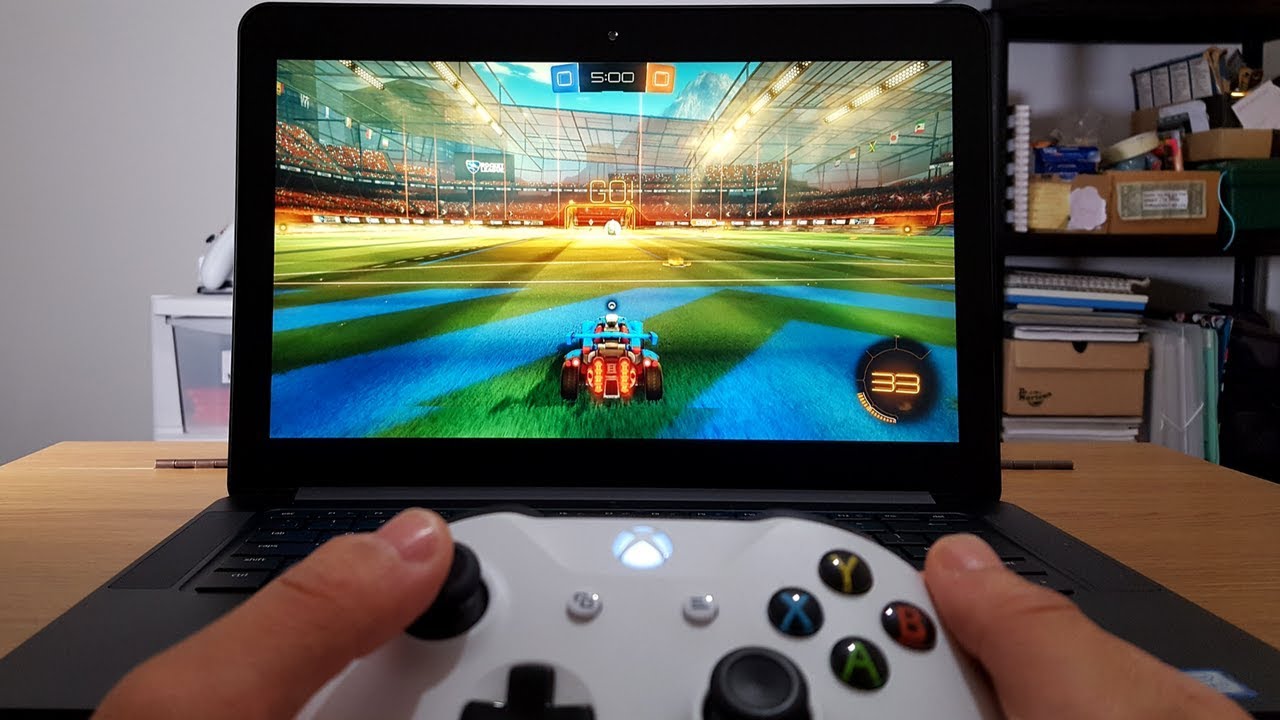
- Enjoy gaming with your Xbox One controller: Once you have confirmed that the controller is functioning correctly, you can now enjoy gaming on your PC using the comfort and precision of your Xbox One controller.
If you experience any issues with the controller connection or functionality, make sure that your PC has all the necessary updates installed, including the latest Xbox One controller drivers. This will ensure optimal performance and compatibility between your Xbox One controller and your PC.
Now that you have tested the connection and ensured that everything is working properly, you are ready to enjoy gaming or any other applications that support controller input with your Xbox One controller connected to your PC via Bluetooth.
Troubleshooting Common Issues
While connecting your Xbox One controller to your PC via Bluetooth is a straightforward process, there may be some common issues that you might encounter. Here are a few troubleshooting tips to help resolve these issues:
- Ensure Bluetooth is enabled: Double-check that the Bluetooth toggle on your PC is turned on. Sometimes, it may accidentally be disabled, preventing your PC from detecting the Xbox One controller.
- Update controller firmware: It’s essential to keep your Xbox One controller firmware up to date. Visit the official Xbox support website and download the latest firmware for your controller.
- Restart your PC: A simple restart can often resolve connectivity issues. Restart your PC and try connecting the controller again.
- Remove interference: Make sure there are no other devices or objects that could be causing interference with the Bluetooth signal. Move away from wireless routers, cordless phones, or other devices that emit strong wireless signals.
- Check Bluetooth range: If the controller is not connecting, move closer to your PC to ensure that the Bluetooth signal is within range. Sometimes, a weak Bluetooth connection can cause connection issues.
- Reset the controller: If your Xbox One controller is still not connecting, try resetting it. Locate the small pinhole on the back of the controller and use a paperclip or a similar object to press the reset button for a few seconds. Then try to connect the controller again.
- Try a different USB port: If you are using an external Bluetooth adapter, try plugging it into a different USB port. Sometimes, USB ports can experience connectivity issues.
- Update Windows: Ensure that your PC is running the latest version of Windows with all the necessary updates installed. Outdated operating systems can sometimes cause compatibility issues.
If you are still experiencing difficulties connecting your Xbox One controller to your PC via Bluetooth, consider seeking further assistance from Microsoft support or online forums dedicated to Xbox and PC gaming. They may provide additional troubleshooting steps or solutions specific to your situation.
By following these troubleshooting tips, you can overcome common issues and ensure a successful connection between your Xbox One controller and your PC.
Conclusion
Connecting your Xbox One controller to your PC via Bluetooth opens up a wide range of gaming possibilities and provides you with the convenience and comfort of using a console controller. With just a few simple steps, you can enhance your gaming experience on your PC.
In this article, we walked you through the process of connecting your Xbox One controller to your PC via Bluetooth. We discussed the prerequisites, checked for Bluetooth compatibility, put the controller in pairing mode, connected the controller to your PC, and tested the controller connection. We also provided troubleshooting tips for common issues you might encounter.
Remember, not all Xbox One controllers have built-in Bluetooth, so it’s important to check the compatibility of your controller before attempting to connect it wirelessly. Additionally, ensure that your PC has Bluetooth capabilities or use an external Bluetooth adapter if necessary.
By following the steps outlined in this article and troubleshooting any potential issues, you can successfully connect your Xbox One controller to your PC via Bluetooth and enjoy gaming with the precision and comfort you desire.
So, grab your Xbox One controller, follow the steps, and embark on exciting gaming adventures on your PC!