Introduction
Connecting a wireless Xbox One controller to your PC opens up a world of possibilities for gaming and entertainment. Whether you want to enjoy your favorite Xbox games on your computer or navigate through media apps from the comfort of your couch, the wireless functionality of the Xbox One controller makes it a versatile tool for PC gamers.
In this guide, we will walk you through the steps to connect your wireless Xbox One controller to your PC. Don’t worry if you’re not a tech-savvy person – the process is relatively straightforward and doesn’t require any complex programming knowledge.
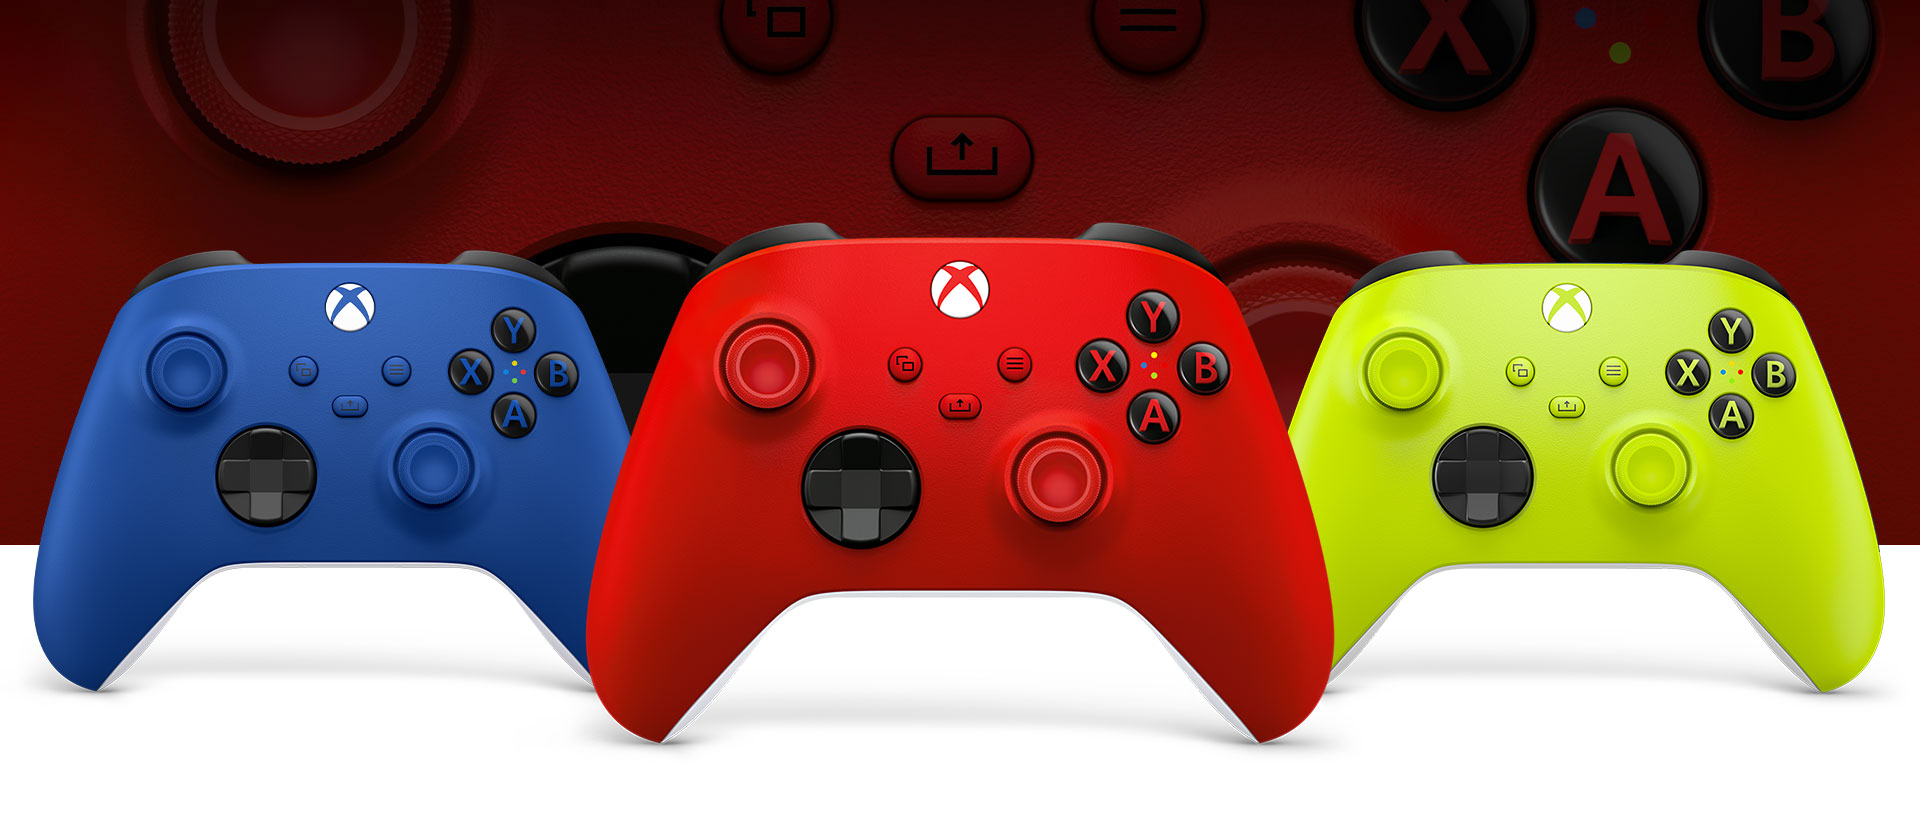
Before we begin, it’s important to note that there are two types of Xbox One controllers: wired and wireless. This guide specifically focuses on connecting the wireless variant of the controller to your PC. To ensure you have the correct controller, look for the Xbox logo button located in the center of the controller’s faceplate.
If you’re ready to unleash the full potential of your Xbox One controller on your PC, let’s dive into the step-by-step process of connecting it wirelessly. So grab your controller and follow along!
Step 1: Ensure your Xbox One controller is wireless
Before you begin the process of connecting your Xbox One controller to your PC, it is essential to confirm that you have the wireless variant of the controller. The wired and wireless controllers have slight physical differences, and it is crucial to have the correct one to follow this guide.
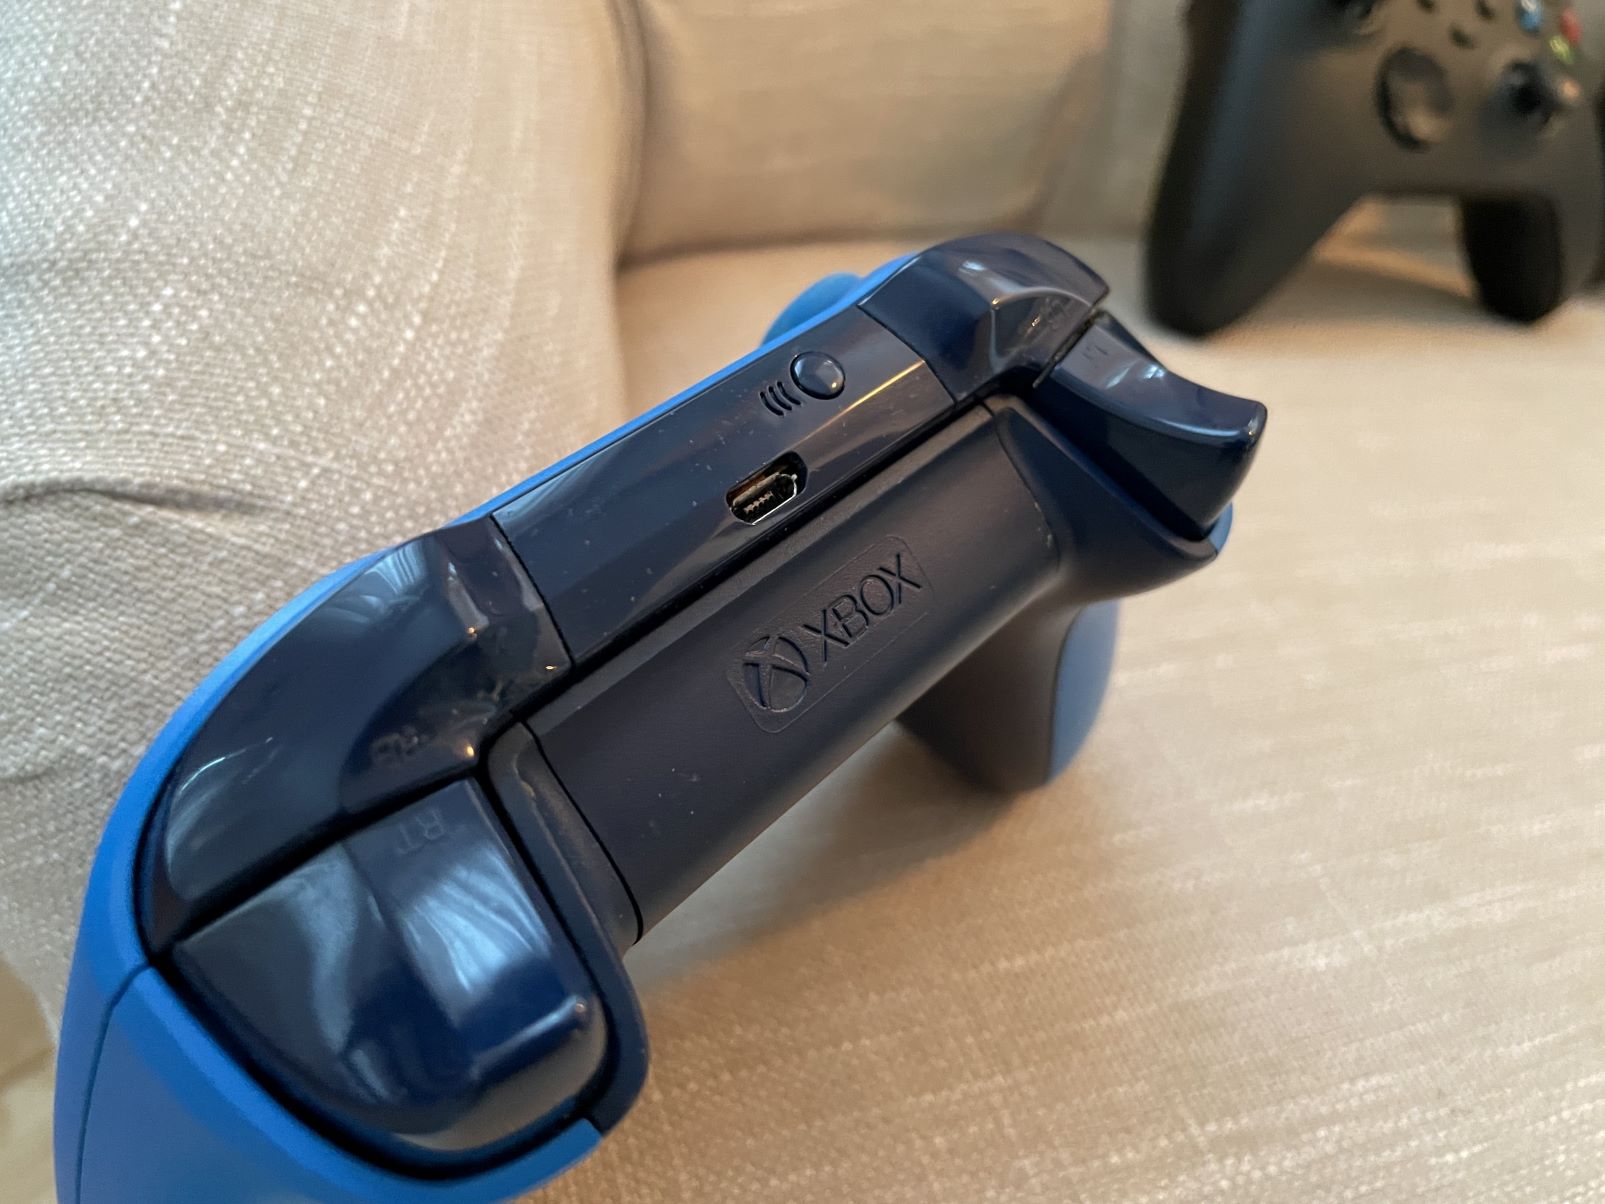
To identify if your controller is wireless, look for the Xbox logo button located in the center of the faceplate. Only the wireless controllers have this button, which functions as the power button and connects the controller to your PC.
If your controller does not have the Xbox logo button and instead has a micro USB port on the top, it is the wired version and not suitable for wireless connection to your PC. In this case, consider getting a wireless Xbox One controller or a wireless adapter to enable wireless functionality.
It’s also worth mentioning that if your Xbox One controller is already wirelessly connected to your Xbox console, you will need to disconnect it before attempting to connect it to your PC. This is because the controller can only be connected to one device at a time. So, if it’s currently connected to your Xbox console, disconnect it by turning off the console or removing the batteries from the controller.
Once you have confirmed that you have the wireless Xbox One controller, and it is not currently connected to your Xbox console, you’re ready to proceed to the next step: installing the Xbox Wireless Adapter.
Step 2: Install the Xbox Wireless Adapter
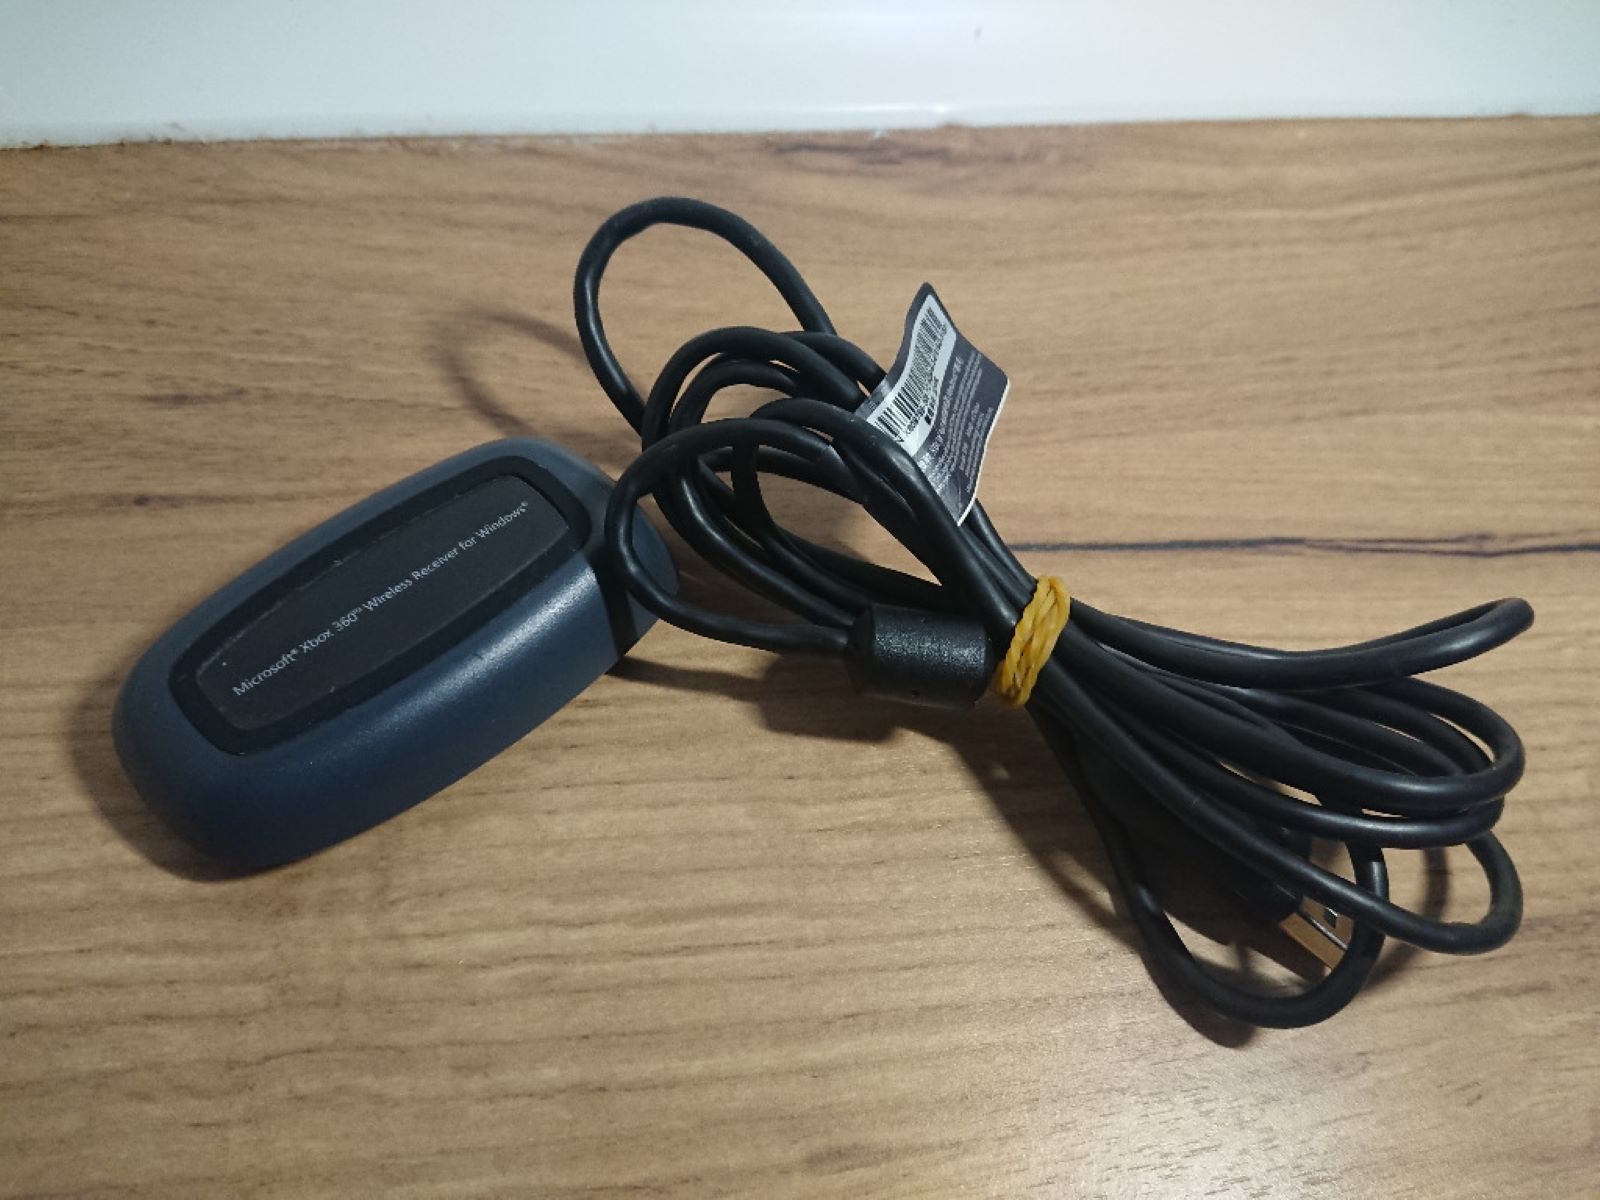
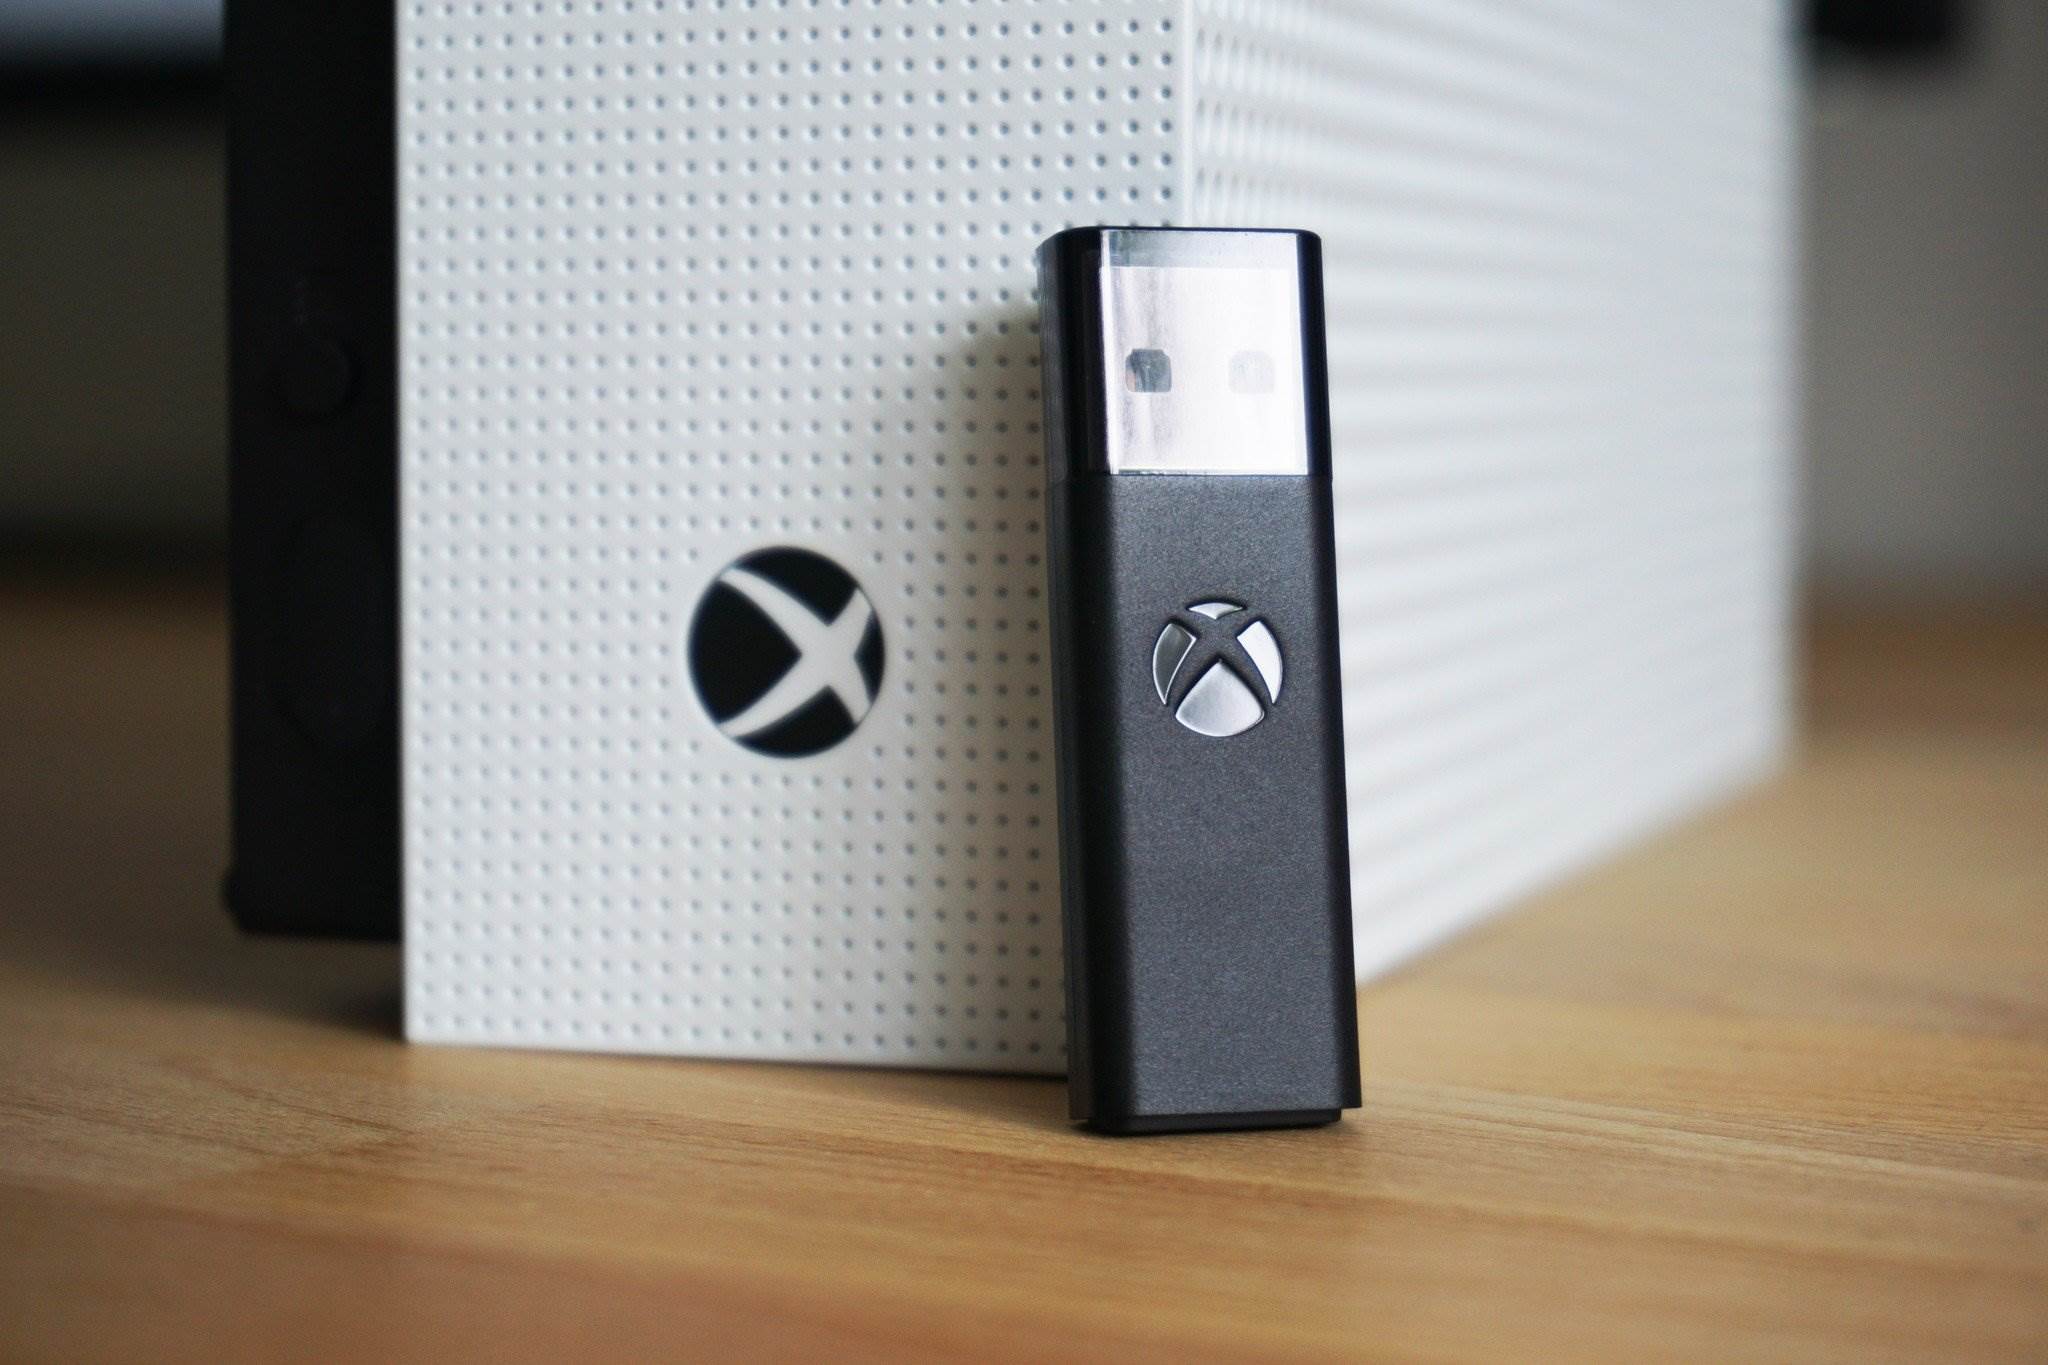
In order to connect your wireless Xbox One controller to your PC, you will need to install the Xbox Wireless Adapter. This adapter allows your PC to communicate with the controller wirelessly, providing a seamless gaming experience.
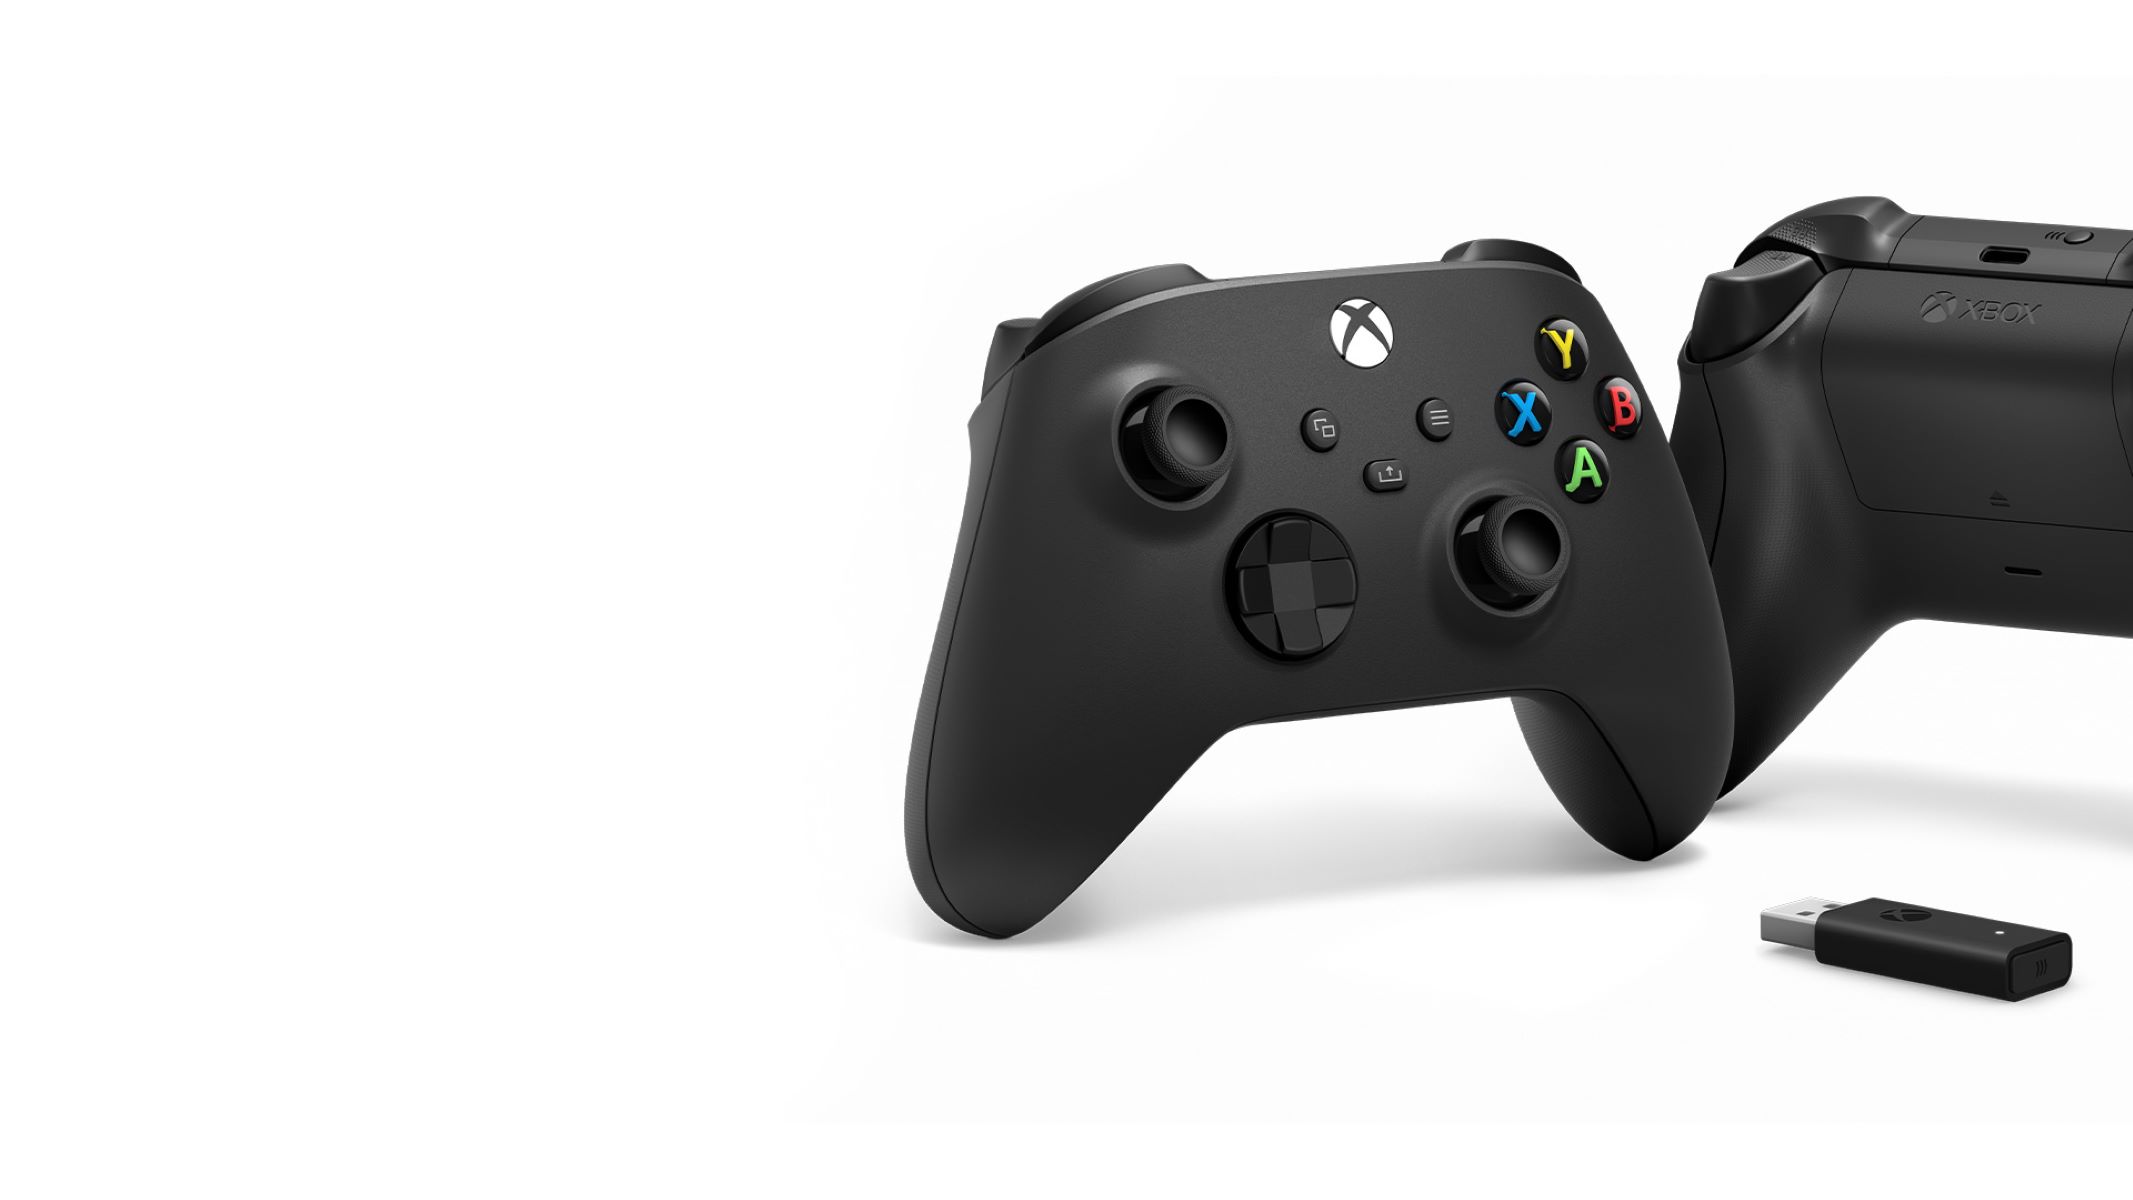
The Xbox Wireless Adapter is a small USB device that plugs into an available USB port on your PC. It acts as a receiver for the wireless signal from your Xbox One controller, allowing it to communicate with your PC. The adapter is specifically designed for use with Xbox One controllers and provides a reliable and stable connection.
To install the Xbox Wireless Adapter, simply follow these steps:
- Locate an available USB port on your PC.
- Take the Xbox Wireless Adapter and insert it into the USB port. Make sure it is firmly plugged in.
- Your PC should automatically detect the adapter and begin installing the necessary drivers. If prompted, follow any on-screen instructions to complete the installation process.
Once the Xbox Wireless Adapter is installed, you’re one step closer to connecting your wireless Xbox One controller to your PC. The adapter provides the necessary wireless functionality to establish a connection between your controller and your PC. Now, let’s move on to the next step: connecting the Xbox Wireless Adapter to your PC.
Step 3: Connect the Xbox Wireless Adapter to your PC
Now that you have installed the Xbox Wireless Adapter, it’s time to connect it to your PC. This step is crucial as it establishes the wireless link between your Xbox One controller and your computer.
To connect the Xbox Wireless Adapter to your PC, follow these simple steps:
- Ensure that your PC is switched on and running.
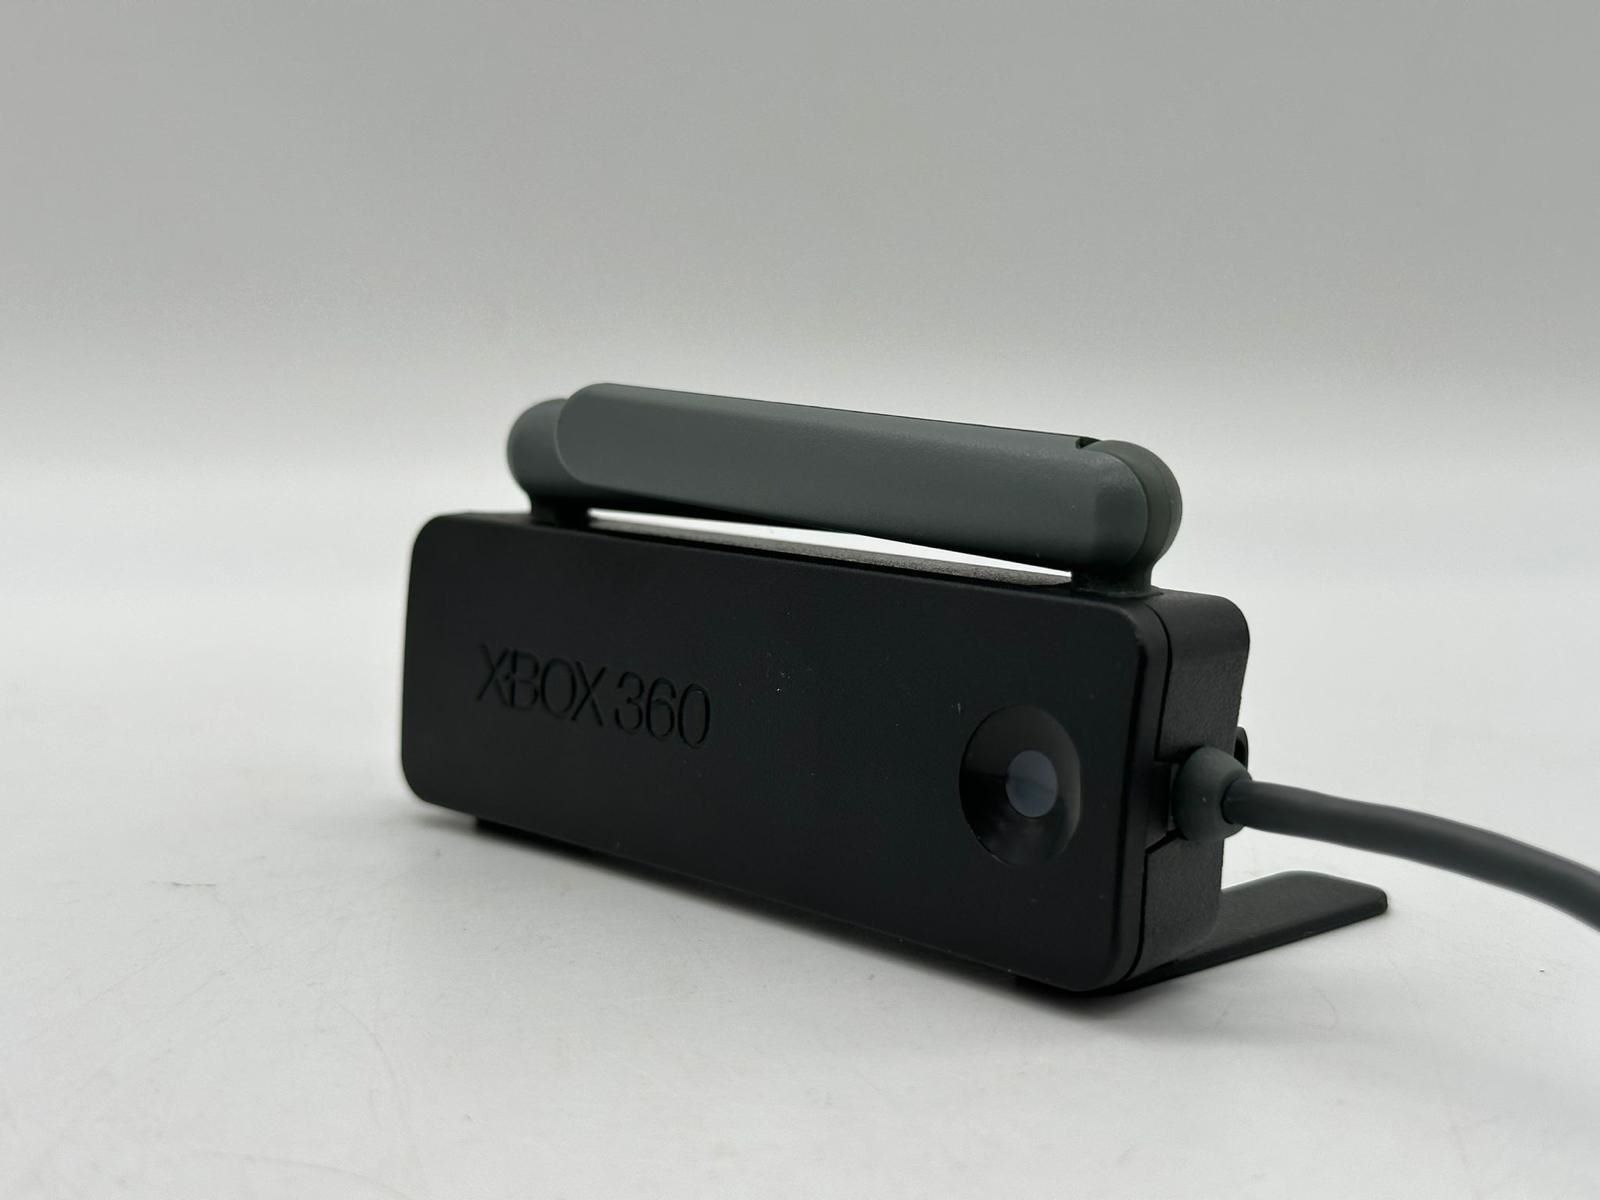
- Take the Xbox Wireless Adapter and locate the sync button located on the side or the bottom of the device. It is a small circular button.
- Press and hold the sync button on the Xbox Wireless Adapter for a few seconds. The LED light on the adapter will start blinking indicating that it is in pairing mode.
- Now, locate the sync button on your Xbox One controller. It is a small button located near the top edge of the controller, above the micro USB port.
- Press and hold the sync button on your Xbox One controller for a few seconds. The Xbox logo button on the controller will start flashing.
- Wait for both the Xbox Wireless Adapter and the Xbox One controller to establish a connection. Once connected, the LED light on the adapter will become solid, and the Xbox logo button on the controller will stay lit, indicating a successful pairing.
Now that you have successfully connected the Xbox Wireless Adapter to your PC, and paired it with your Xbox One controller, you are ready to move on to the next step: turning on your Xbox One controller.
Step 4: Turn on your Xbox One controller
With the Xbox Wireless Adapter connected to your PC and your Xbox One controller successfully paired, it’s time to turn on your controller and activate the wireless connection.
To turn on your Xbox One controller, follow these steps:
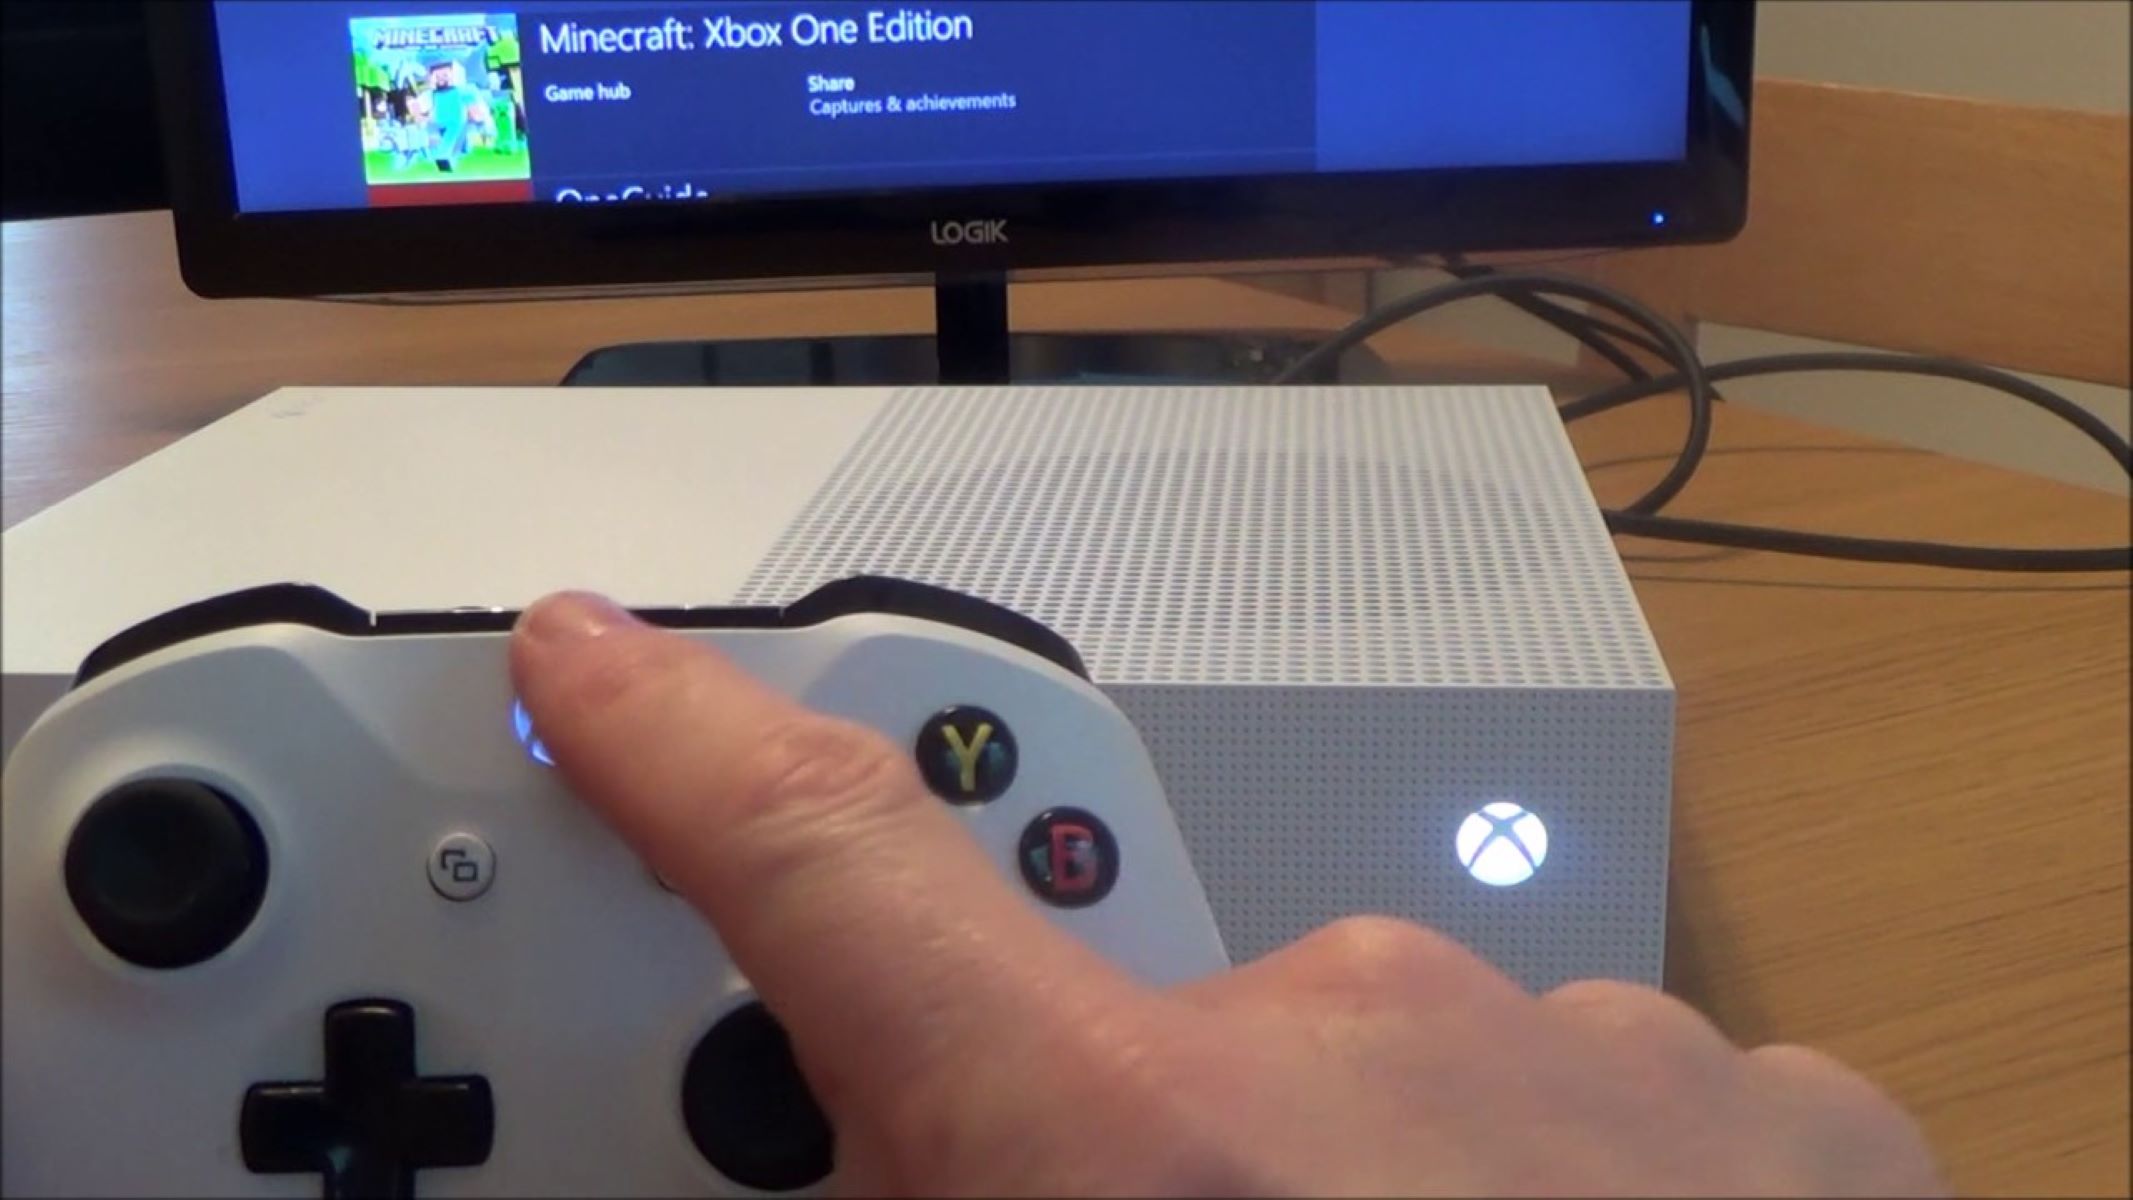
- Locate the Xbox logo button on the center of your Xbox One controller’s faceplate.
- Press and hold the Xbox logo button for a couple of seconds until the controller powers on.
- Once turned on, the Xbox logo button will stay lit, indicating that the controller is ready for use.
By turning on your Xbox One controller, you activate the wireless connection and allow it to communicate with your PC through the Xbox Wireless Adapter.
It’s worth noting that if your Xbox One controller does not turn on or if it doesn’t stay connected, you may need to troubleshoot the issue. Ensure that your controller has fresh batteries or is properly charged if you’re using a rechargeable battery pack. Additionally, check the connections between the Xbox Wireless Adapter and your PC to ensure they are secure.
Now that your Xbox One controller is switched on and ready, let’s proceed to the next step: preparing your PC for pairing.
Step 5: Prepare your PC for pairing
To successfully pair your Xbox One controller with your PC, you need to ensure that your computer is ready for the connection. This step involves checking the Bluetooth settings on your PC and enabling the necessary options for pairing.
Follow these steps to prepare your PC for pairing:
- Click on the “Start” menu on your PC and open the “Settings” app.
- In the Settings window, navigate to the “Devices” section.
- Within the Devices section, click on “Bluetooth & other devices” from the left-hand menu.
- Make sure that the Bluetooth toggle switch is turned on. If it’s already on, you can proceed to the next step. If it’s off, toggle it on to enable Bluetooth functionality.
- Underneath the Bluetooth toggle switch, click on the “Add Bluetooth or other device” button.
- In the “Add a device” window, select the “Everything else” option.
- Your PC will now start searching for Bluetooth devices. Wait until it detects your wireless Xbox One controller.
- Once your Xbox One controller appears in the list of available devices, click on it.
- Your PC will initiate the pairing process with the controller. Wait for the pairing to complete.
By preparing your PC for pairing, you ensure that the necessary settings are enabled to establish a connection between your computer and the wireless Xbox One controller.
If you encounter any issues during the pairing process, make sure that your PC’s Bluetooth is functioning correctly and that your Xbox Wireless Adapter is properly connected. Troubleshooting steps may vary depending on your specific PC and operating system, so consult the manufacturer’s documentation or online resources for further assistance.
Now that your PC is ready for pairing, let’s move on to the next step: starting the pairing process between your controller and PC.
Step 6: Start pairing your controller with your PC
Now that your PC is prepared for pairing, it’s time to initiate the connection between your Xbox One controller and your computer. By following these steps, you’ll be able to successfully pair the controller with your PC:
- Make sure your wireless Xbox One controller is turned on and in pairing mode. You can do this by pressing and holding the sync button located near the top edge of the controller until the Xbox logo button starts flashing.
- On your PC, within the “Add a device” window where your Xbox One controller was discovered, click on the “Xbox Wireless Controller” option once it appears.
- Your PC will start the pairing process and attempt to establish a connection with the Xbox One controller. Be patient and wait for the pairing to complete.
- Once the pairing is successful, your PC will display a message indicating that the Xbox Wireless Controller is now connected.
Congratulations! You have now successfully paired your wireless Xbox One controller with your PC. The controller is ready to be used for gaming or navigating through applications and media on your computer.
Keep in mind that if you ever want to connect your Xbox One controller to a different PC, you will need to repeat these pairing steps.
If the pairing process fails or you encounter any issues, make sure that both your Xbox One controller and PC are within range of each other and that there are no other devices interfering with the wireless connection.
Now that your Xbox One controller is paired with your PC, it’s time to move on to the next step: testing the connection to ensure everything is working as expected.
Step 7: Test the connection
After successfully pairing your wireless Xbox One controller with your PC, it’s important to test the connection to ensure that everything is functioning as expected. By performing a quick test, you can verify that the controller is responsive and that all the buttons and triggers are working correctly.
Follow these steps to test the connection between your controller and PC:
- Launch a game or an application that supports gamepad input on your PC.
- Hold the Xbox One controller in your hands and press various buttons, triggers, and joysticks to check if they are registering input on your PC.
- Move the joysticks in different directions to ensure that the on-screen character or cursor responds accordingly.
- Test the vibration feature of the controller, if applicable, to see if it is working properly.
- Play the game or use the application for a few minutes to further evaluate the responsiveness and performance of the controller.
If you encounter any issues during the testing process, such as unresponsive buttons or a lack of vibration, you may need to troubleshoot the controller or adjust the settings within the game or application you are using.
It’s also worth mentioning that some games or applications may require you to manually configure the controller settings within their options or settings menu. Take a look at the game or application’s documentation or online resources for guidance on how to properly set up your Xbox One controller for optimal gaming experience.
By testing the connection and ensuring that the controller is working as expected, you can now fully enjoy gaming and other activities on your PC using your wireless Xbox One controller.
That concludes the step-by-step process of connecting a wireless Xbox One controller to your PC. Whether you’re playing games, streaming media, or simply navigating your PC from a distance, the wireless functionality of the Xbox One controller provides a convenient and immersive experience.
Conclusion
Connecting a wireless Xbox One controller to your PC opens up a whole new world of gaming and entertainment possibilities. By following the step-by-step process outlined in this guide, you can easily pair your controller with your PC and enjoy the freedom of wireless gameplay.
First, ensure that you have the wireless variant of the Xbox One controller. It can be identified by the Xbox logo button located on the faceplate. If you have the correct controller, proceed with the installation of the Xbox Wireless Adapter. This small USB device serves as a receiver for the wireless signal between your controller and PC.
Once the Xbox Wireless Adapter is installed, connect it to your PC and turn on your Xbox One controller. Make sure your PC is prepared for pairing by enabling Bluetooth and adding a new device. Then, initiate the pairing process between your controller and PC.
Finally, test the connection by using the Xbox One controller to play games or navigate through applications on your PC. Ensure that all buttons, triggers, and joysticks are responsive and that the controller is working as expected.
Remember, if you encounter any issues during any of the steps, consult the documentation or online resources for troubleshooting guidance specific to your PC or controller.
With your wireless Xbox One controller successfully connected to your PC, you can now enjoy a more immersive gaming experience, whether you’re playing your favorite Xbox games or using applications on your computer. So grab your controller, fire up your favorite game, and get ready for a wireless gaming adventure!