Introduction
Welcome to the digital age where we have the convenience of wirelessly connecting our electronic devices for seamless functionality. If you own an iPad and a wireless printer, you might be wondering how you can connect the two to print documents, photos, or any other files directly from your iPad. Fortunately, connecting your iPad to a wireless printer is a relatively simple process that allows you to print with ease.
Gone are the days of having to transfer files to a computer and then connect the printer to the computer for printing. With the advancements in technology, you can now print directly from your iPad without the need for any additional cables or wires. Whether you’re working on a business report, editing photos, or simply want to print out a recipe, connecting your iPad to a wireless printer opens up a world of convenience.
In this article, we will guide you through the step-by-step process of connecting your iPad to a wireless printer. From ensuring printer compatibility to installing the necessary apps and adding the printer to your iPad, we will cover all the essential steps you need to follow. So, without further ado, let’s dive into the details and get your iPad connected to a wireless printer in no time!
Step 1: Ensure Printer Compatibility
The first step to connect your iPad to a wireless printer is to ensure that your printer is compatible with wireless printing. Not all printers have built-in Wi-Fi capabilities, so it’s crucial to check if your printer supports wireless connectivity. Here’s how you can determine if your printer is compatible:
1. Check the printer’s specifications: Look for any indications of wireless printing capabilities in the printer’s manual or specifications. Check if it supports Wi-Fi Direct, AirPrint, or Google Cloud Print, which are common wireless printing technologies.
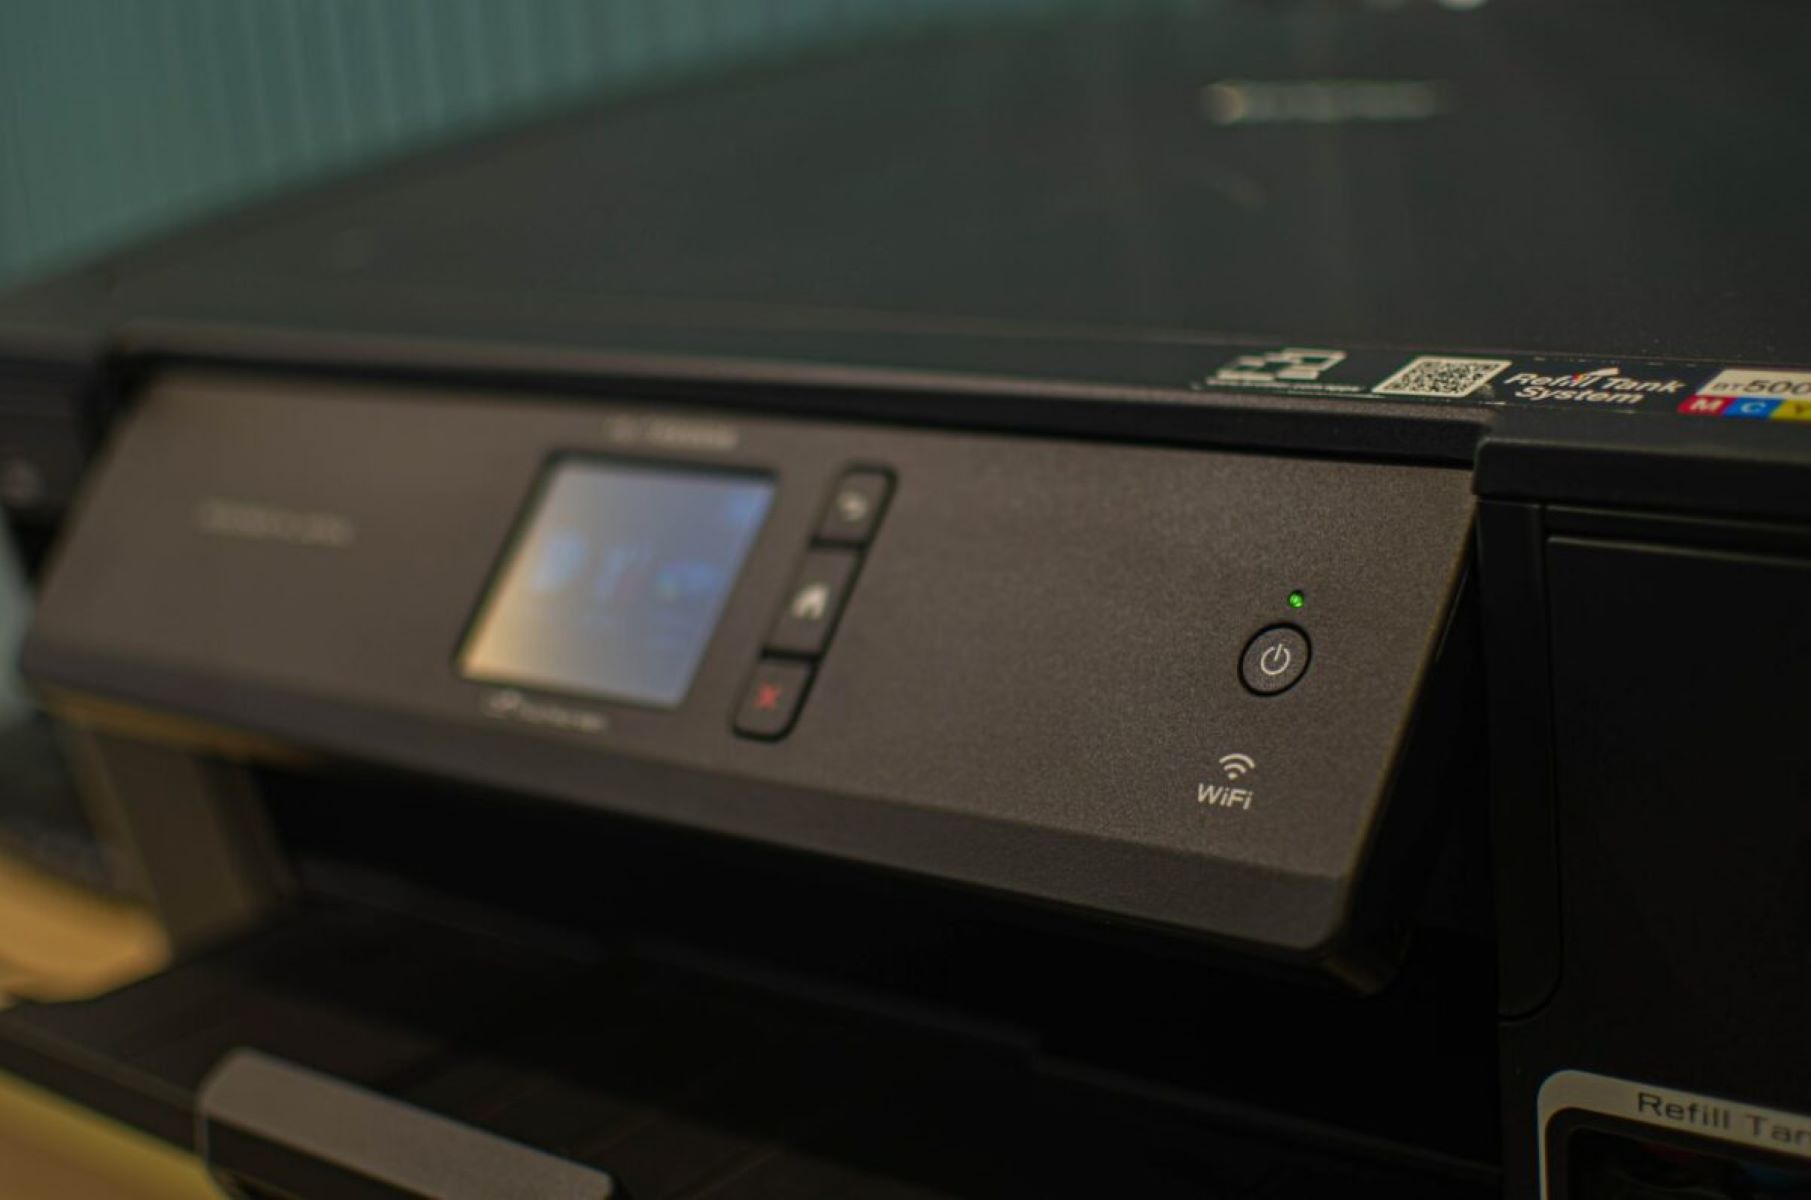
2. Look for a Wi-Fi logo: Most printers with wireless capabilities usually have a Wi-Fi logo on the front or the control panel. This logo indicates that the printer can connect to a Wi-Fi network and supports wireless printing.
3. Check the manufacturer’s website: Visit the manufacturer’s website and search for your printer model. Look for any information about wireless printing or compatible printing apps. The manufacturer’s support page may also provide details on how to connect your specific printer model to an iPad.
If your printer is not compatible with wireless printing, you might need to use an intermediary device, such as a wireless print server, to enable wireless printing. These devices connect to your printer via a USB port and then communicate with your iPad over Wi-Fi. However, do keep in mind that this method adds an extra step and may have limitations compared to directly connecting your iPad to a wireless printer.
Once you have confirmed the compatibility of your printer, you can proceed to the next step, which is connecting the printer to your Wi-Fi network.
Step 2: Connect Printer to Wi-Fi Network
Now that you have ensured the compatibility of your printer, it’s time to connect it to your Wi-Fi network. The process may vary slightly depending on the printer model and brand, but here’s a general outline of the steps:
1. Power on your printer: Ensure that your printer is turned on and connected to a power source.
2. Access the printer’s settings: Use the printer’s control panel or LCD screen to navigate to the Wi-Fi setup or network settings menu. The exact location of these settings may differ, so refer to your printer’s manual if needed.
3. Select your Wi-Fi network: From the available list of networks, select your Wi-Fi network. You may be prompted to enter the network password or security key.
4. Wait for the connection: Once you’ve entered the necessary information, the printer will attempt to connect to your Wi-Fi network. This process may take a few moments, so be patient.
5. Confirm the connection: After successful connection, your printer should display a confirmation message or indicator light to signify that it is now connected to your Wi-Fi network.
It’s important to note that some printers may have a dedicated Wi-Fi setup process that involves using a companion app or connecting to a specific Wi-Fi network provided by the printer itself. Again, consult your printer’s manual or the manufacturer’s website for specific instructions.
By connecting your printer to your Wi-Fi network, you have now laid the foundation for establishing a wireless connection between your iPad and the printer. The next step involves installing a printer app on your iPad for seamless printing.
Step 3: Install Printer App on iPad
To enable printing from your iPad to a wireless printer, you will need to install a printer app that is compatible with both your iPad and printer model. These apps act as a bridge between your iPad and the printer, allowing them to communicate and share print jobs. Here’s how you can install a printer app on your iPad:
1. Open the App Store: Launch the App Store on your iPad by tapping on its icon from the home screen.
2. Search for a printer app: In the App Store’s search bar, type in the name of your printer’s manufacturer or search for “printer app.” A list of printer apps compatible with your printer model should appear.
3. Select and install the app: Browse through the list of available printer apps and choose the one that matches your printer model. Tap on the “Get” or “Install” button next to the app to initiate the installation process. Authenticate the download using Touch ID or Face ID if prompted.
4. Wait for the app to download and install: The printer app will start downloading and installing on your iPad. Once the installation is complete, the app’s icon will appear on your home screen.
5. Set up the printer app: Open the newly installed printer app and follow the on-screen instructions to set it up. This typically involves connecting the app to your wireless printer and configuring any additional settings if required.
Each printer app may have slightly different setup processes and features, so refer to the app’s instructions or the manufacturer’s website for detailed guidance if needed.
By installing a printer app on your iPad, you have now established the necessary software connection between your device and the wireless printer. The next step involves adding the printer to your iPad’s list of available printers.
Step 4: Add Printer to iPad
After installing the printer app on your iPad, the next step is to add the printer to your device. This allows your iPad to recognize and communicate with the wireless printer for printing purposes. Follow these steps to add the printer to your iPad:
1. Open the printer app: Locate the printer app on your iPad’s home screen and tap on its icon to open it.
2. Connect to the same Wi-Fi network: Ensure that your iPad and the wireless printer are connected to the same Wi-Fi network. This is crucial for them to establish a connection.
3. Follow the app’s instructions: The printer app will guide you through the process of adding the printer to your iPad. Typically, it will scan for available printers on the network or prompt you to manually enter the printer’s IP address or name.
4. Select the printer: Once the printer app discovers the printer, it will display a list of available printers. Tap on the printer’s name to select it.
5. Confirm the connection: After selecting the printer, the printer app will establish a connection with the printer and confirm its successful addition to your iPad.
Once the printer is successfully added to your iPad, it will appear as an available printer whenever you print from your iPad’s apps. You can access the printer options and settings directly from the printer app or the print menu of supported apps.
It’s worth noting that some printer apps may also provide additional features like scanning or advanced print settings. Take some time to explore the printer app’s functionalities and customize the print settings according to your preferences.
Congratulations! You have now added the wireless printer to your iPad, enabling you to conveniently print documents, photos, and more directly from your device.
Step 5: Print from iPad
Now that you have successfully added the wireless printer to your iPad, it’s time to put it to use and start printing your documents, photos, and other files. Follow these steps to print from your iPad:
1. Open the app with the content you want to print: Launch the app that contains the file or content you wish to print. It can be a document in a word processing app, a photo in the Photos app, a webpage in a browser, or any other supported content.
2. Access the print menu: Once you have the content on your screen, tap on the “Share” button or look for the “Print” option in the app’s menu. This will open the print menu for that specific app.
3. Select the printer: From the list of available printers, choose the wireless printer that you added in the previous step. You may need to expand or scroll through the list if there are multiple options.
4. Configure print settings (optional): Depending on the app and the content you’re printing, you might have the option to customize print settings such as paper size, number of copies, orientation, color or black and white, and more. Adjust these settings according to your preferences.
5. Start the print job: Once you have configured the print settings, tap on the “Print” button to begin the print job. Your iPad will send the print command to the wireless printer, and it will start printing the selected content.
6. Monitor the print progress: While the printing is in progress, you can typically monitor the print status on your iPad’s screen. Some apps might show a progress bar, while others may display a confirmation message once the print job is completed.
7. Retrieve the printed output: Once the print job is finished, collect your printed documents, photos, or any other printed material from the printer’s output tray. Make sure to check that the printout matches your expectations before continuing.
That’s it! You have successfully printed from your iPad using the wireless printer. Repeat these steps whenever you need to print from your iPad, ensuring that the printer is turned on and connected to the same Wi-Fi network as your device.
Keep in mind that the availability of printing options and settings may vary depending on the app you’re using and the capabilities of your wireless printer. Some apps might offer more advanced print features, such as double-sided printing or specific layout options. Take some time to explore the printing capabilities of different apps to optimize your printing experience.
Conclusion
Congratulations! You have successfully learned how to connect your iPad to a wireless printer. By following the step-by-step guide outlined in this article, you can now enjoy the convenience of printing documents, photos, and other files directly from your iPad without the need for any cables.
We started by ensuring the compatibility of your printer and then proceeded to connect it to your Wi-Fi network. Once the printer was connected, we installed a printer app on your iPad to establish the necessary communication between the two devices. After adding the printer to your iPad, we explored the process of printing from your iPad using the installed printer app.
Printing wirelessly from your iPad opens up a world of convenience and flexibility. Whether you’re on the go, working from different locations, or simply prefer the ease of wireless printing, this method allows you to print with ease and efficiency.
Remember to consult your printer’s manual or the manufacturer’s website for specific instructions tailored to your printer model and brand. Different printer apps may also offer additional features and settings, so take some time to explore and customize your print options according to your preferences.
With the knowledge and skills gained from this article, you can now confidently connect your iPad to a wireless printer and make the printing process seamless and hassle-free.
So go ahead, start printing directly from your iPad, and enjoy the convenience that wireless printing brings!