Introduction
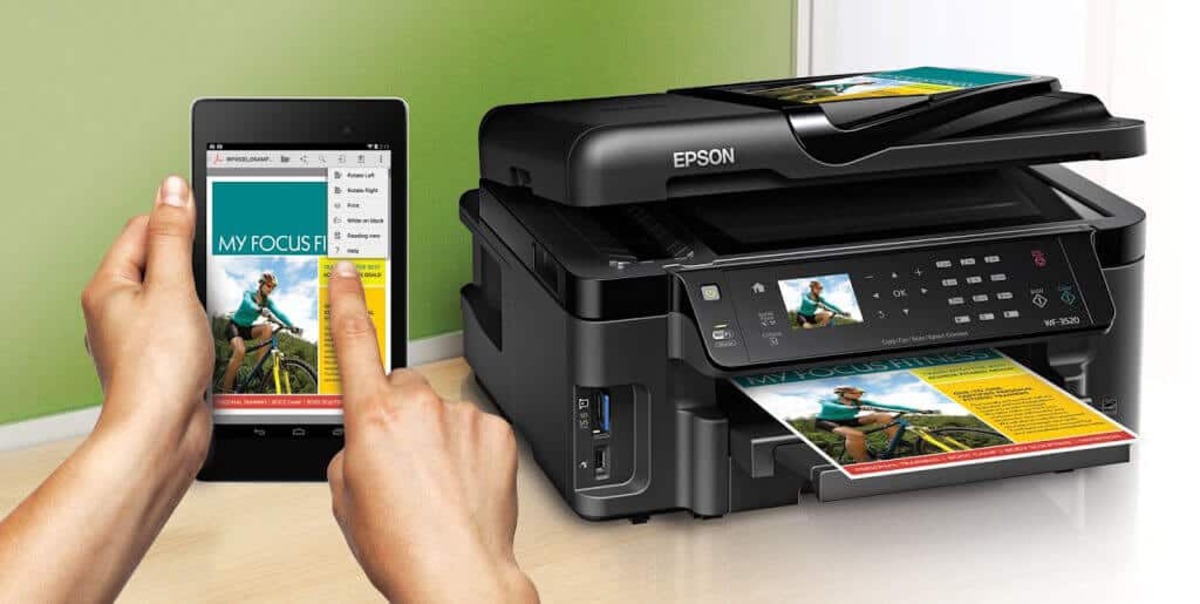
Welcome to the digital era, where tablets have become essential devices for both work and leisure. Whether you’re using an iPad, Android tablet, or Windows Surface, you may find yourself needing to print documents directly from your tablet. While printing from a tablet may seem like a daunting task, it’s actually quite simple and convenient. In this guide, we will show you how to set up a printer on your tablet, allowing you to print effortlessly and efficiently.
Printing from a tablet offers a range of benefits. It allows you to easily print documents, photos, and other files without the need for a computer. This is particularly useful for professionals on the go, students who need to submit assignments, or even families looking to print memorable photos from their tablet. Setting up your tablet to print wirelessly to a printer not only saves time but also enhances productivity and convenience.
Before we dive into the step-by-step process of setting up a printer on your tablet, there are a few important considerations to keep in mind. First and foremost, you need to ensure that your tablet is compatible with the printer you intend to use. Different printers have varying compatibility with different operating systems. For example, some printers may only work with iOS devices, while others are designed specifically for Android or Windows-based tablets. By ensuring compatibility, you can avoid any compatibility issues or frustrations.
Additionally, it’s worth noting that the setup process may vary slightly depending on the brand and model of your tablet and printer. While the general steps remain the same, there may be minor differences in the user interface or settings. However, this guide will provide you with a comprehensive overview of the setup process, and you can adapt it to your specific tablet and printer combination.
Now that you understand the importance of printing from your tablet and the necessary considerations, let’s move on to the step-by-step process of setting up a printer on your tablet. By following these instructions carefully, you’ll be able to print wirelessly from your tablet in no time.
Step 1: Check compatibility
The first step in setting up a printer on your tablet is to check the compatibility between your tablet and the printer. As mentioned earlier, different printers have varying compatibility with different operating systems. Follow these simple steps to ensure that your tablet and printer are compatible:
1. Identify the make and model of your tablet. You can usually find this information in the “Settings” or “About” section of your tablet’s operating system.
2. Check the specifications of your tablet to see if it supports wireless printing. Most modern tablets have built-in support for wireless printing, but it’s always a good idea to double-check.
3. Take note of the operating system running on your tablet. It could be iOS (for iPads), Android (for Android tablets), or Windows (for Windows-based tablets).
4. Visit the website of the printer manufacturer and search for the model of your printer. Look for the compatibility information and ensure that it supports your tablet’s operating system.
5. Alternatively, you can consult the user manual or packaging of your printer to check its compatibility with different operating systems.
If your tablet and printer are not compatible, you may need to consider alternative options, such as using a different printer or connecting your tablet to a computer that is connected to a printer. However, most popular printer models have wide compatibility with various tablets and operating systems, so compatibility issues are usually rare.
By confirming the compatibility between your tablet and printer, you can avoid any potential frustrations or complications during the setup process. This step is essential to ensure a smooth and successful setup of your printer on your tablet.
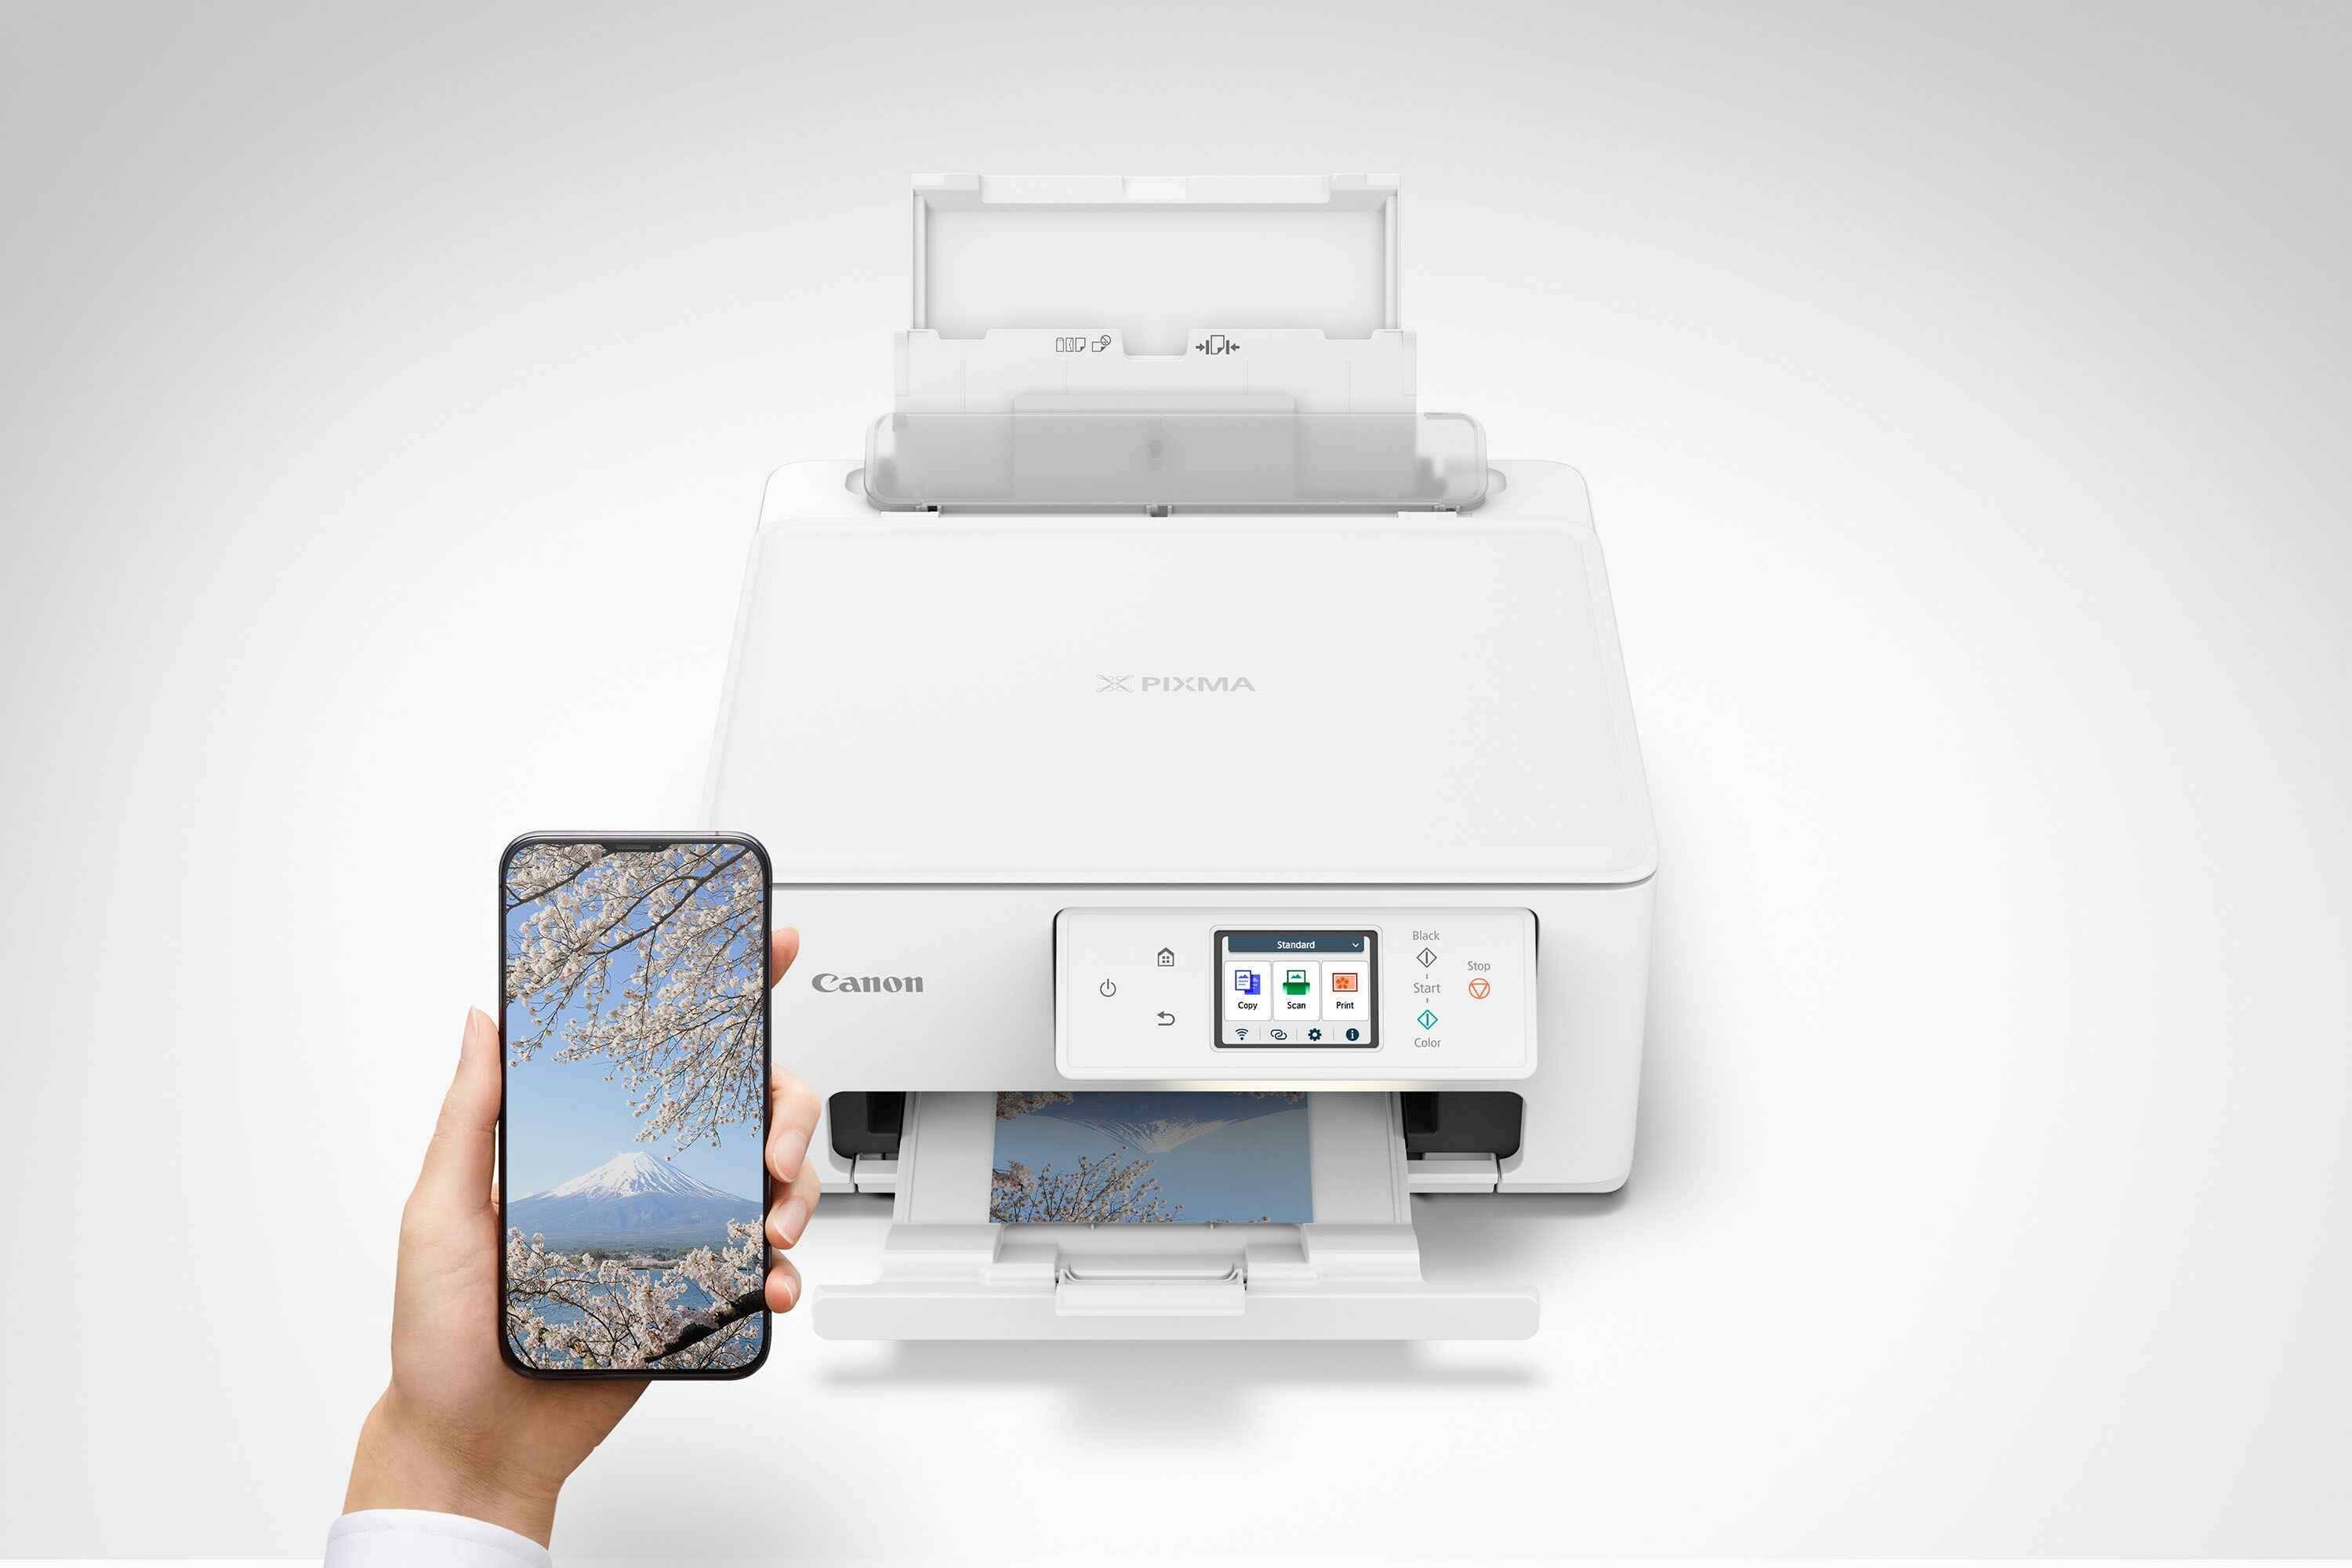
Step 2: Connecting the printer to the tablet
Once you have confirmed the compatibility between your tablet and printer, the next step is to establish a connection between the two devices. Follow these instructions to connect your printer to your tablet:
1. Make sure your printer is turned on and connected to the same Wi-Fi network as your tablet. This is crucial for establishing a wireless connection between the two devices.
2. On your tablet, navigate to the “Settings” menu. The location of this menu may vary depending on your tablet’s operating system.
3. Look for the “Wi-Fi” or “Network” settings and tap on it to open the Wi-Fi settings page.
4. Your tablet will display a list of available Wi-Fi networks. Locate and select the Wi-Fi network that your printer is connected to.
5. If prompted, enter the Wi-Fi network password to connect your tablet to the printer’s network. Keep in mind that this is the password for the Wi-Fi network, not the printer itself.
6. Once your tablet is connected to the same network as your printer, proceed to the next step.
Now that your tablet and printer are connected to the same Wi-Fi network, they can communicate with each other wirelessly. This connection is crucial for printing directly from your tablet without the need for a computer or additional cables. In the next step, we will install the printer app on your tablet to enable seamless printing.
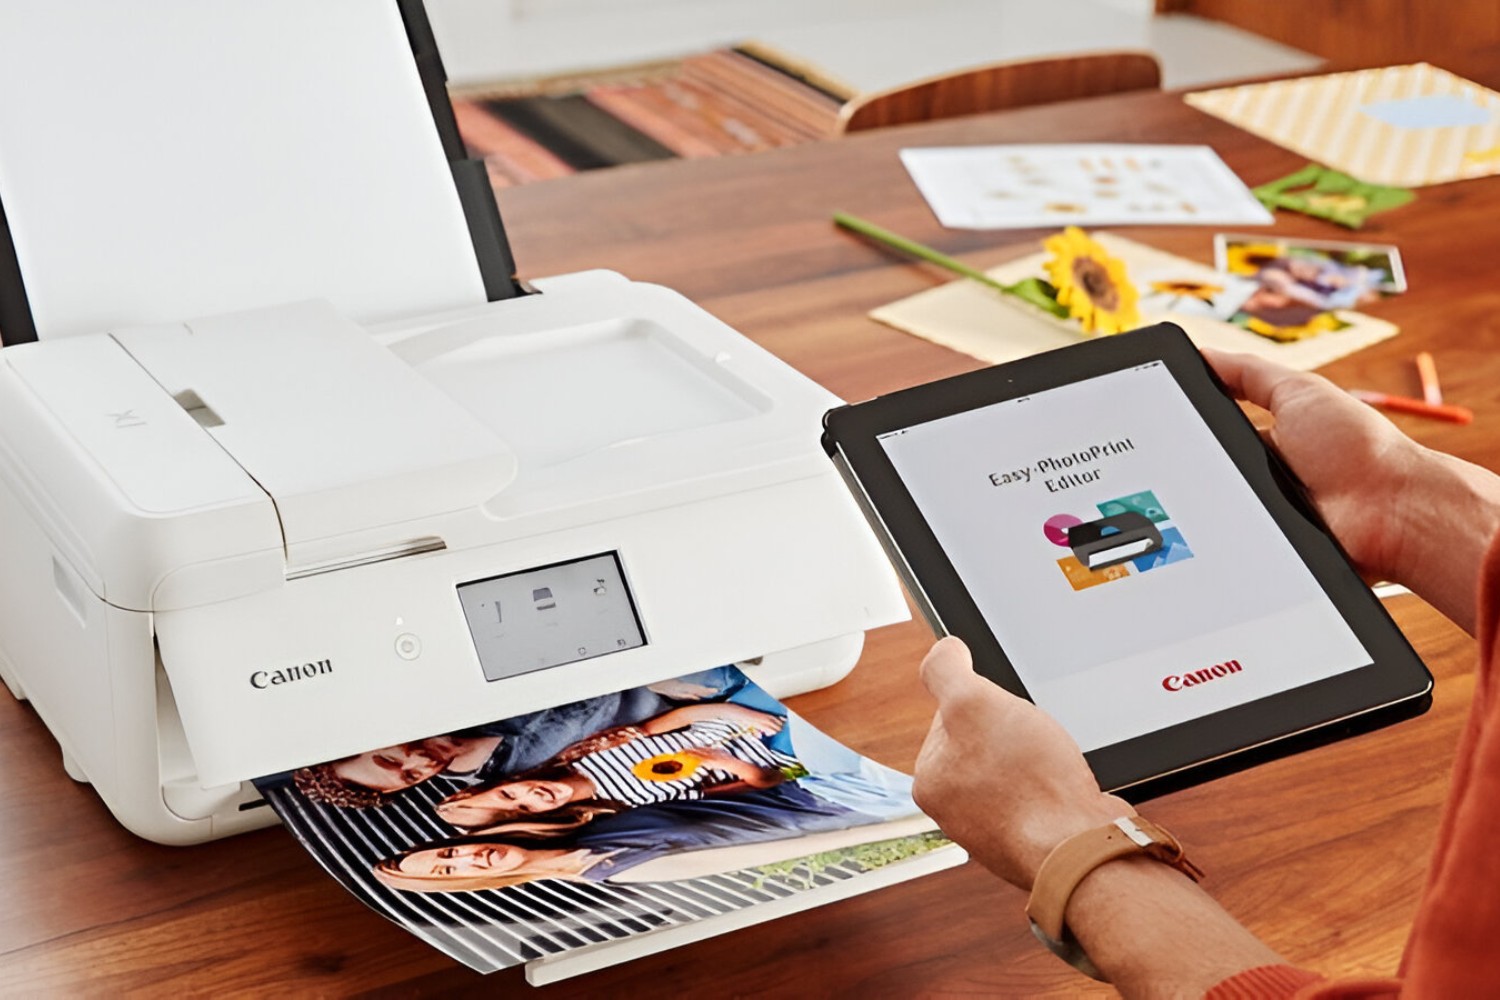
Step 3: Installing the printer app
Now that your tablet is connected to the printer, it’s time to install the printer app on your tablet. The printer app acts as a bridge between your tablet and the printer, allowing you to send print jobs wirelessly. Follow these steps to install the printer app:
1. Open the app store on your tablet. The app store may be called “App Store” for iOS devices, “Google Play Store” for Android devices, or “Microsoft Store” for Windows-based devices.
2. In the search bar of the app store, type in the name of the printer manufacturer or the specific model of your printer.
3. Look for the official app developed by the printer manufacturer. It should have the same brand name as your printer.
4. Tap on the app to open its details page, and then click on the “Install” or “Get” button to initiate the download and installation process.
5. Wait for the app to download and install on your tablet. The time required for installation may vary depending on the app size and your internet connection speed.
6. Once the installation is complete, locate the printer app on your tablet’s home screen or in the app drawer, and tap on it to open the app.
7. Follow any additional on-screen instructions to set up the printer app, such as granting necessary permissions or connecting to the printer again if prompted.
After successfully installing the printer app on your tablet, you now have a dedicated tool to manage and control your printer wirelessly. In the next step, we will configure the printer settings within the app to ensure optimal printing quality and performance.
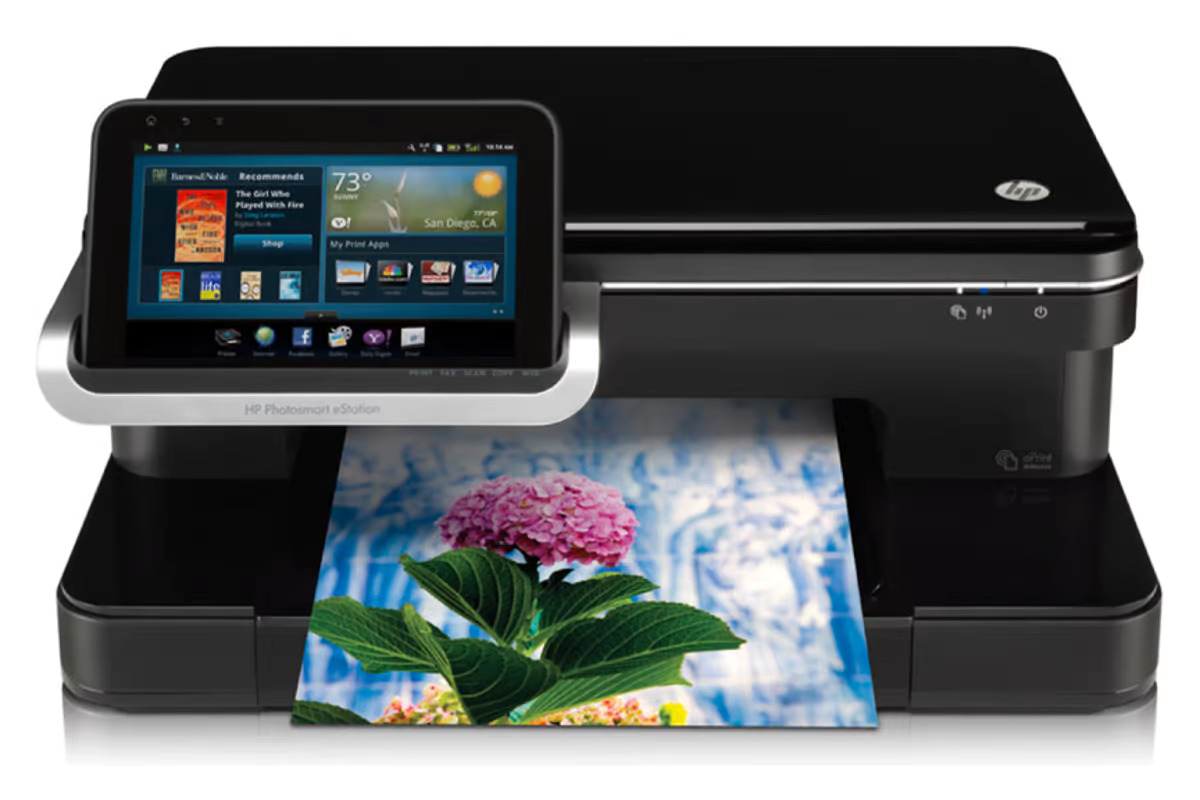
Step 4: Configuring printer settings
Now that you have installed the printer app on your tablet, it’s time to configure the printer settings to ensure optimal printing quality and performance. Follow these steps to configure the printer settings within the app:
1. Open the printer app on your tablet. It should be located on your home screen or in the app drawer, depending on your tablet’s operating system.
2. Once the app is open, you may be prompted to select or add a printer. Choose your printer from the list or follow the on-screen instructions to add your printer if it’s not automatically detected.
3. Once your printer is selected or added, navigate to the settings or preferences menu within the printer app. The location of this menu may vary depending on the app and printer model.
4. In the settings menu, you will find a range of configuration options to customize your printing experience. This may include options such as paper size, print quality, color settings, and advanced features.
5. Adjust the settings according to your preferences and requirements. For example, you can select the paper size that matches the paper loaded in your printer, choose the print quality that balances speed and resolution, and adjust the color settings to enhance the output.
6. Take some time to explore the additional settings and features available in the printer app. Depending on your printer model, you may have access to advanced features such as duplex printing, borderless printing, or custom print settings.
7. Once you have configured the printer settings to your satisfaction, exit the settings menu and return to the main screen of the printer app.
By configuring the printer settings within the app, you can ensure that your printouts meet your specific requirements. This step allows you to optimize the printing process and achieve the desired results. In the next step, we will test the printer connection to ensure everything is set up correctly.
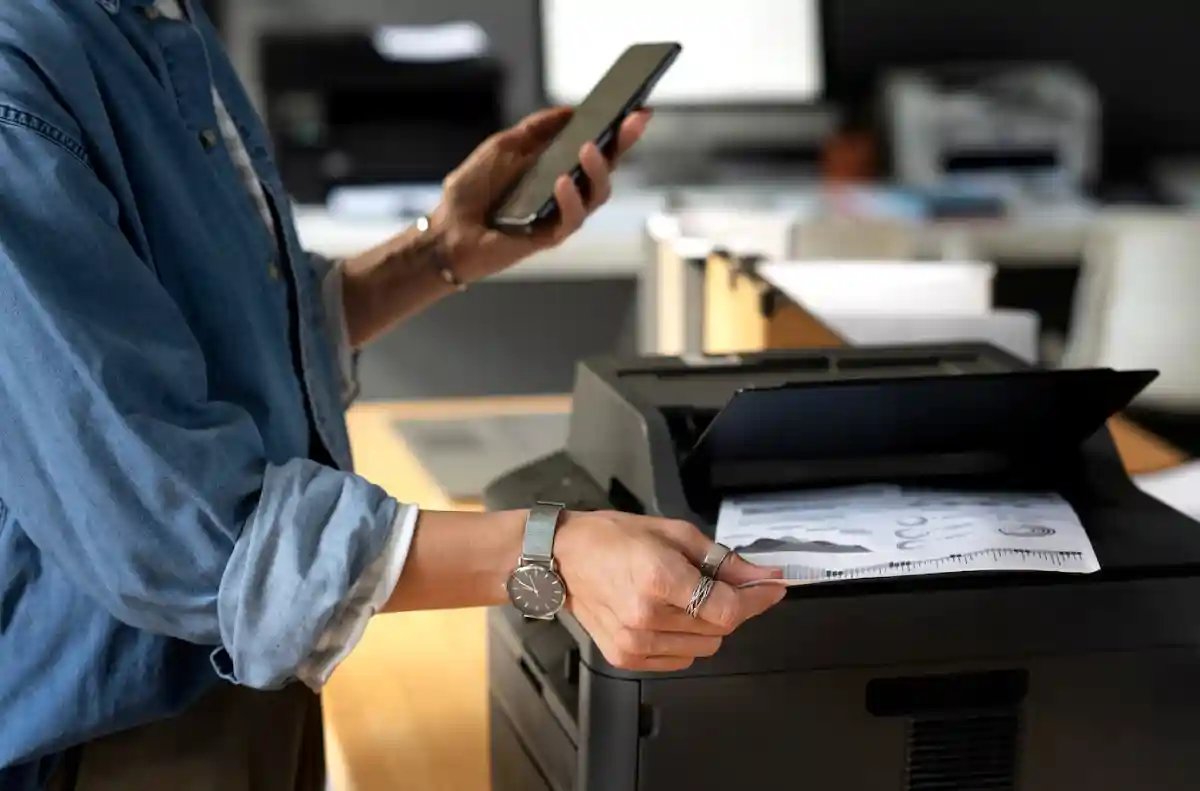
Step 5: Testing the printer connection
After setting up and configuring the printer on your tablet, it’s crucial to test the printer connection to ensure that everything is working smoothly. Follow these steps to test the printer connection:
1. Open a document, photo, or any file that you want to print on your tablet. This can be a PDF, a Word document, an image, or any other compatible file.
2. Tap on the share icon or the print icon within the app or document viewer to access the print options. The location of this icon may vary depending on the app or file viewer you are using.
3. In the print options, locate and select the printer you previously set up. It should be listed as one of the available printer options within the app or document viewer.
4. Adjust any specific print settings if needed, such as the number of copies, print range, or any other preferences.
5. Once you have reviewed the print settings, tap on the “Print” or “Print” button to initiate the printing process.
6. Wait for the printer to receive the print job from your tablet and start printing. The time required for printing may vary depending on the complexity of the print job and the printer speed.
7. Monitor the printing process to ensure that the print job is being executed successfully and without any issues. Check for proper alignment, print quality, and make sure all pages are printed correctly.
8. Once the print job is completed, retrieve your printed document from the printer’s output tray and review the printout for accuracy and quality.
By testing the printer connection, you can verify that the setup process was successful and that your tablet is communicating effectively with the printer. It also allows you to ensure that the print jobs are being processed and executed as intended. If any issues arise during the testing process, refer back to the previous steps to troubleshoot and resolve any potential problems.
Conclusion
Congratulations! You have successfully set up a printer on your tablet, allowing you to print wirelessly and conveniently. By following the steps outlined in this guide, you have learned how to check compatibility, connect the printer to the tablet, install the printer app, configure the printer settings, and test the printer connection.
Printing from your tablet offers a range of benefits, including the ability to print documents, photos, and other files directly from your tablet without the need for a computer. This can be particularly useful for professionals who are frequently on the go, students needing to submit assignments, or families looking to print memorable photos.
Remember to check the compatibility between your tablet and printer before starting the setup process. Confirm that they are connected to the same Wi-Fi network and install the official printer app on your tablet to ensure seamless wireless printing. Take advantage of the printer app’s settings to customize your printing experience and achieve optimal print quality.
Don’t forget to test the printer connection by printing a document or file to ensure that everything is set up correctly. Monitor the printing process and check the quality and accuracy of the printout to ensure that your printing needs are met to your satisfaction.
Now that you have successfully set up your printer on your tablet, you can enjoy the convenience and efficiency of wireless printing. Utilize this newfound capability to easily print important documents, creative projects, or memorable photos directly from your tablet.
Thank you for following this guide, and we hope that it has been helpful in assisting you with setting up a printer on your tablet. Happy printing!