Introduction
Welcome to the wonderful world of Android tablets! These devices have become an essential part of our daily lives, providing us with endless possibilities right at our fingertips. From browsing the internet to watching movies and playing games, Android tablets offer a whole host of functionalities.
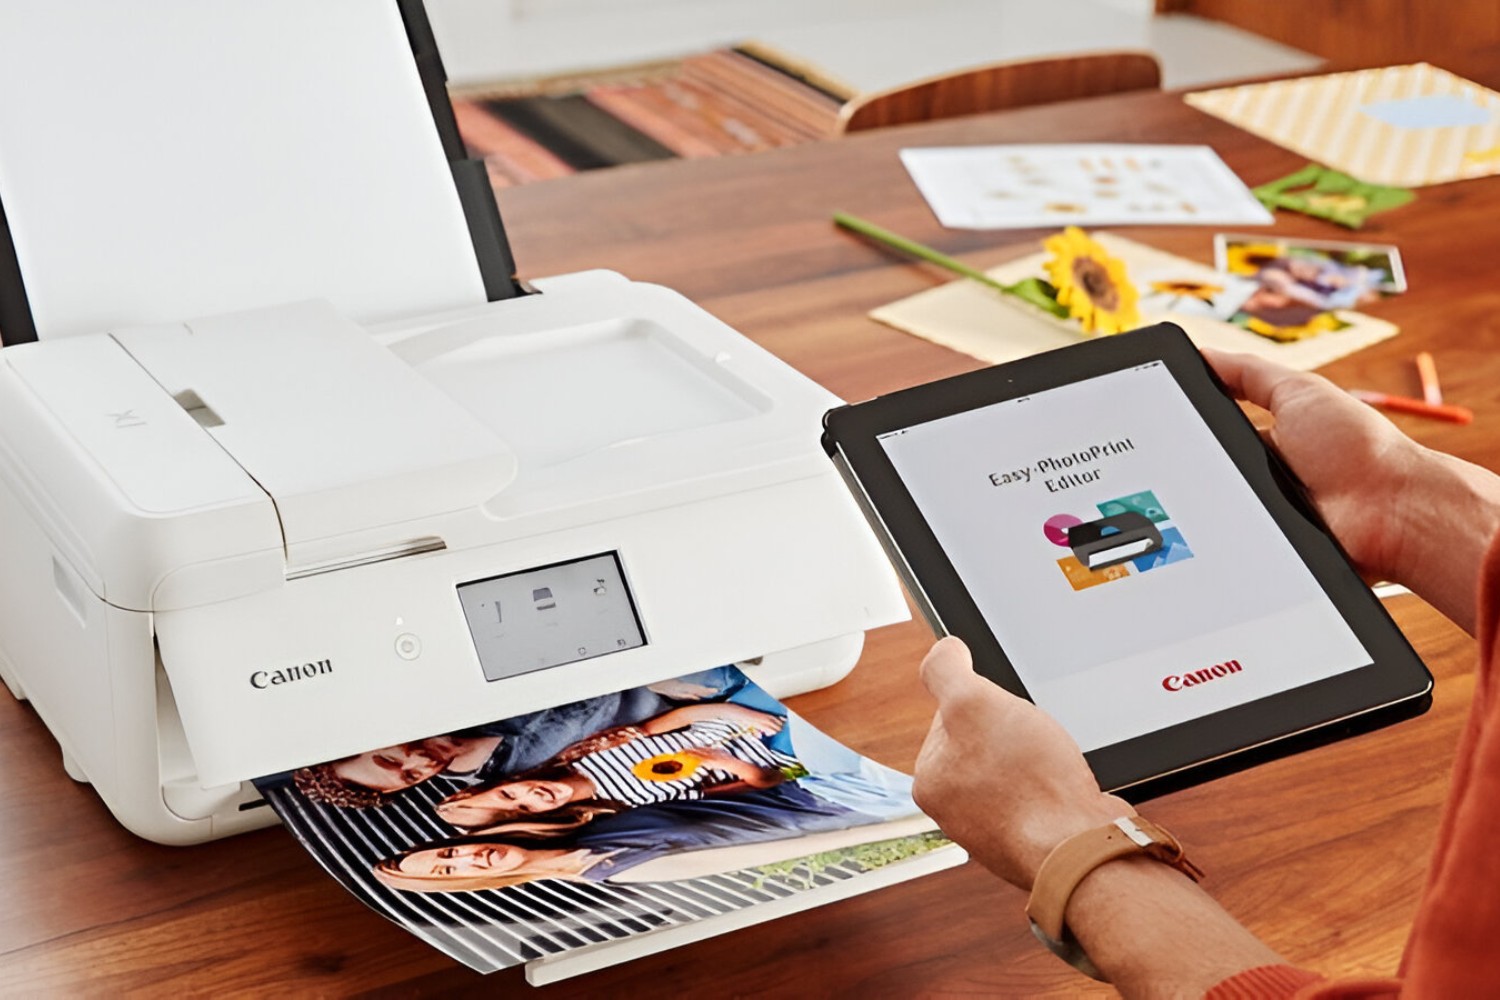
One common task that many tablet users often find themselves needing to do is printing. Whether it’s a document for work or a memorable photo, having the ability to print directly from your Android tablet can be incredibly convenient. In this article, we will guide you through the process of printing from your Android tablet.
Gone are the days when you needed to transfer files to a computer in order to print them. With the right setup and a few simple steps, you can send documents and photos directly from your Android tablet to a printer in no time. We will cover everything from connecting the tablet to the printer, installing the necessary apps, and configuring the printer settings. By the end of this guide, you will be able to effortlessly print anything you need from your Android tablet.
Whether you’re a tech-savvy enthusiast or a beginner in the world of Android tablets, this guide is designed to be easy to follow and understand. We will provide you with step-by-step instructions and helpful tips along the way to ensure a smooth printing experience.
So, grab your Android tablet and let’s get started on this printing adventure. By the end, you’ll be a pro at printing your documents and photos, all from the comfort of your Android tablet. Let’s dive in!
Section 1: Connecting the Android Tablet to the Printer
Before you can start printing from your Android tablet, you need to establish a connection between the tablet and the printer. There are a few different methods you can use to achieve this, depending on the capabilities of your specific printer.
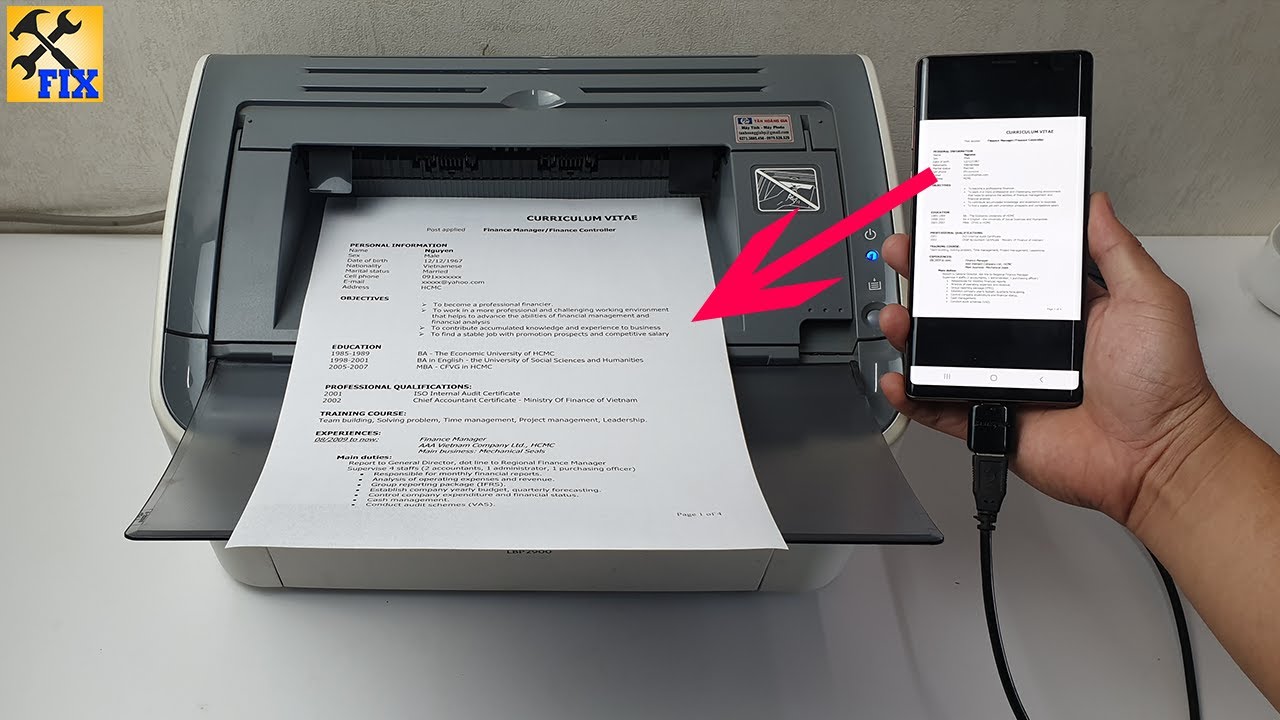
The most common way to connect your Android tablet to a printer is through a USB cable. Check if your printer has a USB port, and if so, you can simply connect the tablet to the printer using a compatible USB cable. Once connected, your tablet should recognize the printer and allow you to print directly from any compatible app.
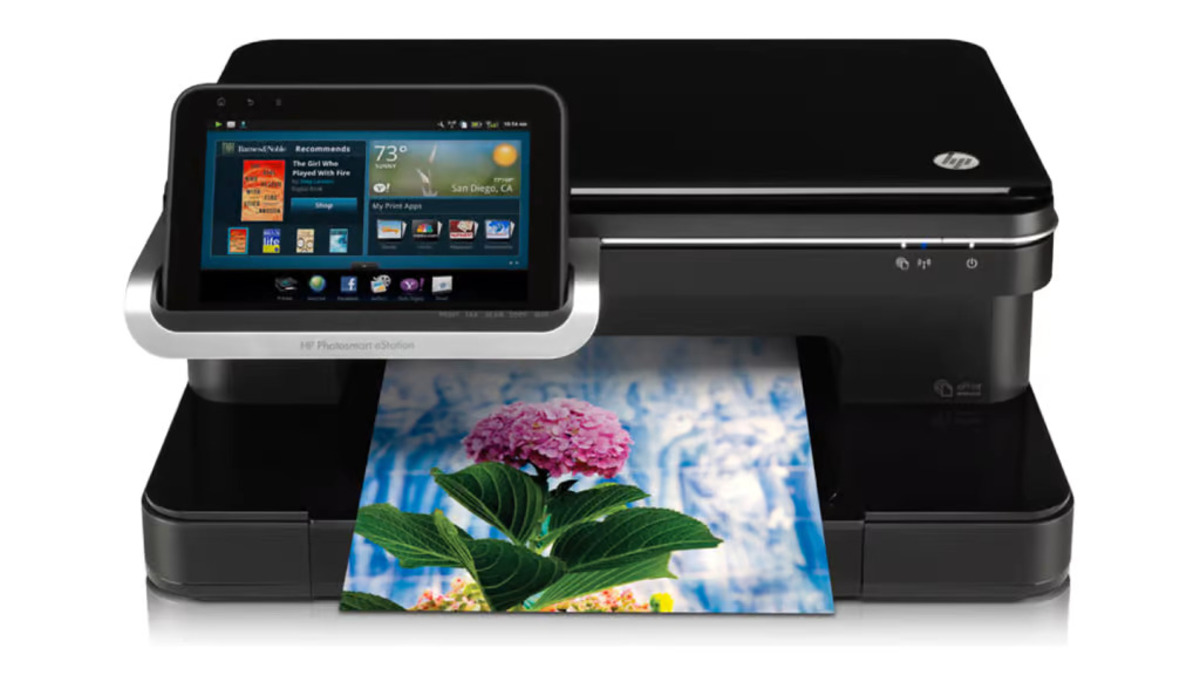
If your printer supports wireless connectivity, you may also be able to connect your Android tablet to it using Wi-Fi. This option provides the flexibility of printing wirelessly from any location within the range of your Wi-Fi network. To establish the connection, go to the settings on your Android tablet, select Wi-Fi, and choose your printer from the list of available devices.
Another option for connecting your Android tablet to a printer is through Bluetooth. This requires both your tablet and printer to have Bluetooth capabilities. Enable Bluetooth on both devices, pair them together, and your tablet should recognize the printer as a connected device. Once paired, you can easily print documents and photos from your tablet.
It’s important to note that not all printers are compatible with Android tablets. Before purchasing a printer, make sure to check if it supports Android printing or if there are specific apps available for your printer model. This will ensure that you can establish a seamless connection between your tablet and printer.
Once you have successfully connected your Android tablet to the printer, you can move on to the next step of installing the necessary printer app. In the next section, we will guide you through the process of finding and installing the appropriate printer app on your Android tablet.
Section 2: Installing the Printer App on the Android Tablet
Now that you have connected your Android tablet to the printer, it’s time to install the printer app on your device. The printer app acts as a bridge between your tablet and the printer, enabling seamless communication and printing functionality.
The specific printer app you need to install depends on the brand and model of your printer. Each printer manufacturer typically has its own dedicated app for Android devices. To find the correct app, you can visit the Google Play Store and search for the printer brand followed by “printer app”. For example, if you have an HP printer, search for “HP printer app” in the Play Store.
Once you have identified the appropriate printer app, tap on the “Install” button to begin the installation process. The app will automatically download and install onto your Android tablet. Make sure you have a stable internet connection during this process to ensure a smooth installation.
After the installation is complete, open the printer app on your tablet. You may be prompted to grant certain permissions or provide access to your device’s storage. Follow the on-screen instructions to complete the initial setup of the app.
Within the printer app, you’ll typically find options to configure printing settings, manage print jobs, and even perform maintenance tasks such as checking ink levels or cleaning the printhead. Take some time to explore the different features and settings available within the app to familiarize yourself with the capabilities it offers.
It’s worth mentioning that some newer printers support native Android printing, which means you may not need to install any additional apps. The Android operating system has built-in support for a variety of printer brands and models, allowing you to print directly from compatible apps without the need for a dedicated printer app. To check if your printer supports native Android printing, go to the Settings menu on your tablet, select “Printing” or “Printers”, and look for the option to add a printer.
With the printer app installed and configured on your Android tablet, you’re now ready to move on to the next section and set up the printer settings to ensure optimal printing results.
Section 3: Setting Up the Printer Settings on the Android Tablet
Now that you have installed the printer app on your Android tablet, it’s important to configure the printer settings to ensure optimal printing results. The settings available may vary depending on the printer app and the brand/model of your printer.
To access the printer settings, open the printer app on your tablet and look for the settings or options menu. Here, you will have the opportunity to customize various aspects of the print job, such as the paper size, print quality, color or black and white printing, and even the layout and orientation of the document.
Take a moment to explore the available settings and adjust them according to your preferences and the specific requirements of your print job. For example, if you’re printing a high-resolution photo, you may want to select the highest print quality setting. On the other hand, if you’re printing a simple text document, you may choose a lower quality setting to save ink and ensure faster printing.
Additionally, you may have the option to select the paper type, such as plain paper, photo paper, or envelope. Selecting the appropriate paper type can significantly impact the quality and durability of the printed document. Consult your printer’s user manual or the app’s documentation for guidance on the recommended paper type for different print jobs.
Some printer apps also allow you to specify the number of copies you want to print, enable double-sided printing, or even print a range of pages from a document. These additional settings can further enhance your printing experience and help you conserve resources.
Furthermore, if your printer supports advanced features like ink or toner saving modes, borderless printing, or grayscale printing, be sure to explore and enable these options if desired. These features can help reduce costs and tailor the printing process to your specific needs.
Once you have adjusted the printer settings to your satisfaction, you’re ready to move on to the next section and connect the printer to your Wi-Fi network for convenient wireless printing. We will guide you through the process step-by-step in the upcoming section.
Section 4: Connecting the Printer to the Wi-Fi Network
Connecting your printer to the Wi-Fi network allows for seamless wireless printing from your Android tablet. This eliminates the need for physical cables and provides the flexibility to print from anywhere within the range of your Wi-Fi network.
Before you begin the process of connecting your printer to the Wi-Fi network, ensure that the printer is powered on and ready. Locate the Wi-Fi button or menu on the printer; the exact location may vary depending on the model. Press or select the Wi-Fi button/menu to initiate the connection process.
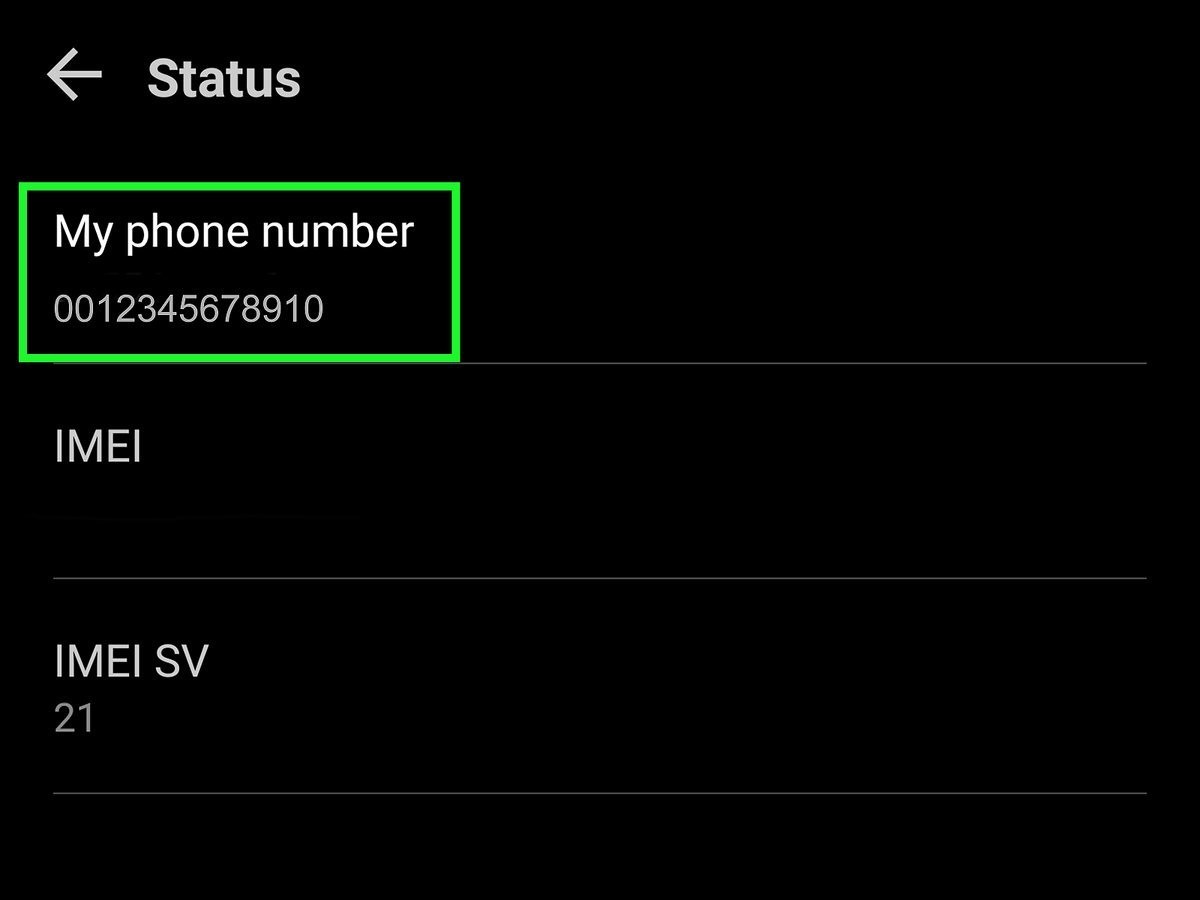
On your Android tablet, go to the Settings menu and select Wi-Fi. Make sure Wi-Fi is turned on, and your tablet is connected to the same Wi-Fi network you want to connect the printer to.
Return to the printer and select your Wi-Fi network from the list of available networks. Depending on your printer model, you may need to enter your Wi-Fi network password to complete the connection. Follow the on-screen prompts to establish the connection between the printer and the Wi-Fi network.
Once the connection is established, your printer should display a confirmation message indicating a successful Wi-Fi connection. Take note of the IP address or network name assigned to your printer as you may need this information when printing from your Android tablet.
Now that your printer is connected to the Wi-Fi network, open the printer app on your Android tablet. In the app’s settings or options menu, look for an option to add a printer or search for a printer. Select the option and wait for the app to detect the connected printer on the Wi-Fi network.
Once the printer is detected, select it from the list of available printers. Your Android tablet will establish a connection with the printer, and you will be ready to print wirelessly. Be sure to set any additional print settings, such as paper size and print quality, before sending your print job.
Congratulations! You have successfully connected your printer to the Wi-Fi network, allowing for convenient wireless printing from your Android tablet. In the next section, we will discuss how to print documents and photos directly from your tablet.
Section 5: Printing Documents and Photos from the Android Tablet
Now that you have set up the printer and established a connection between your Android tablet and the printer, it’s time to print your documents and photos. Printing from your Android tablet is a straightforward process, and you can easily print from various apps on your device.
To print a document or photo, open the app that contains the file you want to print. For example, if you want to print a document, open the document editing app or a file manager app that contains the document. If you want to print a photo, open the gallery or image viewer app.
Navigate to the specific document or photo you want to print and tap on the options menu (usually represented by three dots or lines) within the app. Look for the “Print” option and tap on it to initiate the printing process.
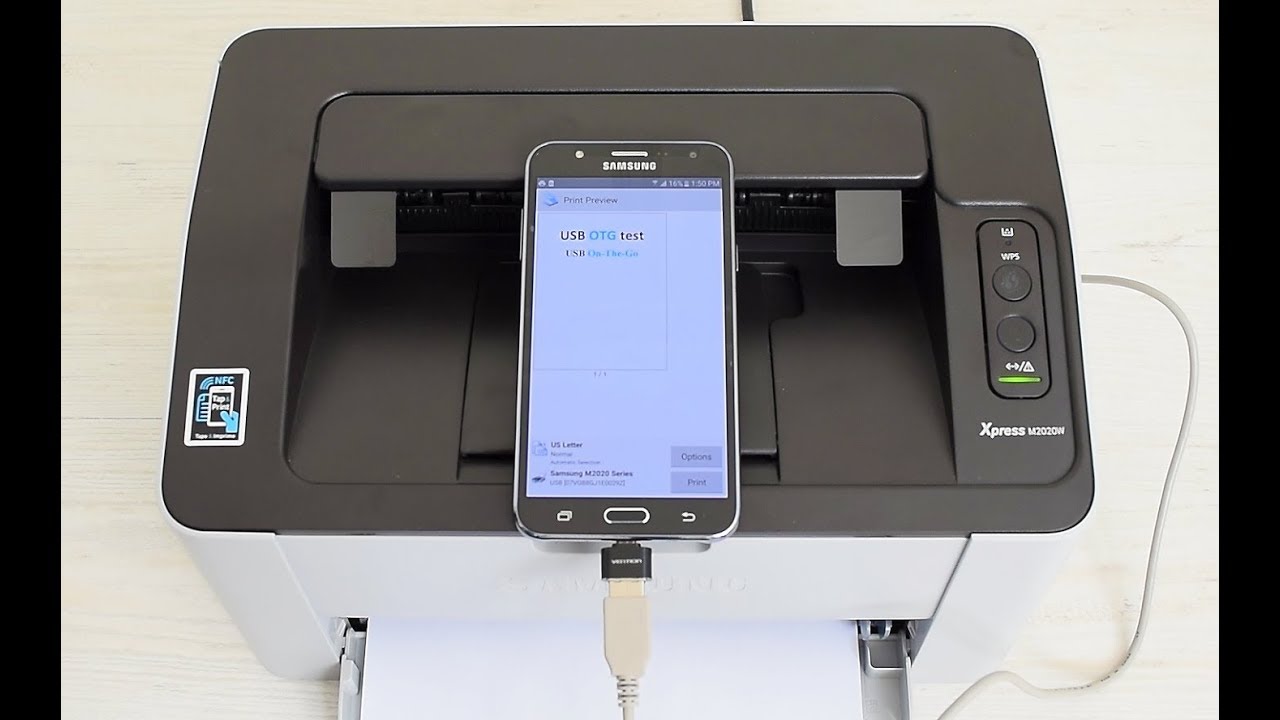
A print preview screen will appear, allowing you to review the document or photo before sending it to the printer. Take this opportunity to verify the print settings, such as paper size, print quality, and orientation, and make any necessary adjustments.
Once you are satisfied with the print settings, tap on the “Print” button to send the document or photo to the printer. You may be prompted to select the printer you want to use from a list of available printers. Choose the printer you previously set up and wait for the print job to be sent.
Depending on the size and complexity of the document or photo, the printing process may take a few moments to complete. Ensure that your printer has enough paper and ink or toner to successfully print the document. Monitor the printer’s status indicators or the printer app on your Android tablet for updates on the print job.
Once the print job is complete, your document or photo will be printed and ready for you to use. Retrieve the printed output from the printer’s output tray and check for any errors or quality issues. If necessary, adjust the printer settings or make corrections to your document or photo before printing again.
With the ability to print directly from your Android tablet, you can easily create physical copies of important documents, memorable photos, or any other content you need. Whether it’s for personal or professional purposes, wireless printing from your Android tablet offers convenience and efficiency.
Feel free to explore the various apps on your Android tablet that support printing and experiment with different print settings to achieve the desired results. Remember to keep your printer and tablet connected to the same Wi-Fi network for seamless printing experiences.
Now that you have mastered the art of printing from your Android tablet, you can enjoy the convenience and versatility of being able to print on the go. Stay organized, share memories, and bring your digital content to life with the power of wireless printing.
Conclusion
Congratulations! You have successfully learned how to print from your Android tablet. By following the steps outlined in this guide, you have connected your tablet to a printer, installed the necessary printer app, configured the printer settings, connected the printer to the Wi-Fi network, and printed documents and photos with ease.
Printing from your Android tablet offers a convenient way to bring your digital files to life and create physical copies of important documents or memorable photos. Whether you need to print work-related documents or personal photos, the ability to print directly from your tablet saves you time and effort.
Remember to check the compatibility of your printer with Android tablets before making a purchase. Look for printers that have dedicated apps or support native Android printing to ensure a seamless connection and printing experience.
Additionally, explore the various features and settings available in your printer app to customize your print jobs according to your preferences. Adjust print quality, paper type, and other settings to achieve the desired results for different types of documents and photos.
Wireless printing from your Android tablet provides the flexibility to print from anywhere within the range of your Wi-Fi network. Say goodbye to the hassle of transferring files to a computer before printing and enjoy the convenience of printing directly from your tablet.
As technology continues to evolve, so too does the functionality of Android tablets. Stay updated with the latest app releases and printer compatibility to make the most of your printing capabilities on your Android tablet.
Now that you have mastered the art of printing from your Android tablet, go ahead and explore the possibilities. Print important documents for work, share memorable photos with friends and family, or create physical copies of recipes, tickets, or any other content you need.
Printing from your Android tablet is just one of the many powerful features these devices offer. Make the most of your tablet by exploring other functionalities and apps that can enhance your digital experience.
Thank you for joining us on this printing adventure. We hope this guide has been informative and helpful in simplifying the process of printing from your Android tablet. Embrace the convenience of wireless printing and enjoy the benefits it brings to your daily life.