Introduction
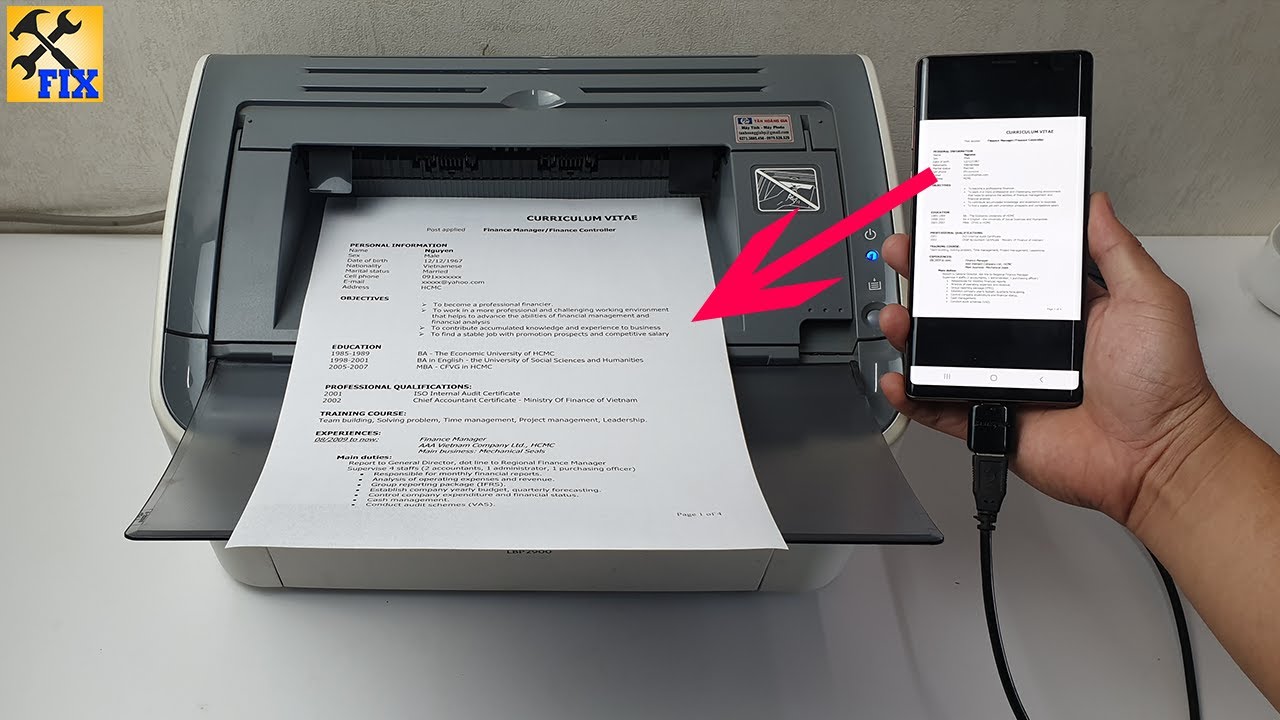
Printing from your Android tablet can be a convenient way to have physical copies of your digital documents, photos, or other files. Whether it’s for work, school, or personal use, being able to print directly from your tablet can save you time and effort. In this article, we will explore various methods to print from an Android tablet and provide step-by-step instructions to set up and use different printing options.
With the advancement of technology and the rise of mobile devices, printing has become more accessible and seamless. Gone are the days when you had to transfer files to a computer before printing. Nowadays, many Android tablets come equipped with built-in printing capabilities, making it easier than ever to print directly from your device.
In the following sections, we will discuss different printing methods you can use with your Android tablet. We will cover options like using Google Cloud Print, manufacturer printing apps, third-party printing apps, and even printing directly through Wi-Fi Direct. Each method has its own advantages and may vary slightly depending on the make and model of your tablet. It’s important to note that not all tablets support all printing methods, so it’s a good idea to check your device’s compatibility before proceeding.
Whether you need to print documents for a business presentation, school project, or simply want to have hard copies of your favorite photos, this article will guide you through the process. By the end, you will be equipped with the knowledge and tools to effortlessly print from your Android tablet, saving you time and allowing you to conveniently have physical copies of your digital files.
Setting up your Android tablet for printing
Before you can start printing from your Android tablet, you need to ensure that it is properly set up for printing. The setup process may vary depending on your tablet’s operating system version and manufacturer, but the general steps are similar. Follow the steps below to get your tablet ready for printing:
- Check your tablet’s compatibility: Not all Android tablets support printing out of the box. Confirm that your tablet is compatible with printing by checking the manufacturer’s website or consulting the user manual.
- Connect to a Wi-Fi network: Printing from an Android tablet typically requires you to be connected to the same Wi-Fi network as your printer. Make sure your tablet is connected to the appropriate network before proceeding.
- Update your tablet’s software: Keeping your tablet’s operating system up to date is crucial for optimal performance and compatibility. Check for any available software updates and install them before proceeding with the printing setup.
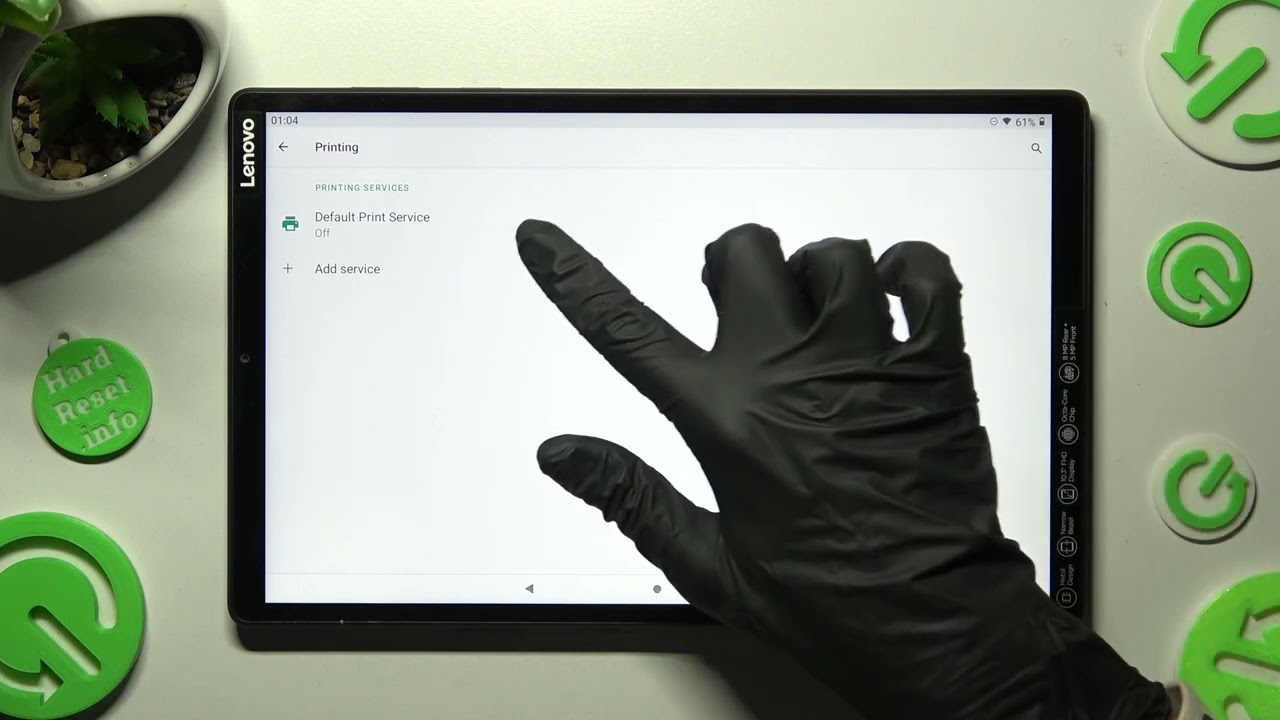
- Add a printer: To print from your tablet, you need to add your printer as a printing device. Navigate to the “Settings” menu on your tablet, then select “Printing” or “Connected devices.” Tap on “Add printer” and follow the on-screen instructions to add your printer to the list of available devices.
- Configure printer settings: Once your printer is added, you may need to configure its settings for optimal printing results. Access the “Printing” menu in your tablet’s settings, select your printer, and customize the print settings according to your preferences.
Once your Android tablet is set up for printing, you are ready to start printing documents, photos, or other files directly from your device. The next sections will explore different printing methods and how to use them with your tablet. Keep in mind that some printers may require specific apps or software to be installed on your tablet for seamless printing, so it’s a good idea to explore the available options and choose the one that suits your needs the best.
Using Google Cloud Print
Google Cloud Print is a widely used service that allows you to print directly from your Android tablet to any printer connected to the internet. This method eliminates the need for a direct Wi-Fi connection between your tablet and the printer, making it convenient for printing from anywhere as long as you have an internet connection. Follow the steps below to set up and use Google Cloud Print:
- Ensure your printer is Google Cloud Print-compatible: Not all printers support Google Cloud Print. Verify if your printer is compatible by checking the manufacturer’s website or the printer’s documentation.
- Connect your printer to Google Cloud Print: Access the Google Cloud Print website on your computer and sign in with your Google account. Go to the “Printers” section and click on “Add a printer.” Follow the instructions to add your printer to your Google account.
- Enable Google Cloud Print on your Android tablet: On your tablet, go to “Settings” and select “Printing.” Tap on “Cloud Print” or “Print services” and toggle the switch to enable it. Your tablet will now be connected to your Google Cloud Print account.
- Select a file to print: Open the file you want to print on your tablet. Tap on the “Share” button or the three-dot menu icon and select the “Print” option.
- Select your printer and adjust print settings: A list of available printers will appear. Choose your desired printer and customize the print settings such as paper size, color, number of copies, and orientation. Finally, tap on “Print” to send the print job to your printer.
Using Google Cloud Print provides a seamless and convenient way to print from your Android tablet. Whether you’re at home, at the office, or on the go, as long as your printer is connected to the internet and configured with Google Cloud Print, you can easily print your documents or photos with just a few taps on your tablet.
Note that Google Cloud Print also allows you to share your printer with other Google users, making it a versatile printing solution for both personal and collaborative use. With Google Cloud Print, you can enjoy the flexibility and freedom of wireless printing without the limitations of a direct connection between your tablet and printer.
Using Manufacturer Printing Apps
Many Android tablet manufacturers provide their own printing apps, specifically designed to work seamlessly with their brand of printers. These apps often offer additional features and customization options that are tailored to the specific printer models. To use the manufacturer printing app with your tablet, follow the steps below:
- Check for manufacturer printing app availability: Visit the manufacturer’s website or search the Google Play Store for their official printing app. Ensure that the app is compatible with your tablet and the specific model of your printer.
- Download and install the app: Once you have confirmed compatibility, download and install the manufacturer’s printing app from the Google Play Store.
- Launch the app and add your printer: Open the manufacturer printing app on your tablet and follow the on-screen instructions to connect and add your printer to the app.
- Select a file to print: Choose the file you want to print from your tablet’s storage or the app that contains the document or image you wish to print.
- Customize print settings and initiate printing: Within the manufacturer’s printing app, you will have access to various print settings such as paper size, orientation, quality, and number of copies. Adjust these settings according to your preferences and then tap on the print button to start printing.
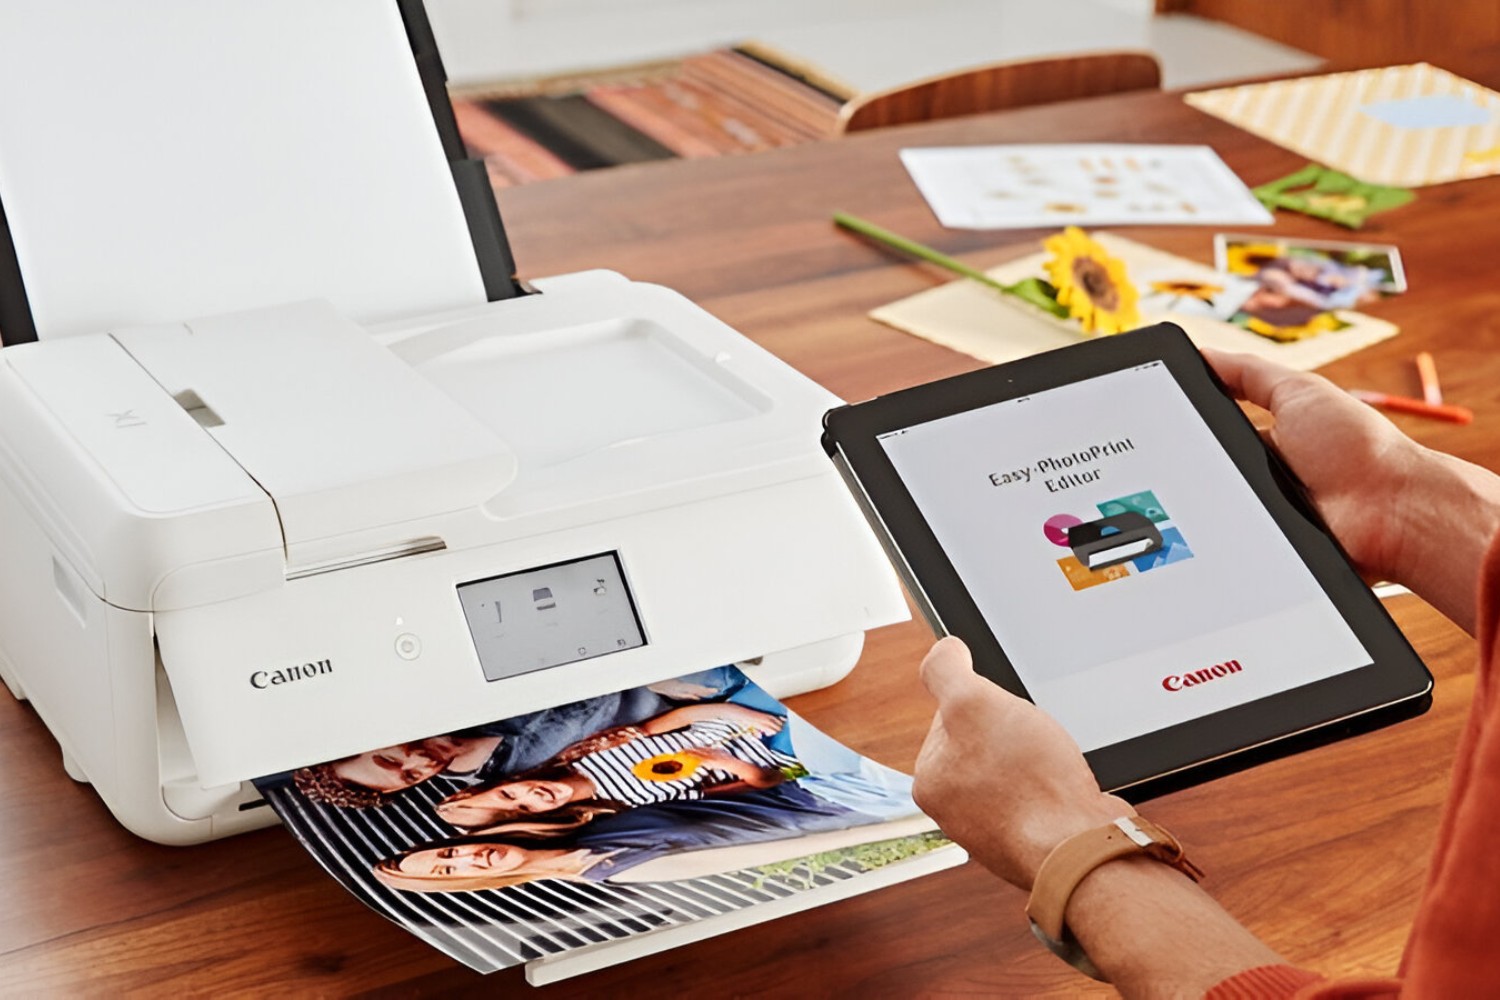
Using the manufacturer’s printing app provides a direct and optimized printing experience for users of their printers. These apps are often designed to take full advantage of the features and capabilities of the specific printer models, resulting in high-quality prints and efficient performance.
Some manufacturer printing apps may also include additional features, such as scanning capabilities, document management, and advanced print settings. Explore the features and functionalities of the app to make the most out of your printing experience.
If you own a printer from a specific manufacturer, using their dedicated printing app can enhance your printing workflow and provide you with a seamless and integrated solution for all your printing needs from your Android tablet.
Using Third-Party Printing Apps
In addition to the manufacturer printing apps, there are also various third-party printing apps available on the Google Play Store that offer compatibility with a wide range of printer brands and models. These apps can be a convenient alternative for users who have printers from different manufacturers or who are looking for additional features and functionalities. To use a third-party printing app with your Android tablet, follow the steps below:
- Search for a third-party printing app: Browse the Google Play Store and search for printing apps. Popular options include PrinterShare, PrintHand, and Brother iPrint&Scan. Read reviews and check the app’s compatibility with your tablet and printer before downloading.
- Download and install the app: Once you have found a suitable third-party printing app, download and install it on your tablet.
- Launch the app and set up your printer: Open the third-party printing app and follow the on-screen instructions to add and set up your printer. These apps typically provide step-by-step guidance to connect and configure your printer.
- Select a file to print: Choose the file you want to print from your tablet’s storage or from within the app that contains the document or image you wish to print.
- Customize print settings and initiate printing: Within the third-party printing app, you will have access to various print settings, such as paper size, orientation, color, and print quality. Adjust these settings according to your preferences and then tap on the print button to start printing.
Third-party printing apps offer flexibility and compatibility with a wide range of printer models, regardless of the manufacturer. These apps are continually updated to support new printers and often provide additional features like cloud printing, direct USB printing, and the ability to print from various apps and file types.
When selecting a third-party printing app, consider the features you need, the compatibility with your printer, and user reviews to ensure a reliable and satisfactory printing experience. These apps can enhance the functionality of your Android tablet and provide you with a seamless printing solution for all your needs.
Printing directly through Wi-Fi Direct
If you prefer a direct connection between your Android tablet and printer without relying on an internet connection or additional apps, printing through Wi-Fi Direct is a viable option. This method allows you to connect your tablet and printer directly using Wi-Fi technology. Follow the steps below to print directly through Wi-Fi Direct:
- Ensure your printer supports Wi-Fi Direct: Wi-Fi Direct capability varies among printer models. Check the printer’s manual or the manufacturer’s website to confirm if your printer supports this feature.
- Enable Wi-Fi Direct on your printer: Access the printer’s settings or control panel and enable Wi-Fi Direct. This process may involve navigating through the printer’s menu system or pressing specific buttons on the control panel.
- Enable Wi-Fi Direct on your Android tablet: On your tablet, go to the “Settings” menu and select “Wi-Fi.” Tap on the three-dot menu icon and choose “Wi-Fi Direct” or a similar option. Your tablet will scan for available Wi-Fi Direct devices.
- Select your printer: From the list of available Wi-Fi Direct devices, choose your printer to establish a direct connection between your tablet and printer.
- Select a file to print: Open the file you want to print on your tablet. Tap on the “Share” button or the three-dot menu icon and select the “Print” option.
- Customize print settings and initiate printing: Choose your printer from the list of available printers. Customize the print settings, such as paper size, orientation, and print quality. Finally, tap on the print button to start printing.
Printing directly through Wi-Fi Direct offers a straightforward and reliable method of printing from your Android tablet. It allows for a direct connection between your tablet and printer, eliminating the need for an intermediate network connection or additional apps.
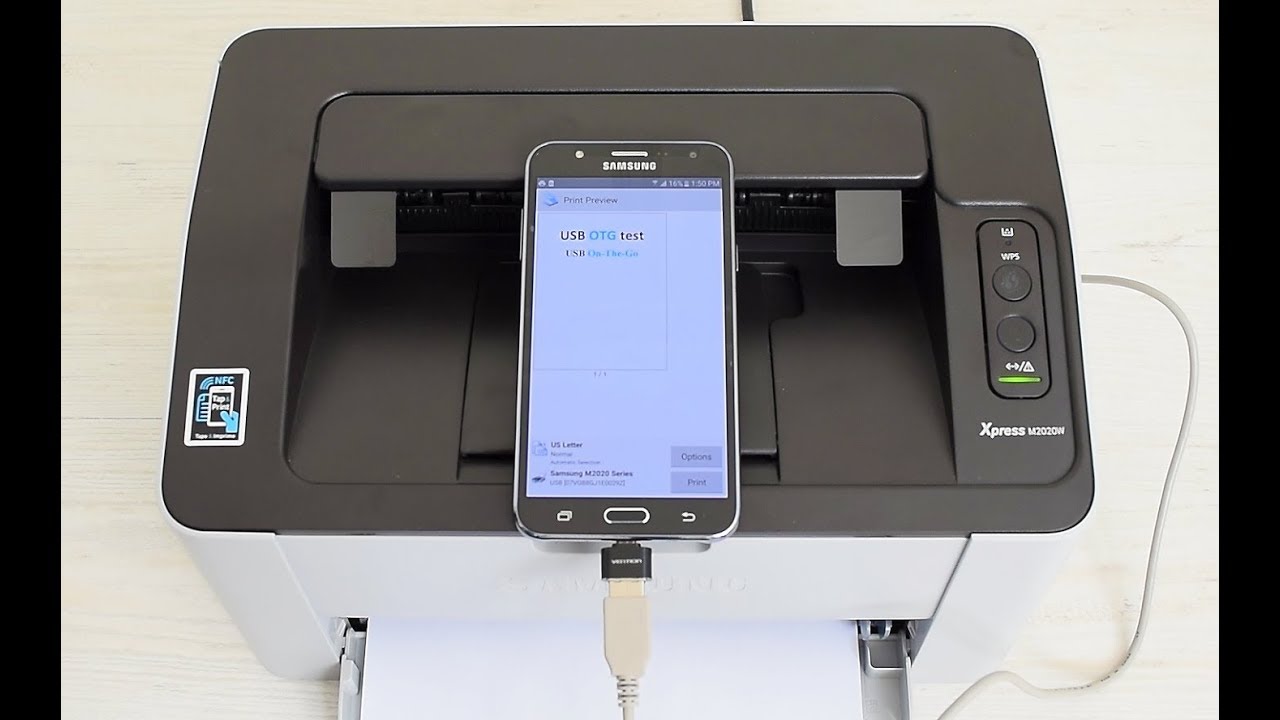
Keep in mind that the availability and functionality of Wi-Fi Direct may vary depending on your tablet model and Android version. Some printers may also require specific drivers or software to be installed on your tablet for seamless printing. Consult the printer’s manual or the manufacturer’s website for any additional instructions or recommendations.
This method is particularly useful when you need to print documents or photos securely and quickly without relying on an internet connection. With Wi-Fi Direct, you can enjoy the convenience of mobile printing while maintaining a direct connection between your tablet and printer.
Troubleshooting common printing issues
While printing from your Android tablet is usually a smooth process, you may encounter some common issues that can affect the printing experience. Below are some troubleshooting steps to help you overcome these issues:
- Check the printer connection: Ensure that your tablet is connected to the same Wi-Fi network as your printer. If using Wi-Fi Direct, verify that the tablet is properly connected to the printer.
- Restart your devices: Sometimes, a simple restart can resolve temporary connectivity issues. Restart both your tablet and printer to refresh their settings and establish a new connection.
- Verify printer compatibility: Double-check that your printer is compatible with the printing method you are using. Ensure that your printer supports Google Cloud Print, manufacturer printing apps, or the specific third-party printing app you are using.
- Update printer firmware and apps: Check for any available firmware updates for your printer, as outdated software can cause compatibility issues. Additionally, ensure that you have the latest versions of the printing apps installed on your tablet.
- Clear print queue: If you are experiencing print jobs getting stuck or not printing correctly, clear the print queue on your tablet and restart the printing process.
- Check ink or toner levels: Low ink or toner levels can result in poor print quality or incomplete printouts. Verify that your printer has sufficient ink or toner to complete the print job.
- Adjust print settings: Double-check the print settings on your tablet to ensure they match your desired print settings. Ensure the correct paper size, orientation, and print quality are selected.
- Use supported file formats: Some printers may have limitations on the supported file formats. Ensure that the file you are trying to print is in a supported format, such as PDF, JPEG, or Microsoft Office documents.
If you have followed these troubleshooting steps and are still experiencing issues, refer to the printer’s manual or contact the manufacturer’s support for further assistance. They will be able to provide specific guidance for your printer model and help you resolve any persisting printing problems.
Remember that every printer and tablet combination may have its own unique challenges, and it’s important to troubleshoot and adapt accordingly to ensure a smooth and successful printing experience.
Conclusion
Printing from your Android tablet can be a convenient and efficient way to transform your digital files into physical copies. In this article, we explored different methods to print from an Android tablet, including using Google Cloud Print, manufacturer printing apps, third-party printing apps, and printing directly through Wi-Fi Direct.
By following the steps and guidelines outlined in this article, you can set up your tablet for printing and choose the method that suits your needs and printer compatibility. Whether you prefer a wireless printing solution through Google Cloud Print, utilizing the manufacturer’s dedicated printing app, or exploring the versatility of third-party printing apps, you have options to make printing from your Android tablet a seamless process.
Remember to troubleshoot common printing issues, such as checking the printer connection, updating firmware and apps, adjusting print settings, and ensuring compatibility with file formats. These troubleshooting steps can help you overcome any challenges that may arise and ensure a successful printing experience.
Printing directly from your Android tablet offers convenience and versatility, allowing you to print documents, photos, and other files from anywhere at any time. Whether it’s for personal, educational, or professional purposes, you now have the knowledge and tools to print directly from your tablet, saving you time and effort.
So, go ahead and unleash the power of your Android tablet by harnessing its printing capabilities. Enjoy the convenience and freedom of having physical copies of your digital files with just a few taps and without the need for a computer. Happy printing!


