Introduction
In today’s digital age, tablets have become a common tool for productivity, entertainment, and communication. While tablets offer numerous features, one functionality that many users often overlook is the ability to connect to a printer. Being able to print directly from your tablet can be incredibly convenient, whether you need to print documents, photos, or important email attachments. Fortunately, connecting a tablet to a printer is a straightforward process, and this article will guide you through the steps to accomplish it.
Before we delve into the specifics, it’s important to note that the process of connecting a tablet to a printer may vary slightly depending on the tablet brand and operating system you are using. However, the underlying principles remain the same. Typically, you will need to determine the type of printer you have, install the printer manufacturer’s app on your tablet, connect both devices to the same Wi-Fi network, enable printing on your tablet, and finally, select the printer and hit the print button.
In the following sections, we will outline the step-by-step process to connect your tablet to a printer. Whether you’re using an Android tablet or an iPad, by following these instructions, you’ll be able to enjoy the convenience of printing directly from your tablet in no time. So let’s get started with the first step: determining the type of printer you have.
Step 1: Determine the Type of Printer You Have
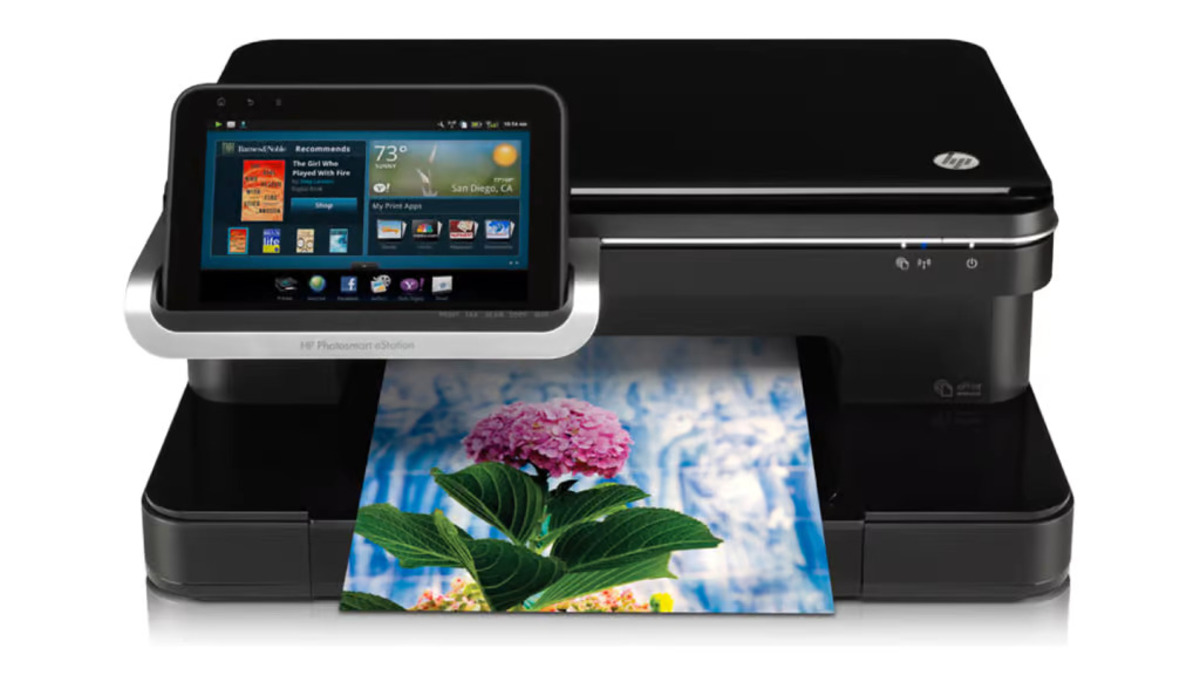
The first step in connecting your tablet to a printer is to determine the type of printer you have. This is important because different printer models may have different connectivity options and requirements. There are generally two types of printers: wireless and non-wireless.
If you have a wireless printer, it will have built-in Wi-Fi capabilities, allowing you to connect it directly to your tablet without the need for any additional devices. On the other hand, if you have a non-wireless printer, you will need to use an intermediary device, such as a print server or a wireless printer adapter, to establish a connection between your tablet and the printer.
To determine the type of printer you have, you can check the printer’s manual or the manufacturer’s website for information. Additionally, you can look for Wi-Fi connectivity indicators on the printer itself. If you find Wi-Fi logos or mention of wireless connectivity, it means your printer is wireless. If not, it is likely a non-wireless printer.
If you have a non-wireless printer, you will need to purchase and set up the necessary intermediary device before proceeding with the connection process. These devices can be found at most electronics stores or online retailers and come with step-by-step instructions for installation.
Once you have determined the type of printer you have, you can move on to the next step, which is installing the printer manufacturer’s app on your tablet. This app will serve as the bridge between your tablet and the printer, allowing you to send print requests directly from your tablet to the printer over the Wi-Fi network. To learn more about this step, continue reading the next section.
Step 2: Install Printer Manufacturer’s App
Once you have determined the type of printer you have, the next step is to install the printer manufacturer’s app on your tablet. This app acts as a communication tool between your tablet and the printer, allowing you to easily print documents, photos, and other files from your tablet.
Start by accessing the app store on your tablet. If you are using an Android tablet, open the Google Play Store, and if you have an iPad, launch the App Store. In the search bar, type the name of the printer manufacturer or the specific model of your printer. You should see the official app from the manufacturer in the search results.
Select the app and tap on the “Install” or “Get” button to initiate the installation process. Your tablet will download and install the app automatically. Once the installation is complete, you can find the app on your tablet’s home screen or in the app drawer.
Open the printer manufacturer’s app and follow the on-screen instructions to set up the connection between your tablet and the printer. This typically involves selecting your printer model from a list, entering your Wi-Fi network information, and granting necessary permissions for the app to access files and photos on your tablet.
Once the setup process is complete, the printer manufacturer’s app will be ready to use. You can now proceed to the next step, which involves connecting your tablet and printer to the same Wi-Fi network. This is an essential step for establishing a seamless connection between the two devices and enabling wireless printing. Continue reading to learn more about connecting to a Wi-Fi network in the following section.
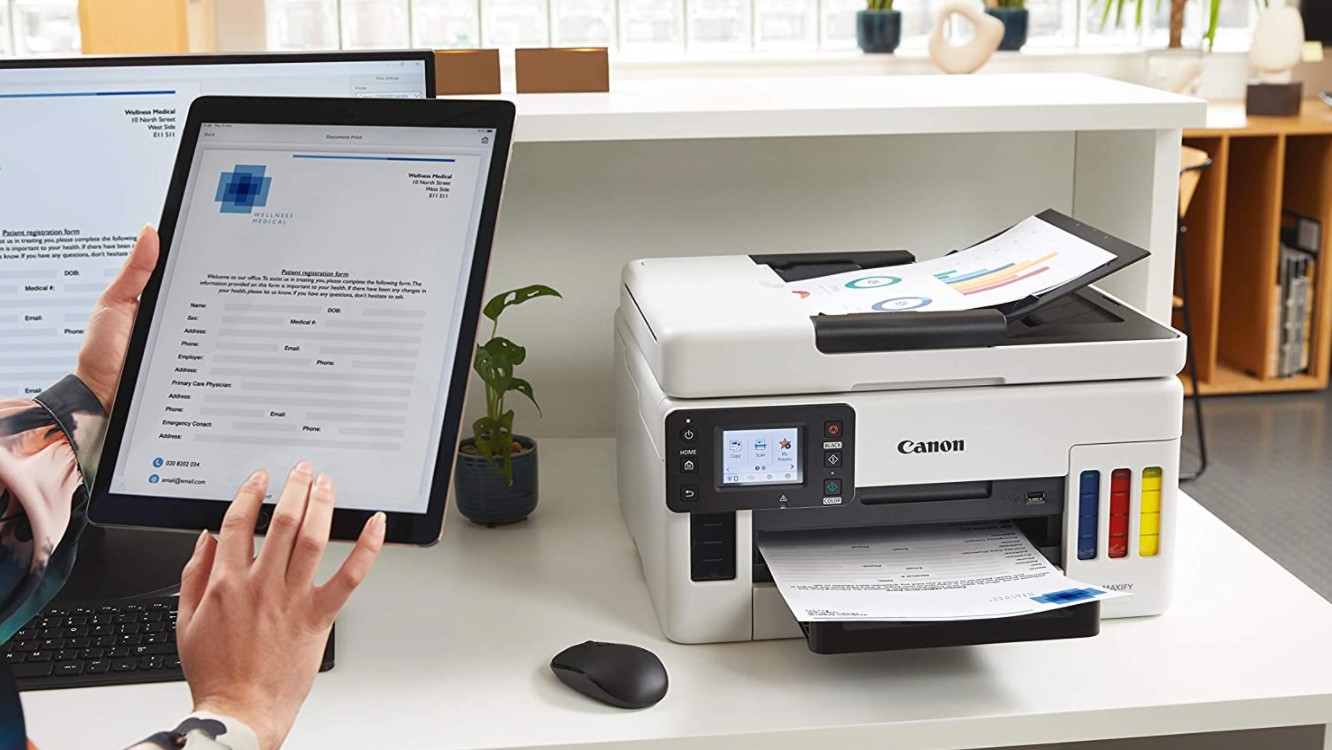
Step 3: Connect Tablet and Printer to the Same Wi-Fi Network
Now that you have installed the printer manufacturer’s app on your tablet, it’s time to ensure that both your tablet and printer are connected to the same Wi-Fi network. This step is crucial because it allows the two devices to communicate with each other and enables wireless printing.
Start by turning on your printer and accessing its control panel. Look for a “Settings” or “Network” option on the control panel menu. Within the settings, locate the Wi-Fi or network setup option. The exact location and wording of these options may vary depending on the printer model.
Once you have accessed the Wi-Fi or network setup menu, your printer should display a list of available Wi-Fi networks. Select your Wi-Fi network from the list and enter the network password if prompted. After entering the password, your printer will attempt to connect to the Wi-Fi network. Once connected, you will see a confirmation message on the printer’s display or control panel.
With the printer connected to the Wi-Fi network, it’s time to ensure that your tablet is also connected to the same network. Unlock your tablet and navigate to the settings menu. Look for the Wi-Fi option and tap on it to view the available networks.
From the list of available networks, select your Wi-Fi network and enter the network password if prompted. Your tablet will now connect to the Wi-Fi network. Once connected, you will see a Wi-Fi symbol in the status bar of your tablet, indicating a successful connection.
It is important to note that both the printer and the tablet need to be on the same Wi-Fi network for them to be able to communicate and establish a reliable printing connection. If the printer or tablet is connected to a different network, they will not be able to recognize each other for printing purposes.
Once both devices are connected to the same Wi-Fi network, you can proceed to the next step, which involves enabling printing on your tablet. This step will allow you to configure printing options and customize how your tablet communicates with the printer. Continue reading to learn more about enabling printing on your tablet in the following section.
Step 4: Enable Printing on the Tablet
Now that both your tablet and printer are connected to the same Wi-Fi network, the next step is to enable printing on your tablet. Enabling printing allows your tablet to recognize and communicate with the printer, giving you the ability to send print requests directly from your tablet.
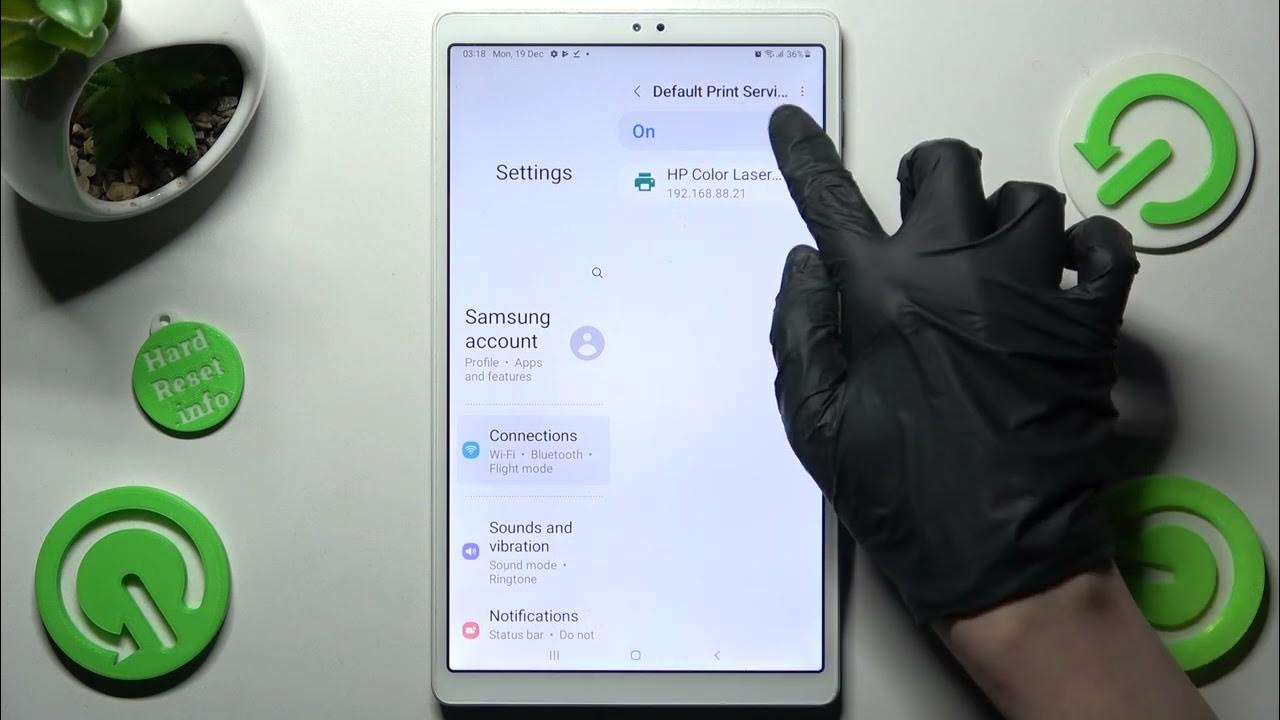
To enable printing on an Android tablet, navigate to the settings menu and scroll down to find the “Printing” or “Printing & scanning” option. Tap on it to access the printing settings. Next, select your printer from the list of available printers or tap on “Add printer” to add your printer manually. Follow the prompts to set up your printer, customize printing options, and designate the default printer if desired.
For iPad users, the process is slightly different. Open the settings app on your iPad and tap on “Printers & Scanners.” Tap the “Add Printer or Scanner” option, and your iPad will start searching for available printers on the network. Once your printer is detected, tap on it to select it and follow any additional prompts to complete the setup process.
Enabling printing on your tablet allows you to adjust various settings, such as page orientation, paper size, print quality, and more, based on your preferences. You can also choose whether to print in color or black and white, depending on the capabilities of your printer.
With printing enabled on your tablet, you are now ready for the final step: selecting the printer and printing your desired content. Proceed to the next section to learn how to select the printer and initiate the printing process.
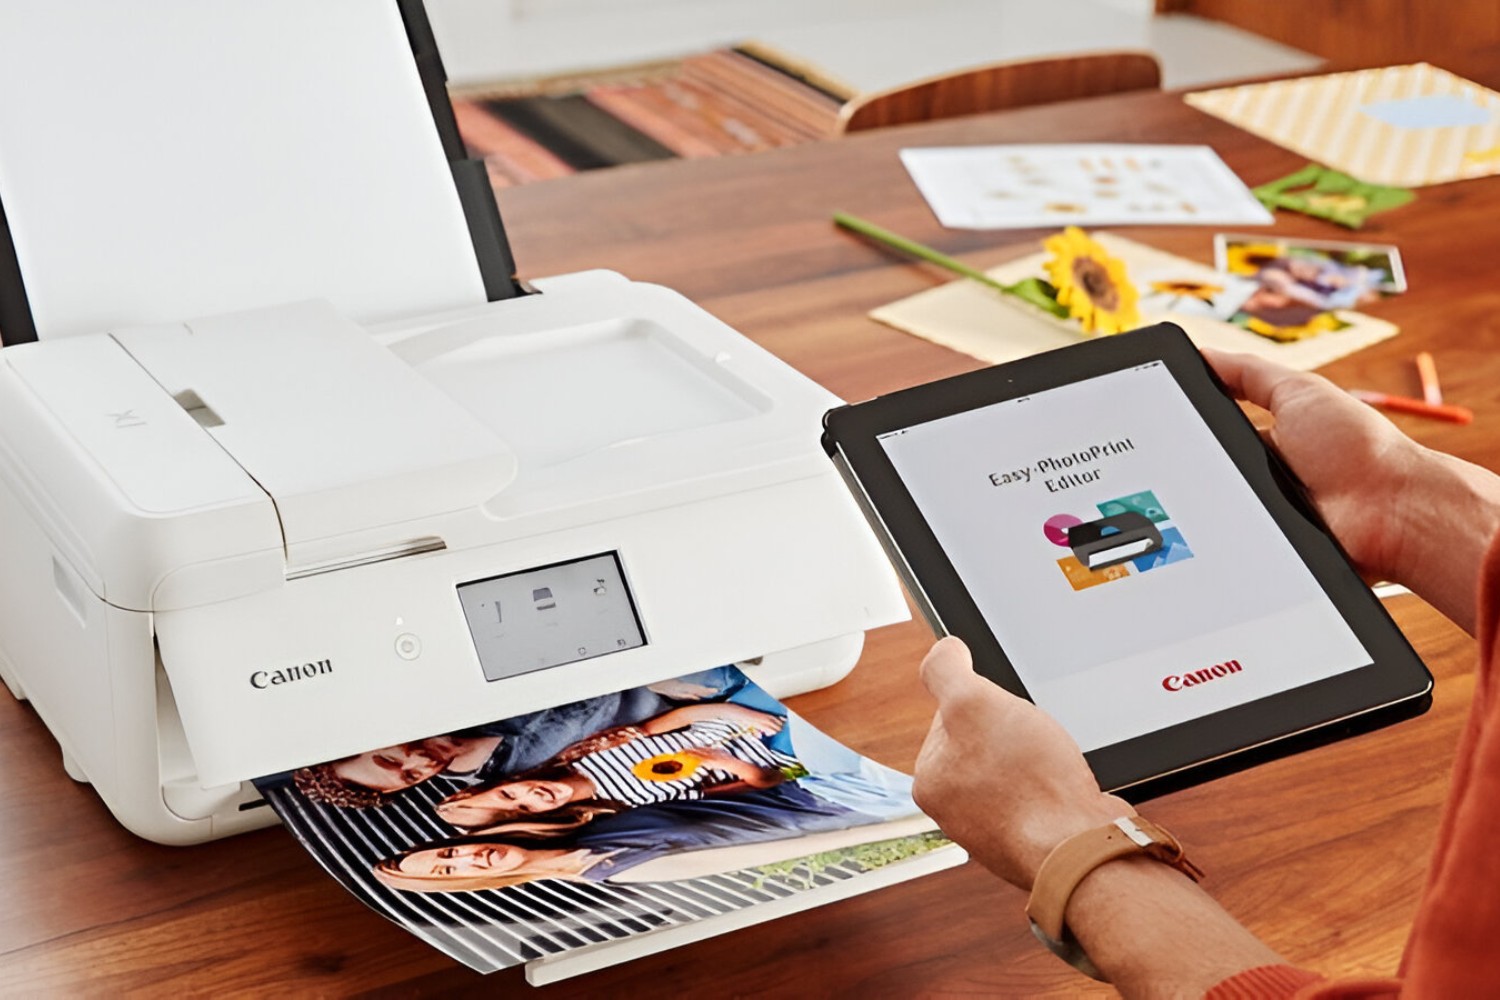
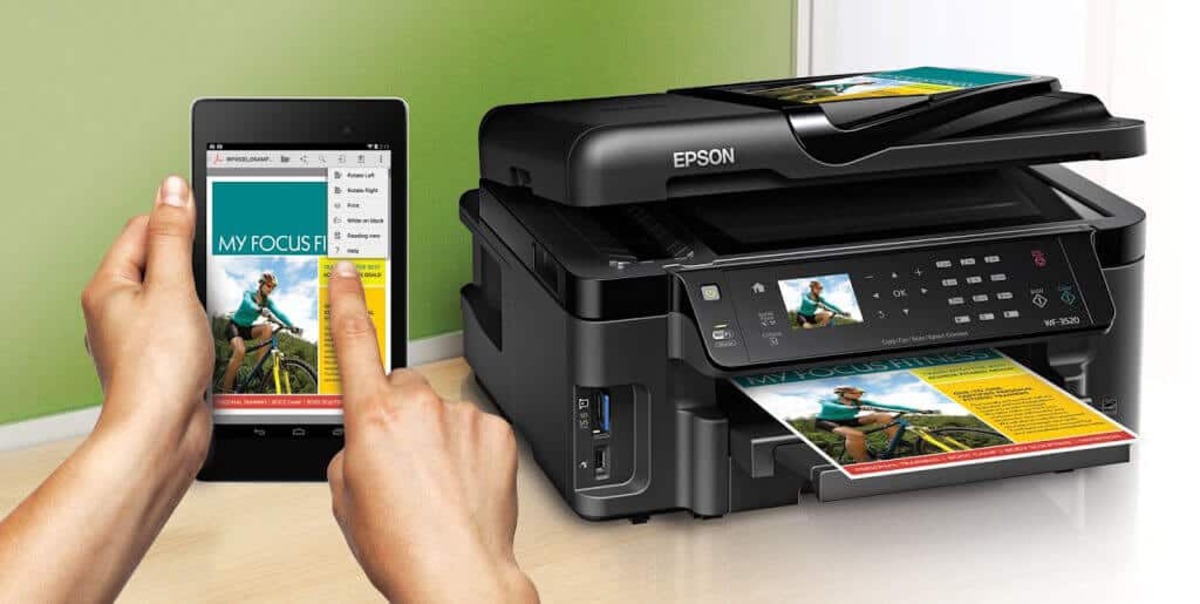
Step 5: Select Printer and Print
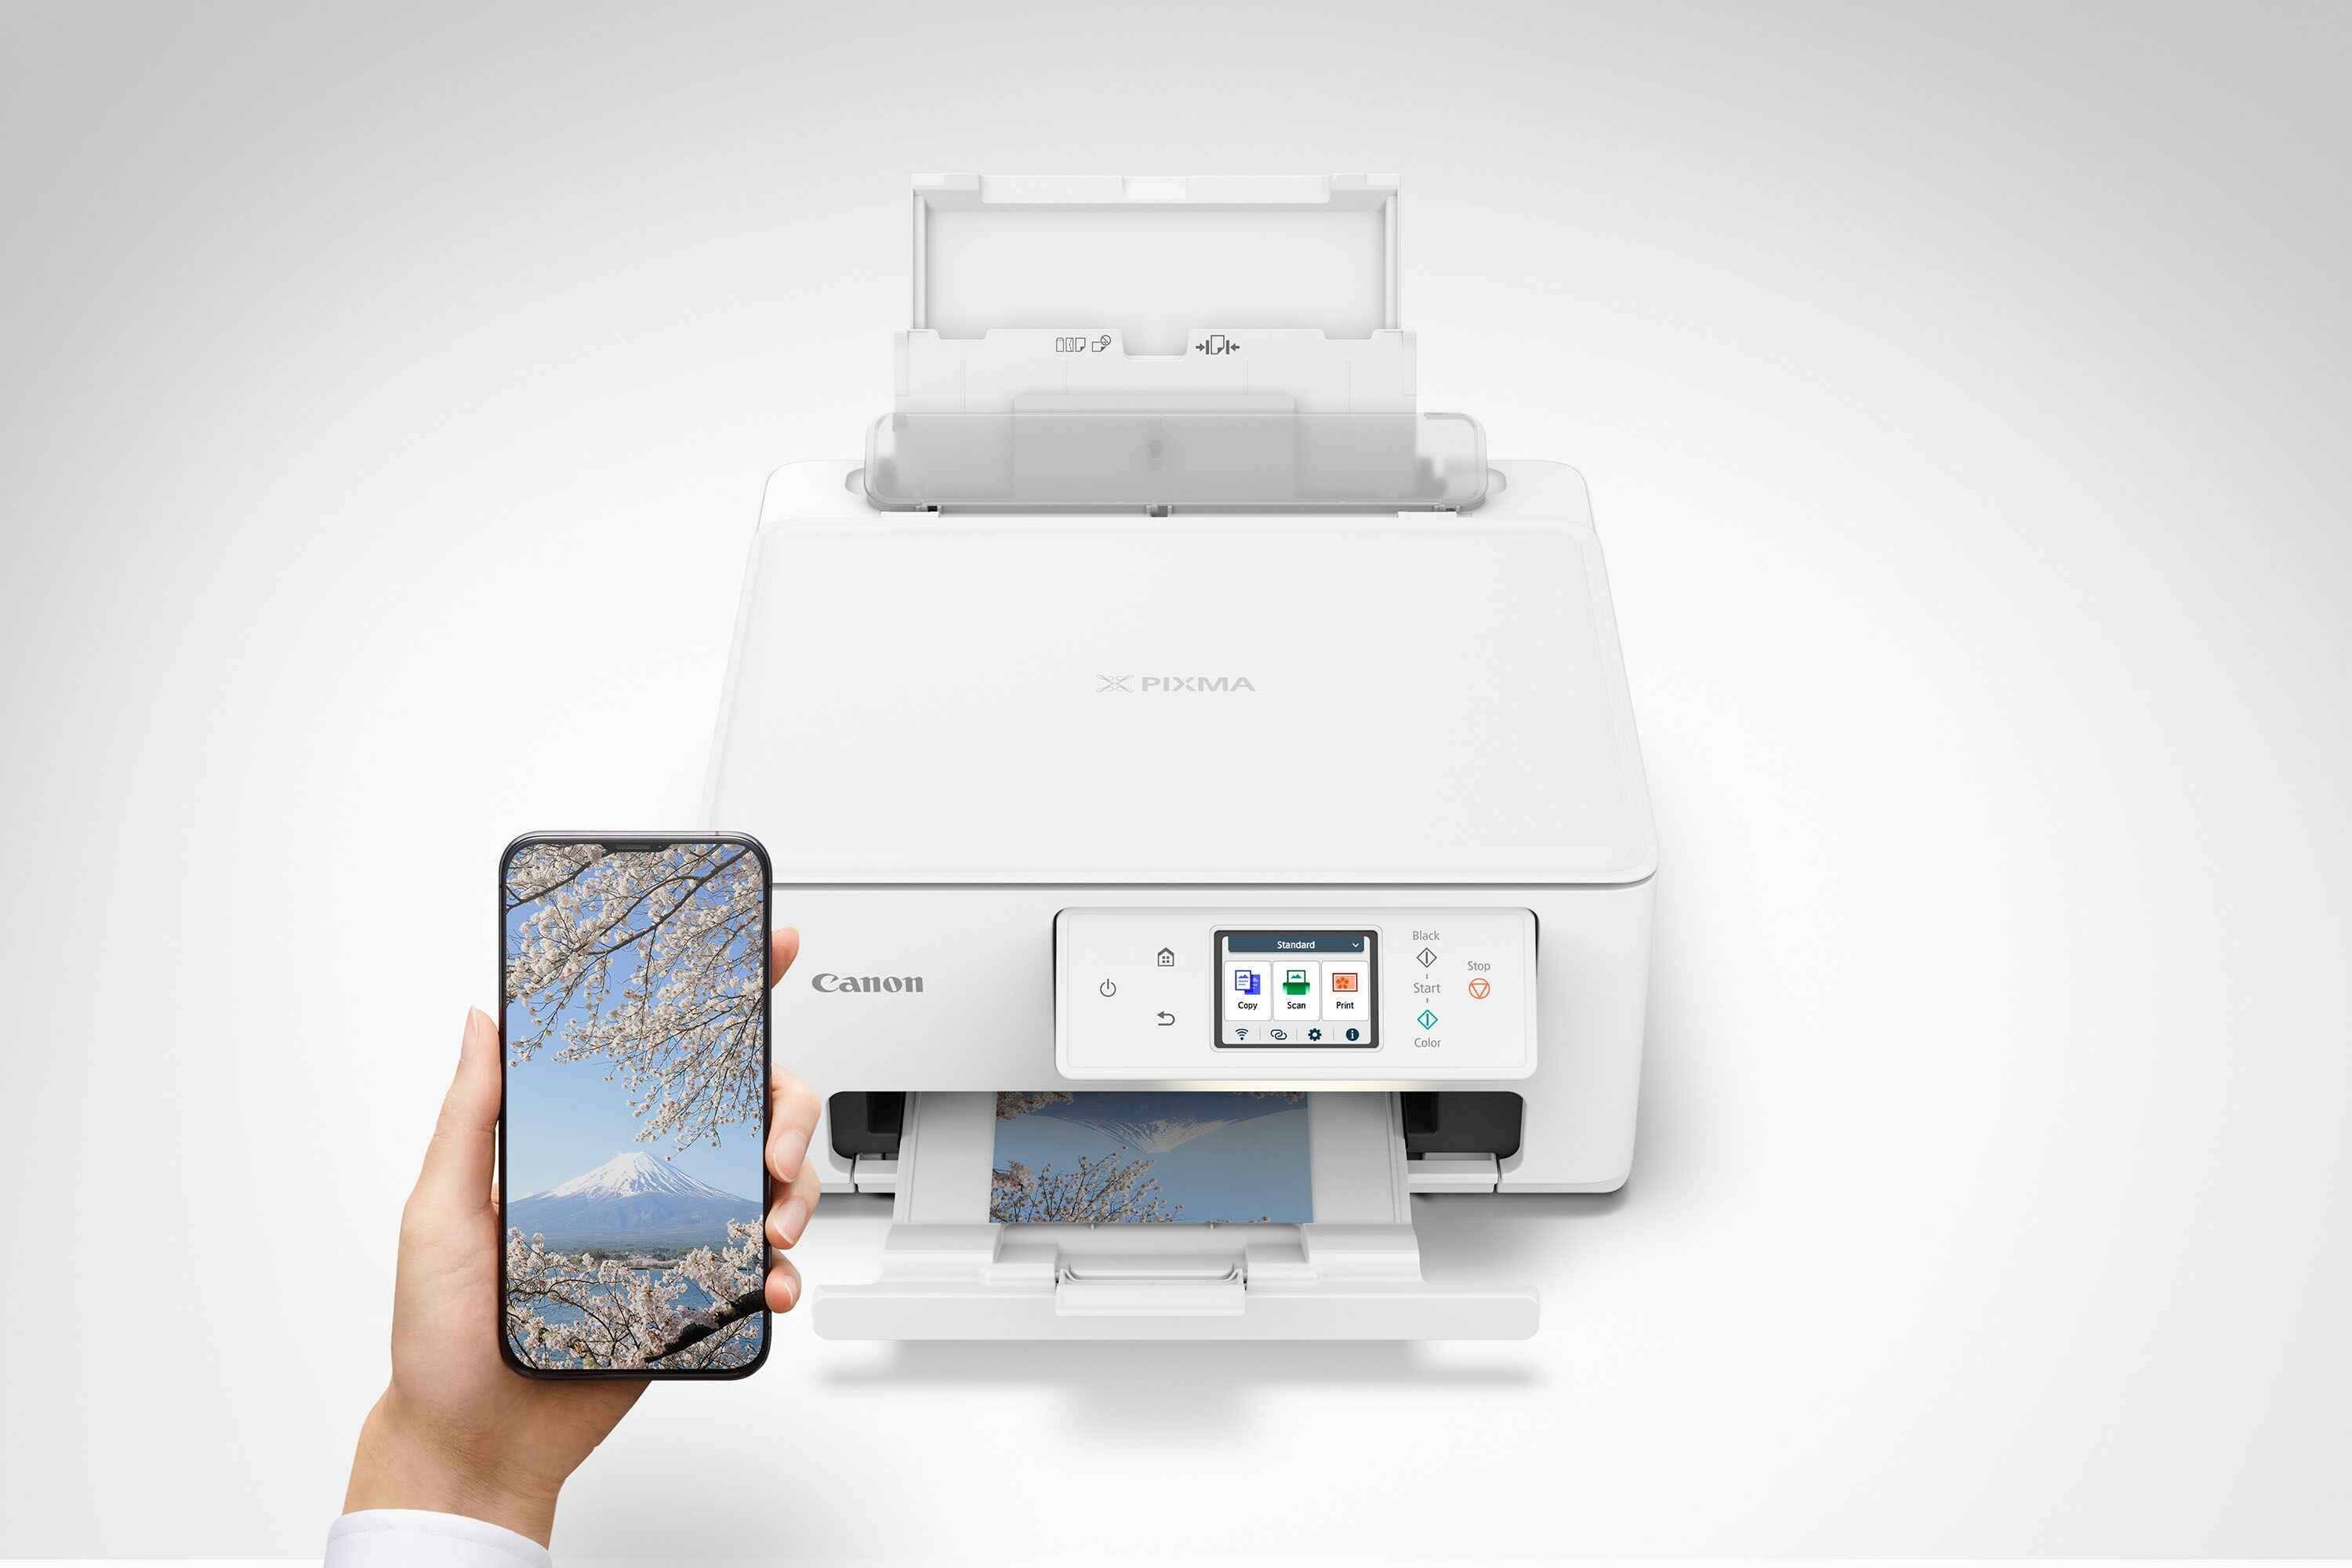
Congratulations! You’ve successfully connected your tablet to a printer, enabled printing on your tablet, and now it’s time to select the printer and start printing your content. Whether it’s a document, photo, or email attachment, the process of selecting the printer and initiating the printing process is simple and convenient.
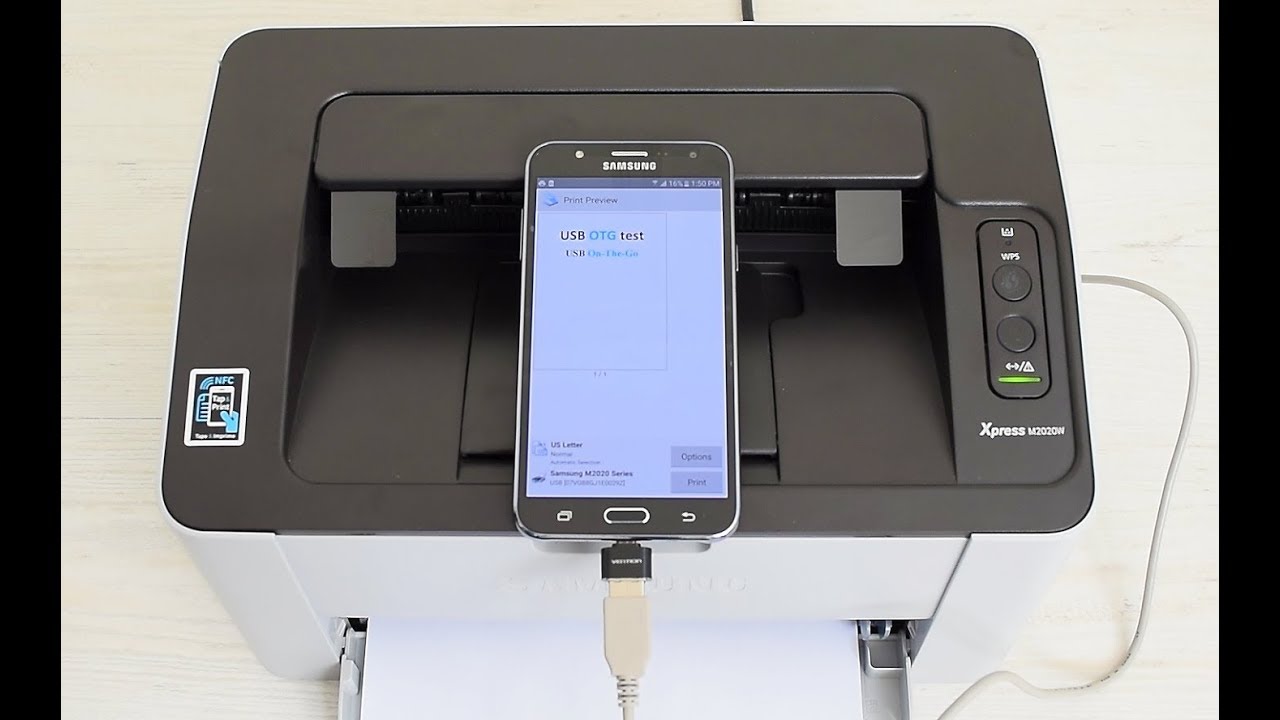
To begin, open the app from the printer manufacturer that you installed in a previous step. This app should provide a user-friendly interface and easy access to printing options. Look for a “Print” or “Print Documents” button or icon within the app. Tap on it to start the printing process.
Once you’ve selected the print option, you will be presented with a list of available printers. Select your printer from the list by tapping on its name. Ensure that the printer you choose matches the one you have connected to your tablet.
After selecting the printer, you can now specify the printing details. This includes choosing the number of copies you want to print, selecting the page range (for documents with multiple pages), adjusting print settings, such as color or black and white, and selecting the paper size.
Once you have specified the printing details, simply tap on the “Print” or “Start Printing” button to initiate the print job. Your tablet will send the print request to the printer over the Wi-Fi network, and depending on the size and complexity of the file, the printer will start printing accordingly.
It’s important to note that the printing process may vary slightly depending on the printer manufacturer’s app or the specific model of your printer. Some apps may offer additional features, such as scanning or managing print queues, which can further enhance your printing experience.
Once the printing process is complete, collect your printed content from the printer’s output tray. Be sure to check the print quality and make any necessary adjustments in the app’s settings if you are not satisfied with the results.
With the printing completed, you can now enjoy the convenience and versatility of printing directly from your tablet. Whether you’re printing important documents for work, capturing memories with printed photos, or simply providing a physical copy of an email attachment, the ability to print from your tablet offers a new level of productivity and convenience.
Conclusion
Connecting a tablet to a printer allows you to harness the full potential of your device and unlock the convenience of wireless printing. By following the step-by-step guide outlined in this article, you can easily connect your tablet and printer, enabling seamless printing directly from your tablet.
The process begins with determining the type of printer you have, whether it’s a wireless or non-wireless model. Installing the printer manufacturer’s app on your tablet is the next crucial step, as it acts as the bridge between the two devices. Ensuring both your tablet and printer are connected to the same Wi-Fi network is essential for establishing a reliable printing connection.
Enabling printing on your tablet allows you to customize printing options and settings, ensuring your printouts meet your specific requirements. Finally, selecting the printer and initiating the printing process is simple and straightforward, and you’ll be able to enjoy the printed results in no time.
Remember, the specific steps and options may vary depending on your tablet brand, operating system, and printer model. It’s always a good idea to consult the manufacturer’s instructions and support resources for detailed guidance specific to your devices.
With your tablet and printer connected, you now have the power to print documents, photos, and more with ease. Whether you need to print important work documents, school assignments, or cherished memories, this newfound ability will undoubtedly enhance your productivity and convenience.
So, go ahead and explore the possibilities of tablet printing. Experience the freedom of wireless printing and enjoy the convenience of seamlessly printing from your tablet. Happy printing!