Introduction
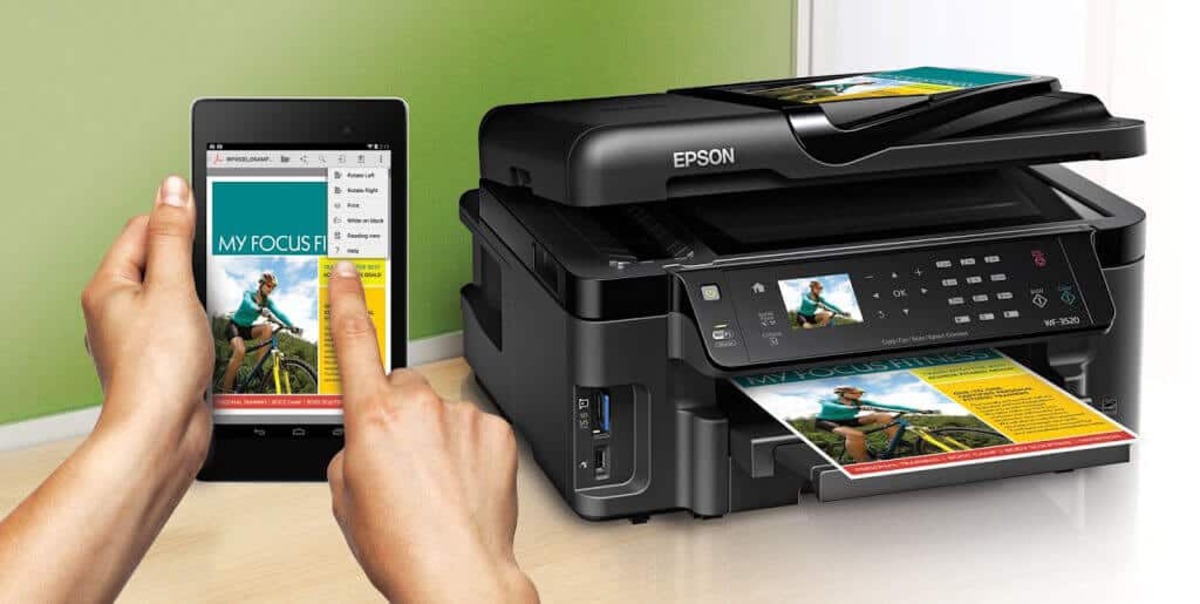
Adding a printer to your Samsung tablet can be a useful feature that allows you to quickly print documents, photos, and other materials directly from your device. Whether you need to print a boarding pass, a presentation, or a recipe, having the ability to connect your tablet to a printer offers convenience and efficiency.
In this article, we will guide you through the step-by-step process of adding a printer to your Samsung tablet. Whether you have a Samsung Galaxy Tab or a Samsung Galaxy Note, these instructions will work for most Samsung tablet models. So let’s get started!
Before we begin, it’s important to note that the specific steps may vary slightly depending on the model of your tablet and the printer you are using. However, the general process remains the same. Make sure to follow the instructions provided by your tablet and printer manufacturers for the best results.
Now let’s move on to the first step, where we’ll check the printer compatibility with your Samsung tablet.
Step 1: Check Printer Compatibility
Before you can add a printer to your Samsung tablet, it’s important to ensure that the printer is compatible with your device. Compatibility is crucial to establish a seamless connection between the tablet and the printer.
First, check if your printer supports wireless printing. Most modern printers have built-in Wi-Fi capabilities, allowing them to connect wirelessly to other devices like your Samsung tablet. If your printer only supports wired connections, you will need additional hardware, such as a print server, to connect it to your tablet.
The next thing to consider is the operating system of your Samsung tablet. Ensure your tablet is running on a compatible operating system, such as Android or Windows, depending on the printer model. This information is typically found in the specifications of your tablet and printer.
Furthermore, it’s worth checking if the printer supports the necessary printer language and drivers for your tablet. Printer languages like PCL or PostScript may be required for seamless communication between the tablet and the printer. Make sure to check the printer’s manual or the manufacturer’s website for this information.
Once you have confirmed the compatibility of your printer with your Samsung tablet, you are ready to proceed to the next step: connecting the printer to the same Wi-Fi network as your tablet.
Step 2: Connect Printer to the Same Wi-Fi Network
In order to add a printer to your Samsung tablet, both devices need to be connected to the same Wi-Fi network. This allows them to communicate and establish a connection for printing purposes. Follow the steps below to connect your printer to your Wi-Fi network:
- Turn on your printer and navigate to the settings menu.
- Locate the Wi-Fi or network settings option and select it.
- Scan for available Wi-Fi networks and select your network from the list.
- Enter the Wi-Fi network password, if prompted, to authenticate the connection.
- Once connected, your printer should display a confirmation message or indicator.
Ensure that your Wi-Fi network is stable and reliable to avoid any disruptions during the printing process. If you encounter any issues, you may need to troubleshoot your network or consult the printer’s manual for specific instructions.
Once your printer is connected to the Wi-Fi network, it’s time to install any printer-related apps that may be required for seamless printing from your Samsung tablet. This is the next step in adding a printer to your device.
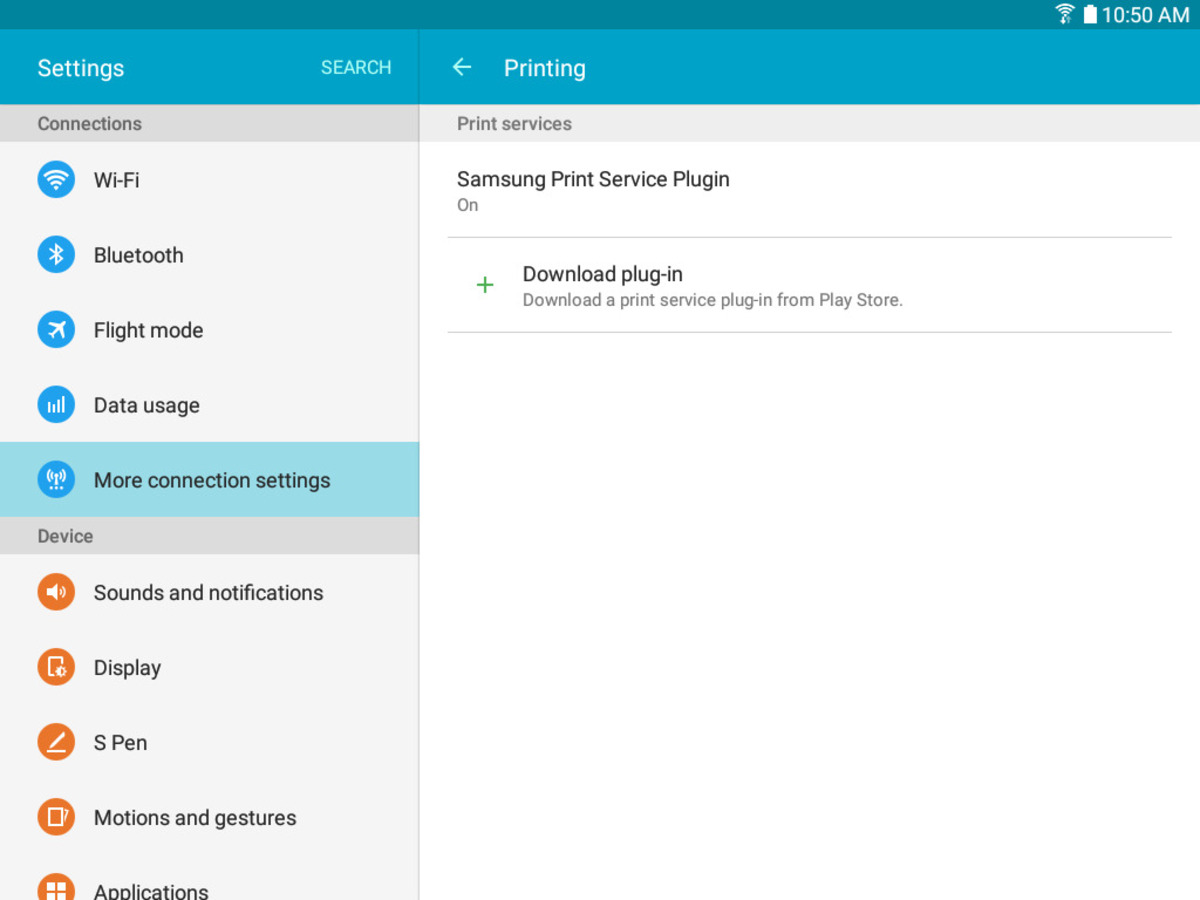
Step 3: Install Printer-Related Apps
Installing the necessary printer-related apps on your Samsung tablet is an essential step to enable seamless printing. These apps allow your tablet to communicate with the printer and provide you with printing options and settings. Follow these steps to install the required printer apps:
- Open the Google Play Store app on your Samsung tablet.
- Search for the printer’s brand or model name in the search bar.
- From the search results, choose the official app provided by the printer manufacturer.
- Tap on the “Install” button to begin the installation process.
- Once the app is installed, open it and follow any on-screen instructions for initial setup or configuration.
- If prompted, grant any necessary permissions to the app for it to function correctly.
Some printers may require additional specific apps or plugins for full compatibility and functionality. In such cases, check the manufacturer’s website or the printer’s manual for information on any additional apps or plugins that need to be installed on your tablet.
After installing the necessary printer-related apps on your Samsung tablet, you are ready to proceed to the next step: adding the printer in your device settings.
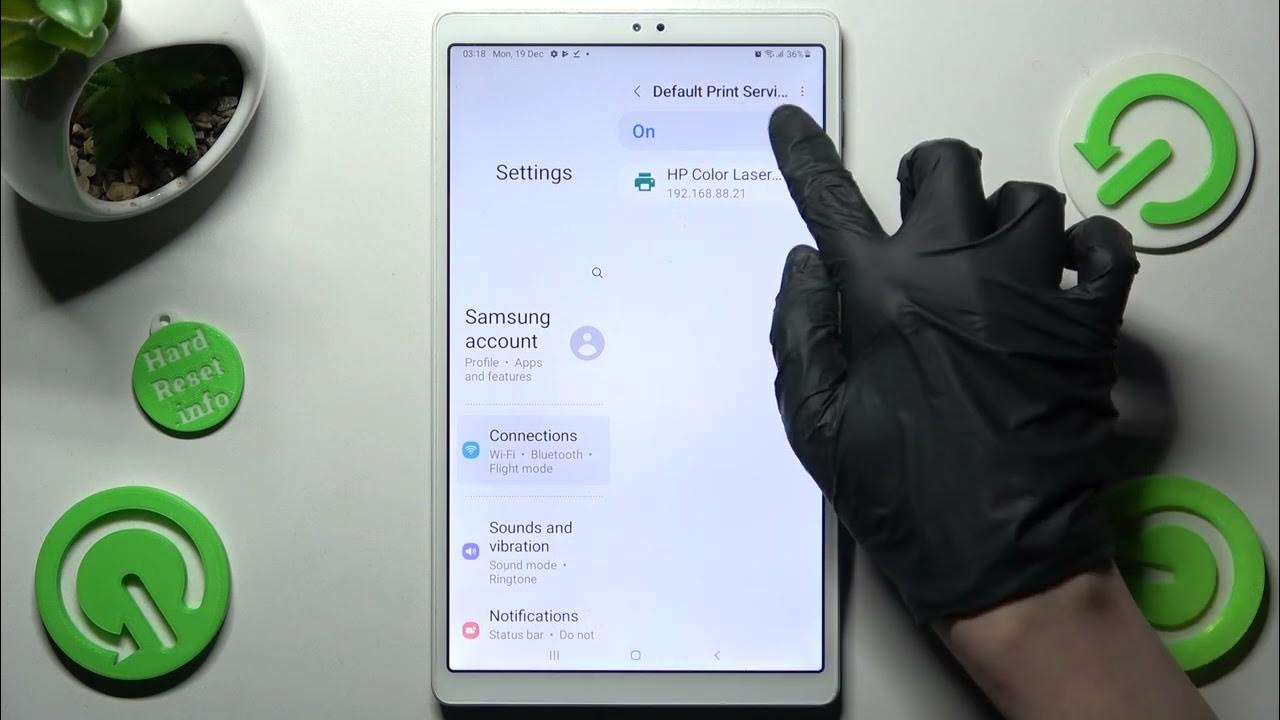
Step 4: Add Printer in Settings
Once you have installed the printer-related apps on your Samsung tablet, it’s time to add the printer in your device settings. This step will establish a direct connection between your tablet and the printer, allowing you to print seamlessly. Follow these steps to add the printer:
- Go to the “Settings” app on your Samsung tablet.
- Scroll down and find the “Connections” or “Wi-Fi” option.
- Select “Printers” or “Printing” from the list of options.
- Tap on the “Add Printer” or “Add Service” button.
- Your tablet will start scanning for available printers on the same Wi-Fi network.
- Once the printer is detected, select it from the list of available devices.
- Follow any on-screen prompts or instructions to complete the printer setup.
Depending on the printer model and app you are using, you may have additional options to configure, such as paper size, print quality, or orientation. Customize these settings according to your preferences.
After successfully adding the printer in your device settings, it’s time to print a test page to ensure that the connection is working correctly.
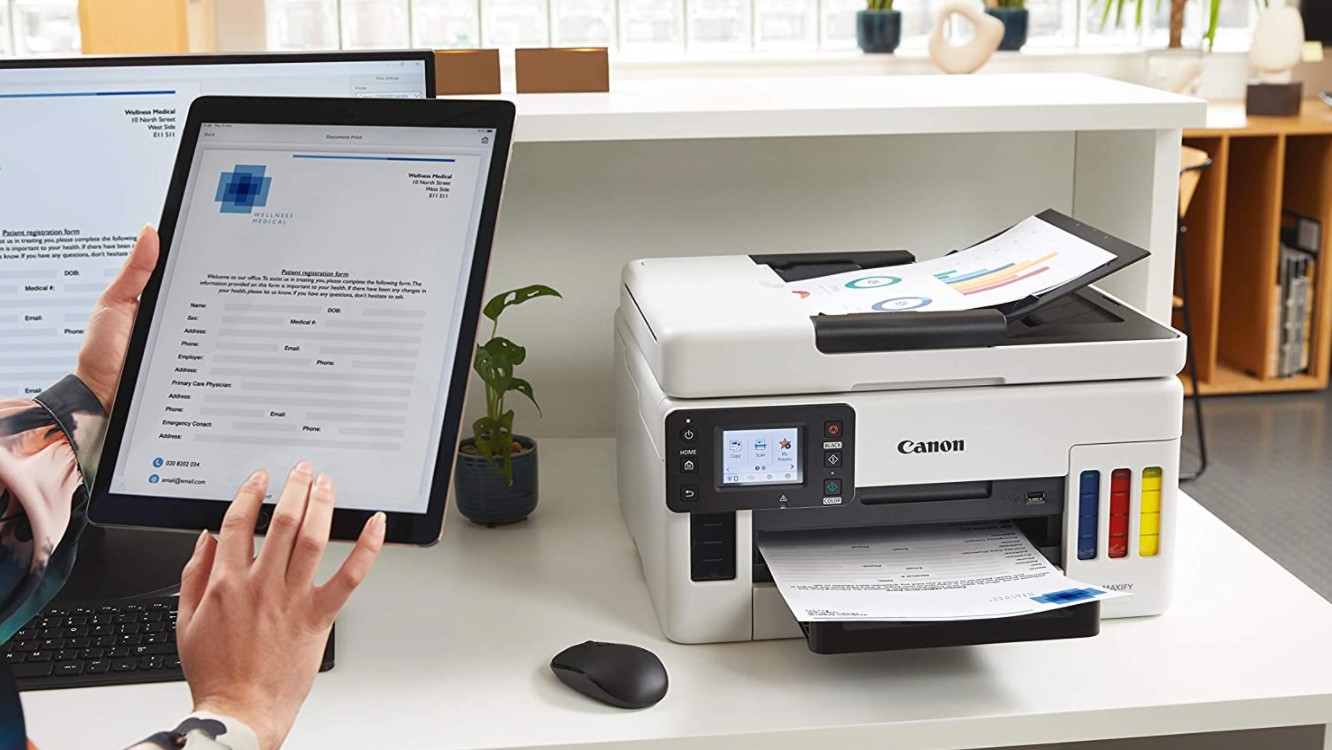
Step 5: Print a Test Page
Printing a test page is the final step to confirm that the printer is successfully connected to your Samsung tablet. This allows you to ensure that all settings and configurations are in place for future printing tasks. Follow these steps to print a test page:
- Open a document, photo, or any other file on your Samsung tablet that you would like to print.
- Tap on the “Share” or “Print” option within the app or file you wish to print.
- Select the appropriate printer from the list of available printers.
- Customize any print settings, such as the number of copies or print quality, if needed.
- Tap on the “Print” button to initiate the print job.
- Wait for the printer to process the print job and produce the test page.
- Check the printed test page for accuracy, clarity, and any potential printing issues.
If the test page prints successfully and meets your desired quality standards, congratulations! You have successfully added and configured a printer to your Samsung tablet.
However, if the test page does not print as expected or encounters any issues, it may be necessary to double-check the printer settings, network connection, or consult the printer’s manual for troubleshooting steps.
Now that you have completed the process of adding a printer to your Samsung tablet and successfully printed a test page, you are ready to enjoy the convenience of wireless printing directly from your device.
Conclusion
Adding a printer to your Samsung tablet opens up a world of convenience and productivity. With the ability to print directly from your device, you can easily print documents, photos, and other materials without the need for a computer or complicated setups.
In this article, we have provided you with a step-by-step guide to adding a printer to your Samsung tablet. We started by checking the printer compatibility and ensuring that it supports wireless printing. Then, we connected the printer and the tablet to the same Wi-Fi network to establish a connection. Next, we installed the necessary printer-related apps to enable seamless printing. We then added the printer in the device settings to establish a direct connection. Finally, we printed a test page to verify the connection and settings.
It’s important to note that the process may vary slightly depending on the model of your tablet and the printer you are using. Always refer to the instructions provided by your tablet and printer manufacturers for the most accurate information.
Now that you have successfully added a printer to your Samsung tablet, you can enjoy the convenience of wireless printing. Whether you need to print work documents, school assignments, or personal photos, you can now do it directly from your tablet with ease.
Remember to regularly update the printer apps and software to ensure optimal performance and reliability. If you encounter any issues or have questions, consult the printer’s manual or reach out to the manufacturer’s customer support for assistance.
Enjoy the seamless printing experience that your Samsung tablet now offers!