Introduction
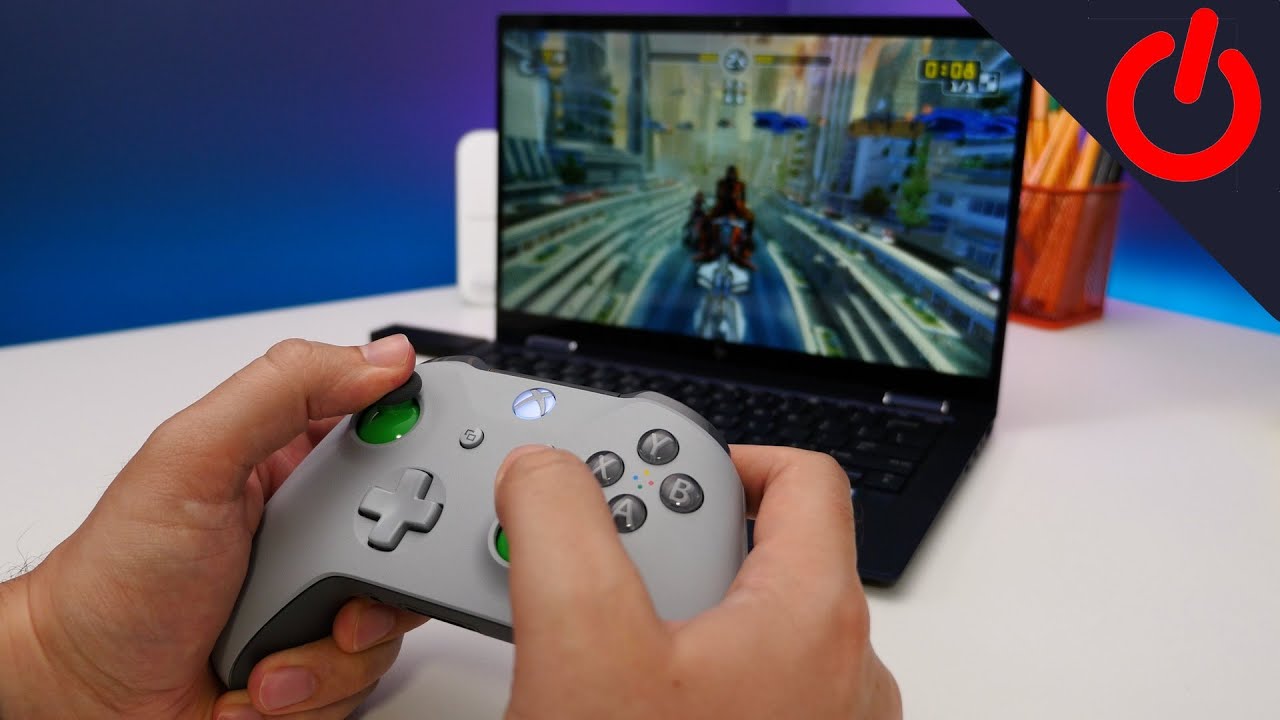
Welcome to our guide on how to connect your Xbox controller to your PC via Bluetooth. By connecting your controller to your PC, you can enjoy playing your favorite games with the familiar comfort and precision that the Xbox controller provides.
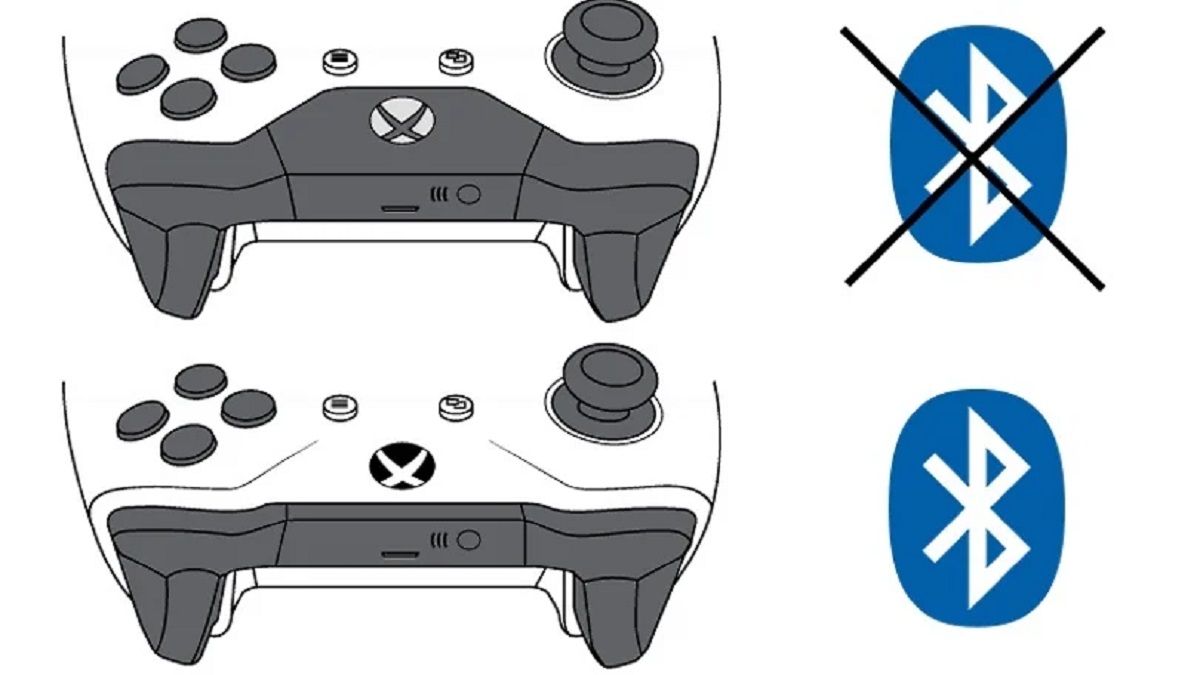
The Xbox controller is not only designed for Xbox consoles but can also be used with Windows PCs. However, to connect the Xbox controller to your PC via Bluetooth, you need to ensure that your PC has Bluetooth capability and that the controller is in pairing mode.
In this guide, we will walk you through the step-by-step process of connecting your Xbox controller to your PC via Bluetooth. Whether you’re using the latest Xbox Wireless Controller or an older version, our instructions will help you establish a seamless connection.
Keep in mind that the availability of Bluetooth on your PC may vary depending on the model and specifications. It’s important to check if your PC supports Bluetooth before attempting to connect your Xbox controller.
Now, let’s dive into the step-by-step process to connect your Xbox controller to your PC via Bluetooth.
Step 1: Check for Bluetooth Compatibility
Before attempting to connect your Xbox controller to your PC via Bluetooth, it’s essential to ensure that your PC has Bluetooth capability. Here’s how you can check for Bluetooth compatibility:
- Click on the Start menu and open the Settings app on your PC.
- In the Settings window, select the Devices option.
- In the Devices menu, click on the Bluetooth & other devices tab.
- If your PC has Bluetooth capability, you will see the word “On” below the Bluetooth toggle. If it’s not turned on, click on the toggle to enable Bluetooth.
- If your PC doesn’t have built-in Bluetooth capability, you can use an external Bluetooth adapter or dongle to add this functionality to your PC.
- Once you have confirmed that your PC supports Bluetooth, you can proceed to the next step of connecting your Xbox controller.
It’s worth noting that newer versions of Windows usually come with built-in Bluetooth functionality. However, for older PC models or custom-built PCs, Bluetooth may not be included by default. In such cases, using an external Bluetooth adapter will be necessary.
By ensuring that your PC has Bluetooth compatibility, you are one step closer to connecting your Xbox controller and enjoying your favorite games on your PC.
Step 2: Turn on your Xbox Controller
Before you can connect your Xbox controller to your PC, you need to make sure that the controller is turned on.
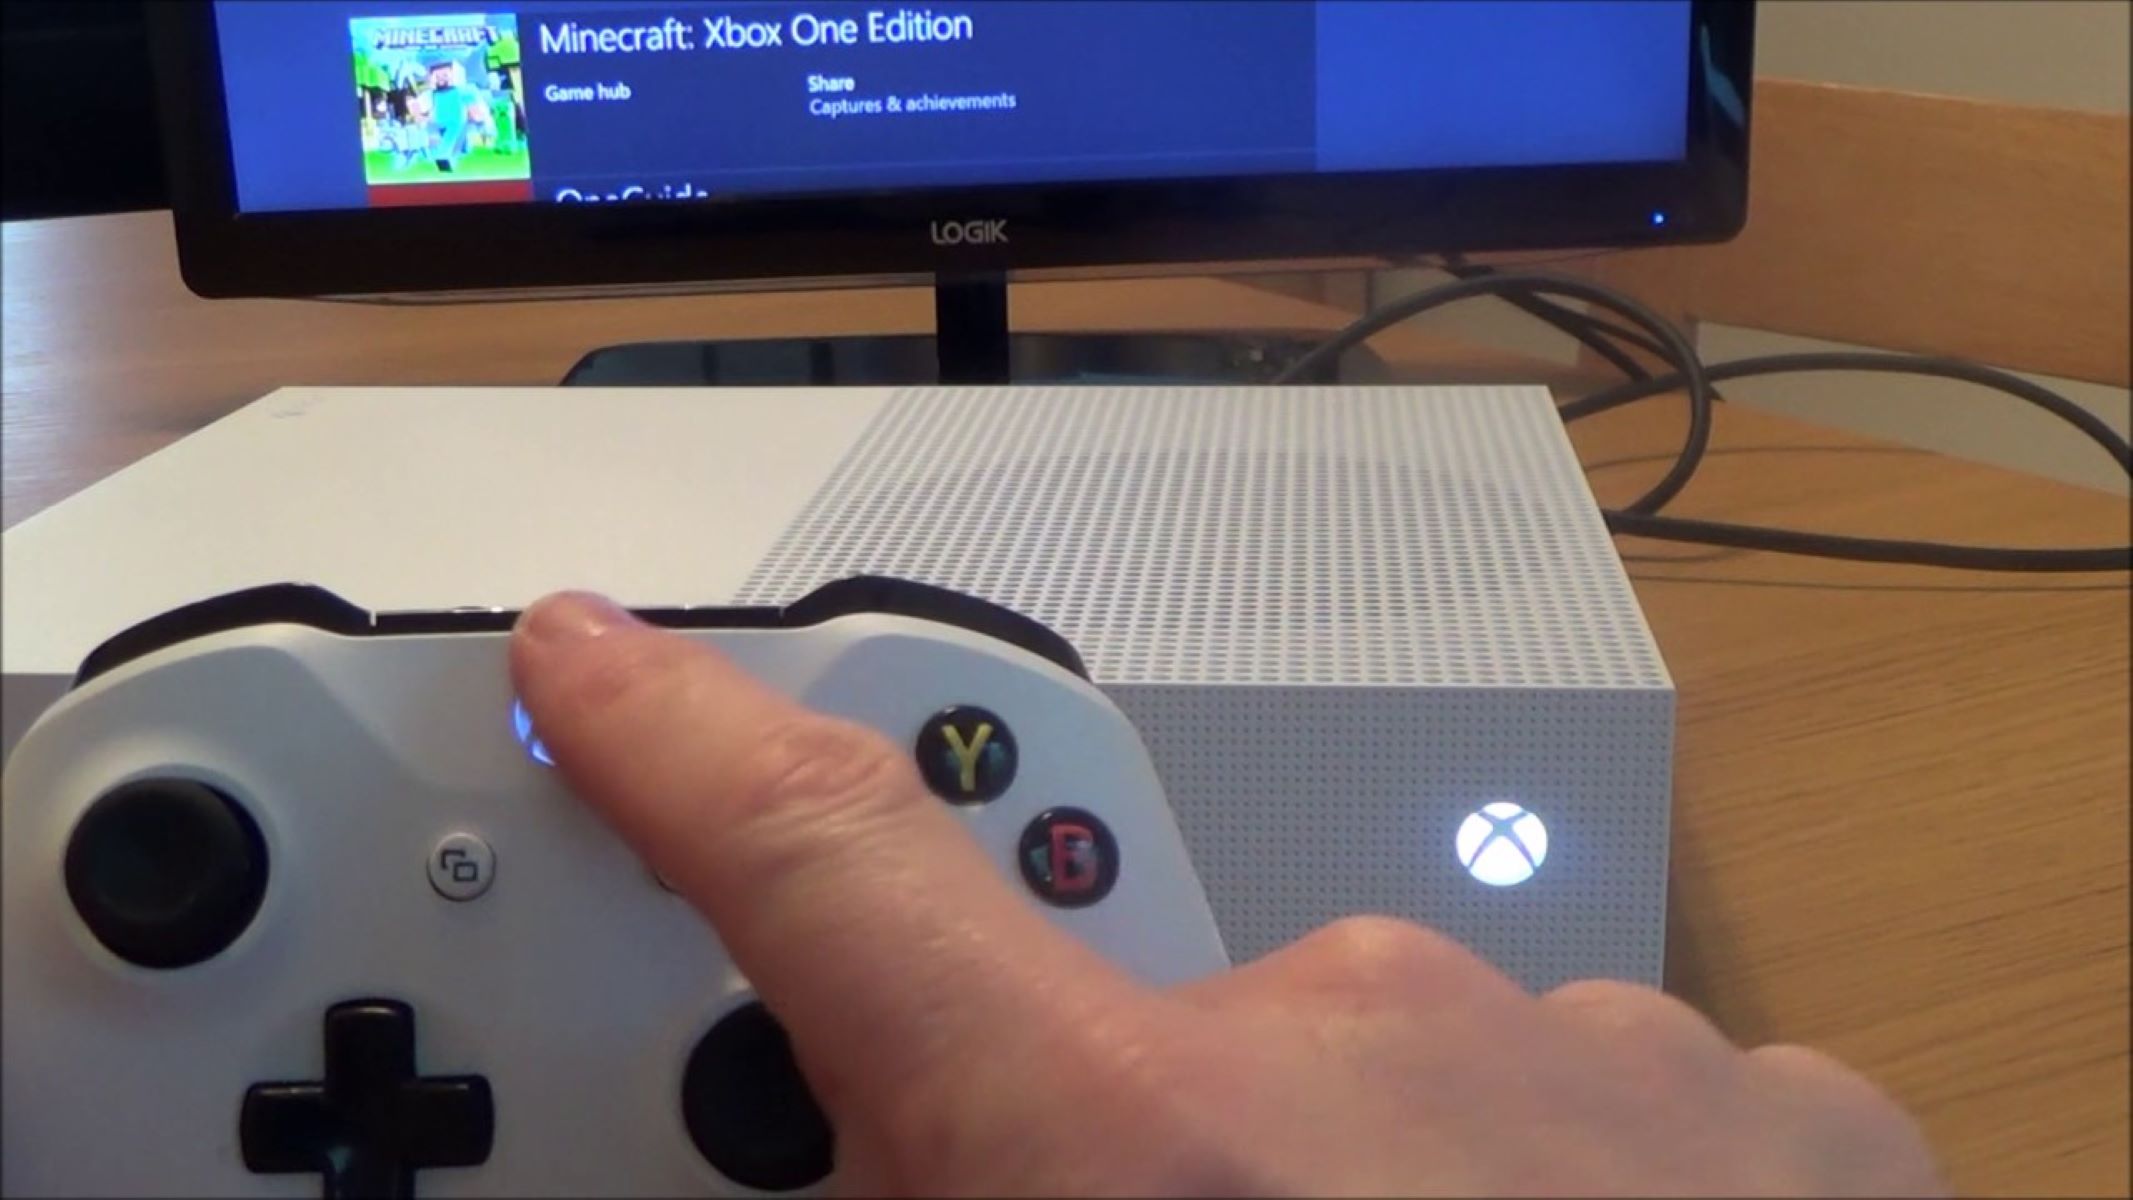
- First, locate the Xbox button on your controller. It is the large button with the Xbox logo in the center.
- Press and hold the Xbox button for a few seconds until the Xbox logo starts flashing.
- Once the Xbox logo starts flashing, it means that the controller is turned on and ready to be paired with your PC.
It’s important to note that if the Xbox logo on your controller doesn’t flash, this could indicate that the controller’s batteries are low or that it needs to be charged. In such cases, you should replace the batteries or connect the controller to your PC using a USB cable to charge it.
Now that you’ve turned on your Xbox controller, you’re ready to move on to the next step of enabling Bluetooth on your PC.
Step 3: Enable Bluetooth on your PC
In order to connect your Xbox controller to your PC via Bluetooth, you’ll need to make sure that Bluetooth is enabled on your PC. Here’s how to do it:
- Begin by opening the Start menu on your PC and navigating to the Settings app.
- Once you’re in the Settings menu, select the Devices option.
- In the Devices menu, click on the Bluetooth & other devices tab.
- Ensure that the Bluetooth toggle is turned on. If it’s already enabled, you’ll see the word “On” beneath it.
- If Bluetooth is turned off, simply click on the toggle to enable it.
Enabling Bluetooth on your PC allows your computer to communicate with your Xbox controller and establish a wireless connection. Once Bluetooth is enabled, you’re ready to put your Xbox controller in pairing mode.
Note that the steps to enable Bluetooth may vary slightly depending on the version of Windows you are using. However, the general process remains the same.
Now that you have successfully enabled Bluetooth on your PC, it’s time to move to the next step and put your Xbox controller in pairing mode.
Step 4: Put your Xbox Controller in Pairing Mode
Before you can connect your Xbox controller to your PC, you need to put the controller in pairing mode, which allows it to be discovered by your PC’s Bluetooth device. Follow these steps to put your Xbox controller in pairing mode:
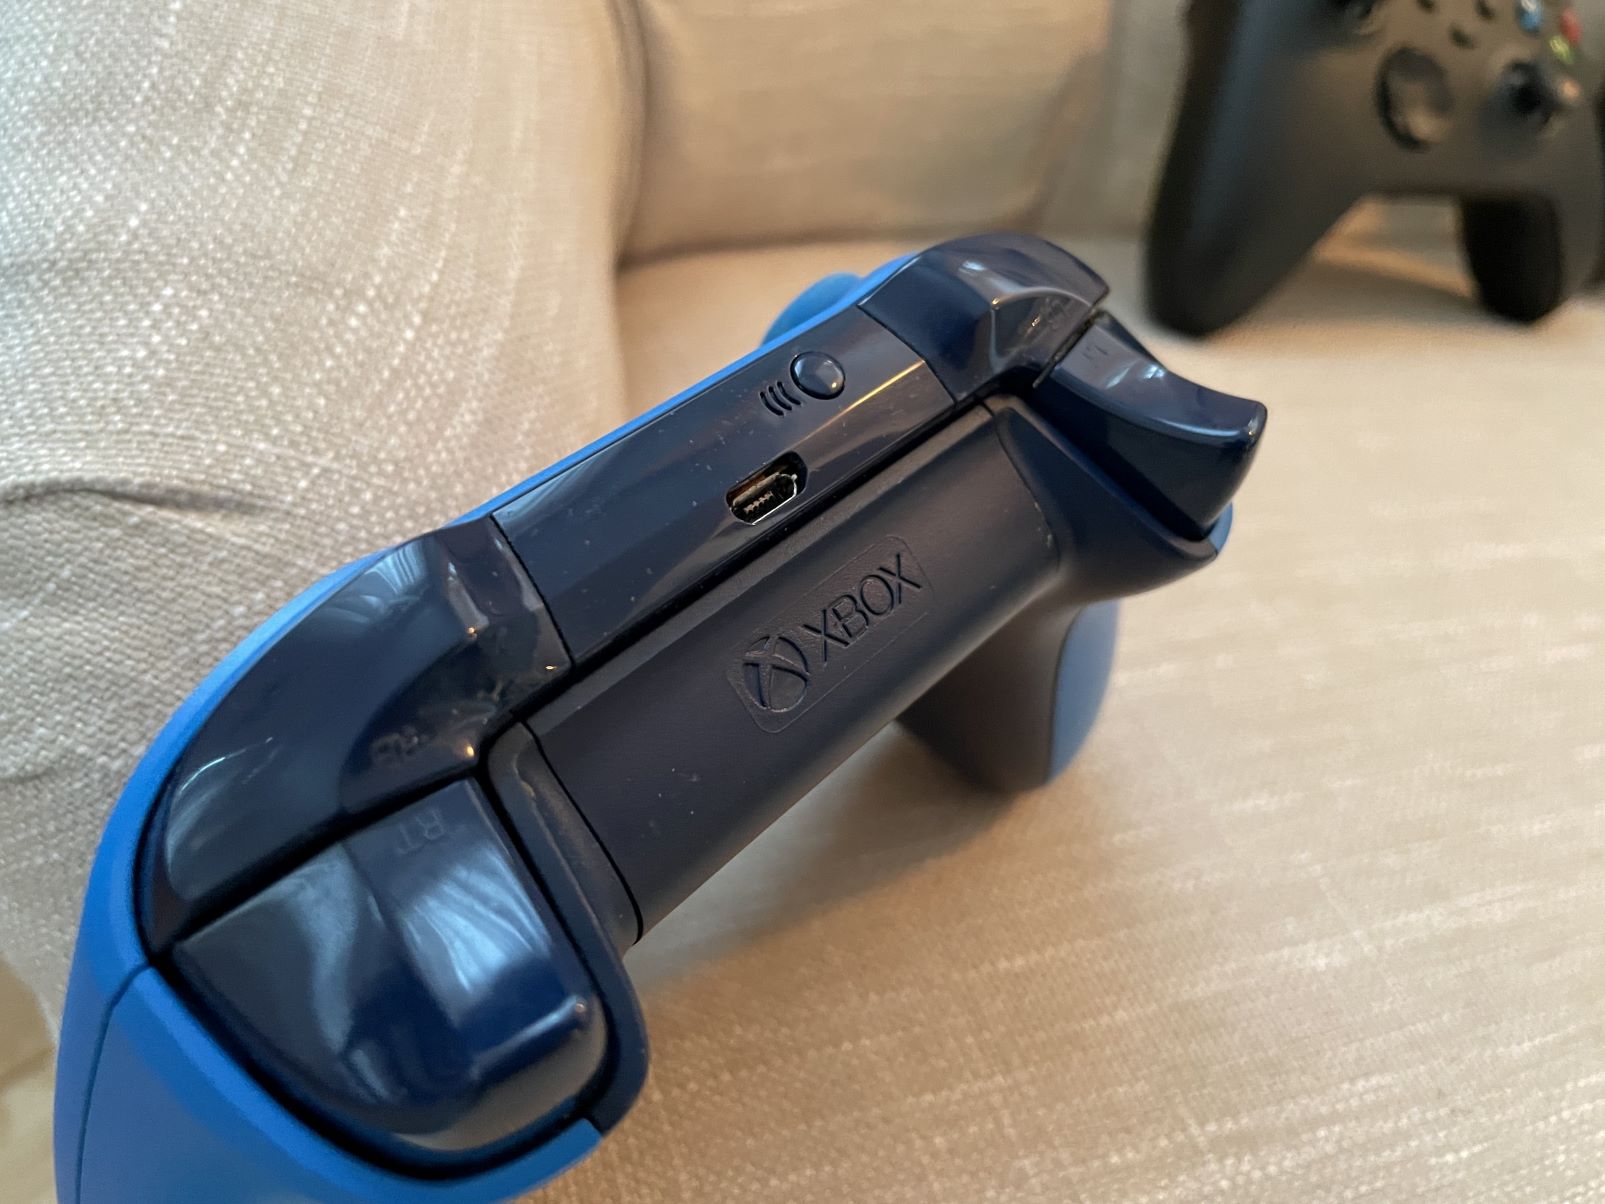
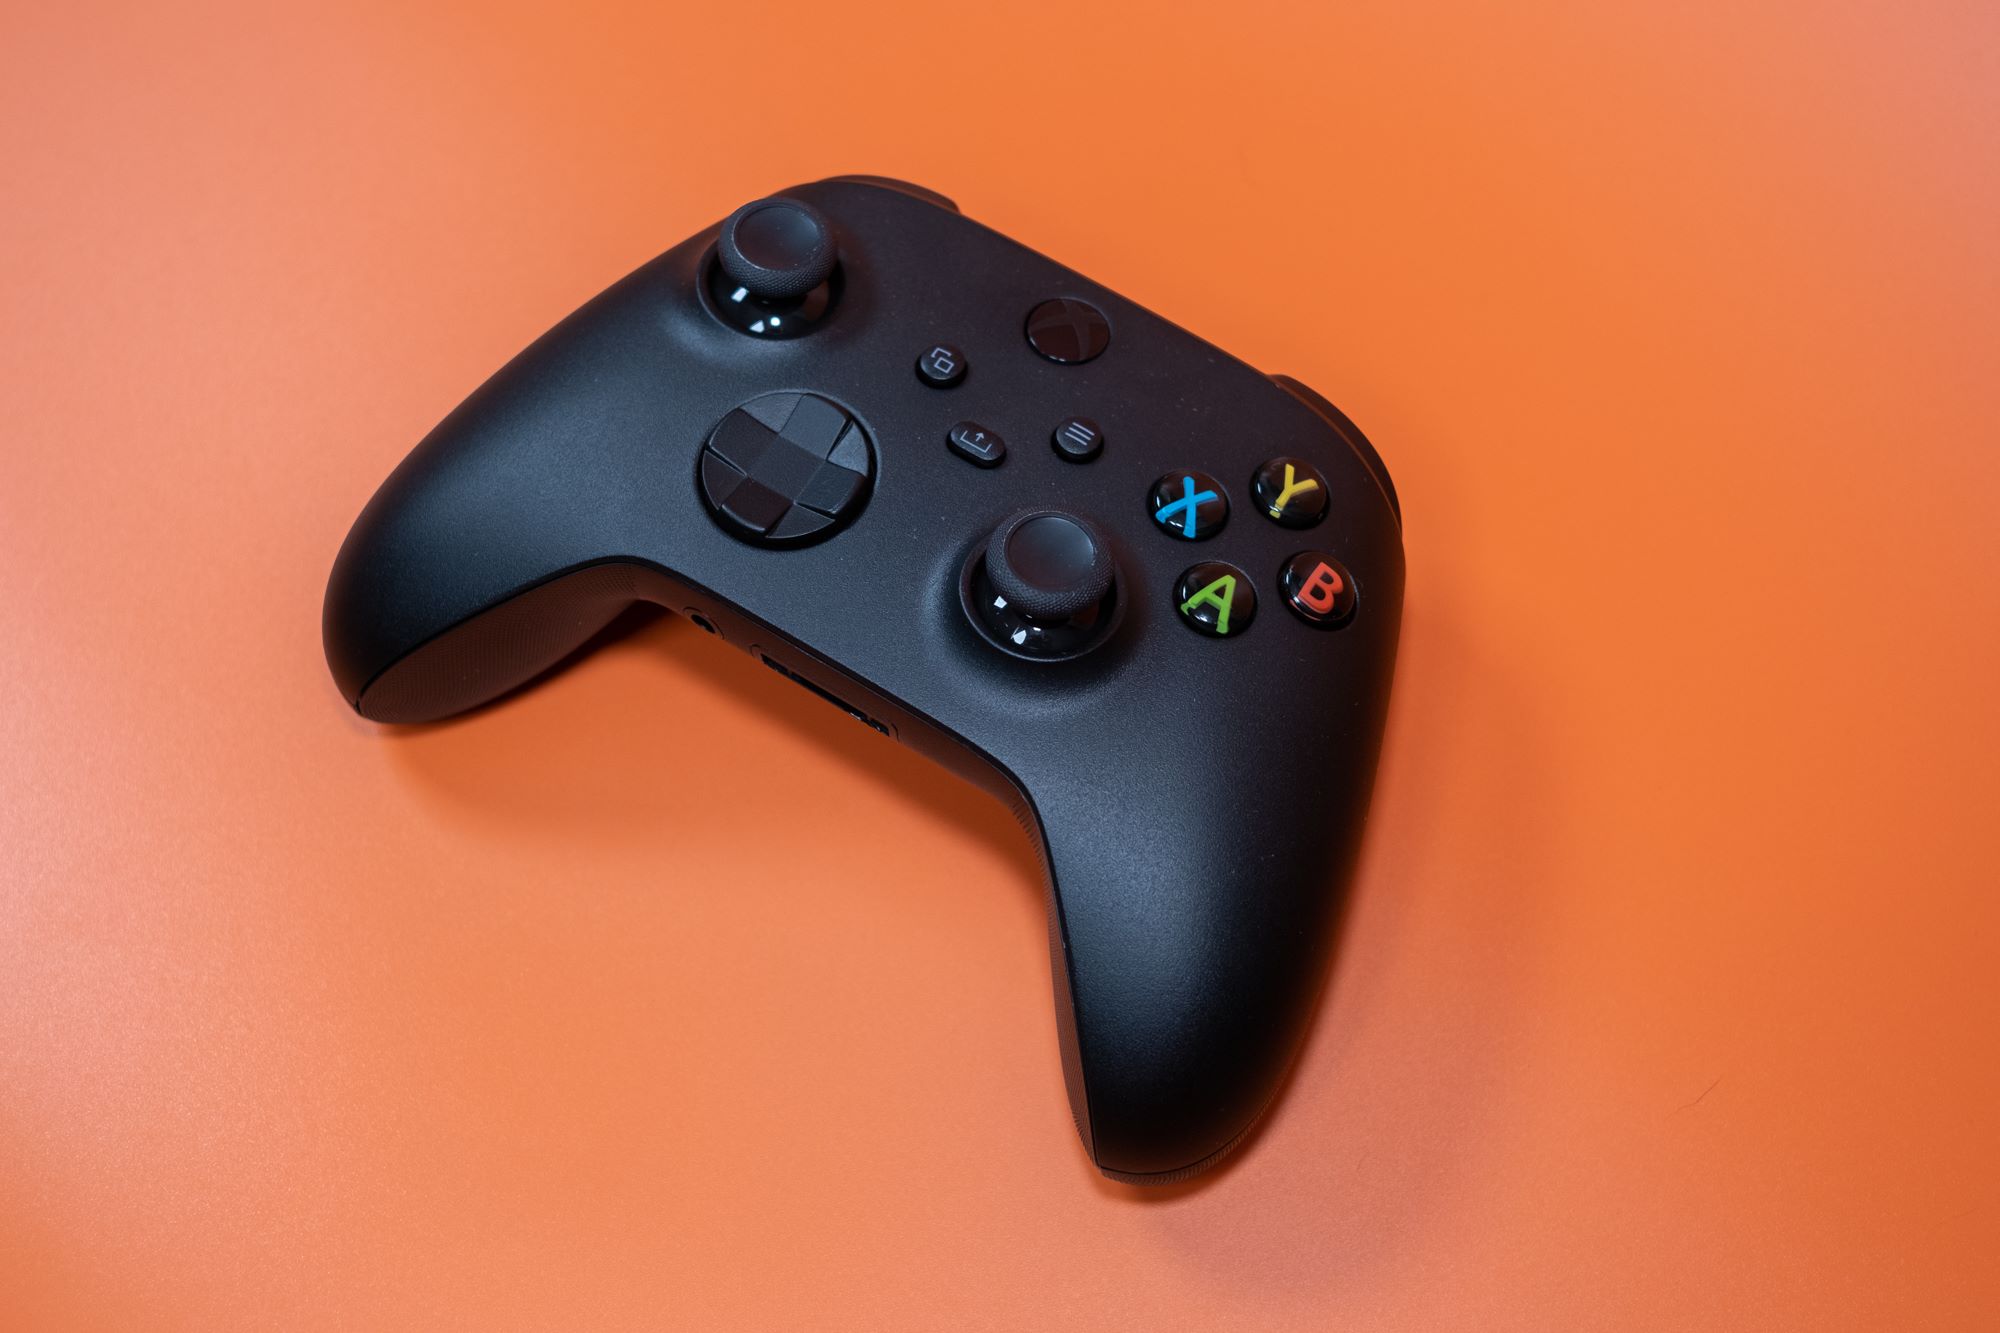
- On your Xbox controller, locate the small sync button. The location of the sync button may vary depending on the controller model.
- Press and hold the sync button for a couple of seconds.
- While holding the sync button, the Xbox logo on the controller will start flashing rapidly.
- This indicates that the controller is in pairing mode and ready to be connected to a Bluetooth device.
Putting your Xbox controller in pairing mode allows it to be discovered by your PC, making it easier to establish a connection. It’s important to note that the pairing mode typically lasts for a short period of time, so it’s important to move quickly to the next step.
Now that your Xbox controller is in pairing mode, you’re ready to proceed to the next step and pair it with your PC.
Step 5: Pair the Xbox Controller with your PC
With your Xbox controller in pairing mode, it’s time to connect it to your PC via Bluetooth. Follow these steps to pair your Xbox controller with your PC:
- On your PC, go to the Bluetooth & other devices menu in the Settings app.
- Click on the “Add Bluetooth or other devices” button.
- In the pop-up window, select the “Bluetooth” option.
- Your PC will start searching for Bluetooth devices. Wait for it to detect your Xbox controller.
- When your Xbox controller appears in the list of available devices, click on it to select it.
- Click on the “Pair” button to initiate the pairing process.
- Wait for the pairing process to complete. This may take a few seconds.
- Once the pairing is successful, you will see a message indicating that the Xbox controller is connected to your PC via Bluetooth.
With the Xbox controller successfully paired with your PC, you can now use it to play games and navigate your PC’s interface. However, it’s important to note that some games or applications may require additional configuration in order to properly recognize and utilize the Xbox controller.
Now that you have successfully paired your Xbox controller with your PC, it’s time to move on to the final step and test the connection.
Step 6: Test the Connection
Once you have paired your Xbox controller with your PC via Bluetooth, it’s essential to test the connection to ensure that everything is working smoothly. Follow these steps to test the connection:
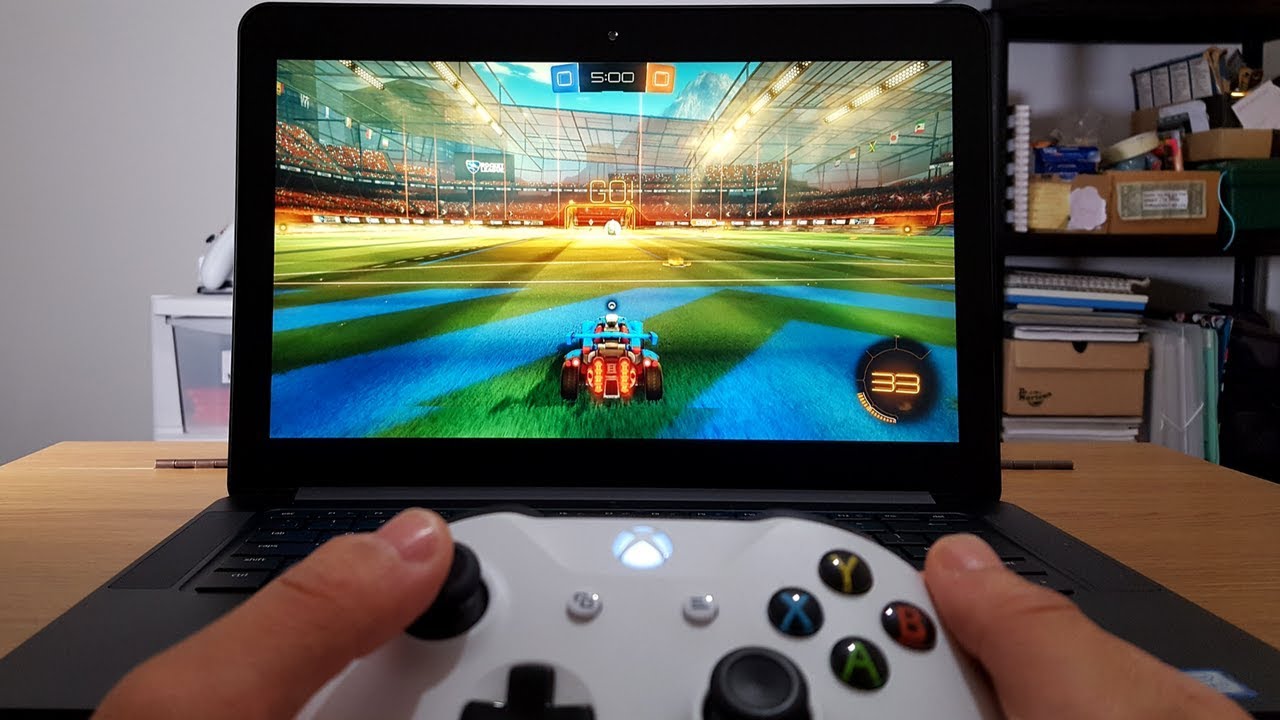
- Launch a game or application on your PC that supports controller input.
- Use your Xbox controller to navigate through the game or application’s menus.
- Check if the buttons, joysticks, and triggers on the controller are functioning correctly and responding to your input.
- Test the vibration feature of the controller to see if it is working.
- Play the game or use the application for a few minutes to check if there are any lag or connectivity issues.
If you encounter any issues during the testing process, try the following troubleshooting steps:
- Ensure that your Xbox controller is charged or has fresh batteries.
- Restart your PC and Xbox controller and repeat the pairing process.
- Verify that your PC’s Bluetooth driver is up to date.
- Check for any firmware updates for your Xbox controller.
- Consult the game or application’s documentation or support resources for troubleshooting steps specific to that software.
By thoroughly testing the connection between your Xbox controller and your PC, you can identify and resolve any issues that may affect your gaming experience.
Now that you have successfully tested the connection, you’re ready to enjoy gaming on your PC using your Xbox controller!
Conclusion
Connecting your Xbox controller to your PC via Bluetooth opens up a world of gaming possibilities. Whether you prefer playing games on your Xbox console or your PC, being able to use the Xbox controller provides a familiar and comfortable gaming experience.
In this guide, we walked you through the step-by-step process of connecting your Xbox controller to your PC via Bluetooth. We covered checking for Bluetooth compatibility, turning on the controller, enabling Bluetooth on your PC, putting the controller in pairing mode, pairing the controller with your PC, and testing the connection.
Remember to ensure that your PC has Bluetooth capability before attempting to connect your Xbox controller. If it doesn’t have built-in Bluetooth, you can use an external Bluetooth adapter to add this functionality to your PC.
By following our guide, you can seamlessly connect your Xbox controller to your PC and enjoy your favorite games with precision control and enhanced gameplay. If you encounter any issues during the process, we provided troubleshooting tips to help you overcome them.
Now that you have successfully connected your Xbox controller to your PC via Bluetooth, grab your favorite game and start playing. Enjoy the immersive gaming experience that the Xbox controller brings to your PC!