Introduction
Connecting a controller to your PC can greatly enhance your gaming experience, allowing you to play your favorite games with more precision and control. Whether you prefer a wired or wireless controller, there are various methods available to connect them to your computer.
In this article, we will explore the different ways to connect a controller to your PC, including wired and wireless options. We will also cover the necessary steps to install drivers and adjust controller settings, as well as troubleshoot any potential issues that may arise during the process.
Before we dive into the details, it’s important to note that the compatibility of controllers with PCs can vary depending on the brand and model. However, most modern controllers are designed to be compatible with computers running Windows operating systems.
So, whether you’re using an Xbox, PlayStation, or any other brand of controller, let’s explore the various methods you can use to connect it to your PC and start your gaming adventure!
Compatibility
Before connecting a controller to your PC, it’s essential to ensure that it is compatible with your computer. While most controllers are designed to work with Windows operating systems, it’s always recommended to check the specific compatibility requirements of your controller.
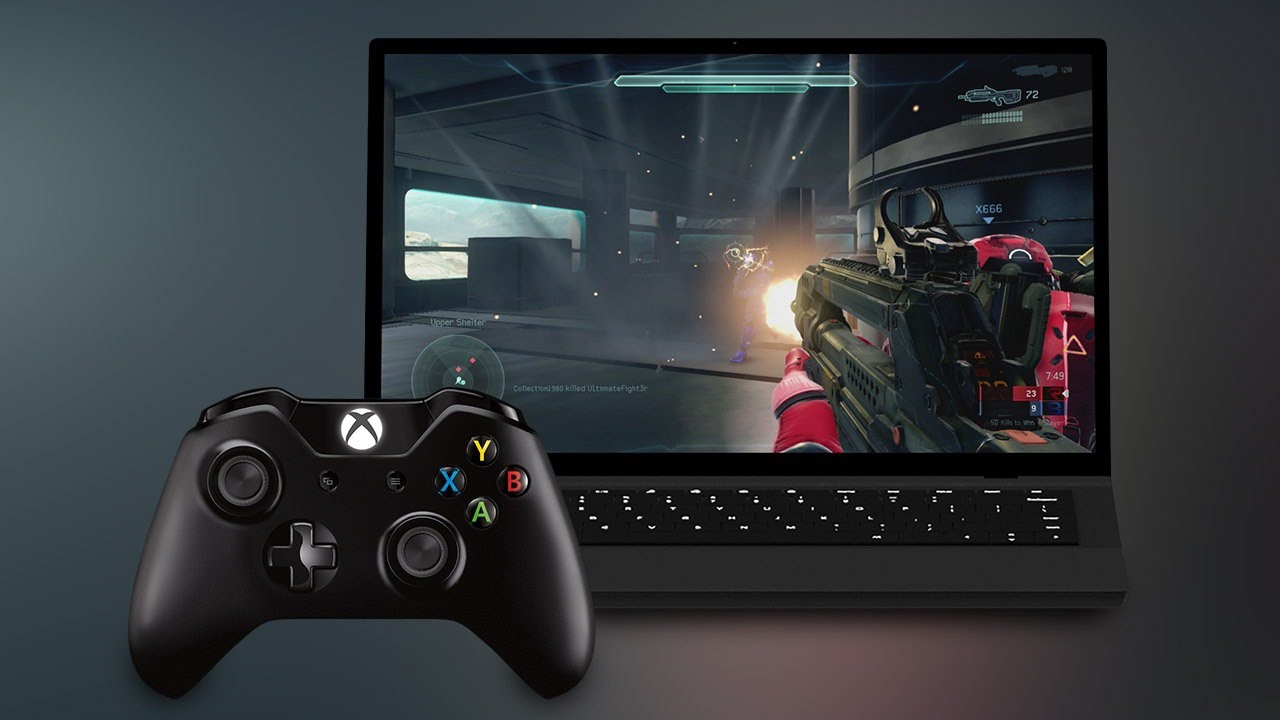
Xbox controllers, such as the Xbox One or Xbox 360 controller, are widely compatible with PCs. These controllers are natively supported by Windows, making the connection process hassle-free. Simply connect the controller to your PC, and it should be recognized automatically.
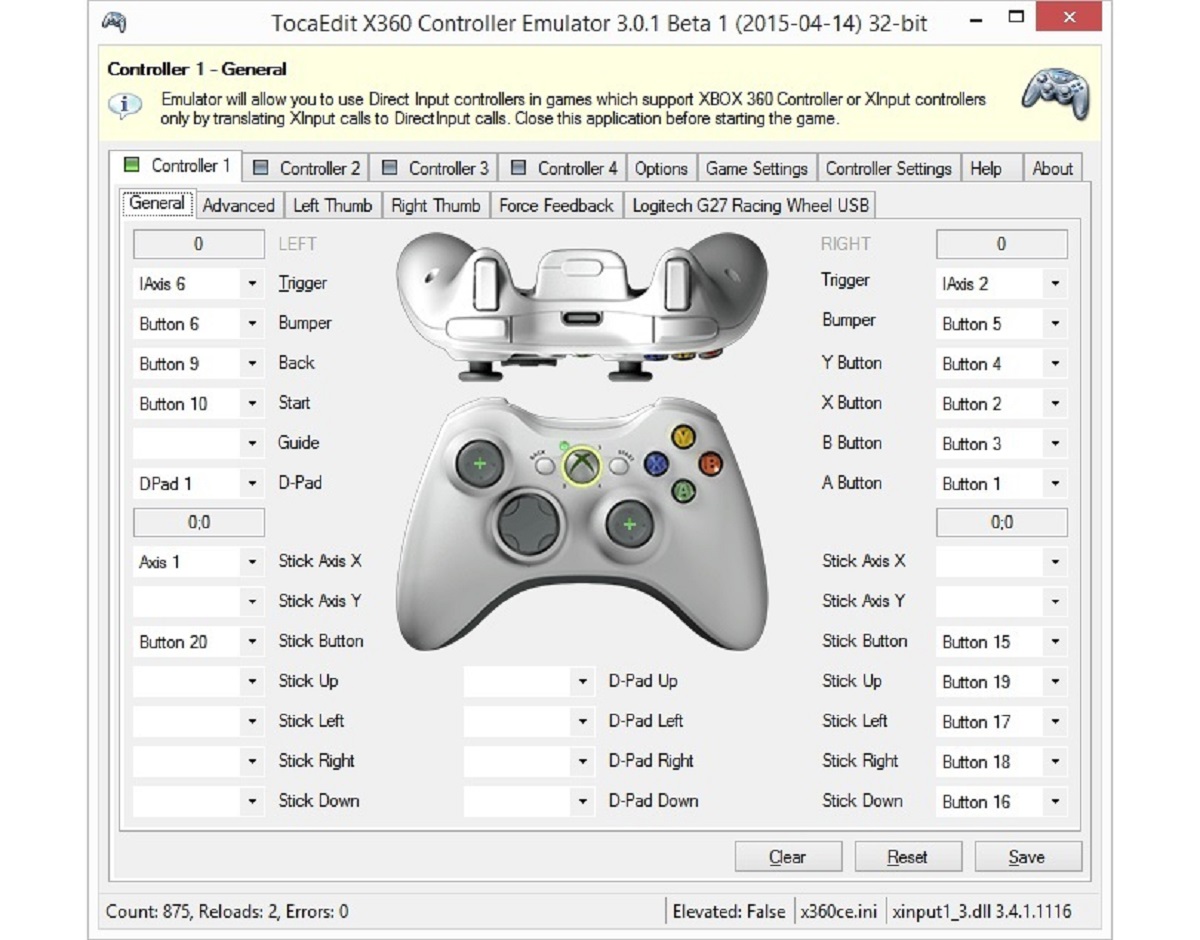
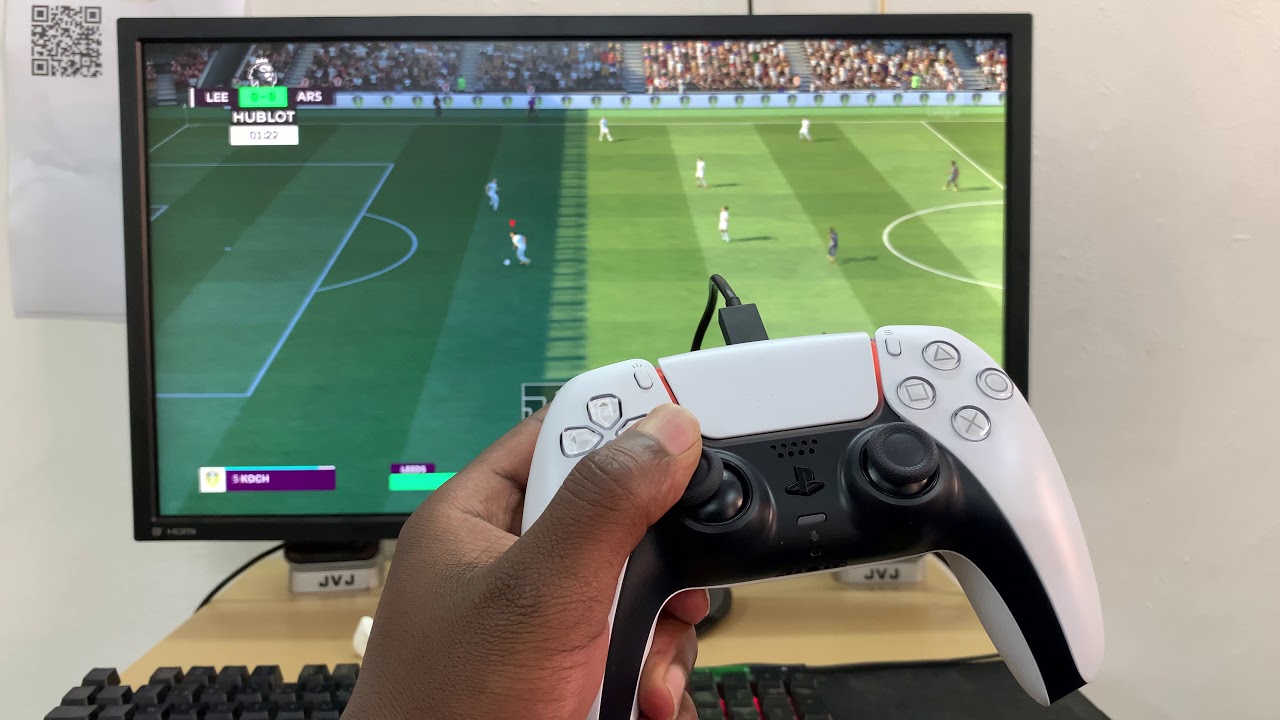
PlayStation controllers, like the DualShock 4, can also be connected to a PC. However, they may require some additional software or customization to function correctly. There are third-party programs available, such as DS4Windows, that enable you to use a DualShock 4 controller on your PC. These programs emulate an Xbox controller, allowing for seamless compatibility with most PC games.
Other brands of controllers may have varying levels of compatibility. It’s advisable to check the manufacturer’s website or support documentation for any specific instructions on connecting the controller to a PC.
Furthermore, it’s also important to consider the operating system of your PC. While Windows is the most widely used operating system for gaming, Mac and Linux users may encounter different compatibility challenges with certain controllers. If you’re using a non-Windows operating system, it’s crucial to check for controller compatibility with your specific system.
Additionally, it’s worth noting that not all games may offer full controller support. Some older or niche games may only have keyboard and mouse compatibility, so it’s always good to check the game’s system requirements or support documentation.
By ensuring the compatibility of your controller with your PC and the games you want to play, you can avoid any potential connectivity issues and enjoy a smooth gaming experience.
Wired Controllers
Connecting a wired controller to your PC is generally straightforward and doesn’t require any additional setup. Here’s how you can do it:
- First, ensure that your controller is powered off and your PC is turned on.
- Locate the USB cable that came with your controller. This cable typically has a standard USB-A connector on one end and a proprietary connector specific to your controller on the other.
- Plug the USB-A end of the cable into an available USB port on your PC.
- Connect the other end of the cable to the appropriate port on your controller. The location of this port may vary depending on the brand and model of your controller.
- Once connected, your PC should automatically recognize the controller. It may take a moment for the necessary drivers to install.
- Once the connection is established, your controller should be ready to use.
- If your controller doesn’t work immediately, try restarting your PC or unplugging and re-plugging the controller.
Wired controllers offer the advantage of a reliable and stable connection, as they don’t rely on wireless signals. They also eliminate the need for batteries or charging, as they draw power directly from your PC.
It’s worth noting that some controllers may require additional drivers to be installed before they can function correctly. If your controller isn’t working as expected, visit the manufacturer’s website to download and install the necessary drivers for your specific model.
Overall, connecting a wired controller to your PC is a simple process that provides a dependable gaming experience with minimal setup required.
Wireless Controllers
Wireless controllers offer convenience and freedom of movement while gaming, allowing you to play from a distance without the need for cables. Connecting a wireless controller to your PC entails a few additional steps compared to wired controllers. Here’s how you can do it:
- Make sure your wireless controller is fully charged or has fresh batteries.
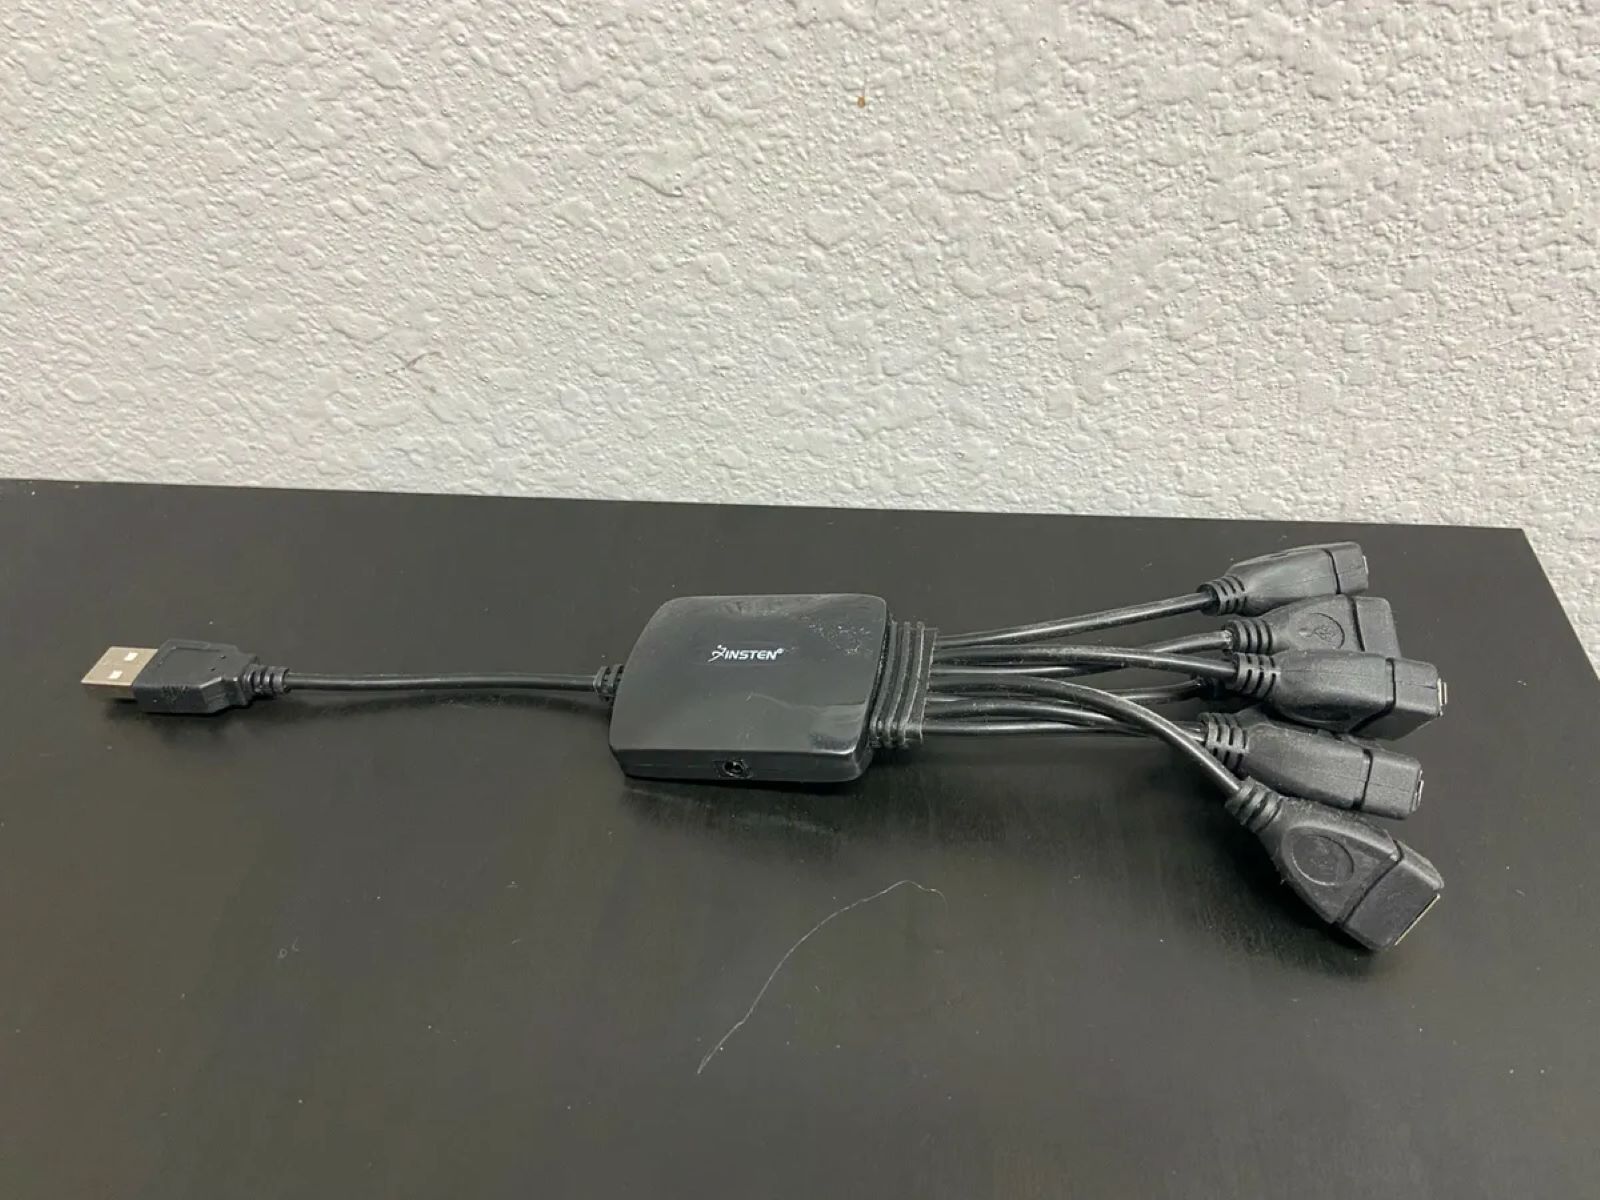
- Most wireless controllers utilize a USB wireless adapter for PC connectivity. Plug the wireless adapter into an available USB port on your computer. It may take a moment for the proper drivers to install.
- Power on your wireless controller. Look for the power button or a sync button on the controller. Press the button to turn it on.
- Next, locate the sync button on the wireless adapter. This button is often found on the side or back of the adapter. Press and hold the sync button until the LED light on the adapter starts flashing.
- Simultaneously, press and hold the sync button on your wireless controller. The location of this button can vary depending on the brand and model, so consult the controller’s manual if you’re unsure.
- After a few seconds, the LED on both the wireless adapter and the controller should stop flashing, indicating a successful connection.
Once the connection is established, your wireless controller should be ready to use with your PC. Keep in mind that you may need to adjust the controller settings in the games you play to ensure the buttons are mapped correctly.
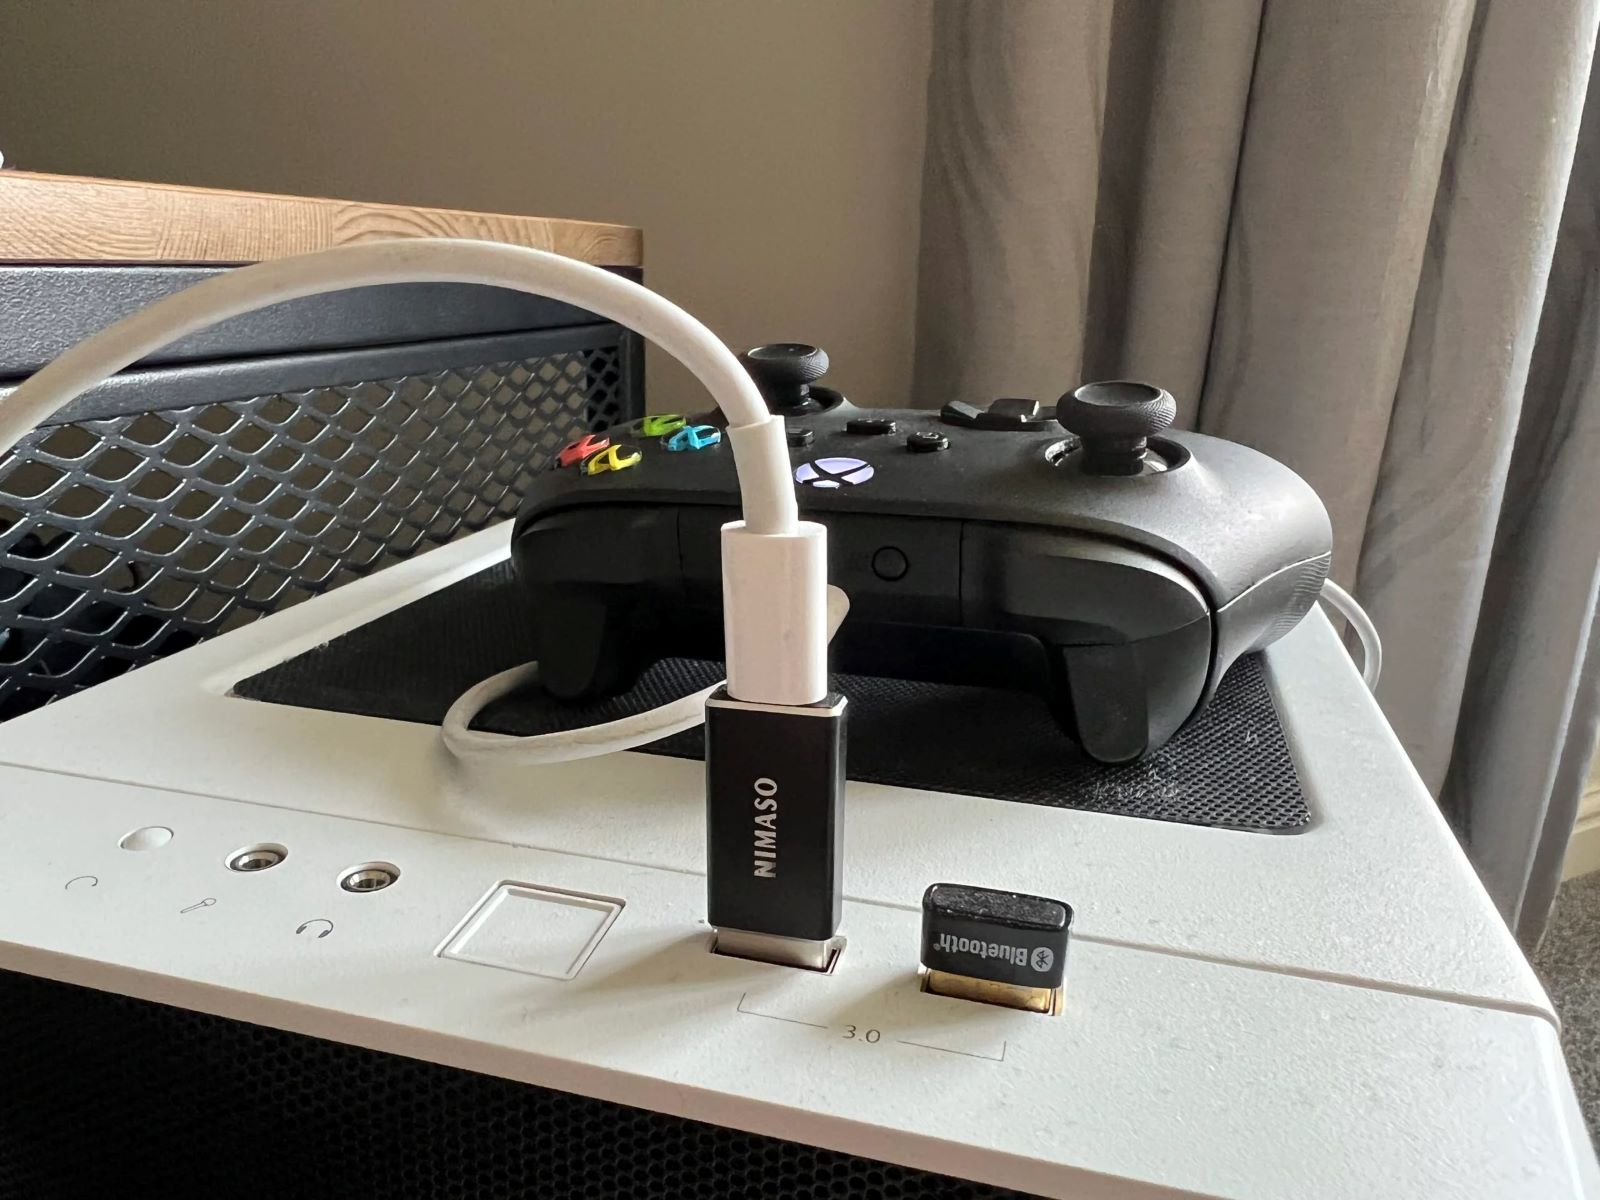
It’s important to note that some wireless controllers, like the Xbox Wireless Controller, support Bluetooth connectivity. If your PC has built-in Bluetooth, you can pair the controller directly without the need for a wireless adapter.
For Bluetooth connection, follow these additional steps:
- Go to the Bluetooth settings on your PC and make sure it is enabled.
- Press and hold the sync button on your wireless controller to put it into pairing mode.
- Scan for Bluetooth devices on your PC and select the controller from the list of available devices.
- Follow any on-screen prompts to complete the pairing process.
Wireless controllers provide flexibility and a wireless gaming experience, allowing you to enjoy your favorite games without being tethered to your PC.
Bluetooth Connection
If you have a Bluetooth-enabled controller, you can connect it to your PC wirelessly without the need for any additional adapters or cables. Here’s how you can establish a Bluetooth connection between your controller and your PC:
- Ensure that Bluetooth is enabled on your PC. This can usually be done through the settings or control panel of your operating system.
- Put your controller into pairing mode. The specific method may vary depending on the brand and model of your controller. Refer to the controller’s manual for instructions on how to activate pairing mode.
- On your PC, navigate to the Bluetooth settings and initiate a search for devices. Your PC should detect the Bluetooth signal from your controller.
- Select the controller from the list of available devices on your PC. If prompted, enter any necessary passcodes or PINs to complete the pairing process.
- Once connected, the LED light on your controller or a notification on your PC will indicate a successful Bluetooth pairing.
It’s important to note that not all controllers support Bluetooth connectivity. However, many modern controllers, such as the DualShock 4 and Xbox Wireless Controller, have built-in Bluetooth capabilities.
Keep in mind that when using a Bluetooth connection, there may be a slight delay compared to wired or USB connections. This delay, often referred to as input lag, can impact gameplay, especially in fast-paced games that require quick reflexes. If input lag becomes an issue, consider using a wired connection or a dedicated wireless adapter for optimal performance.
Additionally, it’s crucial to ensure that your PC’s Bluetooth drivers are up to date. This can typically be done through the device manager or the manufacturer’s website. Keeping your drivers updated ensures compatibility and helps prevent any connectivity issues.
By utilizing the Bluetooth capabilities of your controller and your PC, you can enjoy a wireless gaming experience without the need for additional cables or adapters.
USB Connection
If you don’t have a wireless or Bluetooth-enabled controller, or if you prefer a more secure and reliable connection, you can connect your controller to your PC using a USB cable. This method ensures a stable connection and avoids any potential latency issues. Here’s how you can establish a USB connection between your controller and your PC:
- Start by ensuring that your PC is powered on and your controller is turned off.
- Locate the USB cable that came with your controller. It should have a standard USB-A connector on one end and a proprietary connector specific to your controller on the other.
- Insert the USB-A end of the cable into an available USB port on your PC.
- Connect the other end of the cable to the appropriate port on your controller. The location of this port can vary depending on the brand and model of your controller.
- Once connected, your PC should automatically detect the controller and install any necessary drivers. This process may take a few seconds.
- After the drivers are installed, your controller should be ready to use.
With a USB connection, your controller will be powered by your PC, so there’s no need to worry about battery life or charging. Additionally, the USB connection ensures a stable and responsive gaming experience with minimal input lag.
It’s worth noting that some controllers may require additional drivers or software to be installed for full functionality. If your controller isn’t working as expected, visit the manufacturer’s website and download any required drivers or software updates for your specific model.
Once your controller is connected via USB, you can enjoy seamless gameplay on your PC without any wireless interference or connectivity issues.
Installing Drivers
When connecting a controller to your PC, it’s critical to ensure that the necessary drivers are installed for optimal functionality. While many controllers are plug-and-play, meaning they are automatically recognized by the operating system, some may require additional drivers or software updates. Here’s how you can install drivers for your controller:
- Start by visiting the manufacturer’s website for your specific controller. Look for the “Support” or “Downloads” section.
- Search for the drivers or software related to your controller model and download them to your PC. Ensure that you select the appropriate drivers for your operating system.
- Once the download is complete, locate the driver file on your PC and run the installation program. Follow the on-screen prompts to complete the installation process.
- After the drivers are successfully installed, restart your PC to ensure that the changes take effect.
- Upon restarting, connect your controller to your PC using the appropriate method, such as wired, wireless, or Bluetooth.
- Your PC should now detect and properly recognize your controller. If not, try disconnecting and reconnecting the controller or restarting your PC.
- If your controller still isn’t working as expected, consult the troubleshooting section of the controller’s manual or visit the manufacturer’s support page for further assistance.
Installing the correct drivers is crucial for ensuring that your controller functions optimally and that all features and buttons are recognized by your PC and games. Proper driver installation can also help resolve any connectivity or compatibility issues you may encounter.
It’s worth noting that some controllers, particularly third-party or less common models, may not have official drivers available from the manufacturer. In such cases, you can search for community-made drivers or software that may provide compatibility for your controller. However, exercise caution when installing third-party software and ensure that it is reputable and trustworthy.
By following the steps mentioned above, you can successfully install the necessary drivers for your controller, ensuring a seamless gaming experience on your PC.
Adjusting Controller Settings
After connecting your controller to your PC, you may need to adjust some settings to optimize your gaming experience. Here are a few key settings you can consider tweaking:
1. Button Mapping: Depending on the game or personal preference, you may want to customize the mapping of buttons on your controller. Some games provide in-game options to remap buttons, allowing you to assign different functions to different buttons. Alternatively, you can use third-party software like JoyToKey to remap buttons on a system-wide level.
2. Sensitivity: Sensitivity settings determine how responsive your controller is to your input. In certain games, you may find it beneficial to increase or decrease the sensitivity. Experiment with different sensitivity levels to find what works best for you.
3. Dead Zone: The dead zone refers to the area in which you can move the analog sticks without registering any input. Adjusting the dead zone can help fine-tune your controller’s responsiveness. If you notice any drift or inaccuracy in stick movement, increasing the dead zone can mitigate the issue.
4. Vibration: The vibration feature adds tactile feedback to your gaming experience. You can usually enable or disable vibration in the game’s settings or through the controller settings on your PC. Some games even allow you to customize the intensity or patterns of vibration.
5. Game-specific Settings: Some games may have additional settings specific to controller input. These settings can include options like aim-assist, acceleration, or controller-exclusive features. Explore the game’s settings menu to see if any controller-related options are available.
Remember that the process of adjusting controller settings can vary depending on the game you’re playing. It’s essential to explore the settings menu within each game to access and modify controller-related options. Additionally, certain controllers may have proprietary software or companion apps that offer additional customization and configuration options.
By adjusting the controller settings to suit your preferences and gaming style, you can enjoy a more personalized and immersive gaming experience on your PC.
Troubleshooting
While connecting a controller to your PC is usually a straightforward process, you may encounter occasional issues. Here are some common troubleshooting steps to help resolve any problems you may face:
1. Check the Connection: Ensure that all cables are securely connected, whether it’s a wired connection or a USB wireless adapter. Sometimes, a loose connection can cause the controller to not function properly.
2. Restart Your PC: A simple restart can often resolve minor connectivity issues. Restart your PC and try reconnecting the controller to see if the problem persists.
3. Update Drivers: Outdated or incompatible drivers can cause compatibility issues with your controller. Check the manufacturer’s website for any available driver updates and install them accordingly.
4. Test on Another Device: If possible, try connecting your controller to another PC or gaming console. This will help determine if the issue lies with the controller or your specific PC setup.
5. Replace Batteries or Charge: If you’re using a wireless controller that requires batteries, ensure they are fresh and properly inserted. If you’re using a rechargeable controller, make sure it’s adequately charged before use.
6. Check Controller Settings: Verify that the controller settings within the game or controller software are properly configured. Ensure that the correct controller is selected, and button mapping and sensitivity settings are adjusted as desired.
7. Remove Conflicting software: Some third-party software or applications can interfere with the functionality of your controller. Consider temporarily disabling or uninstalling any such programs to see if it resolves the issue.
8. Consult Manufacturer’s Support: If the problem persists, visit the manufacturer’s website for troubleshooting guides or contact their support team for further assistance. They can provide specific solutions or recommendations tailored to your controller model.
It’s worth noting that different controllers and PC setups may have unique troubleshooting requirements. Refer to the user manual or support documentation provided by the controller manufacturer for additional troubleshooting steps specific to your device.
By following these troubleshooting steps, you can resolve common connectivity issues and ensure a seamless gaming experience with your controller on your PC.
Conclusion
Connecting a controller to your PC can significantly enhance your gaming experience by providing more precise control and a comfortable gameplay setup. Whether you opt for a wired or wireless connection, the process of connecting a controller to your PC is relatively straightforward.
First, ensure that your controller is compatible with your PC and operating system. Most modern controllers, like those from Xbox and PlayStation, are designed to work seamlessly with Windows operating systems.
For wired connections, simply plug the controller into an available USB port on your PC, and it should be recognized automatically. Wireless connections often require a USB wireless adapter or built-in Bluetooth capabilities, depending on your controller. Follow the manufacturer’s instructions for connecting your wireless controller to your PC wirelessly.
Installing the necessary drivers and adjusting controller settings can further optimize your gaming experience. Be sure to download and install any required drivers or software updates for your specific controller model.
While rare, you may encounter troubleshooting issues along the way. Ensure that all connections are secure, drivers are up to date, and try restarting your PC if necessary. Refer to the manufacturer’s support documentation or contact their support team for specific troubleshooting guidance.
By following these steps, you can successfully connect your controller to your PC and enjoy a seamless gaming experience. Whether you’re playing action-packed games or immersing yourself in a role-playing adventure, having a controller connected to your PC enhances responsiveness and control, ultimately elevating your gaming enjoyment.