Introduction
The Gamecube controller is a beloved classic among gamers, known for its unique design and exceptional performance. Originally designed for the Nintendo Gamecube console, many gaming enthusiasts have found ways to connect and use the Gamecube controller on their PCs. If you’re a fan of the Gamecube controller and want to use it to play games on your PC, you’ve come to the right place. In this guide, we will walk you through the step-by-step process of using a Gamecube controller on your PC.
Gaming on a PC offers a wide variety of options, but sometimes you just want the nostalgic feel of playing with your favorite console controller. The Gamecube controller provides a comfortable grip and precise control that can greatly enhance your gaming experience on PC. Whether you’re playing emulated Gamecube games or using the Gamecube controller for other PC games, this guide will help you get everything set up correctly.
Using a Gamecube controller on PC requires a few steps, but don’t worry – it’s not as complicated as it may sound. By following this guide, you’ll be able to enjoy your favorite games with the familiar Gamecube controller in no time. So let’s get started and transform your PC gaming experience with the Gamecube controller.
Step 1: Gather the necessary materials
Before you begin using a Gamecube controller on your PC, there are a few materials that you will need to gather. Don’t worry, these items are readily available and easy to find. Here’s what you’ll need:
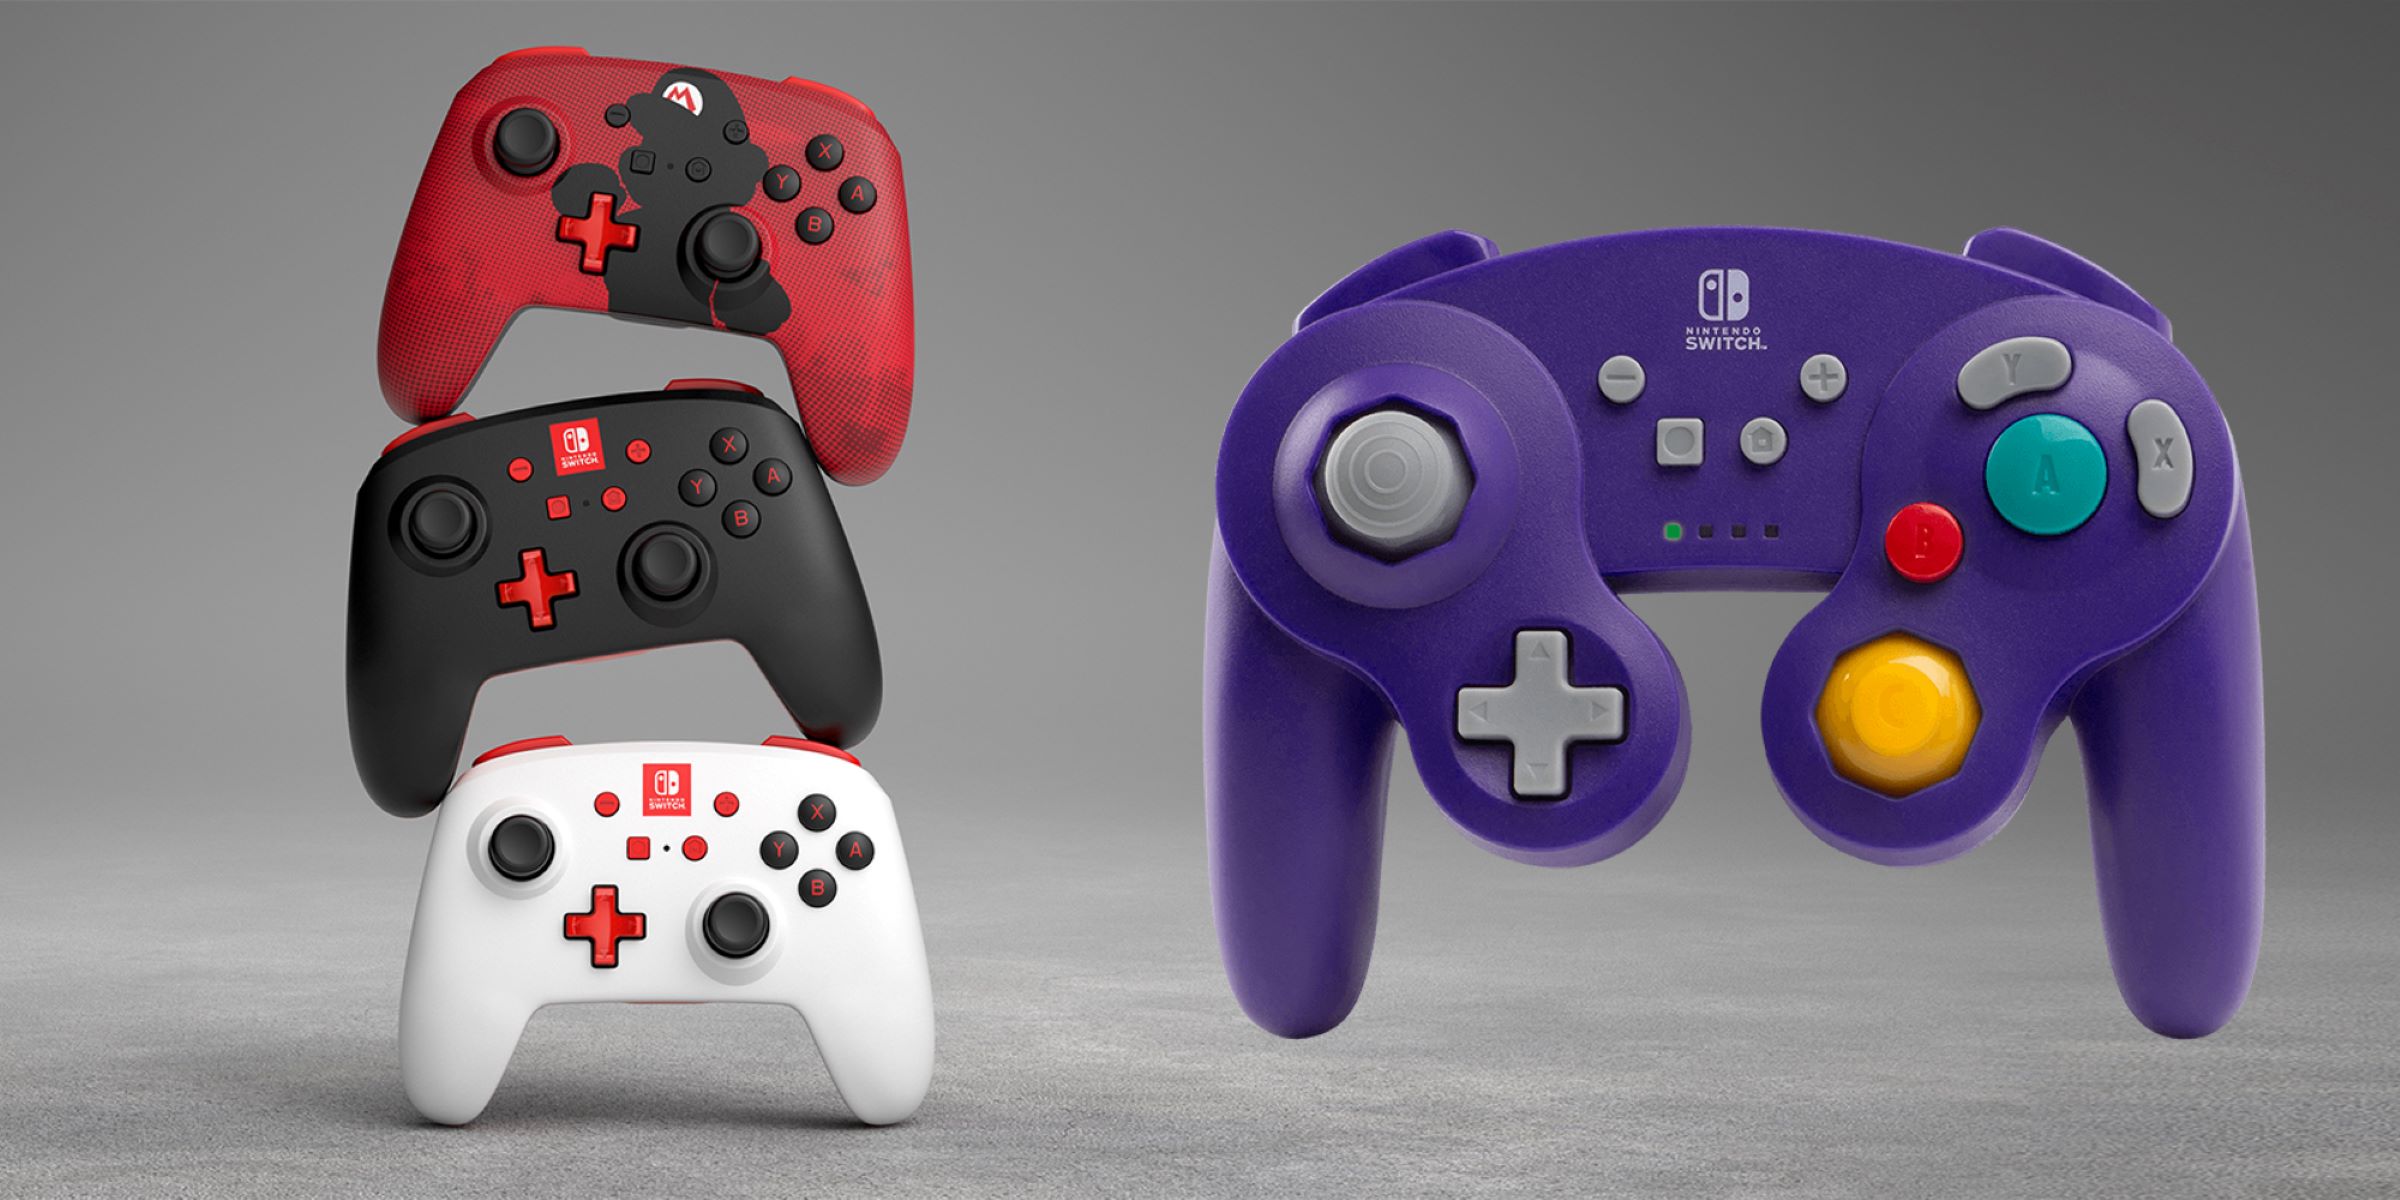
- Gamecube controller: First and foremost, you will need a Gamecube controller. You can purchase one online from various retailers or check local gaming stores. Ensure that the controller is in good condition and has a functioning cable.
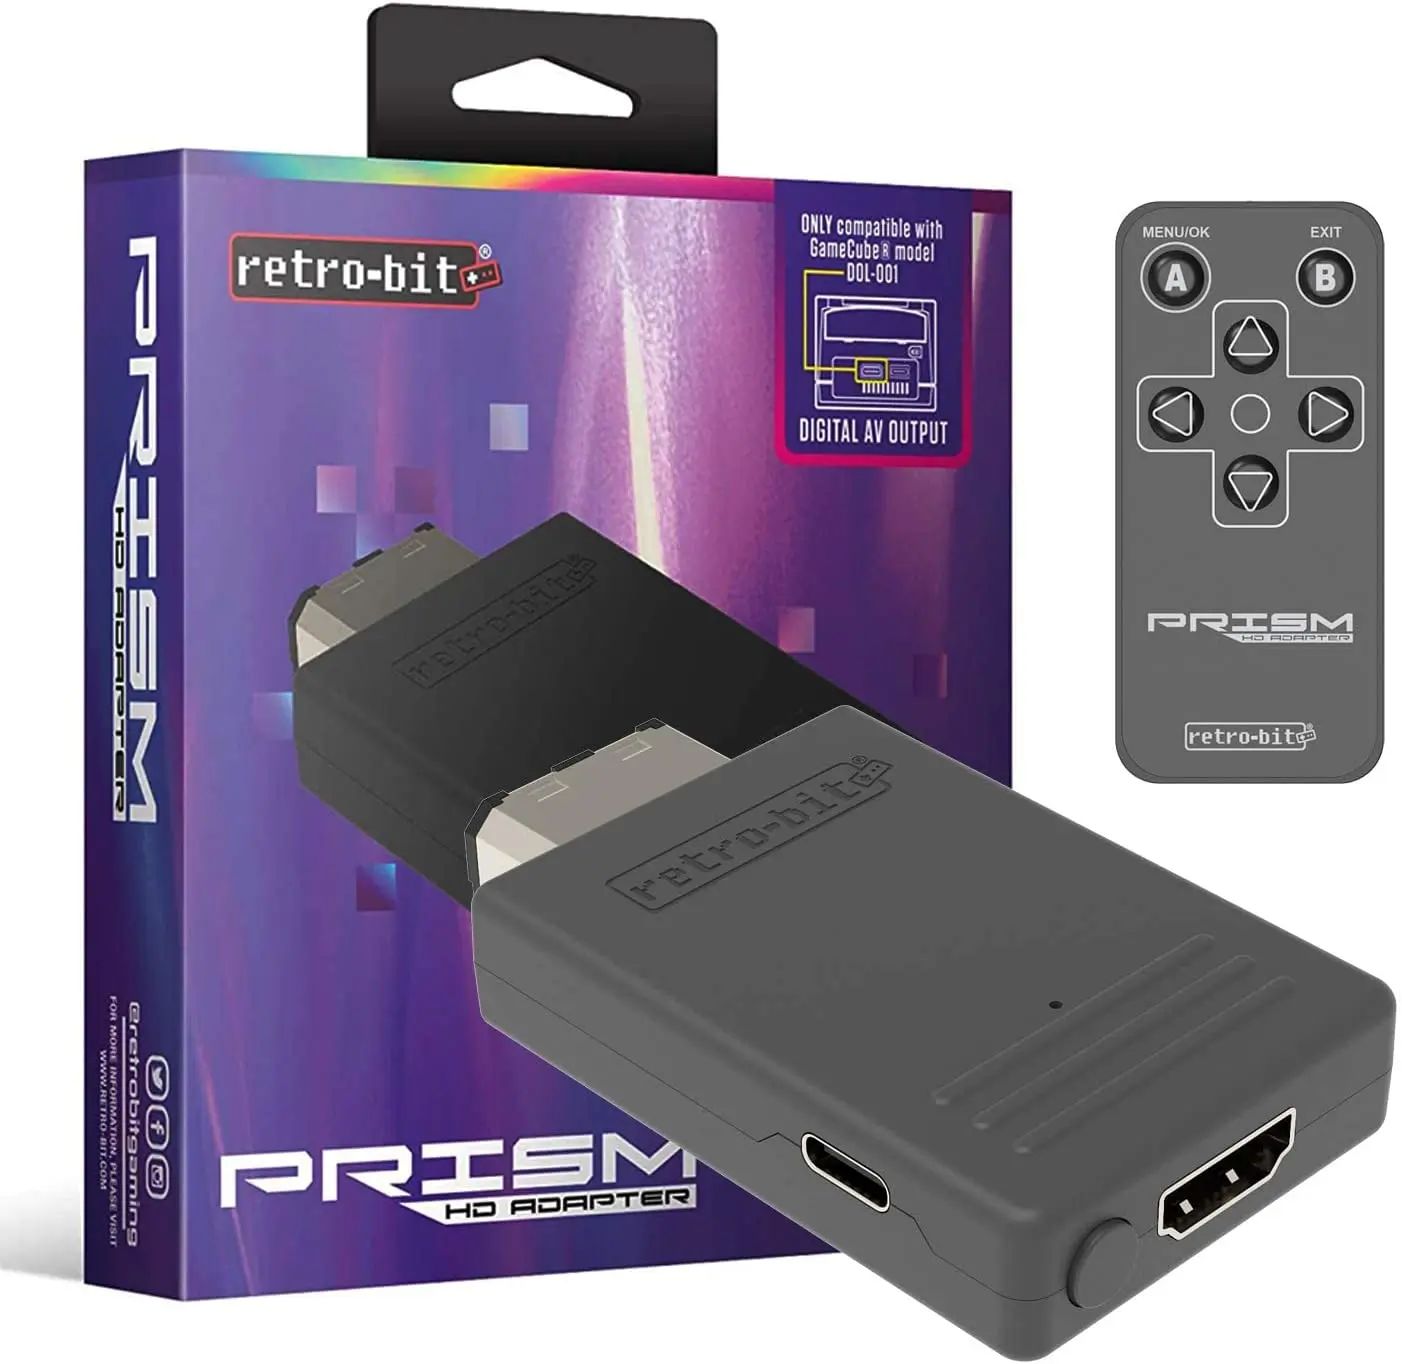
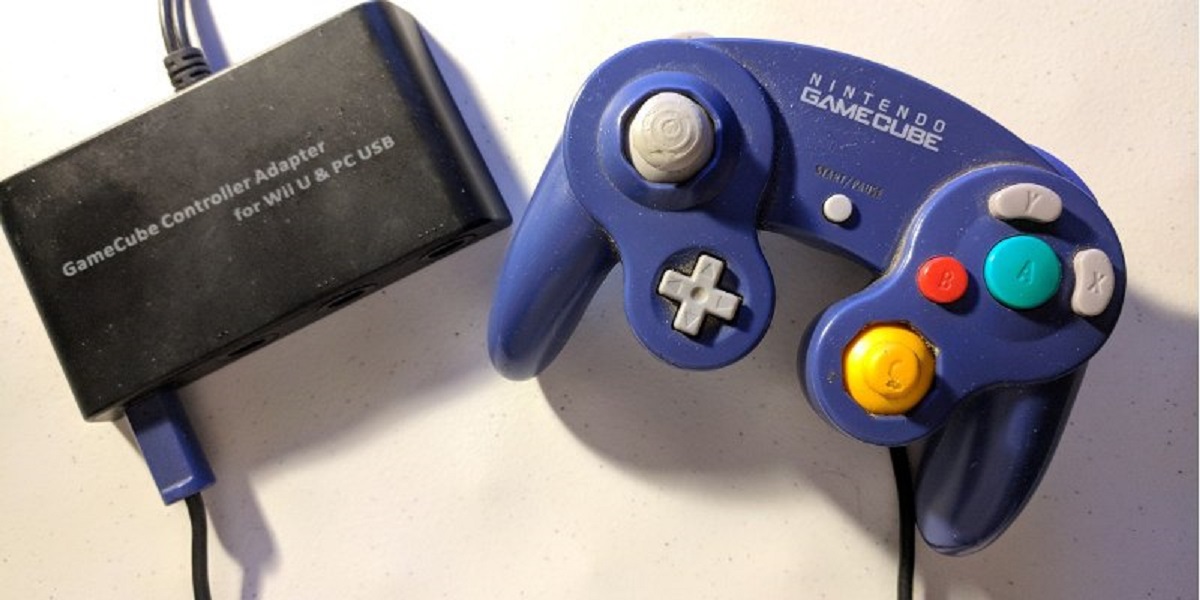
- Gamecube controller adapter: To connect your Gamecube controller to your PC, you will need a Gamecube controller adapter. This adapter allows you to convert the Gamecube controller’s input signals into something that your PC can recognize. Adapters can be found online or in gaming stores. Look for one that is compatible with both your Gamecube controller and your PC’s operating system.
- Dolphin emulator: The Dolphin emulator is a necessary software that allows you to play Gamecube games on your PC. It also enables you to use the Gamecube controller with your PC. You can download the Dolphin emulator for free from the official website.
Make sure you have all these materials ready before moving on to the next steps. Having everything prepared will ensure a smooth process as you set up your Gamecube controller on your PC.
Step 2: Install the Gamecube controller adapter
Now that you have gathered all the necessary materials, it’s time to install the Gamecube controller adapter. Follow these steps to get it set up correctly:
- Locate an available USB port on your PC and insert the Gamecube controller adapter into it. Ensure that the adapter is securely plugged in.
- Once the adapter is connected, your PC should automatically detect it and begin installing any necessary drivers. If prompted, allow the installation process to complete. This step is crucial for your PC to recognize the connected Gamecube controller.
- To verify that the Gamecube controller adapter is installed correctly, you can check the device manager on your PC. Go to your Start menu, search for “Device Manager,” and open it once it appears. Look for the “Human Interface Devices” section and expand it. You should see the Gamecube controller adapter listed there without any error symbols.
Once you have confirmed that the Gamecube controller adapter is installed successfully, you are ready to move on to the next step. The proper installation of the adapter ensures that your PC can communicate with the Gamecube controller effectively, allowing you to get the most out of your gaming experience.
Step 3: Download and install Dolphin emulator
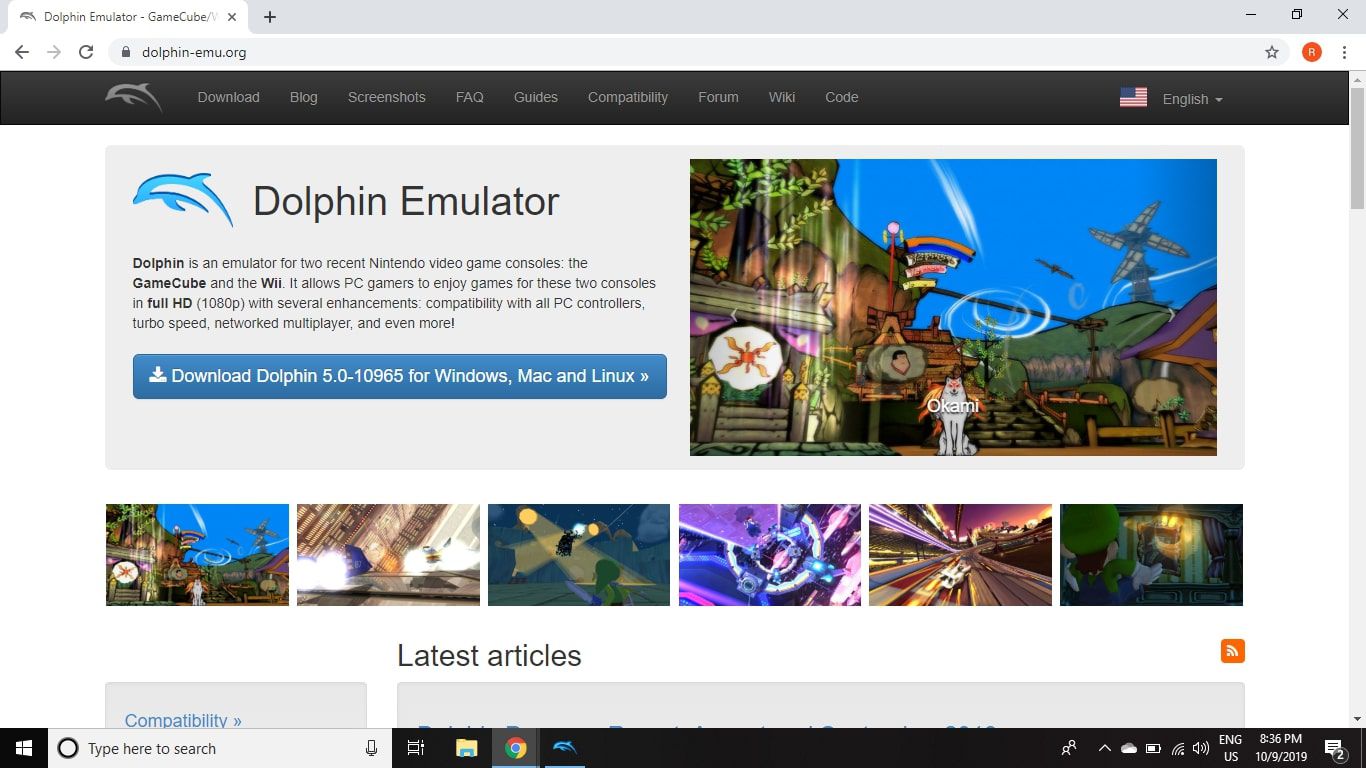
To use the Gamecube controller on your PC, you will need to download and install the Dolphin emulator. This software acts as a bridge between your PC and the Gamecube controller, allowing you to play Gamecube games and use the controller as if you were playing on the original console. Follow these steps to get the Dolphin emulator up and running:
- Open your web browser and navigate to the official Dolphin emulator website.
- Once on the website, locate the download section. Choose the appropriate download for your operating system (Windows, macOS, or Linux) and click on the download link.
- Once the download is complete, locate the installation file and run it. Follow the on-screen instructions to install the Dolphin emulator onto your PC. Make sure to select any additional components or plugins that you may need during the installation process.
- After the installation is complete, launch the Dolphin emulator. You will be greeted with a configuration wizard that guides you through the initial setup process. Follow the prompts and set up any necessary configuration settings such as graphics, audio, and controller preferences.
- Once you have completed the initial setup, you are now ready to use the Dolphin emulator with your Gamecube controller on your PC. The emulator provides a user-friendly interface and various customization options for an optimized gaming experience.
Downloading and installing the Dolphin emulator is a crucial step in using the Gamecube controller on your PC. This emulator allows you to enjoy Gamecube games and unleash the full potential of your Gamecube controller.
Step 4: Configure the Dolphin emulator settings
Now that you have installed the Dolphin emulator on your PC, it’s time to configure the settings to ensure optimal performance and compatibility. Follow these steps to configure the Dolphin emulator settings:
- Open the Dolphin emulator on your PC. You will be presented with the main window of the emulator.
- Click on the “Config” button in the top menu and select “General” from the drop-down menu. In the General settings, you can configure options such as language, region, and default ISO directory. Adjust these settings according to your preferences.
- Next, click on the “Graphics” button in the top menu and select “Enhancements” from the drop-down menu. Here, you can configure graphical settings such as internal resolution, anti-aliasing, and texture filtering. Adjust these settings based on your PC’s specifications and desired visual quality.
- After configuring the graphics settings, click on the “Audio” button in the top menu and select “Backend” from the drop-down menu. Choose the audio backend that works best for your system, whether it’s “DSound,” “XAudio2,” or “OpenAL.”
- Now, it’s time to configure the controller settings. Click on the “Controllers” button in the top menu and select “Gamecube” from the drop-down menu. Here, you can map the buttons on your Gamecube controller to the corresponding buttons on your PC’s keyboard or other connected devices. Follow the on-screen instructions to complete the mapping process.
- Once you have finished configuring all the desired settings, click on the “OK” or “Apply” button to save the changes.
Configuring the Dolphin emulator settings is an essential step to ensure that your Gamecube controller functions correctly on your PC. By adjusting the general, graphics, audio, and controller settings, you can optimize the emulator to deliver the best gaming experience possible.
Step 5: Connect the Gamecube controller to your PC
Now that you have configured the Dolphin emulator settings, it’s time to connect your Gamecube controller to your PC. Follow these steps to ensure a proper connection:
- Take the USB end of the Gamecube controller adapter and plug it into an available USB port on your PC.
- Connect the Gamecube controller to the adapter by inserting the controller’s cable into the corresponding port on the adapter. Ensure that the connection is secure.
- Once the Gamecube controller is connected, your PC should automatically recognize it. You may hear a sound or see a notification indicating that a new device has been connected.
- To verify that the Gamecube controller is successfully connected, open the Dolphin emulator and go to the “Controllers” section. You should see the name of your Gamecube controller listed as an available input device. If the controller is not listed, try disconnecting and reconnecting the controller, ensuring a proper connection.
The proper connection of the Gamecube controller to your PC is vital to ensure that it is recognized and can be used to play games. By following these steps, you should now have your Gamecube controller successfully connected and ready for use with the Dolphin emulator.
Step 6: Calibrate the Gamecube controller
To ensure accurate and responsive gameplay with your Gamecube controller on your PC, it is essential to calibrate the controller. Calibration helps to fine-tune the controller’s sensitivity and ensures proper functioning of all buttons and joysticks. Follow these steps to calibrate your Gamecube controller:
- Open the Dolphin emulator on your PC and go to the “Controllers” section.
- In the “Controllers” section, click on the name of your Gamecube controller to access the controller configuration settings.
- Within the Gamecube controller configuration window, click on the “Calibrate” button. This will open the calibration tool.
- Follow the on-screen instructions to calibrate each button and joystick on your Gamecube controller. The calibration process typically involves performing certain actions, such as pressing buttons and moving joysticks in different directions.
- Take your time to carefully follow the calibration instructions and perform the necessary actions as accurately as possible.
- Once you have completed the calibration process for all buttons and joysticks, click on the “Finish” or “Close” button to save the calibration settings.
Calibrating your Gamecube controller is crucial in achieving precise control while gaming. It ensures that the controller’s inputs are accurately registered by the Dolphin emulator, resulting in a seamless gaming experience. By following these steps, you will have successfully calibrated your Gamecube controller and can now move on to configuring the controller settings within the Dolphin emulator.
Step 7: Configure the controller settings in Dolphin
Now that you have connected and calibrated your Gamecube controller, it’s time to configure the controller settings within the Dolphin emulator. This step is crucial to ensure that the controller inputs are properly recognized and mapped to the corresponding actions in the games you play. Follow these steps to configure the controller settings:
- Open the Dolphin emulator on your PC and go to the “Controllers” section.
- In the “Controllers” section, select the name of your Gamecube controller from the drop-down menu. This will allow you to customize the controller settings.
- Within the controller configuration window, you will see a list of available buttons and joysticks on the Gamecube controller.
- To map a button or joystick to a corresponding action in the game, click on the button or joystick you want to configure, and then press the desired key or perform the desired action on the Gamecube controller.
- Repeat this process for each button or joystick that you wish to configure.
- You can also adjust the sensitivity or dead zone settings for the joysticks to suit your preferences.
- Once you have finished configuring the controller settings, click on the “OK” or “Apply” button to save your changes.
Configuring the controller settings within the Dolphin emulator allows you to customize the Gamecube controller inputs according to your gameplay preferences. Take the time to carefully map each button and joystick to ensure a smooth and enjoyable gaming experience. With your Gamecube controller now fully configured, you are ready to start playing your favorite games on your PC.
Step 8: Test the Gamecube controller on PC
After completing all the previous steps, it’s time to test your Gamecube controller to ensure that it is working correctly on your PC. The testing process will help you verify that the controller inputs are registered accurately by the Dolphin emulator. Follow these steps to test your Gamecube controller:
- Launch the Dolphin emulator on your PC.
- Load a Gamecube game or any other game that supports controller input.
- Once the game is loaded, navigate to the “Controllers” section in the Dolphin emulator.
- Here, you will see a visual representation of the Gamecube controller. Test each button and joystick on the controller to ensure that the corresponding on-screen inputs are registered correctly. Press buttons, move joysticks, and check if the on-screen response matches your controller inputs.
- Pay close attention to any input delays or inaccuracies that may occur. If you notice any issues, double-check your controller settings and calibration or try reconfiguring the controller mappings.
- Repeat the testing process in different games or emulated Gamecube titles to ensure consistent and reliable performance across various applications.
Testing your Gamecube controller in the Dolphin emulator allows you to confirm that all the configurations and settings are functioning as desired. By following these steps, you can ensure that your Gamecube controller is ready to provide you with a seamless and enjoyable gaming experience on your PC.
Conclusion
Congratulations! You have successfully learned how to use a Gamecube controller on your PC. By following the steps outlined in this guide, you have connected and configured your Gamecube controller with the Dolphin emulator, allowing you to enjoy your favorite games with the familiar feel of the Gamecube controller in hand.
Using a Gamecube controller on your PC opens up a world of gaming possibilities. Whether you’re playing emulated Gamecube games or using the controller for other PC games, the Gamecube controller’s ergonomic design and precise control can greatly enhance your gaming experience. It’s like reliving the nostalgia of your favorite console, but on the power and versatility of your PC.
Remember, the key steps covered in this guide include gathering the necessary materials, installing the Gamecube controller adapter, downloading and installing the Dolphin emulator, configuring the Dolphin emulator settings, connecting and calibrating the Gamecube controller, configuring the controller settings within the Dolphin emulator, and finally, testing the Gamecube controller to ensure its proper functionality.
Now that you have successfully set up your Gamecube controller on your PC, you can fully immerse yourself in a wide range of gaming experiences. Enjoy playing your favorite Gamecube games, retro titles, or any other PC games that support controller input, all with the comfort and precision of the Gamecube controller.
So go ahead, grab your Gamecube controller, dive into the world of gaming, and enjoy every moment of the adventure that awaits you on your PC.