Introduction
Are you a fan of Gamecube games but don’t have the console to play them on? Look no further! With the Dolphin Emulator, you can now enjoy your favorite Gamecube games on your computer. Whether you want to relive the nostalgia or experience these games for the first time, the Dolphin Emulator is the perfect solution.
The Dolphin Emulator is a powerful software program that allows you to play Gamecube games on various platforms, including Windows, Mac, and Linux. It is widely regarded as one of the best and most reliable Gamecube emulators available. With its user-friendly interface and extensive compatibility, you can easily set up and play your favorite Gamecube games in no time.
Before diving into the world of Gamecube games on the Dolphin Emulator, there are a few things you need to know. This guide will walk you through the steps of installing the Dolphin Emulator, finding Gamecube game ROMs, setting up game ROMs in the emulator, configuring controls, and finally, playing the games. So, get ready to embark on a gaming journey and let the nostalgia flow!
Note: It’s essential to mention that downloading and playing Gamecube ROMs without owning the original games may violate copyright laws in your country. Make sure to only use ROMs for games that you own to stay in compliance with legal requirements.
System Requirements
Before you begin the installation process, it’s important to ensure that your computer meets the minimum system requirements to run the Dolphin Emulator smoothly. Here are the recommended specifications:
- Operating System: Windows (7 or later), macOS (10.10 Yosemite or later), or Linux (distributions released after 2015).
- CPU: A processor with at least four cores, such as an Intel Core i5 or AMD Ryzen 5.
- RAM: 4GB or higher for optimal performance.
- Graphics Card: A recent graphics card with OpenGL 4.4 support, such as Nvidia GTX 960/AMD Radeon R9 280 or better.
- Storage: At least 300MB of free hard disk space for the Dolphin Emulator installation.
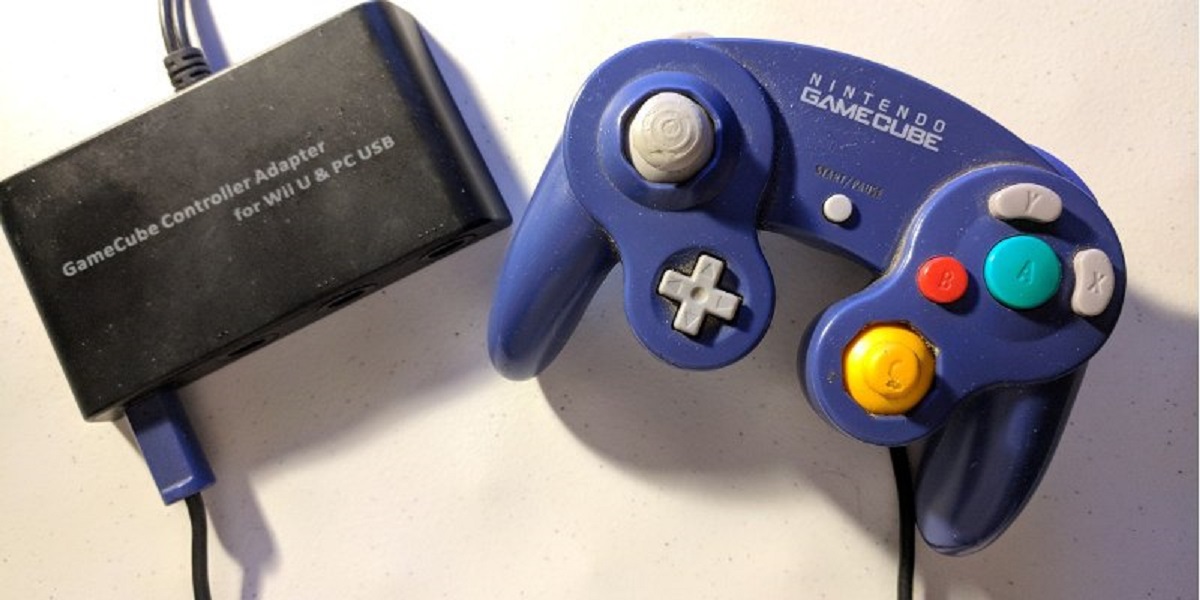
- Controllers: You can use a keyboard and mouse, but it’s recommended to have a gamepad or controller for the best gaming experience.
Keep in mind that the Dolphin Emulator is quite resource-intensive, especially for more demanding Gamecube games. If your computer doesn’t meet the recommended specifications, you may experience performance issues or choppy gameplay. However, you can try adjusting the settings within the emulator to optimize performance based on your system’s capabilities.
Additionally, ensure that your computer’s operating system and graphics card drivers are up to date. This will help ensure compatibility and prevent any potential issues while running the Dolphin Emulator.
Now that you know the system requirements for the Dolphin Emulator, you can proceed with the installation process and start enjoying your favorite Gamecube games!
Step 1: Install Dolphin Emulator
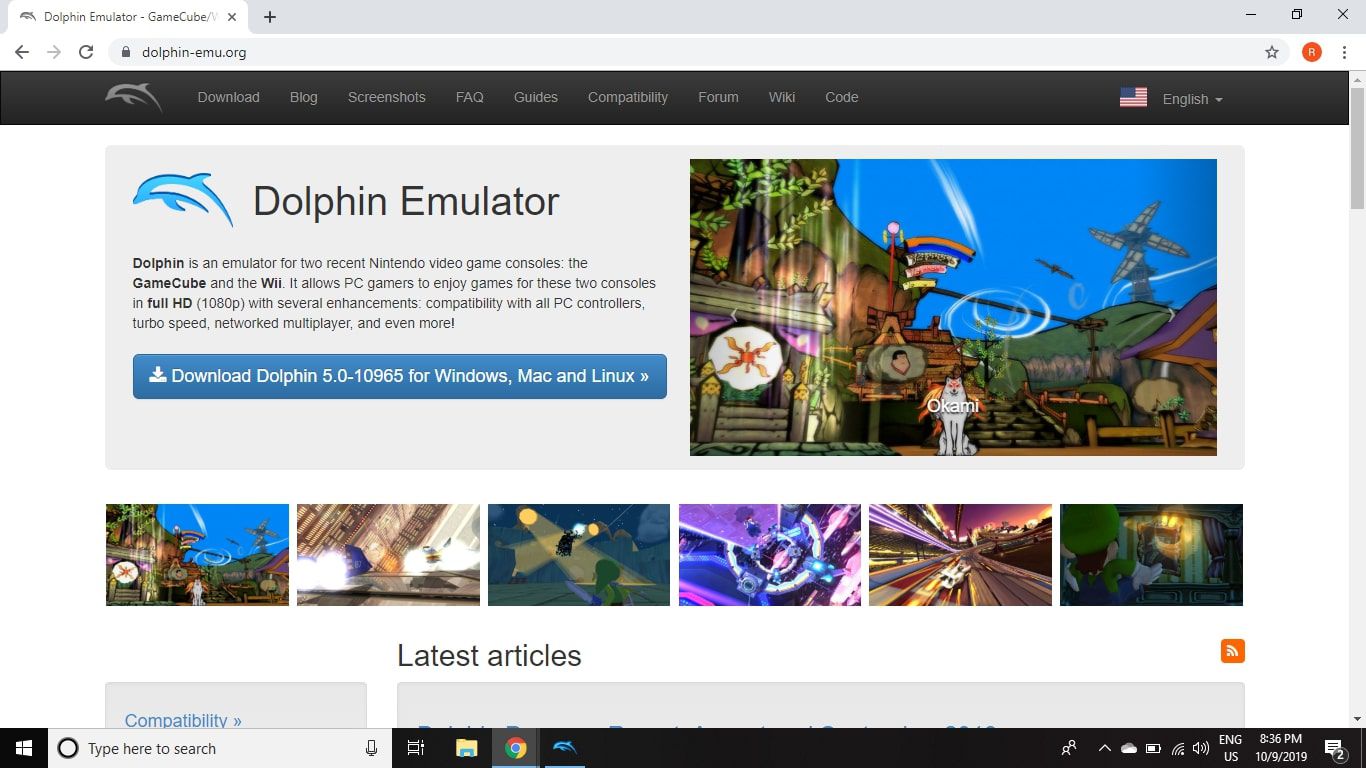
The first step to playing Gamecube games on your computer is to install the Dolphin Emulator. Follow these instructions to get started:
- Visit the official Dolphin Emulator website at https://dolphin-emu.org/.
- Navigate to the downloads section and choose the version that corresponds to your operating system (Windows, macOS, or Linux).
- Click on the download link to start the installation process. The emulator is regularly updated, so it’s recommended to get the latest stable version for the best performance and compatibility.
- Once the download is complete, run the installer file and follow the on-screen instructions to install the Dolphin Emulator.
- After the installation is finished, launch the Dolphin Emulator from your desktop or Start menu.
That’s it! You now have the Dolphin Emulator installed on your computer. The emulator provides a clean and user-friendly interface that makes it easy to navigate and configure the settings according to your preferences.
It’s worth mentioning that the Dolphin Emulator supports both Gamecube and Wii games, so you can enjoy a wide range of titles from these consoles.
Before proceeding to the next step, it’s a good idea to check for any available updates within the emulator. Updates often include bug fixes and performance improvements, so keeping your emulator up to date ensures a smooth gaming experience.
Now that you have successfully installed the Dolphin Emulator, it’s time to move on to the next step, which is finding Gamecube game ROMs to play on the emulator.
Step 2: Find Gamecube Game ROMs
Now that you have the Dolphin Emulator installed on your computer, the next step is to find Gamecube game ROMs to play on the emulator. ROMs are digital copies of the game files, allowing you to play games on emulators without the need for the physical game discs.
Here are a few options for finding Gamecube game ROMs:
- Legal alternatives: Some online retailers offer digital versions of Gamecube games for purchase. These versions can be downloaded legally and used with the Dolphin Emulator. Check reputable platforms such as the Nintendo eShop or authorized resellers.
- Second-hand markets: You can also explore second-hand markets, such as local game stores or online marketplaces, to find physical copies of Gamecube games at affordable prices. Once you own the physical copy, you can create a backup (also known as dumping) and use it with the Dolphin Emulator.
- ROM websites: There are websites that host Gamecube game ROMs, but it’s important to exercise caution as the legality of these sites can vary by country. Ensure that you are only downloading ROMs for games that you own and are not infringing any copyright laws.
Remember, downloading and distributing copyrighted material without proper authorization is illegal. It’s essential to respect the intellectual property rights of game developers and publishers.
Once you have obtained the Gamecube game ROM files, you can proceed to the next step, which is downloading them and setting them up in the Dolphin Emulator.
Step 3: Downloading Gamecube Game ROMs
Now that you have identified a reliable source for Gamecube game ROMs, it’s time to download the ROM files onto your computer. As mentioned earlier, ensure that you are downloading ROMs only for games that you own to comply with copyright laws.
- Open your web browser and navigate to the website or source where you can download the Gamecube game ROMs.
- Search for the specific game you want to download. Many ROM websites have search bars or categories to help you find the game you’re looking for.
- Once you have found the game, click on the download link or button provided. The ROM file will typically be in a compressed format like .zip or .rar.
- After the ROM file is downloaded, locate it on your computer and extract the files using a file extraction software like WinRAR or 7-Zip. This will create a folder containing the game files.
It’s important to note that some ROM files may be in different formats, such as .iso or .gcm. The Dolphin Emulator supports multiple formats, but it’s recommended to use .iso files for better compatibility.
Organize your downloaded ROM files in a dedicated folder on your computer for easy access. You can create a folder specifically for Gamecube games and keep all your ROMs in one place.
With the ROM files now downloaded and organized, you are one step closer to playing Gamecube games on the Dolphin Emulator. In the next step, we will discuss how to set up and configure the game ROMs in the emulator.
Step 4: Setting Up Gamecube Game ROMs in Dolphin Emulator
Now that you have the Dolphin Emulator installed and the Gamecube game ROMs downloaded onto your computer, it’s time to set up the game ROMs in the emulator. Follow these steps to get started:
- Launch the Dolphin Emulator on your computer.
- Click on “Config” in the top menu and select “Paths”.
- In the “Add” button next to “Game Folders”, navigate to the folder where you have stored your Gamecube game ROMs. Select the folder and click “OK”.
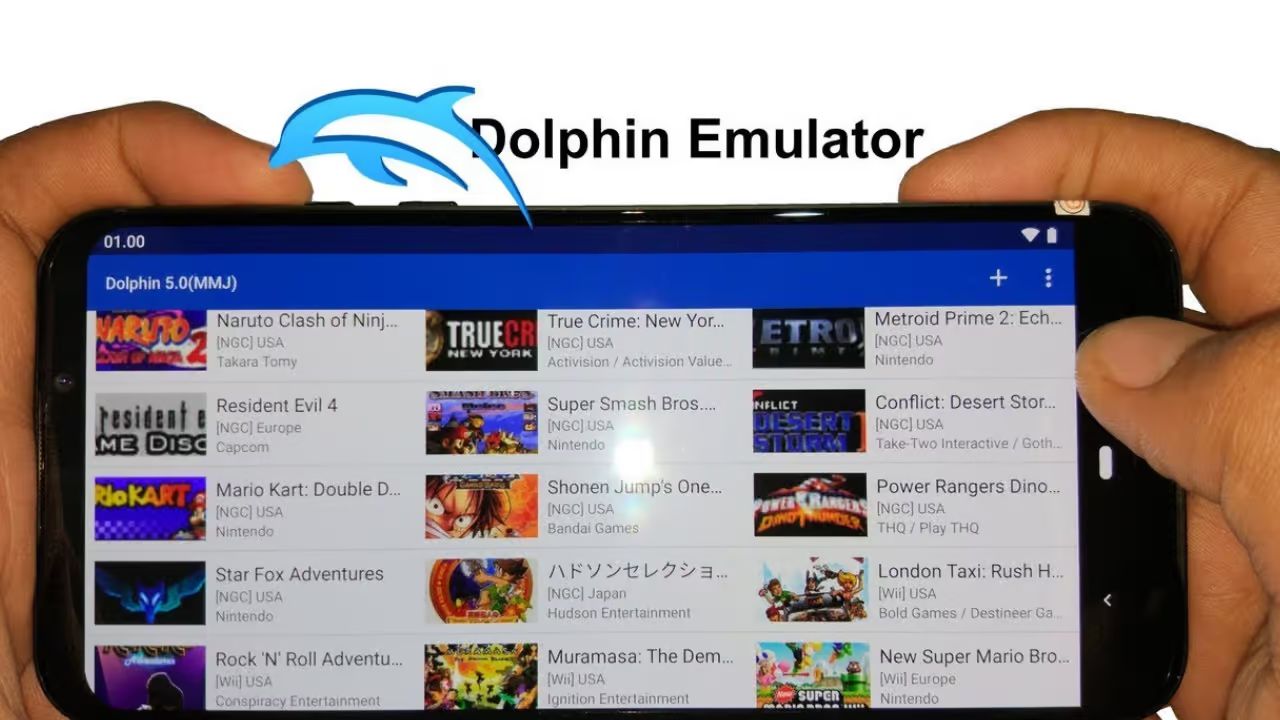
- Once the game folder is added, you should see the list of games in the Dolphin Emulator’s main window. Double-click on a game to start playing it.
- If the game doesn’t appear in the list, click “Refresh” to update the game list.
- You can also use the “Browse” button next to “ISOs” to manually locate and add individual game ROMs to the emulator.
By setting up the game folders or adding the individual game ROMs, you are allowing the Dolphin Emulator to recognize and access the games in your specified directory. This makes it easier to select and play your desired Gamecube games without having to search for them each time you use the emulator.
It’s important to note that the Dolphin Emulator also supports Wii games, so you may see a mix of Gamecube and Wii games in your game list if you have both types of ROMs.
Congratulations! You have successfully set up your Gamecube game ROMs in the Dolphin Emulator. Now let’s move on to the next step where we’ll configure the controls for optimal gameplay.
Step 5: Configuring Controls
Once you have your Gamecube game ROMs set up in the Dolphin Emulator, it’s time to configure the controls to ensure smooth gameplay. The emulator allows you to map your keyboard or gamepad inputs to replicate the buttons on a Gamecube controller. Follow these steps to configure the controls:
- Open the Dolphin Emulator on your computer.
- Click on “Options” in the top menu and select “Controller Settings” from the drop-down menu.
- In the “Controller Configuration” window, you can see the default controller layout for a Gamecube controller. Here, you can map your keyboard keys or gamepad buttons to each corresponding button.
- To map a key or button, click on a specific button in the “Device” column, then press the desired key or button on your keyboard or gamepad. The assigned key/button will be displayed in the “Assignment” column.
- If you are using a gamepad, make sure it is connected to your computer before attempting to map the buttons.
- Continue mapping the buttons until you have configured the controls to your preference.
- Click “OK” to save the changes and exit the Controller Configuration window.
You can also make additional adjustments to the controls, such as sensitivity settings, dead zones, and rumble options, by clicking on the “Configure” button next to the selected device in the Controller Configuration window.
It’s important to note that if you are using a keyboard for controls, it may take some time to get used to the button layout, as it may not match the physical arrangement of a Gamecube controller. If you have a gamepad or controller available, it can provide a more authentic gaming experience.
Once you have configured the controls to your liking, you are all set to start playing your favorite Gamecube games on the Dolphin Emulator!
Now that you have successfully configured the controls, it’s time to move on to the final step, where you can start playing Gamecube games on the Dolphin Emulator.
Step 6: Play Gamecube Games on Dolphin Emulator
After completing the previous steps of installing the Dolphin Emulator, finding and downloading Gamecube game ROMs, setting them up in the emulator, and configuring the controls, you are now ready to start playing Gamecube games on the Dolphin Emulator. Here’s how:
- Launch the Dolphin Emulator on your computer.
- In the main window, you will see the list of Gamecube games you have set up. Double-click on the game you want to play.
- The game will start, and you will be taken to the game’s main menu or the game itself, depending on the specific game.
- Use the configured controls or keyboard keys to navigate through the game’s menus and play the game.
- During gameplay, you can access various emulator features by right-clicking anywhere on the game screen. This will open a context menu where you can access options like save states, graphics settings, audio settings, and more.
- Enjoy playing your favorite Gamecube games on the Dolphin Emulator!
As you play the game, you may encounter performance-related issues, such as lag or low frame rates. To optimize performance, you can adjust the emulator’s settings by going to the “Config” menu and selecting options like graphics settings and performance enhancements. Experimenting with different settings can help improve performance based on your computer’s capabilities.
It’s important to note that not all Gamecube games may work perfectly on the Dolphin Emulator. Some games may have compatibility issues or require specific settings to run smoothly. Checking the Dolphin Emulator’s compatibility list or user forums can provide insights and recommendations for specific games.
With the Dolphin Emulator, you can revisit your favorite Gamecube games, experience titles you missed out on, or even try out fan-made mods and enhancements. The emulator offers a convenient way to enjoy Gamecube gaming on your computer, providing a nostalgic and immersive gaming experience.
Now that you know how to play Gamecube games on the Dolphin Emulator, it’s time to dive in, explore, and have fun in the world of Gamecube gaming!
Conclusion
The Dolphin Emulator opens up a world of possibilities for Gamecube gaming enthusiasts, allowing them to play their favorite games on modern computers. By following the step-by-step guide outlined in this article, you have learned how to install the Dolphin Emulator, find and download Gamecube game ROMs, set them up in the emulator, configure controls, and finally, play the games.
Remember to always respect copyright laws and only download ROMs for games that you legally own. Additionally, ensure that your computer meets the system requirements to run the Dolphin Emulator smoothly for the best gaming experience.
The Dolphin Emulator offers a range of features and settings that can further enhance your gameplay experience. From adjusting graphics and audio settings to utilizing save states and performance enhancements, you can customize the emulator to suit your preferences and optimize performance.
Whether you want to relive the nostalgia of your favorite Gamecube games or discover new titles, the Dolphin Emulator provides a convenient and accessible platform to do so. Its compatibility with various operating systems and support for both Gamecube and Wii games make it a versatile choice for gaming enthusiasts.
So, what are you waiting for? Dive into the world of Gamecube games on the Dolphin Emulator and enjoy a trip down memory lane or embark on new gaming adventures.
Get ready to immerse yourself in the exciting world of Gamecube gaming, right from the comfort of your computer!