Introduction
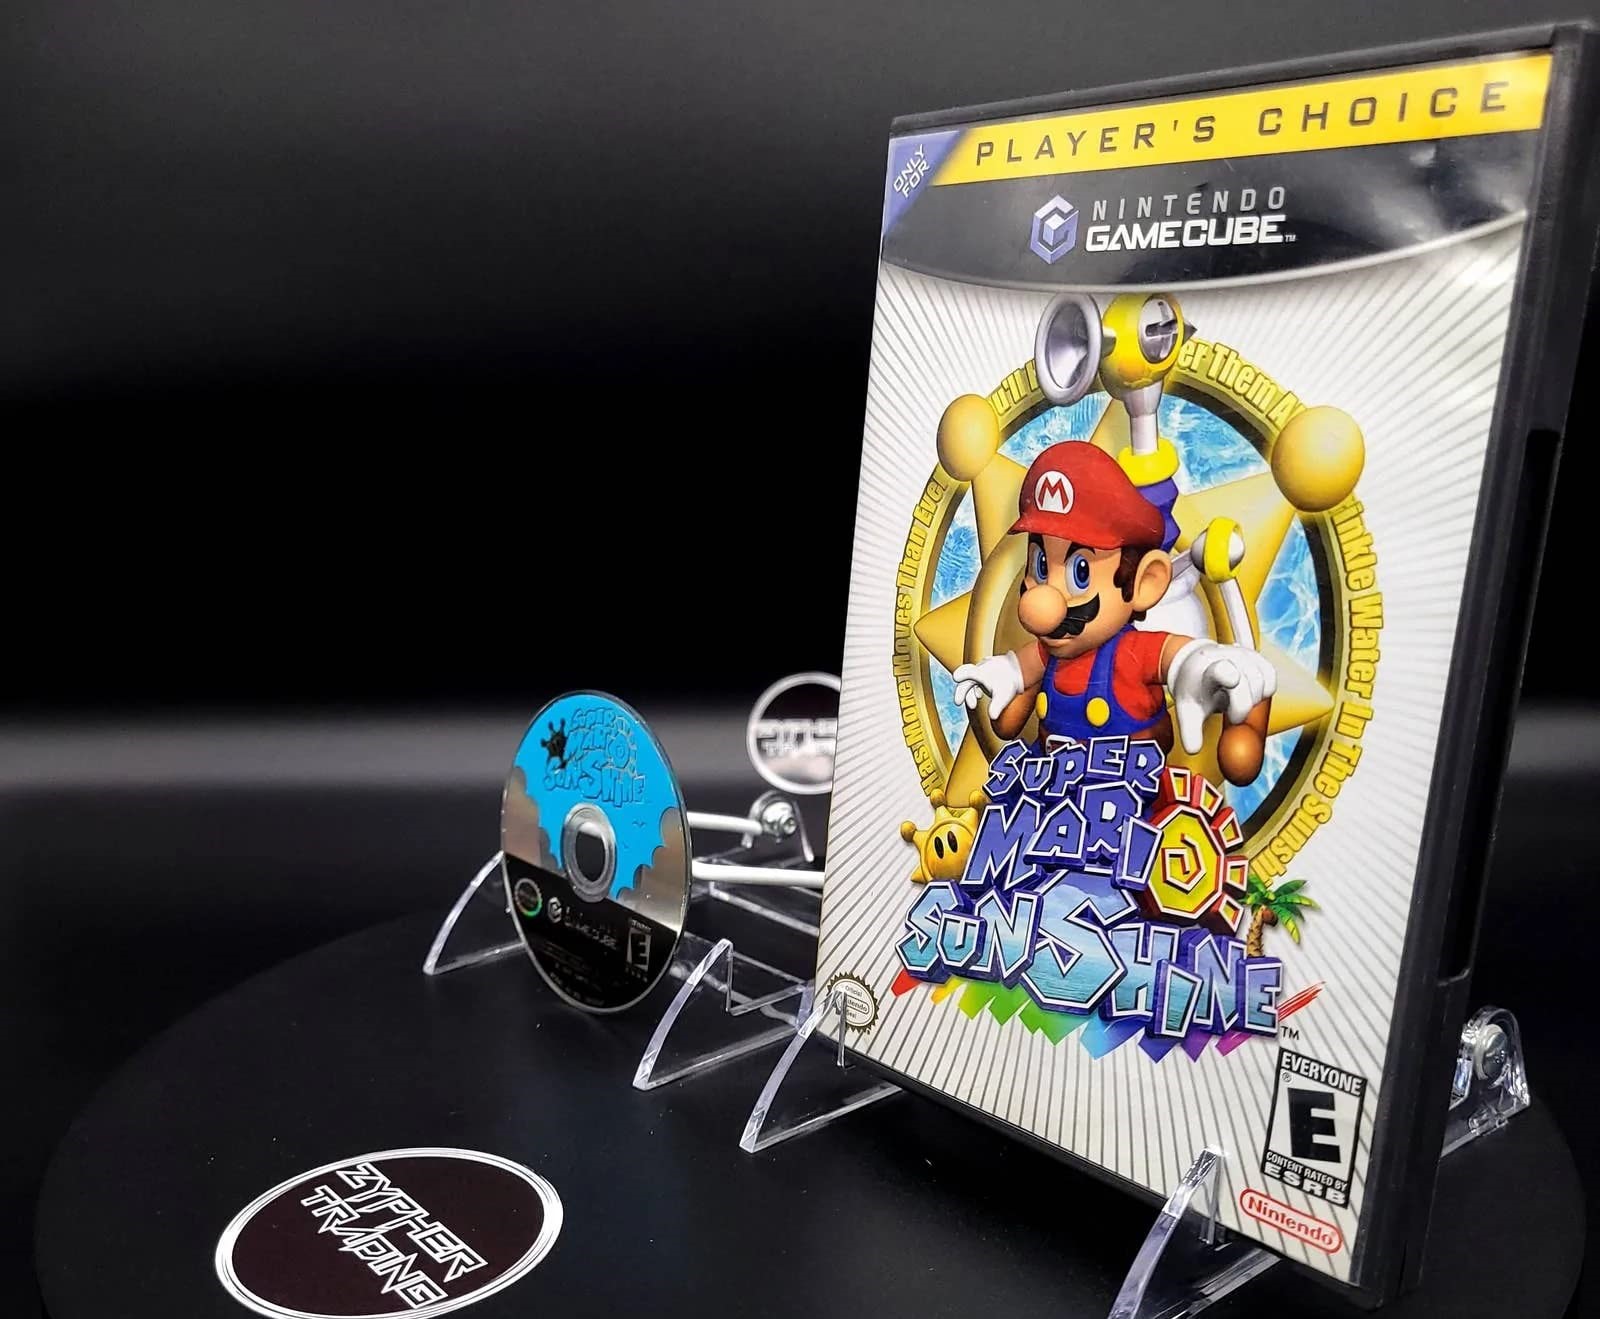
Are you a fan of the iconic Super Mario Sunshine game and eager to relive the nostalgic experience on your computer? With the help of the Dolphin emulator and a game controller, you can immerse yourself in the vibrant world of Super Mario Sunshine once again. This guide will walk you through the process of setting up a game controller for the Dolphin emulator to enhance your gaming experience.
Playing Super Mario Sunshine with a game controller offers a more authentic and enjoyable experience compared to using a keyboard. The precise control and tactile feedback of a game controller can significantly enhance your gameplay, allowing you to execute precise movements and maneuvers as you navigate through the colorful landscapes of Isle Delfino.
By following the steps outlined in this guide, you will be able to seamlessly configure your game controller to work with the Dolphin emulator, ensuring that you can fully immerse yourself in the captivating world of Super Mario Sunshine. So, grab your game controller and let's embark on this exciting journey to set up the perfect gaming environment for Super Mario Sunshine!
Downloading and Installing Dolphin Emulator
Before you can begin setting up your game controller for Super Mario Sunshine, you will need to download and install the Dolphin emulator, which serves as the platform for running the game on your computer. The Dolphin emulator is a versatile and powerful tool that allows you to play a wide range of GameCube and Wii games with enhanced graphics and performance.
To start the process, head to the official Dolphin emulator website and navigate to the download section. Ensure that you select the appropriate version of the emulator based on your operating system, whether it is Windows, macOS, or Linux. Once you have downloaded the installation file, proceed to install the emulator by following the on-screen instructions.
After completing the installation, launch the Dolphin emulator to familiarize yourself with its interface and settings. Take some time to explore the various configuration options and ensure that the emulator is running smoothly on your system. Additionally, it is recommended to update the emulator to the latest version to benefit from performance improvements and bug fixes.
With the Dolphin emulator successfully installed on your computer, you are now one step closer to experiencing the magic of Super Mario Sunshine in all its glory. The next phase of the setup process involves configuring the emulator to recognize and utilize your game controller effectively, allowing you to seamlessly control Mario as he embarks on his thrilling adventure across Isle Delfino.
Setting Up the Dolphin Emulator
Once the Dolphin emulator is installed on your computer, the next crucial step is to configure the emulator settings to ensure optimal performance and compatibility with your game controller. Start by launching the Dolphin emulator and accessing the settings menu, where you will find a range of options to customize and optimize the emulator’s functionality.
Begin by navigating to the “Controllers” section within the Dolphin emulator settings. Here, you will have the opportunity to select the type of controller you will be using for your gaming experience. Whether you are using a standard gamepad, a specialized GameCube controller, or a Wii remote, the Dolphin emulator provides comprehensive support for various input devices, allowing you to tailor the settings to match your specific hardware.
After selecting the appropriate controller type, you can further refine the settings to accommodate your preferred input configuration. This may include specifying the button layout, adjusting the sensitivity of analog sticks, and calibrating the motion controls if you are using a compatible controller. Take the time to ensure that the controller settings align with your personal preferences, as this will significantly impact your gameplay experience in Super Mario Sunshine.
Additionally, it is advisable to explore the graphics and audio settings within the Dolphin emulator to fine-tune the visual and auditory aspects of your gaming environment. Depending on your system’s capabilities, you can adjust the resolution, texture enhancements, and audio output to enhance the overall quality of the game as it runs on the emulator.
By meticulously configuring the Dolphin emulator settings to suit your hardware and preferences, you can create an immersive and seamless gaming experience that closely mirrors the original gameplay on the GameCube console. With the emulator primed and ready, the next step is to integrate your game controller and map its buttons to correspond with the actions in Super Mario Sunshine, bringing you closer to reliving the magic of this beloved classic.
Configuring the Game Controller
With the Dolphin emulator set up and running, it’s time to seamlessly integrate your game controller into the gaming environment. Connecting your game controller to the emulator involves a straightforward process that ensures your input device is recognized and responsive during gameplay.
First, ensure that your game controller is connected to your computer via a USB cable or Bluetooth, depending on the type of controller you are using. Once connected, navigate to the “Controllers” section within the Dolphin emulator settings to initiate the configuration process. Here, you will be able to detect and assign your game controller to the emulator, enabling it to serve as the primary input device for playing Super Mario Sunshine.
Upon detecting your game controller, the Dolphin emulator allows you to map its buttons and axes to correspond with the input commands required for gameplay. This step is crucial in ensuring that your controller functions seamlessly within the game, allowing you to execute precise movements, jumps, and interactions as you guide Mario through his adventure.
Depending on the type of game controller you are using, whether it’s a standard gamepad, a GameCube controller, or a specialized gaming peripheral, the Dolphin emulator provides a user-friendly interface for mapping the controller inputs. You can simply click on each button or axis within the emulator settings and assign the corresponding action from the game, such as jumping, running, spraying water, or performing special maneuvers.
It’s essential to take the time to fine-tune the controller mapping to suit your preferences and playstyle, ensuring that the controls feel intuitive and responsive as you navigate through the vibrant landscapes of Isle Delfino. Once the controller is configured to your satisfaction, you are ready to delve into the captivating world of Super Mario Sunshine with the assurance that your game controller will faithfully translate your inputs into seamless gameplay experiences.
Mapping the Controller Buttons
Mapping the controller buttons within the Dolphin emulator is a pivotal step in ensuring that your game controller effectively translates your physical inputs into in-game actions. This process allows you to assign specific functions and movements to the buttons, triggers, and analog sticks of your game controller, aligning them with the corresponding actions in Super Mario Sunshine.
When mapping the controller buttons, it’s essential to consider the primary actions and maneuvers required in Super Mario Sunshine. These may include jumping, spraying water with FLUDD, performing spin jumps, executing ground pounds, and interacting with the environment and characters. By carefully assigning these actions to the appropriate buttons on your game controller, you can streamline your gameplay experience and execute precise movements with ease.
For instance, you can assign the jump command to a prominent button on your controller, allowing you to effortlessly guide Mario through the vibrant landscapes of Isle Delfino. Similarly, mapping the FLUDD controls, including spraying water, switching nozzles, and performing special FLUDD actions, ensures that you have complete control over this iconic gameplay mechanic.
Furthermore, the Dolphin emulator provides the flexibility to map additional functions such as camera controls, menu navigation, and other in-game interactions to the various buttons and inputs on your game controller. This customization empowers you to tailor the controller mapping to suit your preferred playstyle and ergonomic preferences, enhancing your overall comfort and control during gameplay.
As you map the controller buttons, consider experimenting with different configurations to find the setup that feels most intuitive and responsive to your inputs. Fine-tune the button assignments and sensitivity settings to achieve a seamless and immersive gaming experience, allowing you to fully immerse yourself in the captivating world of Super Mario Sunshine.
By meticulously mapping the controller buttons to align with the actions and interactions in Super Mario Sunshine, you can optimize your gameplay experience, ensuring that every button press and analog stick movement translates into precise and satisfying in-game maneuvers. With the controller buttons expertly mapped, you are now prepared to embark on an exciting journey through the sun-soaked landscapes of Isle Delfino, equipped with a game controller that seamlessly complements your gaming prowess.
Testing the Controller in Super Mario Sunshine
After meticulously configuring and mapping your game controller within the Dolphin emulator, it’s time to put your setup to the test by immersing yourself in the vibrant world of Super Mario Sunshine. Launch the game within the Dolphin emulator and prepare to experience the seamless integration of your game controller as you guide Mario through his sun-soaked adventure.
As you step into the whimsical landscapes of Isle Delfino, take a moment to familiarize yourself with the responsiveness and precision of your game controller. Test the mapped buttons and analog sticks to ensure that each input seamlessly translates into Mario’s movements, jumps, and interactions within the game environment.
Engage in a series of playful jumps, experiment with FLUDD’s water-spraying mechanics, and navigate through the varied terrain to gauge the effectiveness of your controller setup. By executing a range of in-game actions and maneuvers, you can evaluate the responsiveness and comfort of your controller mapping, making any necessary adjustments to further optimize your gameplay experience.
Throughout your testing phase, pay close attention to the fluidity and intuitiveness of the controls, ensuring that your game controller enhances your immersion in the captivating world of Super Mario Sunshine. By fine-tuning the controller settings and sensitivity within the Dolphin emulator, you can achieve a harmonious balance between precise control and seamless gameplay interactions.
Furthermore, take this opportunity to revel in the nostalgic charm and vibrant visuals of Super Mario Sunshine, allowing your expertly configured game controller to serve as the conduit for reliving cherished moments from this beloved classic. Whether you’re embarking on a leisurely stroll through Delfino Plaza or engaging in exhilarating platforming challenges, your game controller plays a pivotal role in shaping your overall gaming experience.
By thoroughly testing the controller within Super Mario Sunshine, you can gain valuable insights into the effectiveness of your setup, ensuring that every button press and analog stick movement aligns with your intended in-game actions. With the controller seamlessly integrated into the gameplay experience, you are poised to embark on an enchanting journey through the sun-drenched landscapes of Isle Delfino, guided by the responsive and intuitive controls that your meticulously configured game controller provides.