Introduction
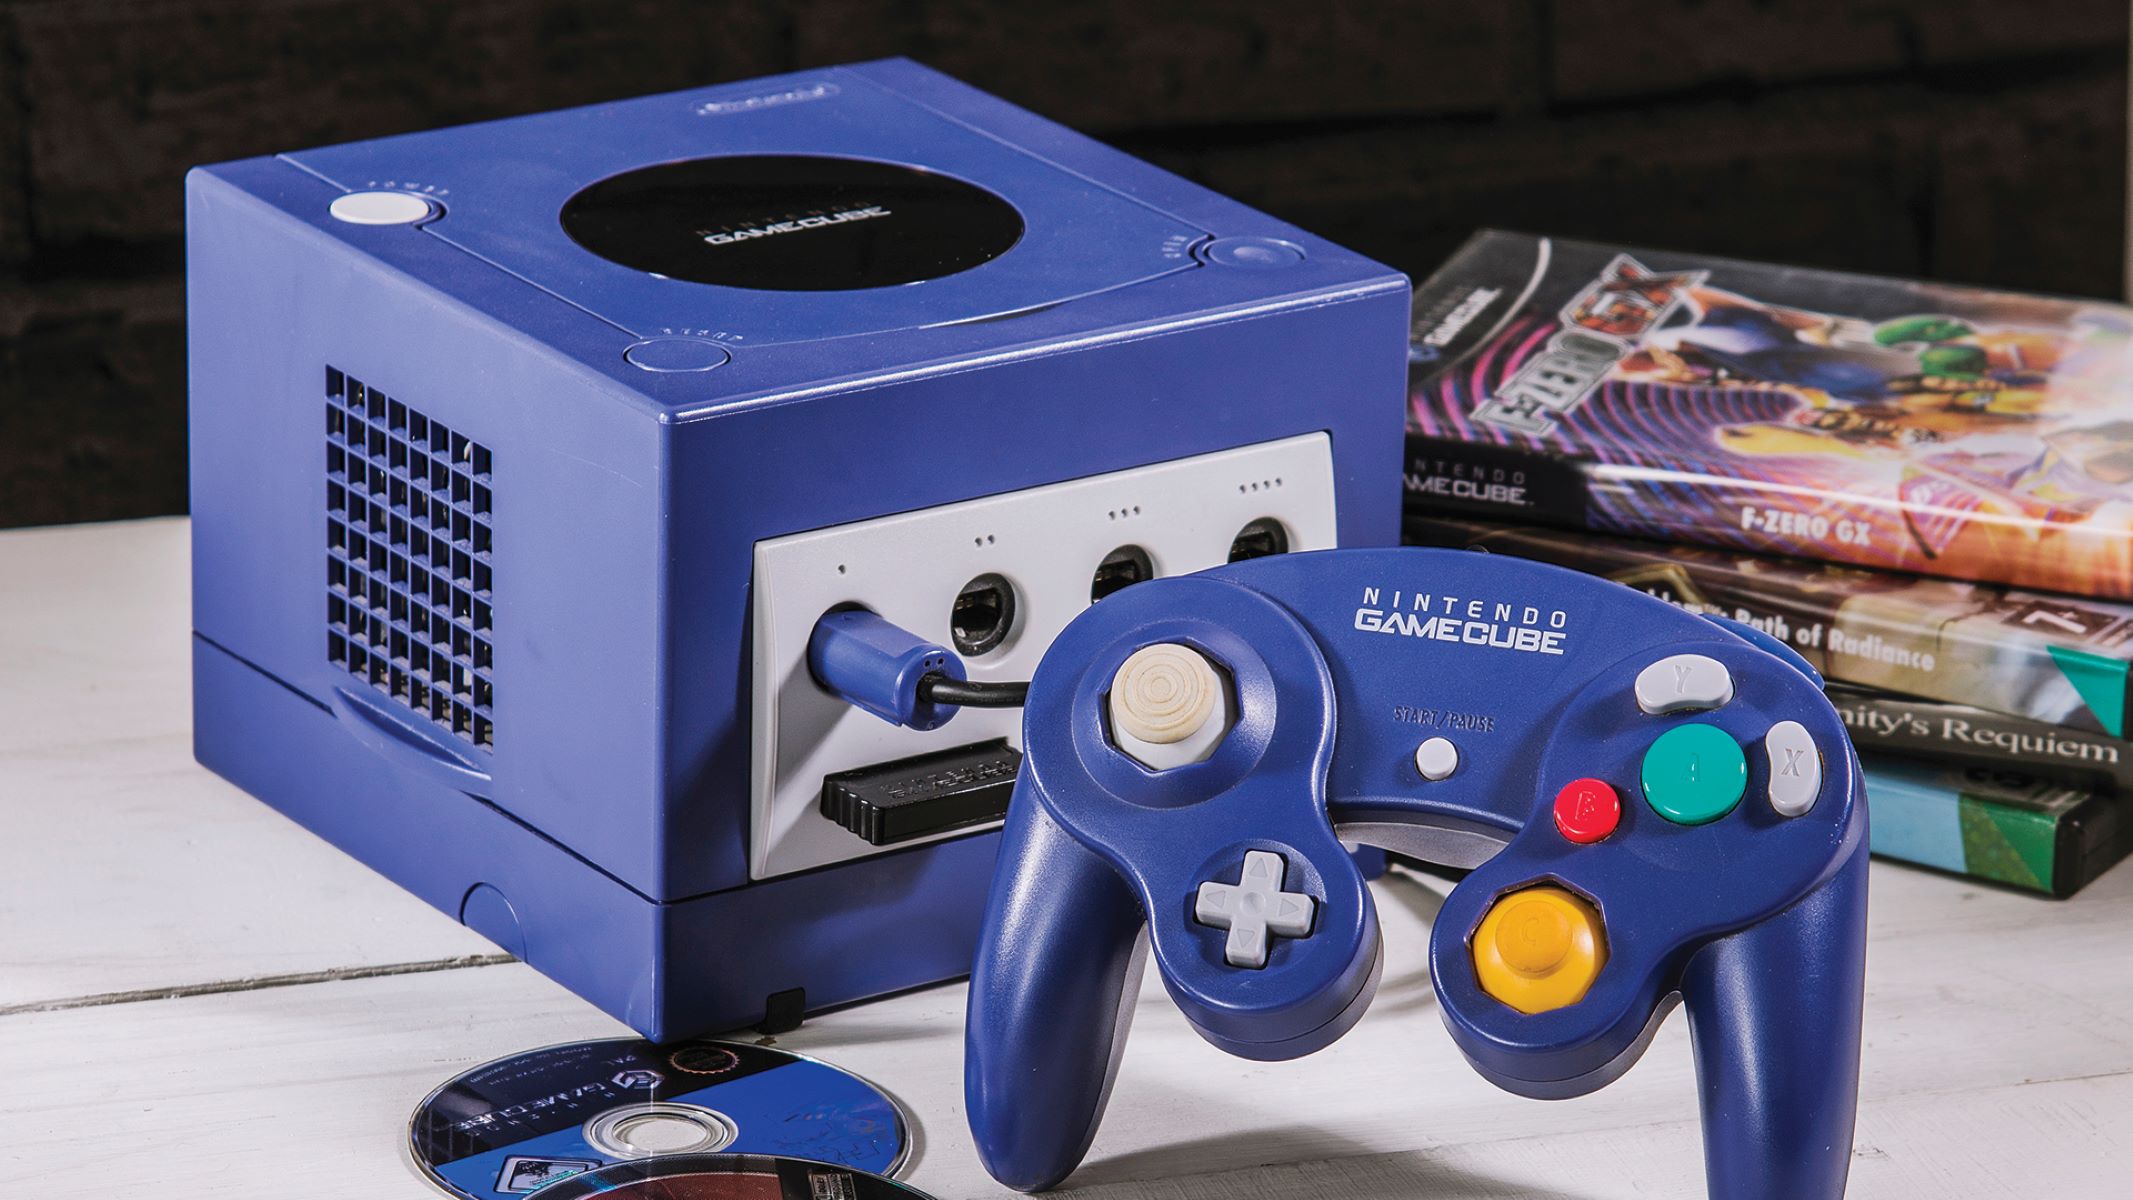
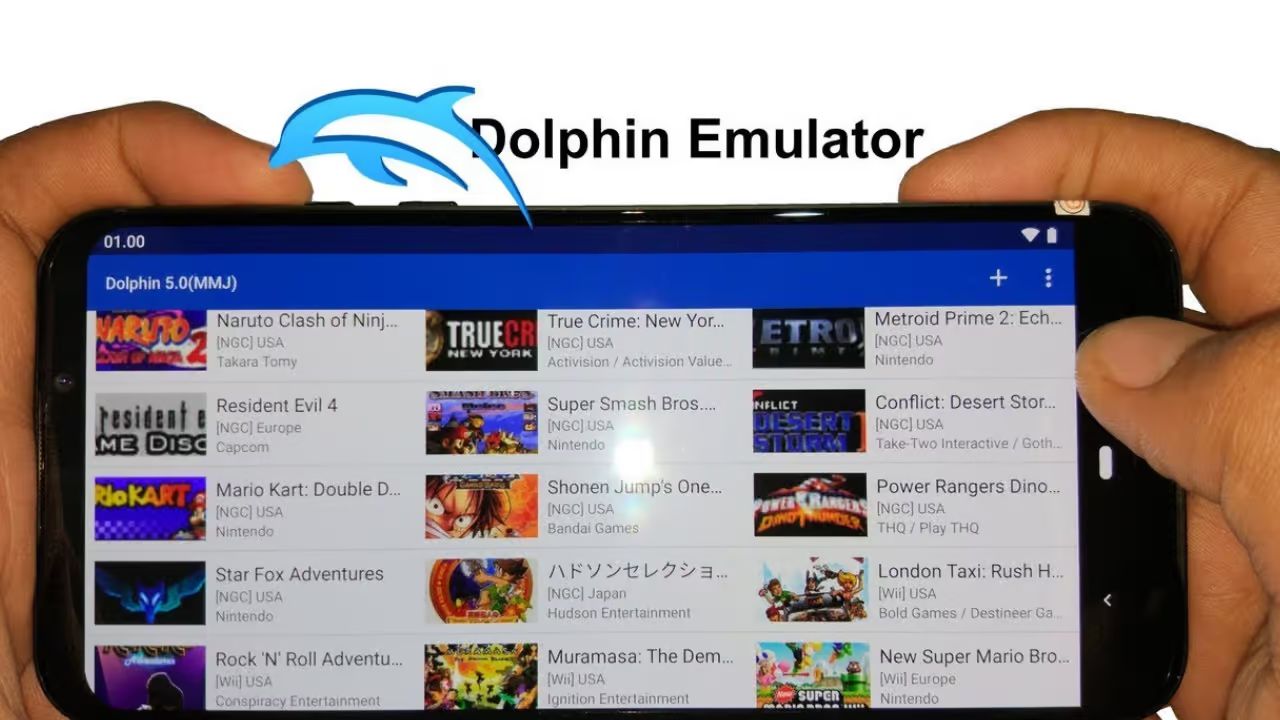
Have you ever wanted to play your favorite Nintendo GameCube or Wii games on your computer? With the Dolphin Emulator, you can turn this dream into a reality. Dolphin Emulator is a powerful software that allows you to play games from these consoles on various platforms, including Windows, Mac, and Linux.
Downloading and setting up Dolphin Emulator may seem like a complex task, but fear not! In this article, we will provide you with a step-by-step guide on how to download games on Dolphin Emulator.
Before we dive into the steps, it’s important to note that downloading and playing copyrighted games without owning the original copies is illegal. Therefore, we strongly recommend that you only download game ROMs if you own the original discs or have obtained legal backups of them.
Now that we have that out of the way, let’s get started on our journey to downloading games on Dolphin Emulator.
Getting Started
Before we can jump into downloading games on Dolphin Emulator, we need to ensure that you have the necessary requirements to run the emulator smoothly.
Firstly, make sure that your computer meets the minimum system requirements for Dolphin Emulator. Ideally, you should have a reasonably powerful CPU, a dedicated graphics card, and sufficient RAM to handle the emulation process.
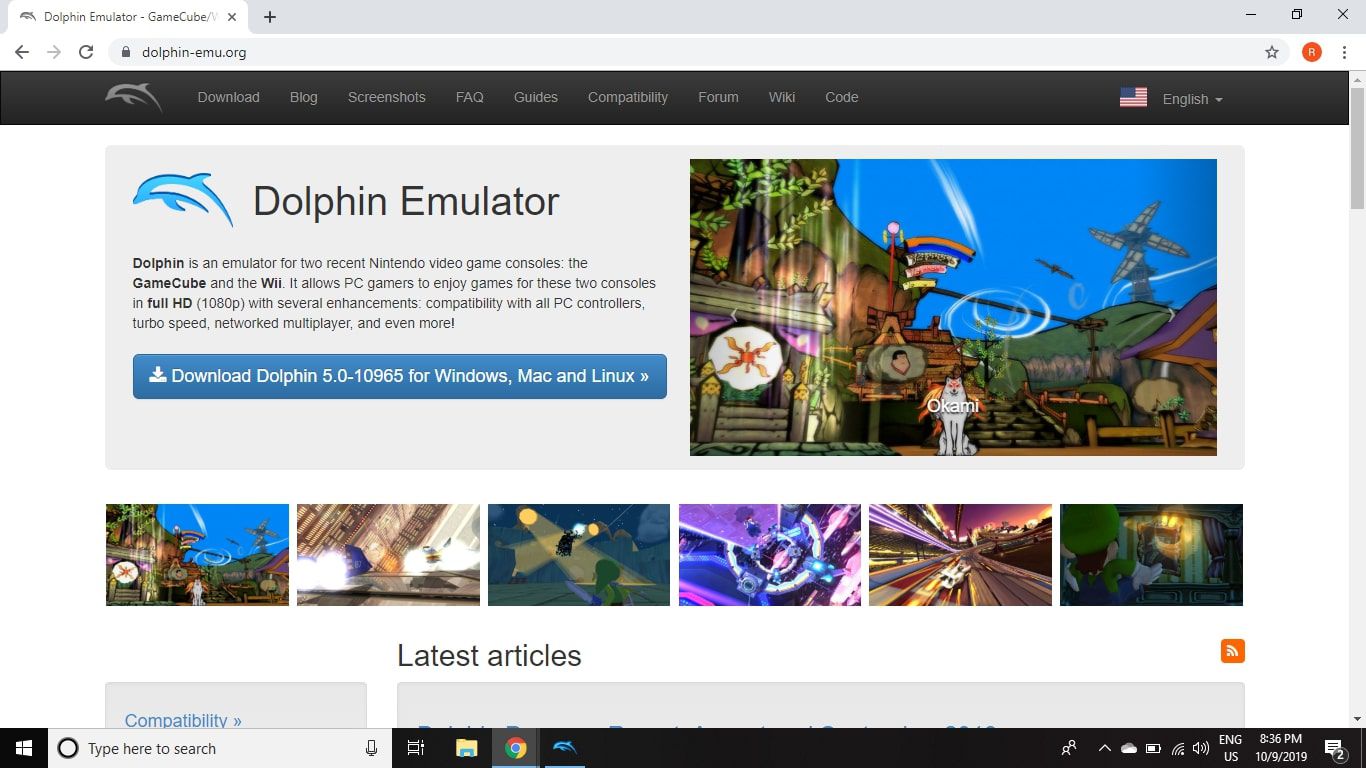
Next, you’ll need to have the latest version of Dolphin Emulator installed on your computer. The emulator is available for free on the official Dolphin website (https://dolphin-emu.org/). Simply navigate to the downloads section and choose the appropriate version for your operating system.
Additionally, you’ll need to have the necessary peripherals to play the games. This includes a compatible controller or keyboard and mouse setup. Dolphin Emulator supports a wide range of input devices, so you can choose the option that suits you best.
Once you have all the requirements in place, you’re ready to move on to the next step: downloading Dolphin Emulator.
Step 1: Downloading Dolphin Emulator
To get started, navigate to the official Dolphin Emulator website at https://dolphin-emu.org/. On the homepage, you will find the “Downloads” section. Click on it to proceed.
On the downloads page, you will see different versions of Dolphin Emulator available for various operating systems. Choose the version that is compatible with your computer’s operating system (Windows, Mac, or Linux) and click the download link.
The download process may take a few minutes depending on your internet connection speed. Once the download is complete, locate the installer file in your computer’s download folder.
Run the installer by double-clicking on the file. Follow the on-screen instructions to proceed with the installation. Make sure to read the terms and conditions before accepting them.
During the installation process, you will be prompted to choose the installation location and select additional components. You can leave the default settings as they are unless you have specific preferences.
After the installation is complete, you should see the Dolphin Emulator icon on your desktop or in the Start menu (depending on your operating system). Double-click on the icon to launch the emulator.
Congratulations! You have successfully downloaded and installed Dolphin Emulator on your computer. Now it’s time to move on to the next step: configuring the emulator to optimize performance.
Step 2: Installing Dolphin Emulator
After you have downloaded Dolphin Emulator, it’s time to install it on your computer. Follow these steps to complete the installation process:
1. Locate the installer file that you downloaded from the official Dolphin Emulator website. It is usually saved in your computer’s download folder.
2. Double-click on the installer file to launch the installation wizard. You may be prompted to grant administrative privileges, so make sure to provide the necessary permissions.
3. The installation wizard will guide you through the process. Read the terms and conditions, and if you agree, click “Next” or “Install” to proceed.
4. Choose the destination folder where you want Dolphin Emulator to be installed. The default location is typically in the Program Files directory on Windows.
5. Select any additional components or settings you want to include during the installation. These may include software updates, additional plugins, or language packs. You can choose the default options or customize them according to your preferences.
6. Once you have selected the desired options, click “Install” to begin the installation process. Depending on your computer’s speed, it may take a few moments to complete.
7. Once the installation is finished, you will see a confirmation message indicating that Dolphin Emulator has been successfully installed. You may also be given the option to launch the program immediately.
8. Finally, click “Finish” to exit the installation wizard.
Congratulations! You have now successfully installed Dolphin Emulator on your computer. Next, we will move on to the configuration process to ensure optimal performance and compatibility.
Step 3: Configuring Dolphin Emulator
After installing Dolphin Emulator, it’s important to configure the settings to ensure optimal performance and compatibility. Follow these steps to configure Dolphin Emulator:
1. Launch Dolphin Emulator by double-clicking the desktop icon or accessing it from the Start menu.
2. Upon opening Dolphin Emulator, you will be prompted to configure your input settings. If you have a game controller connected, the emulator should automatically detect it. If not, you can manually configure the controls by selecting “Controllers” from the top menu and choosing “Configure” for each input device.
3. Next, click on the “Graphics” button on the top menu to access the graphics settings. Adjust the settings according to your computer’s specifications and personal preferences. You can choose between different backend options (Direct3D, OpenGL, Vulkan) and adjust features such as resolution, aspect ratio, anti-aliasing, and more.
4. After configuring the graphics settings, click on the “Audio” button on the top menu. Here, you can adjust the audio settings based on your preferences. You can select the audio backend (XAudio2 or DSound), adjust the volume, and enable/disable audio enhancements.
5. Moving on, click on the “Controllers” button on the top menu to access the controller settings. Here, you can configure various controller options such as sensitivity, dead zone, and button mapping. Make sure to set up the controls according to your preferred layout and ensure that they are working correctly.
6. Additionally, Dolphin Emulator offers an array of advanced settings that can be adjusted to enhance performance and compatibility. These settings can be found under the “Config” menu. However, it’s recommended for beginners to stick with the default settings unless you have specific requirements.
7. After configuring all the necessary settings, it’s a good idea to save your configurations. Click on the “Config” menu at the top and select “Save All” to save all the changes you’ve made.
Great job! You have now successfully configured Dolphin Emulator. In the next step, we will explore how to find game ROMs to play on Dolphin Emulator.
Step 4: Finding Game ROMs
Having configured Dolphin Emulator, it’s time to find game ROMs to play on the emulator. ROMs are digital copies of games that you can download and load onto Dolphin Emulator. Here are some ways to find game ROMs:
1. Legally owned game copies: If you own physical copies of GameCube or Wii games, you can create backup copies of them. Use a program like CleanRip to make a digital copy of your game discs. This ensures that you are playing games that you own and complies with copyright laws.
2. Online ROM databases: There are various websites that host game ROMs. It’s important to note that not all ROM download sites are legal or reputable. To find reliable sources, do thorough research and make sure the site you choose is known for providing clean, unaltered ROMs.
3. Community forums: Visit gaming forums and communities dedicated to Dolphin Emulator. These platforms often have dedicated sections where users share information and links to reputable ROM sources.
4. Game preservation projects: Some organizations are dedicated to preserving and providing access to game ROMs legally. Examples include the Internet Archive’s Console Living Room project, which offers a collection of playable console games.
Remember, it is crucial to respect copyright laws and only download ROMs for games you own or have obtained legal backups of. Distributing or downloading copyrighted material without permission is illegal and can result in penalties.
Once you have found a reliable source for game ROMs, proceed to the next step to learn how to download them onto your computer.
Step 5: Downloading Game ROMs
Now that you have identified a reputable source for game ROMs, it’s time to download them onto your computer. Here’s how you can do it:
1. Open your web browser and navigate to the website where you found the game ROMs.
2. Search for the specific game you want to download, either by using the website’s search feature or browsing through their list of available ROMs.
3. Once you’ve found the game you want, click on the download link or button provided next to it. Some websites may require you to create an account or complete certain actions before allowing you to download the ROM.
4. Depending on the website, the ROM file may be compressed or in a specific format. If it is in a compressed format (e.g., ZIP or RAR), you will need to extract the files using a file extraction program like WinRAR or 7-Zip.
5. Choose a location on your computer where you want to save the downloaded ROM file. It’s a good idea to create a dedicated folder for your Dolphin Emulator ROMs to keep them organized.
6. Start the download and wait for it to complete. The time it takes will vary depending on the size of the ROM file and your internet connection speed.
It’s important to note that downloading copyrighted games without owning the original copies or obtaining legal backups is illegal. Make sure that you own the original game or have obtained legal backups before downloading any ROMs.
With the ROM now downloaded onto your computer, it’s time to move on to the next step: adding the game ROM to Dolphin Emulator.
Step 6: Adding Game ROMs to Dolphin Emulator
Now that you have successfully downloaded game ROMs, it’s time to add them to Dolphin Emulator. Follow these steps to add your game ROMs:
1. Launch Dolphin Emulator by double-clicking the desktop icon or accessing it from the Start menu.
2. In the Dolphin Emulator interface, click on the “Config” button on the top menu and select “Paths”. This will open the Paths configuration window.
3. In the Paths window, you will see different directories related to Dolphin Emulator, including the directory for game ISOs (ROMs). Click on the “Add” button next to “ISO Directories” to add a new directory.
4. Navigate to the folder where you have saved your downloaded game ROMs. Select the folder and click “Select Folder”. The directory path will now be added to the list of ISO directories.
5. Click on the “OK” button to save the changes and exit the Paths configuration window.
6. With the game ROM directory added, you can now close the Paths configuration window.
7. To start playing a game on Dolphin Emulator, click on the “Open” button or select “File” in the top menu and choose “Open…”
8. In the file explorer window, navigate to the folder where you have your game ROMs. Double-click on the ROM file you want to play, or select it and click “Open”.
9. Dolphin Emulator will start loading the game from the ROM file. Wait for the loading process to complete.
10. Once the game is loaded, you should see it appear in the Dolphin Emulator main window. You can now start playing the game using your configured input device, whether it’s a controller or keyboard and mouse.
Congratulations! You have successfully added game ROMs to Dolphin Emulator. Now you’re all set to enjoy your favorite GameCube or Wii games on your computer.
Step 7: Configuring Game Settings
Now that you have added game ROMs to Dolphin Emulator, it’s important to configure the game settings to ensure an optimal gaming experience. Here’s how you can configure the game settings:
1. Launch Dolphin Emulator and open the game you want to configure.
2. Once the game is loaded, click on the “Graphics” button on the top menu to access the graphics settings for the game.
3. In the graphics settings, you can adjust various options to enhance the game’s visual quality and performance. You can modify settings such as resolution, aspect ratio, anti-aliasing, anisotropic filtering, and more.
4. Experiment with different graphics settings to find the balance between visual quality and performance that suits your computer’s capabilities.
5. After configuring the graphics settings, click on the “Audio” button on the top menu to access the audio settings for the game.
6. In the audio settings, you can adjust options such as the backend (XAudio2 or DSound), volume levels, and audio enhancements. Play around with the settings to find the best audio experience.
7. Next, click on the “Controllers” button on the top menu to configure the controller settings for the game. Here, you can map the controls to your preferred input device, adjust sensitivity, dead zone, and other controller settings.
8. Take some time to customize the controls according to your preferences. You can also experiment with different control schemes to find what works best for you.
9. Dolphin Emulator also offers an array of advanced settings for individual games. To access these settings, right-click on the game in Dolphin’s main window and select “Properties”. Here, you can modify specific settings like CPU emulation, enhancements, and game-specific hacks. However, it’s recommended to leave these settings at their default values unless you encounter specific compatibility issues.
10. Once you have configured the game settings to your liking, you can save the configurations by right-clicking on the game in Dolphin’s main window and selecting “Save Settings”. This allows you to load the same settings every time you play the game.
By configuring the game settings, you can optimize the gaming experience and ensure smoother gameplay on Dolphin Emulator. Take some time to experiment with the settings to find the best combination for each game you play.
Step 8: Playing Games on Dolphin Emulator
After all the setup and configuration, it’s time to finally start playing games on Dolphin Emulator. Follow these steps to play your favorite GameCube or Wii games:
1. Launch Dolphin Emulator on your computer by double-clicking the desktop icon or accessing it from the Start menu.
2. On the Dolphin Emulator interface, you will see a list of added games in the main window. Select the game you want to play by clicking on it.
3. Once you’ve selected the game, Dolphin Emulator will start loading it. Wait for the loading process to complete.
4. After the game is loaded, you will see the game window open. You can now use your configured input device, such as a game controller or keyboard and mouse, to play the game.
5. Enjoy the game as you would on the original GameCube or Wii console! Dolphin Emulator provides various features such as save states, in-game screenshots, and even cheats to enhance your gaming experience.
6. During gameplay, you can access additional settings and features by right-clicking on the game window. This allows you to access options like game-specific settings, enable or disable audio enhancements, adjust graphics settings on the fly, and more.
7. Dolphin Emulator also offers the ability to record gameplay by going to the “Movie” tab on the top menu and selecting “Record”. This is a great way to capture your gaming moments and share them with others.
8. When you’re finished playing, simply close the game window to exit Dolphin Emulator. Your progress will be saved automatically, allowing you to pick up where you left off the next time you play.
Now that you know how to play games on Dolphin Emulator, it’s time to immerse yourself in the world of GameCube and Wii games on your computer. Enjoy the nostalgia and explore the wide range of titles available to relive those gaming moments!
Conclusion
Congratulations! You have now successfully learned how to download and play games on Dolphin Emulator. By following the steps outlined in this guide, you can enjoy your favorite GameCube and Wii games on your computer.
Throughout the process, it’s essential to remember the importance of staying within the boundaries of the law. Only download game ROMs for games you own or have legal backups for, adhering to copyright regulations.
From downloading Dolphin Emulator to configuring the settings and adding game ROMs, each step plays a crucial role in ensuring a smooth gaming experience. Take the time to explore the various features and settings within Dolphin Emulator to customize your gameplay to your preferences.
Remember to regularly check for updates to Dolphin Emulator, as new versions are released periodically with bug fixes and improvements. Keeping your emulator up to date will ensure optimal performance and compatibility with the latest games.
Now, get ready to dive into the vast library of GameCube and Wii games and relive the nostalgia of these classic consoles. Whether you’re replaying your favorite childhood games or discovering new titles, Dolphin Emulator provides a convenient and enjoyable way to play them on your computer.
So, fire up Dolphin Emulator, grab your controller or keyboard, and embark on an amazing gaming journey. Get ready to experience the magic of GameCube and Wii games on a whole new level!