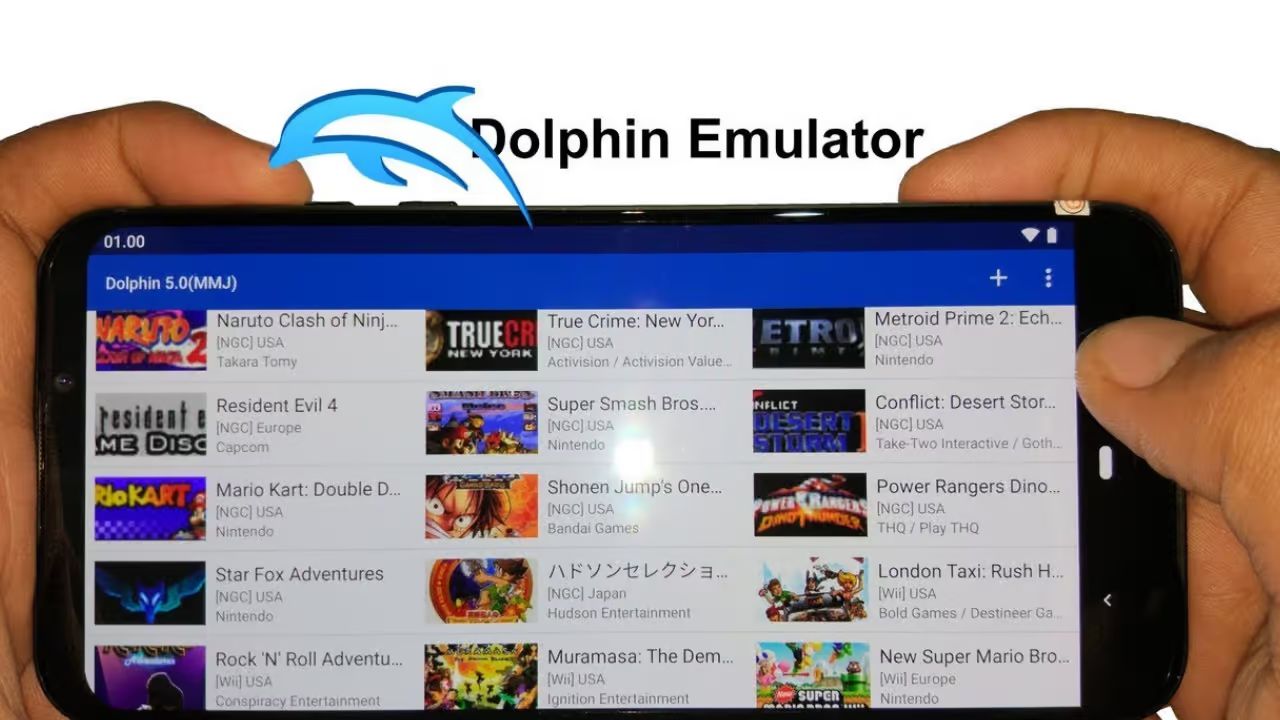
Introduction
Are you eager to relive the nostalgia of classic console games on your computer? Setting up a game controller in Dolphin Emulator can elevate your gaming experience to a whole new level. Dolphin Emulator, a powerful and versatile platform, allows you to play your favorite Nintendo GameCube and Wii games with enhanced graphics and performance. By configuring a game controller in Dolphin Emulator, you can immerse yourself in the captivating worlds of timeless titles, seamlessly transitioning from keyboard and mouse controls to the familiar feel of a gamepad.
In this comprehensive guide, you will embark on a step-by-step journey to seamlessly set up a game controller in Dolphin Emulator. Whether you're a seasoned emulator enthusiast or a newcomer to the world of emulation, this guide will equip you with the knowledge and confidence to seamlessly integrate your preferred game controller with Dolphin Emulator. Get ready to unlock a world of gaming possibilities and rediscover the joy of playing classic titles with the controller of your choice.
Let's dive into the intricacies of configuring a game controller in Dolphin Emulator, ensuring that every button press and joystick movement translates into a seamless gaming experience. Whether you prefer the ergonomic design of modern game controllers or the timeless appeal of classic gamepads, this guide will empower you to harness the full potential of Dolphin Emulator and embark on unforgettable gaming adventures.
Step 1: Download and Install Dolphin Emulator
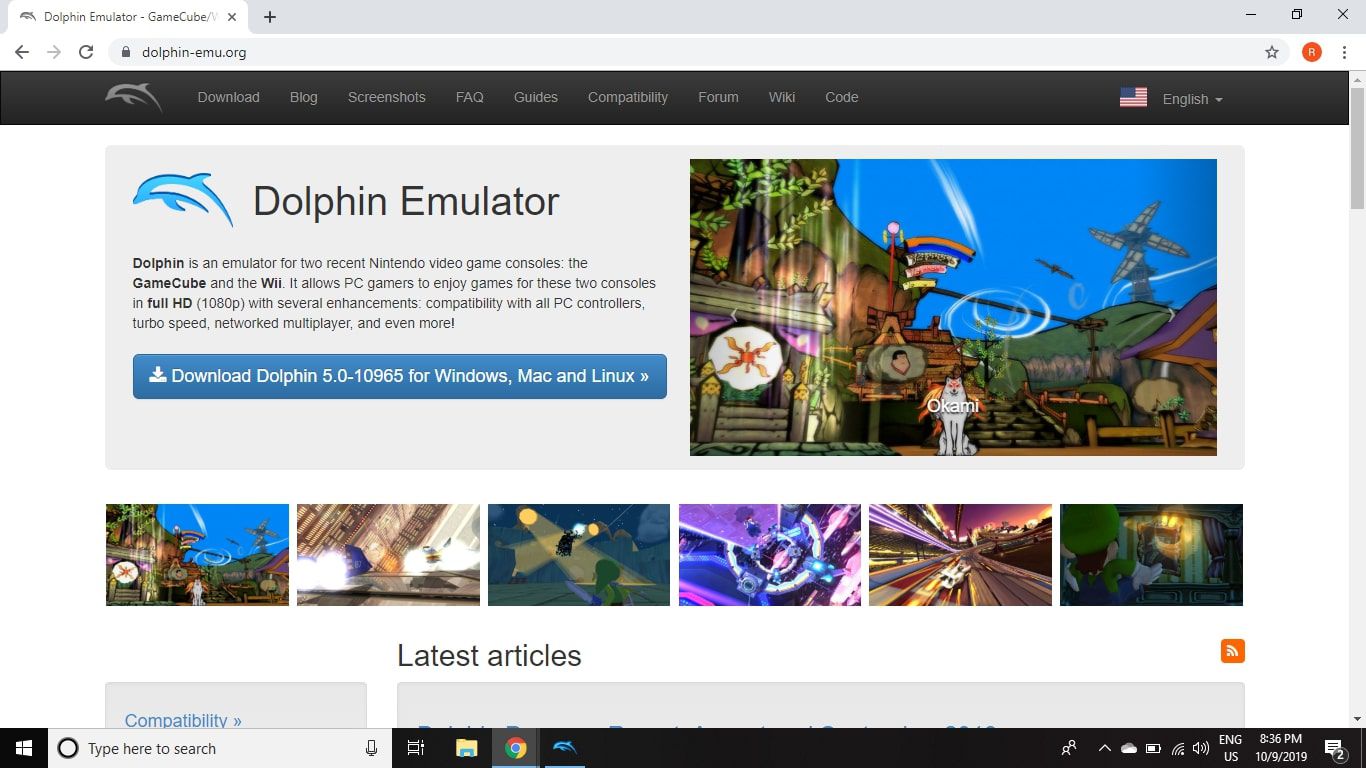
Before delving into the intricacies of setting up a game controller in Dolphin Emulator, it’s essential to acquire and install the emulator itself. Dolphin Emulator is renowned for its compatibility with a wide range of games, offering unparalleled performance and visual enhancements that breathe new life into classic titles. Follow these steps to obtain and install Dolphin Emulator on your computer:
- Visit the Official Dolphin Emulator Website: Navigate to the official Dolphin Emulator website to access the latest version of the software. The website provides a comprehensive overview of the emulator’s features, compatibility, and system requirements.
- Download the Installer: Once on the website, locate the download section and select the appropriate installer for your operating system. Dolphin Emulator is compatible with Windows, macOS, and Linux, ensuring that users across various platforms can partake in the emulation experience.
- Install Dolphin Emulator: After downloading the installer, initiate the installation process by running the executable file. Follow the on-screen prompts to complete the installation, ensuring that Dolphin Emulator is seamlessly integrated into your system.
- Explore Configuration Options: Upon successful installation, take some time to explore the configuration settings within Dolphin Emulator. Familiarize yourself with the various options available, including graphics settings, audio configurations, and controller input settings, as these will be pivotal in optimizing your gaming experience.
By diligently following these steps, you will have successfully downloaded and installed Dolphin Emulator, laying the groundwork for the subsequent configuration of your game controller. With the emulator now at your disposal, you are one step closer to immersing yourself in the captivating worlds of Nintendo GameCube and Wii games, enhanced by the seamless integration of your preferred game controller.
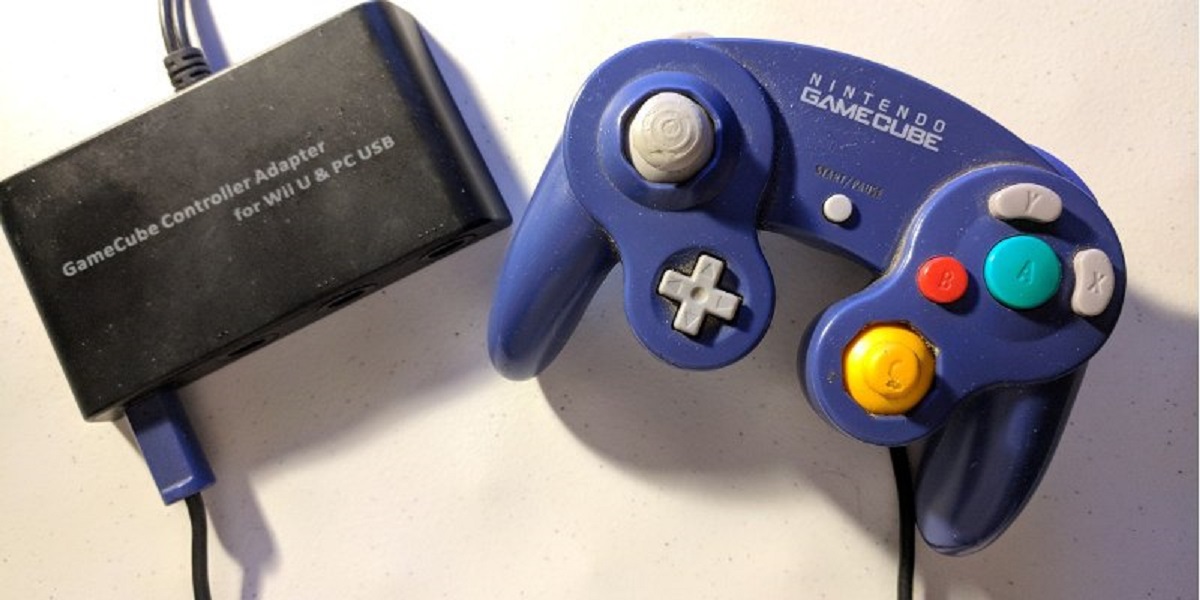
Step 2: Connect the Game Controller to Your Computer
Now that Dolphin Emulator is successfully installed on your computer, the next crucial step is to connect your game controller to the system. Whether you prefer the precision of a wired controller or the convenience of a wireless one, Dolphin Emulator supports a wide array of game controllers, offering flexibility and customization to suit your gaming preferences. Follow these steps to seamlessly connect your game controller to your computer:
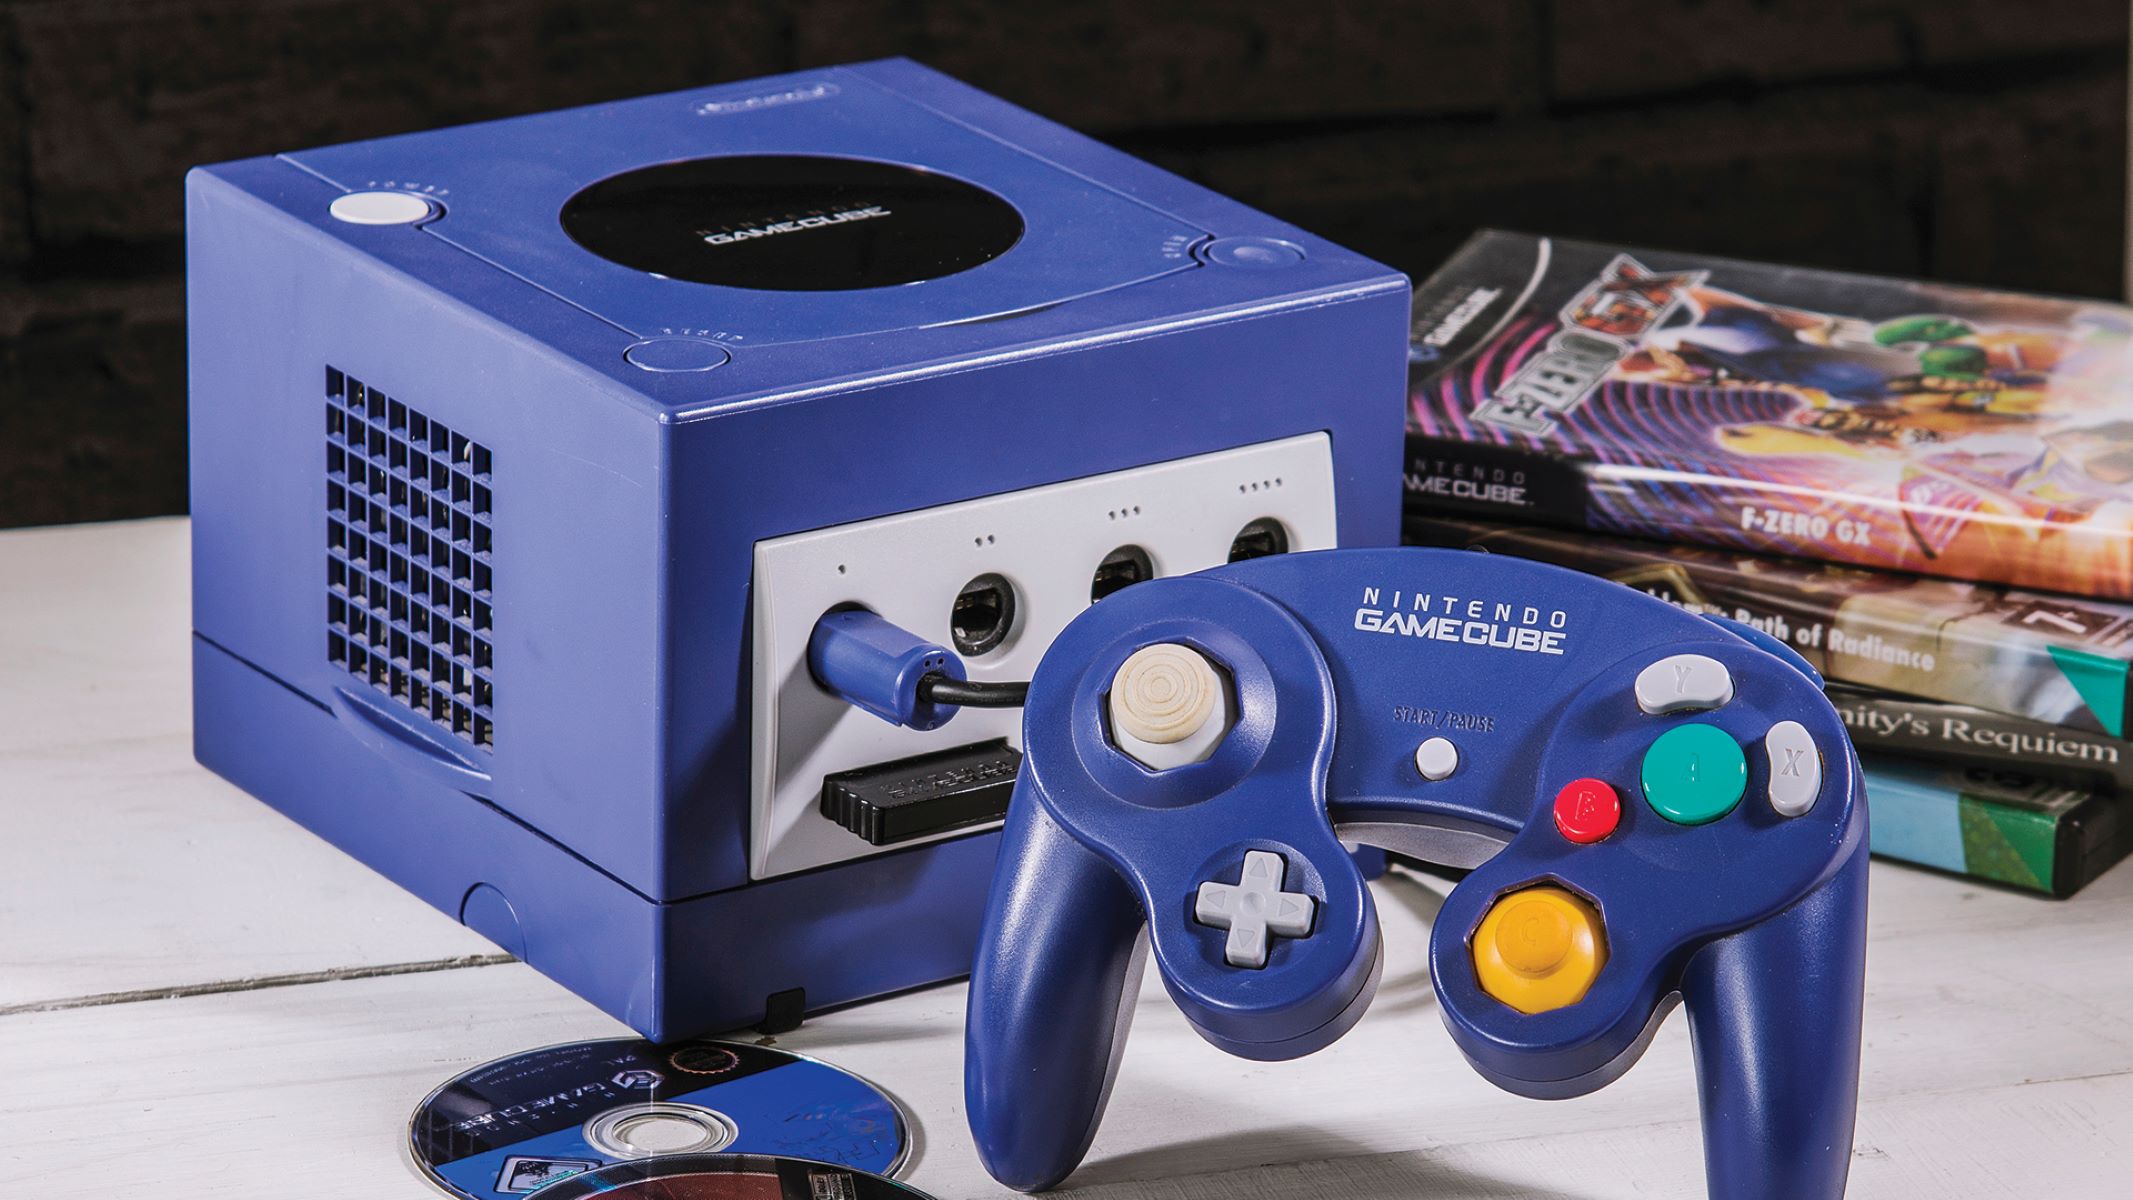
- Wired Controllers: If you’re using a wired game controller, simply connect it to an available USB port on your computer. Most modern controllers are automatically recognized by the operating system, requiring minimal setup before they can be utilized within Dolphin Emulator.
- Wireless Controllers: For wireless controllers, such as those utilizing Bluetooth connectivity, ensure that your computer’s Bluetooth functionality is enabled. Put the controller in pairing mode and use your computer’s Bluetooth settings to establish a connection. Once paired, the controller should be ready for configuration within Dolphin Emulator.
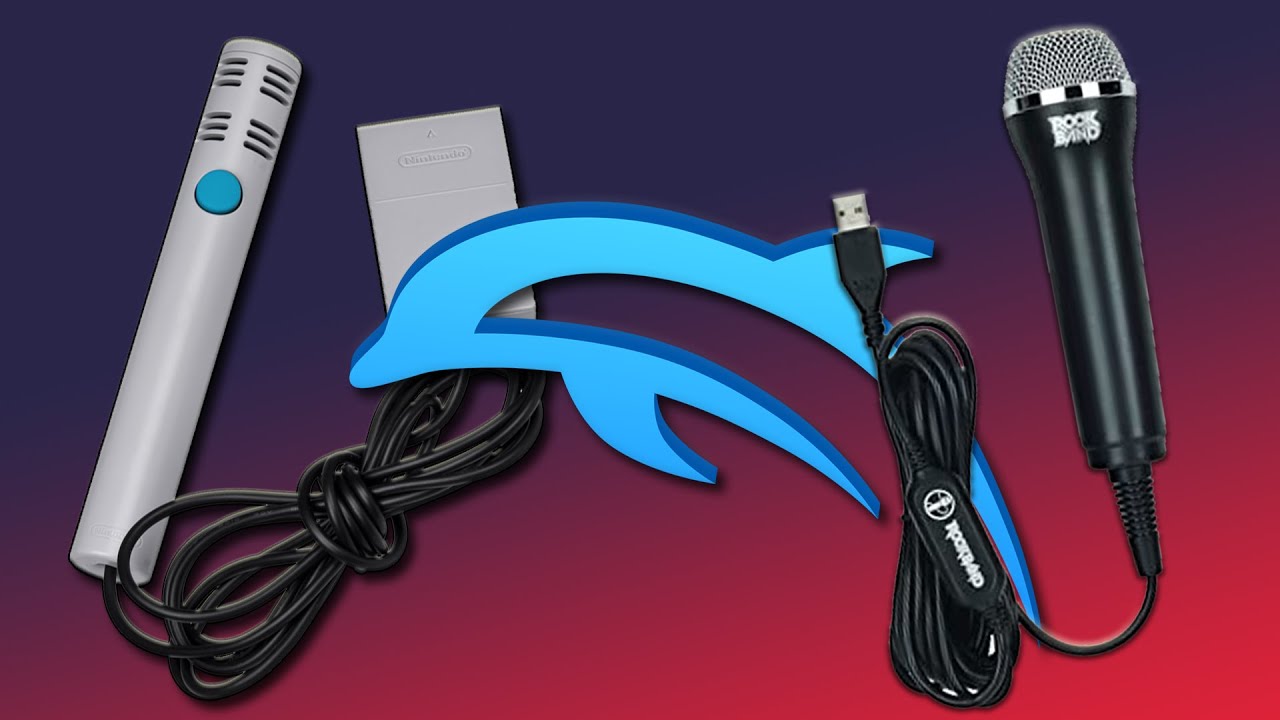
- Specialized Controllers: If you’re using specialized controllers or adapters, consult the manufacturer’s instructions for the appropriate connection and setup procedures. Dolphin Emulator boasts extensive compatibility, allowing you to harness the unique features of various game controllers for an immersive gaming experience.
By successfully connecting your game controller to your computer, you have laid the foundation for integrating it with Dolphin Emulator. The next steps will guide you through the process of configuring the controller within the emulator, ensuring that every button press and analog stick movement translates seamlessly into your gaming experience. With the controller now poised for integration, you’re one step closer to embarking on unforgettable gaming adventures within Dolphin Emulator.
Step 3: Open Dolphin Emulator and Access Controller Settings
With your game controller successfully connected to your computer, it’s time to launch Dolphin Emulator and access the controller settings to initiate the configuration process. Dolphin Emulator provides a user-friendly interface that grants easy access to a myriad of customization options, including controller configurations tailored to your specific preferences. Follow these steps to open Dolphin Emulator and access the controller settings:
- Launch Dolphin Emulator: Locate the Dolphin Emulator application on your computer and launch it. Upon opening the emulator, you’ll be greeted by a welcoming interface that showcases your game library and various configuration options.
- Access the Controller Settings: Navigate to the “Controllers” or “Options” menu within Dolphin Emulator to access the controller settings. This section provides a comprehensive overview of the available input devices and allows you to configure them according to your desired button mappings and sensitivity preferences.
- Select Your Game Controller: Within the controller settings, identify and select your connected game controller from the list of available input devices. Dolphin Emulator supports a wide range of controllers, ensuring that you can seamlessly integrate your preferred device for an optimal gaming experience.
- Customize Controller Inputs: Once your game controller is selected, you can proceed to customize the button mappings and analog stick configurations to align with your gaming preferences. Dolphin Emulator offers intuitive tools that enable you to map controller inputs with precision, allowing you to tailor the controls to suit your individual playstyle.
By navigating through Dolphin Emulator’s controller settings, you have gained access to a wealth of customization options that empower you to tailor the game controller to your exact specifications. The next steps will guide you through the process of configuring the controller inputs, ensuring that every button and joystick movement aligns with your gaming instincts. With the controller settings now within reach, you’re poised to unleash the full potential of your game controller within Dolphin Emulator.
Step 4: Configure the Game Controller in Dolphin Emulator
Now that you’ve accessed the controller settings within Dolphin Emulator, it’s time to embark on the process of configuring the game controller to align with your gaming preferences. Dolphin Emulator offers a comprehensive array of customization options, allowing you to fine-tune the controller inputs to mirror the responsiveness and precision of the original console experience. Follow these steps to seamlessly configure the game controller in Dolphin Emulator:
- Button Mapping: Begin by mapping the controller’s buttons to correspond with the functions in your desired game. Dolphin Emulator provides an intuitive interface that enables you to assign specific actions to each button, ensuring that your controller’s layout aligns seamlessly with the game’s input requirements.
- Analog Stick Configuration: Customize the sensitivity and dead zones of the analog sticks to achieve optimal responsiveness and precision. Dolphin Emulator allows you to calibrate the analog sticks, ensuring that subtle movements are accurately translated into the game, enhancing your overall control and dexterity.
- Trigger and Shoulder Button Settings: Fine-tune the trigger and shoulder buttons to suit your playstyle, adjusting the pressure sensitivity and response timings to deliver a tailored gaming experience. Whether executing precise maneuvers or executing rapid-fire actions, Dolphin Emulator empowers you to optimize these crucial inputs to your liking.
- Save and Test Configuration: Once you’ve configured the game controller to your satisfaction, save the settings within Dolphin Emulator. Proceed to test the controller within the emulator, ensuring that every button press and analog stick movement seamlessly translates into the game, offering a responsive and immersive gaming experience.
By meticulously configuring the game controller within Dolphin Emulator, you’ve unlocked a realm of customization options that cater to your individual gaming preferences. The next step will guide you through testing the controller within Dolphin Emulator, allowing you to validate the seamless integration of your preferred gamepad with the emulator. With the controller now finely tuned to your specifications, you’re poised to embark on captivating gaming adventures with unparalleled precision and responsiveness.
Step 5: Test the Game Controller in Dolphin Emulator
Having meticulously configured the game controller within Dolphin Emulator, it’s time to put your custom settings to the test and ensure that the controller seamlessly integrates with the emulator, delivering a responsive and immersive gaming experience. Testing the game controller within Dolphin Emulator allows you to validate the effectiveness of your configurations and make any necessary adjustments to guarantee optimal performance. Follow these steps to thoroughly test the game controller in Dolphin Emulator:
- Launch a Game: Select a game from your library within Dolphin Emulator and launch it to initiate the testing phase. Whether it’s a beloved Nintendo GameCube classic or a captivating Wii title, the game will serve as the canvas upon which you can evaluate the responsiveness and accuracy of your configured game controller.
- Execute Various Actions: Within the game, perform a diverse range of actions that correspond to the controller inputs, such as jumping, attacking, or navigating menus. Pay close attention to how the controller translates your movements and button presses into the game, ensuring that the actions are executed accurately and in accordance with your configured settings.
- Assess Analog Stick Precision: Evaluate the precision and responsiveness of the analog sticks as you maneuver through the game world. Test the sensitivity and dead zones of the analog sticks to ensure that subtle movements are accurately captured, allowing for precise control and seamless navigation.
- Validate Button Mapping: Verify that the button mappings align with your gaming instincts, allowing for intuitive and seamless gameplay. Ensure that each button performs its designated function without any inconsistencies or delays, validating the effectiveness of your configured settings.
- Refine Configuration (If Necessary): If you encounter any discrepancies or areas for improvement during the testing phase, return to the controller settings within Dolphin Emulator to refine and fine-tune the configurations. Iteratively test the controller to ensure that each adjustment enhances the overall gaming experience.
By rigorously testing the game controller within Dolphin Emulator, you can ascertain the effectiveness of your configurations and refine them to achieve optimal performance. The testing phase serves as a pivotal opportunity to validate the seamless integration of your preferred game controller with Dolphin Emulator, ensuring that every button press and analog stick movement aligns with your gaming instincts. With the controller now validated and refined, you’re ready to embark on unforgettable gaming adventures, leveraging the full potential of Dolphin Emulator and your meticulously configured game controller.