Introduction
Welcome to our guide on how to connect a USB microphone to Dolphin. Dolphin is a popular and versatile open-source emulator for Nintendo GameCube and Wii games, allowing users to enjoy their favorite titles on their PC. Whether you’re a streamer, content creator, or simply want to enhance your gaming experience with high-quality audio, using a USB microphone with Dolphin can greatly improve your gameplay and communication.
USB microphones have become increasingly popular due to their convenience and ease of use. They offer a plug-and-play experience, meaning you can simply connect them to your computer’s USB port and start using them without the need for additional adapters or complicated setups. This makes USB microphones a perfect choice for Dolphin users, as they allow for seamless integration and high-quality audio recording.
In this guide, we will walk you through the steps to connect and set up a USB microphone with Dolphin. Whether you’re planning to record gameplay commentary, participate in online multiplayer, or simply communicate with other players, having a USB microphone connected to Dolphin will greatly enhance your gaming experience.
Before we dive into the steps, it’s important to note that Dolphin is compatible with a wide range of USB microphones. However, to ensure a smooth setup process, it’s recommended to check the compatibility of your microphone with Dolphin before proceeding. This will help avoid any potential compatibility issues and ensure that your microphone performs optimally when connected to Dolphin.
Now, without further ado, let’s get started with connecting your USB microphone to Dolphin and start enjoying crystal clear audio while gaming!
What is Dolphin?
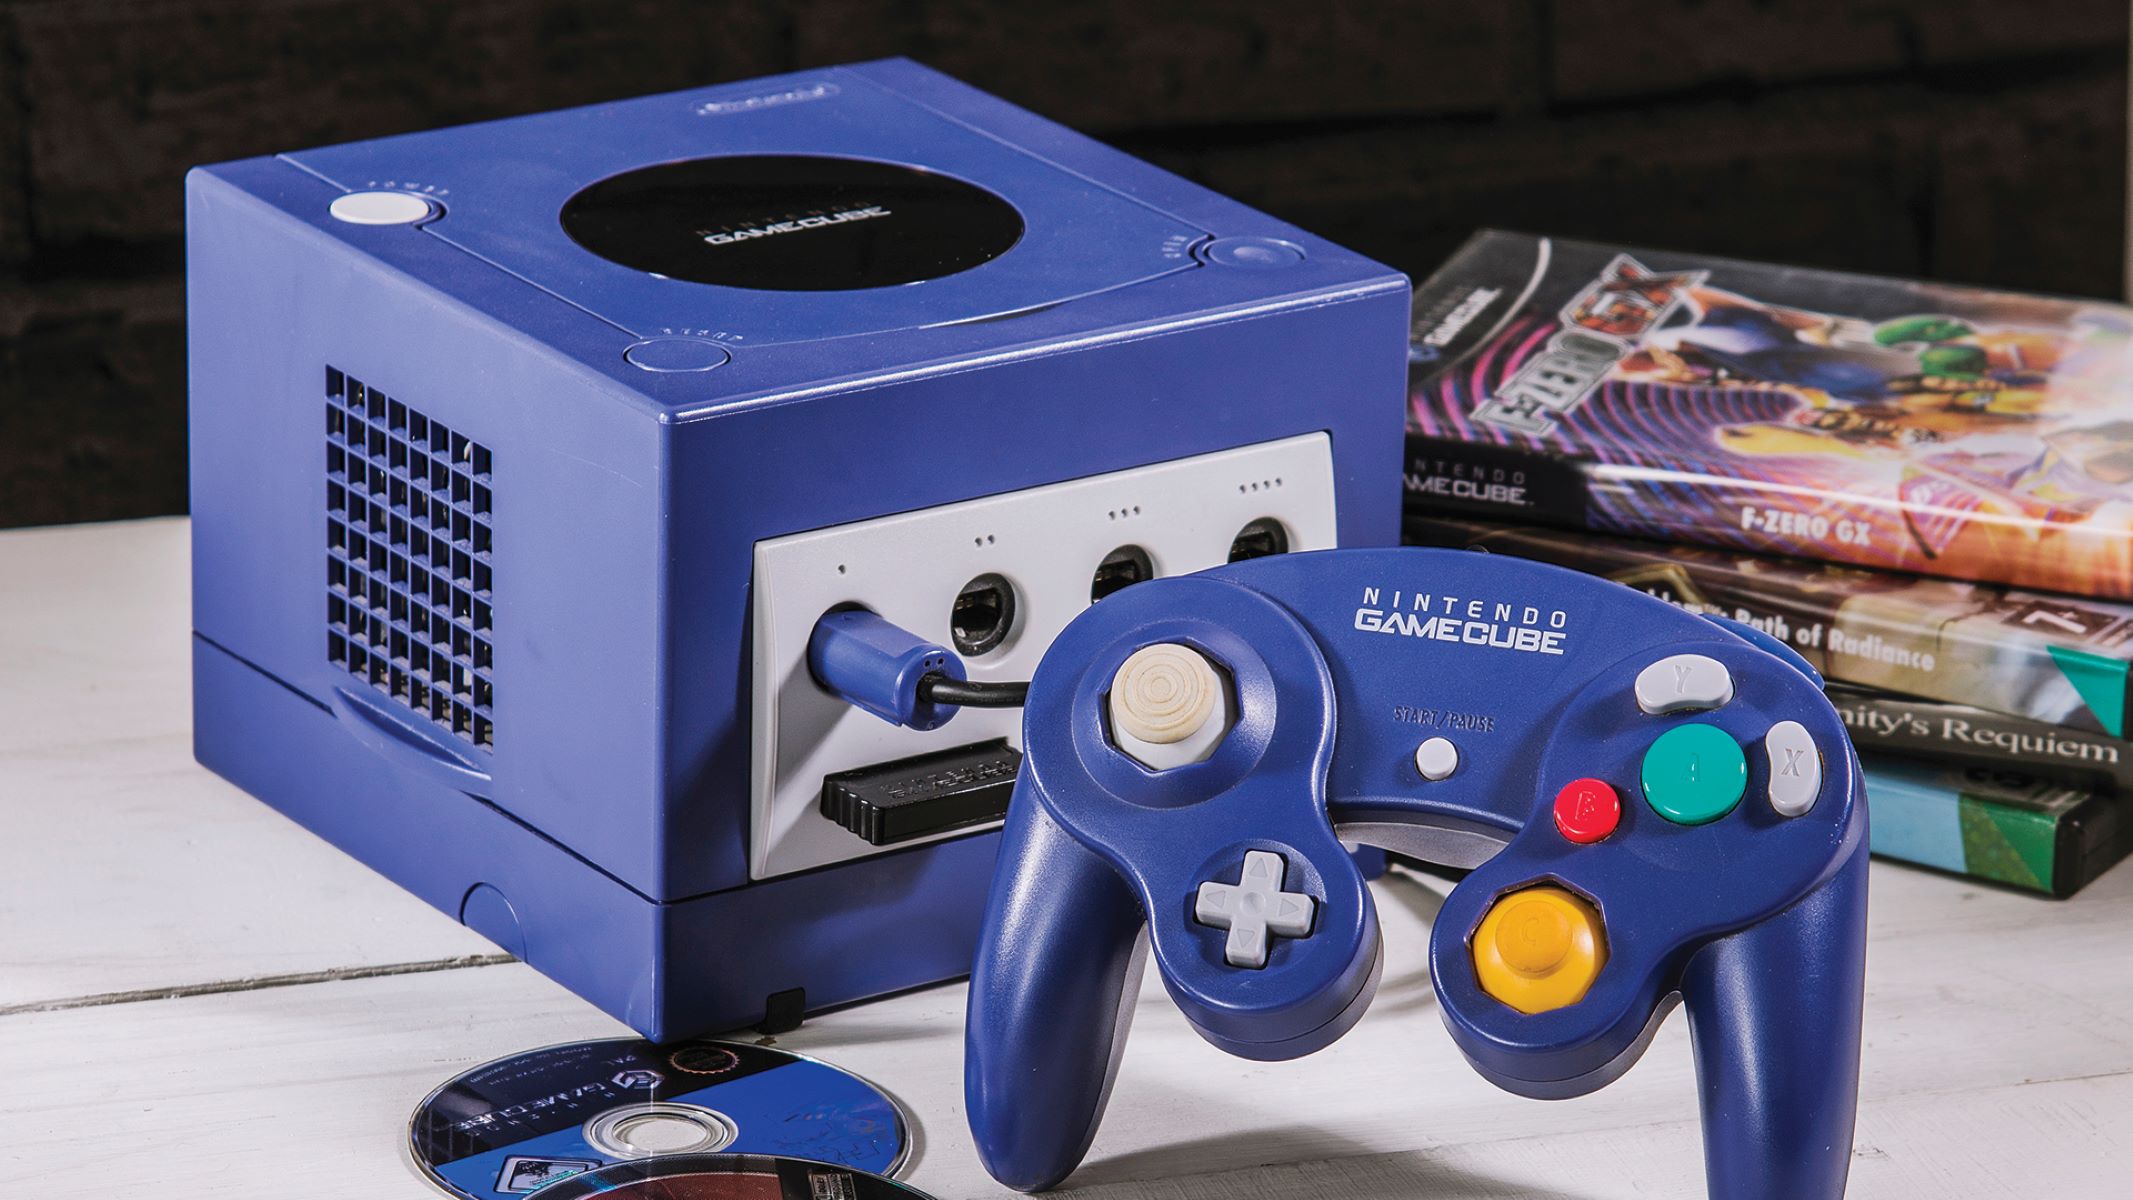
Dolphin is an open-source emulator for Nintendo GameCube and Wii games. It allows you to play your favorite console games on your computer with enhanced graphics, improved performance, and additional features. Whether you want to revisit classic titles from the GameCube era or experience Wii games on a higher resolution, Dolphin provides a convenient and powerful solution.
Developed by a team of dedicated programmers, Dolphin has evolved into one of the most popular and reliable GameCube and Wii emulators available. It supports a wide range of games and offers advanced features like save states, graphical enhancements, and multiplayer support, making it a versatile emulator for gamers of all levels.
One of the standout features of Dolphin is its ability to upscale and enhance graphics. By leveraging the power of modern computer hardware, Dolphin can improve the visual quality of GameCube and Wii games beyond what was possible on the original consoles. This means you can experience your favorite games in stunning high-definition resolutions with improved textures, anti-aliasing, and other graphical enhancements.
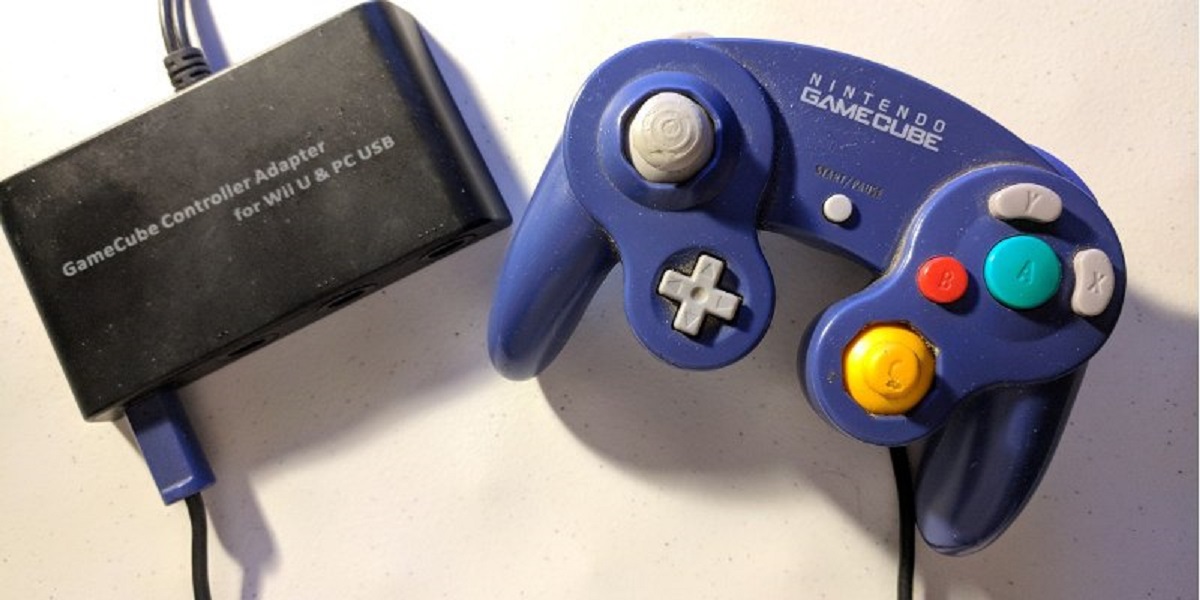
Furthermore, Dolphin also allows you to use game controllers to play your favorite games just as you would on a console. You can connect gamepads, such as Nintendo GameCube controllers or Xbox controllers, to your computer and configure them to work seamlessly with Dolphin. This provides a familiar and intuitive gaming experience for console enthusiasts.
Additionally, Dolphin supports a wide range of customization options and settings, allowing you to tailor the emulator to your preferences. You can tweak various parameters such as audio settings, performance options, and controller configurations to optimize the gameplay experience according to your hardware and personal preferences.
Overall, Dolphin offers a comprehensive and user-friendly solution for playing Nintendo GameCube and Wii games on your computer. Whether you want to relive your childhood memories or explore the vast library of games you may have missed, Dolphin provides a seamless and immersive gaming experience that can surpass the capabilities of the original consoles.
Why use a USB microphone with Dolphin?
Using a USB microphone with Dolphin offers several advantages that can greatly enhance your gaming experience and communication while playing GameCube and Wii games. Here are a few reasons why you should consider connecting a USB microphone to Dolphin:
- High-quality audio: By using a USB microphone, you can enjoy clear and professional-grade audio while playing games on Dolphin. USB microphones are designed to capture audio with high fidelity, allowing you to communicate effectively with teammates, record gameplay commentary, or add immersive narration to your recordings.
- Convenience and ease of use: USB microphones are known for their plug-and-play functionality. Simply connect the USB microphone to your computer’s USB port, and Dolphin will recognize it as an audio input device. This eliminates the need for additional adapters or complex setup processes, making it a hassle-free option for users of all skill levels.
- Flexibility and versatility: USB microphones offer a wide range of features and options, allowing you to customize your audio setup according to your needs. Many USB microphones come with adjustable stands or mounting options, enabling you to position the microphone at the optimal distance for capturing your voice. Additionally, some USB microphones offer built-in headphone jacks, allowing you to monitor your audio in real-time without any latency.
- Compatibility: USB microphones are inherently compatible with most modern computers, including those running Dolphin. Whether you’re using a Windows PC, macOS, or Linux, you can rest assured that your USB microphone will seamlessly integrate with Dolphin and provide reliable audio input without compatibility issues.
- Improved communication: If you’re playing online multiplayer games or participating in voice chat while gaming, having a USB microphone connected to Dolphin will greatly enhance your ability to communicate with other players. Clear and crisp audio ensures that your voice is heard loud and clear, allowing for effective teamwork, coordination, and overall better multiplayer experiences.
Overall, using a USB microphone with Dolphin can transform your gaming experience by providing high-quality audio, convenience, flexibility, and improved communication. Whether you’re a streamer, content creator, or simply want to enhance your gaming sessions, connecting a USB microphone to Dolphin is a worthwhile investment that can take your gameplay and communication to the next level.
Step 1: Check compatibility
Before connecting your USB microphone to Dolphin, it’s important to ensure that your microphone is compatible with the emulator. While Dolphin supports a wide range of USB microphones, there may be some compatibility limitations or specific requirements that you need to consider. Here’s how you can check the compatibility of your USB microphone:
- Research: Start by researching the specific model of your USB microphone. Visit the manufacturer’s website or refer to the product documentation to determine if it is compatible with the operating system you’re using and if there are any known compatibility issues with Dolphin. Check for any recommended drivers or software updates that may be required for proper functionality.
- Online forums and communities: Another valuable resource is online forums and communities dedicated to Dolphin and USB microphone compatibility. These platforms allow users to share their experiences and provide valuable insights into which USB microphones work well with Dolphin. You can ask questions, read reviews, and gather information from other users who have already tested various USB microphone models with Dolphin.
- Official Dolphin documentation: The official Dolphin website may provide information on USB microphone compatibility or recommendations. Check the documentation or search the website for any specific guidelines or recommendations for USB microphones.
- Consult with experts: If you’re still unsure about the compatibility of your USB microphone with Dolphin, you can seek advice from experts who are knowledgeable about the emulator and USB microphone capabilities. Reach out to gaming communities, tech experts, or audio professionals who can provide guidance and recommendations based on their expertise.
- Test the microphone: If you have access to the USB microphone, you can directly test its compatibility with Dolphin by connecting it to your computer and launching Dolphin. In Dolphin’s audio settings, check if the USB microphone is recognized as an available input device. You can also try recording audio and testing the microphone’s performance to ensure it meets your expectations.
By following these steps and doing the necessary research, you can ensure that your USB microphone is compatible with Dolphin and will work seamlessly with the emulator. Checking compatibility beforehand will help you avoid any potential issues or frustrations that may arise during the setup process.
Step 2: Plug in the USB microphone
After ensuring the compatibility of your USB microphone with Dolphin, the next step is to physically connect the microphone to your computer’s USB port. Follow these simple steps to plug in the USB microphone:
- Locate an available USB port: Identify an available USB port on your computer. Most computers have multiple USB ports located on the front, back, or sides of the device. Ensure that you have a free USB port to connect your microphone.
- Prepare the USB cable: Take the USB cable that came with your microphone and unwrap any packaging or ties. Straighten the cable to avoid any tangles or kinks.
- Connect the USB cable: Insert one end of the USB cable into the USB port on your computer. It should fit snugly, but be gentle when inserting to avoid any damage to the port or cable.
- Connect the microphone: With the other end of the USB cable, connect it to the USB port on your USB microphone. The port on the microphone is usually located at the bottom or side, clearly marked as the audio input. Ensure a secure connection to prevent any interruptions or disconnections during use.
- Wait for recognition: Once the USB microphone is connected to your computer, your operating system should recognize it as a new audio device. It may take a few moments for the drivers to install or for the computer to detect the microphone. Be patient and allow the system to complete the recognition process.
That’s it! You have successfully plugged in your USB microphone to your computer’s USB port. The next step is to configure Dolphin to recognize and utilize the microphone as an audio input device. We will cover this in the next step.
Step 3: Enable microphone access in Dolphin
After plugging in your USB microphone, the next step is to enable microphone access in Dolphin so that it can recognize and use your microphone for audio input. Follow these steps to enable microphone access:
- Launch Dolphin: Open the Dolphin emulator on your computer by double-clicking on the application icon. Ensure that your desired GameCube or Wii game is selected and ready to be launched.
- Open Dolphin’s settings: In the Dolphin window, click on “Options” in the menu bar at the top of the screen. From the dropdown menu, select “Configure…” to access Dolphin’s settings.
- Navigate to the “Audio” settings: In the Dolphin configuration window, click on the “Audio” tab. This will display the audio settings that control the input and output devices in Dolphin.
- Select the correct audio backend: In the “Audio Backend” section, choose the audio backend that corresponds to the operating system you are using. For Windows, select “XAudio2”. For macOS, choose “CoreAudio”. For Linux, select “PulseAudio” or “ALSA”. This selection ensures that Dolphin uses the appropriate audio drivers and settings for your system.
- Enable “Enable Microphone” option: In the “Audio Interface” section of the settings, check the box next to “Enable Microphone” or a similar option. This option allows Dolphin to access and use your USB microphone as an audio input device.
- Adjust microphone volume: If necessary, you can also adjust the microphone volume settings within Dolphin. Look for options like “Microphone Volume” or “Input Volume” and adjust them to your preference.
- Save and apply settings: Once you have made the necessary adjustments, click on the “Save” or “Apply” button to save your changes and apply the microphone access to Dolphin. This ensures that your USB microphone is now recognized by Dolphin as an audio input device.
With microphone access enabled in Dolphin, you are now ready to use your USB microphone for voice communication, gameplay commentary, or any other audio recordings within the emulator. Make sure to test your microphone to ensure it is working properly by proceeding to the next step.
Step 4: Test the microphone
Once you have enabled microphone access in Dolphin, the next step is to test your USB microphone to ensure that it is functioning properly within the emulator. Follow these steps to test the microphone:
- Launch Dolphin: Open the Dolphin emulator on your computer and choose the desired GameCube or Wii game that you want to play or test.
- Access the game’s options or settings: Within the game, navigate to the options or settings menu. Look for any audio or voice settings that allow you to enable or adjust microphone input.
- Enable microphone: In the game’s audio or voice settings, ensure that microphone input is enabled. This allows the game to receive audio input from your USB microphone. Consult the game’s documentation or online resources if you’re unsure where to find this option.
- Test microphone input in-game: Once you have enabled microphone input, look for an option to test the microphone within the game. This may be a dedicated “Test Microphone” button or an option to record a short audio clip.
- Speak into the microphone: When prompted or during the microphone test, speak into your USB microphone to generate audio. Monitor the audio input levels in the game to ensure that the microphone is picking up your voice properly.
- Listen to playback: After the microphone test, listen to the recorded audio playback. Check if the audio is clear and sounds as expected. If necessary, adjust the microphone volume within the game settings to achieve the desired audio levels.
By following these steps, you can test your USB microphone within Dolphin and ensure that it is functioning properly for voice communication or any audio recordings. If the microphone is not working as expected, double-check the settings in Dolphin, the game, and your computer’s audio settings. Troubleshooting common microphone issues is covered in the next section.
Troubleshooting common issues
While setting up a USB microphone with Dolphin, you may encounter some common issues that can affect the microphone’s functionality. Here are a few troubleshooting steps you can take to resolve these issues:
- Check physical connections: Ensure that the USB cable is securely connected to both the microphone and your computer’s USB port. Detach and reattach the cable if necessary.
- Verify microphone access in Dolphin: Double-check the settings in Dolphin to make sure that microphone access is enabled. Follow the steps outlined in the earlier section to ensure that you have properly enabled microphone input.
- Verify microphone access in your operating system: Confirm that your operating system has recognized the USB microphone as an audio input device. Check the sound settings on your computer to ensure the microphone is selected as the default input device.
- Update drivers and software: Ensure that you have the latest drivers and software updates for both your USB microphone and Dolphin. Check the manufacturer’s website or official sources for any available updates.
- Adjust microphone volume: If the microphone audio is too low or too loud, adjust the microphone volume settings both in Dolphin and in your operating system’s sound settings. Experiment with different volume levels until you achieve the desired audio input levels.
- Test microphone on another device: If possible, test the USB microphone on another computer or device to determine if the problem lies with the microphone itself or with your computer’s configuration.
- Consider using a different USB port: Sometimes, certain USB ports on your computer may have compatibility issues. Try connecting the USB microphone to a different USB port on your computer to see if it resolves any connectivity or recognition problems.
- Consult support resources: If you have tried the above troubleshooting steps and still experience issues with your USB microphone in Dolphin, consult the manufacturer’s support resources or seek guidance from online forums and communities dedicated to Dolphin or USB microphone usage. Other users may have encountered similar problems and found solutions that can help resolve your specific issue.
By following these troubleshooting steps and seeking assistance when needed, you can resolve common issues that may arise while setting up and using a USB microphone with Dolphin. Once the issues are resolved, you can enjoy clear and high-quality audio input during your gaming sessions or recordings.
Conclusion
Congratulations! You have successfully learned how to connect a USB microphone to Dolphin and enhance your gaming experience with high-quality audio. By following the steps outlined in this guide, you can now enjoy crystal clear voice communication, record gameplay commentary, or add immersive audio to your recordings.
Throughout the process, we covered important steps such as checking compatibility, plugging in the USB microphone, enabling microphone access in Dolphin, testing the microphone, and troubleshooting common issues that may arise. With these guidelines, you can navigate the setup process with ease and ensure that your USB microphone performs optimally within Dolphin.
Remember to research and confirm the compatibility of your USB microphone with Dolphin before proceeding with the setup. This will help avoid any potential issues or complications that may arise due to compatibility limitations. Additionally, keep your drivers and software up to date to ensure compatibility and optimal performance.
If you encounter any difficulties during the setup or experience issues with your USB microphone, consult the manufacturer’s support resources, online communities, or seek assistance from experts. These resources can provide valuable insights, troubleshooting tips, and user experiences to help you overcome any hurdles that may arise.
Now that you have your USB microphone connected and configured with Dolphin, you can fully immerse yourself in your favorite GameCube and Wii games while enjoying high-quality audio and seamless communication. Take advantage of the versatility and convenience of USB microphones to enhance your gaming experience and create engaging content.
Remember to have fun, explore new possibilities, and continuously adapt your settings and configurations to suit your preferences and needs. With the right setup and equipment, Dolphin and your USB microphone can transform your gaming sessions into memorable and immersive experiences.