Introduction
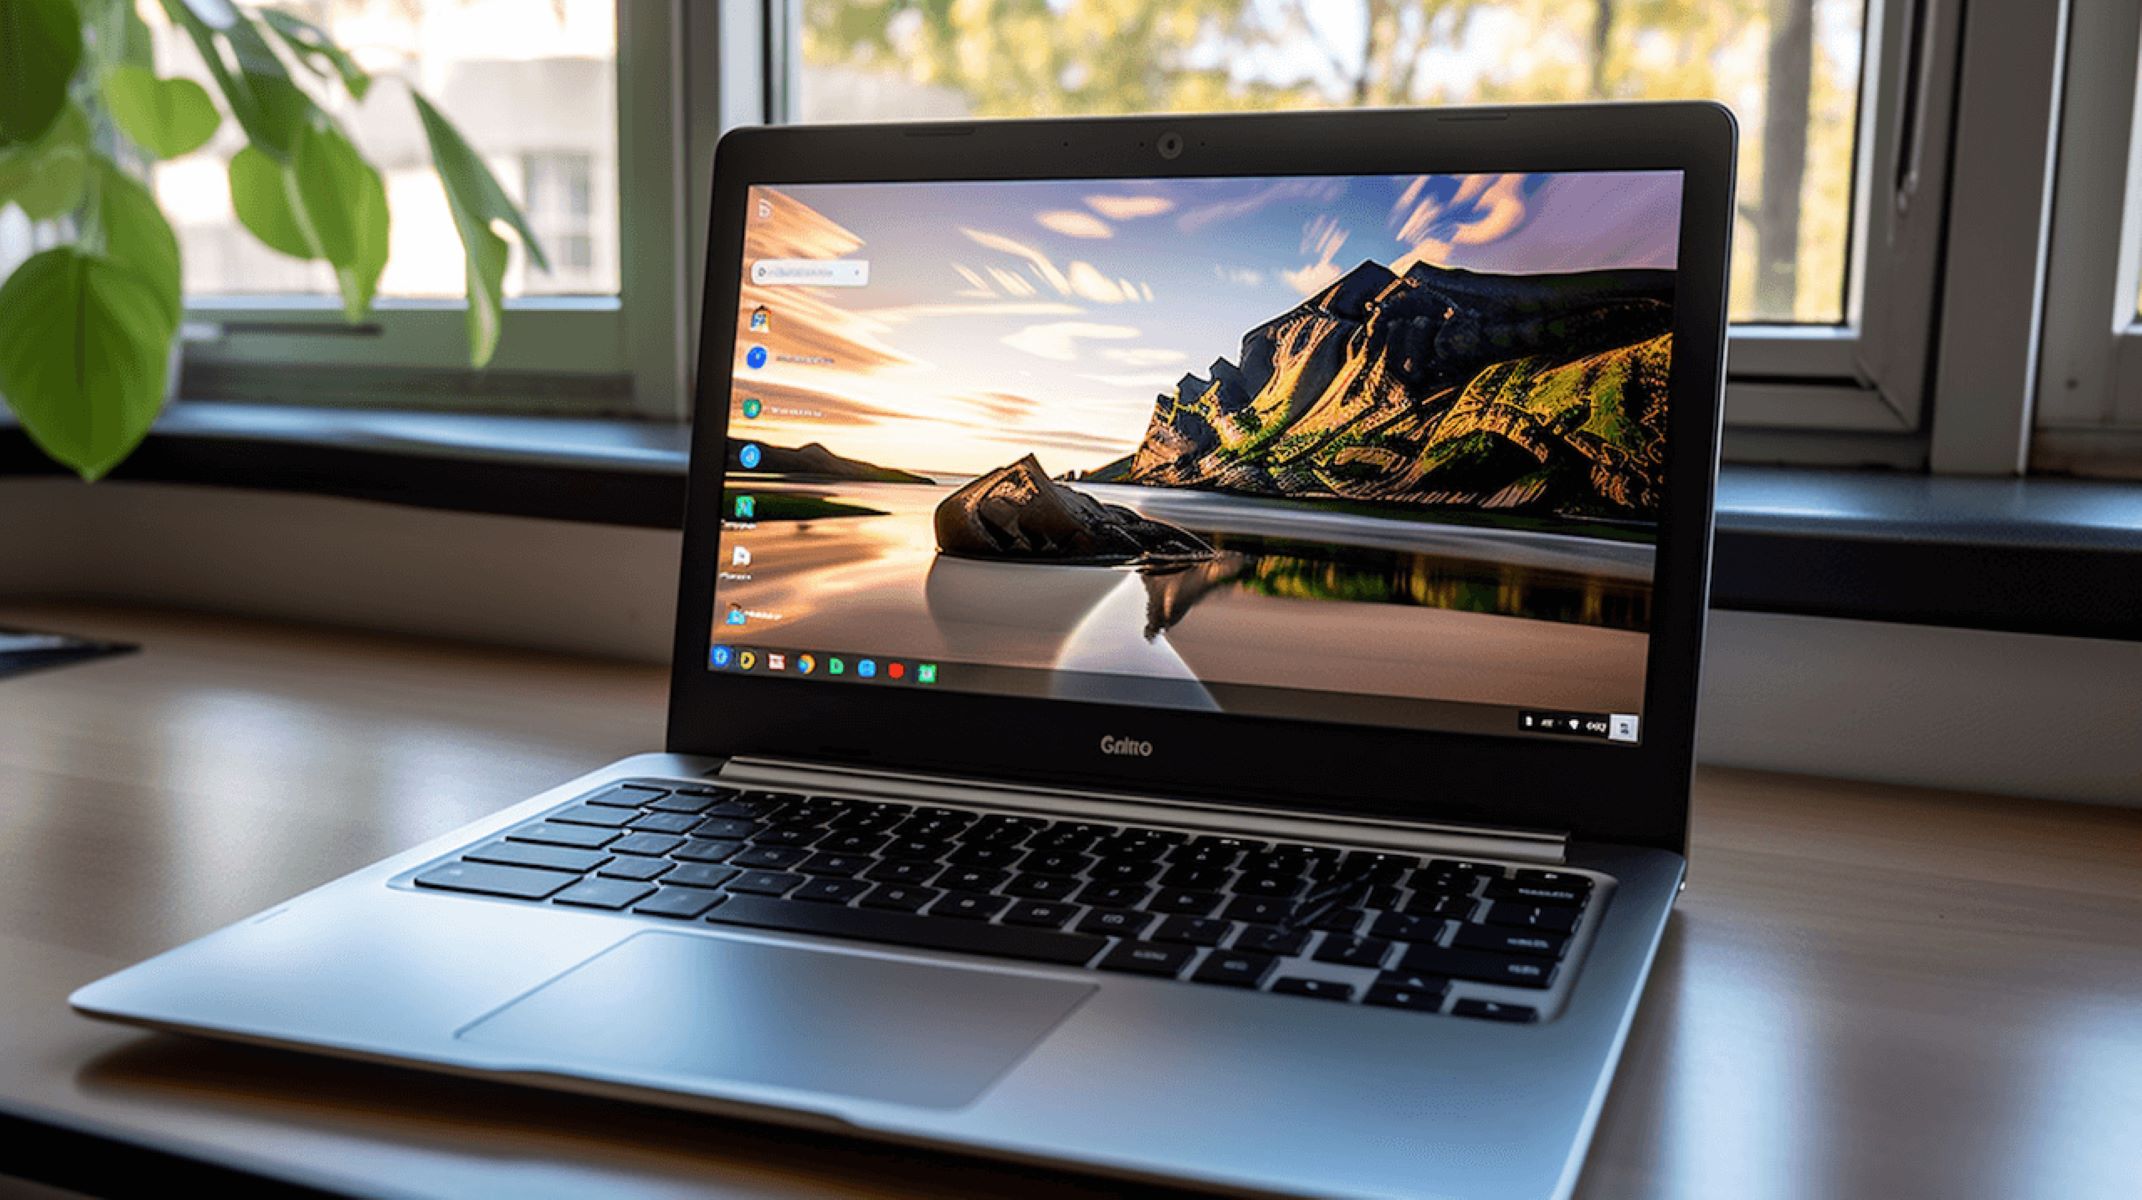
Welcome to the world of Chromebooks, the lightweight yet powerful devices designed for productivity and convenience. One of the most common tasks users perform on Chromebooks is audio-related activities, such as conducting online meetings, recording podcasts, or simply enjoying music and videos.
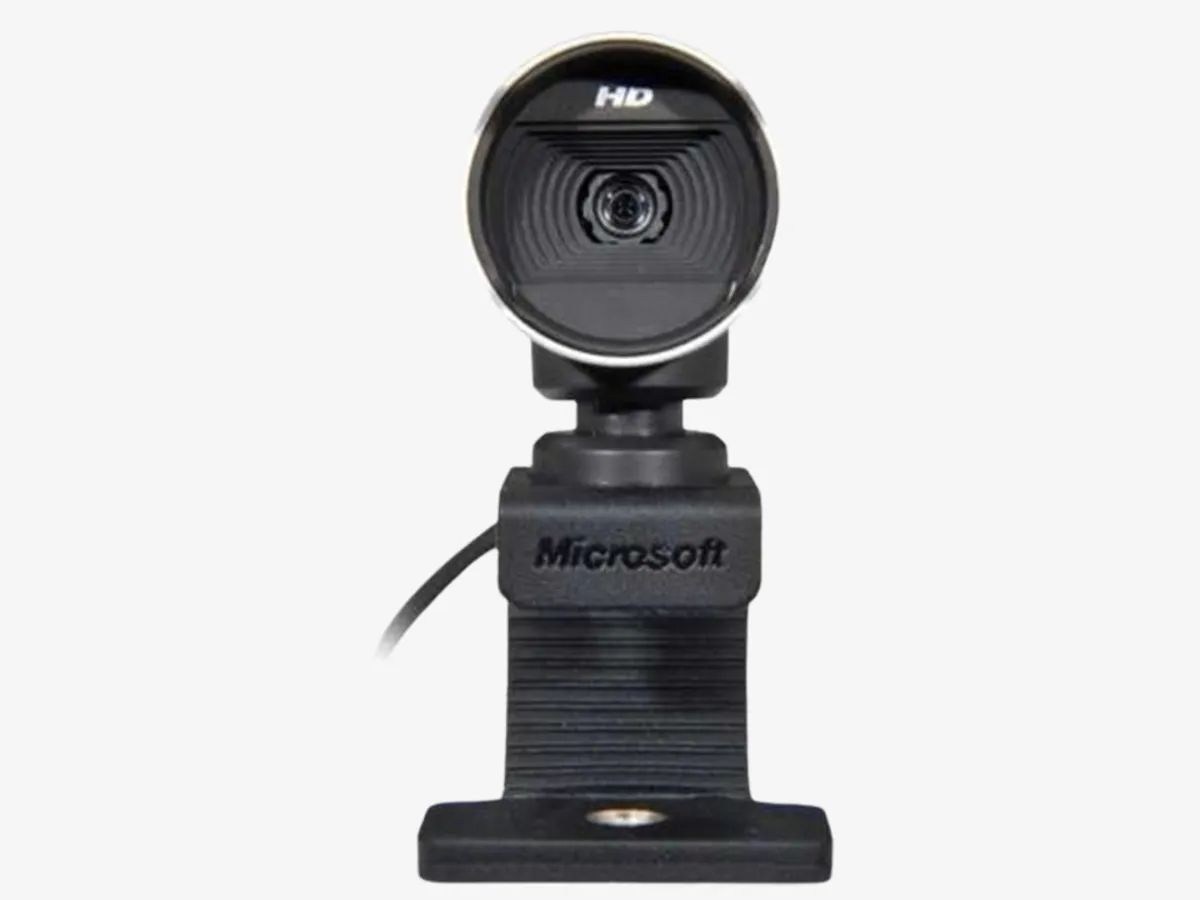
While Chromebooks come with built-in microphones, their quality might not always meet your requirements for professional audio recording or clear voice input. That’s where USB microphones come in. USB microphones offer superior sound quality and are easy to connect and use with your Chromebook.
In this guide, we will walk you through the steps of using a USB microphone on your Chromebook. Whether you’re a content creator, a remote worker, or just a casual user looking for better audio quality, this guide will help you make the most of your USB microphone on your Chromebook.
Before we dive into the technical details, let’s take a moment to understand what USB microphones are and how they differ from built-in microphones.
Understanding USB Microphones
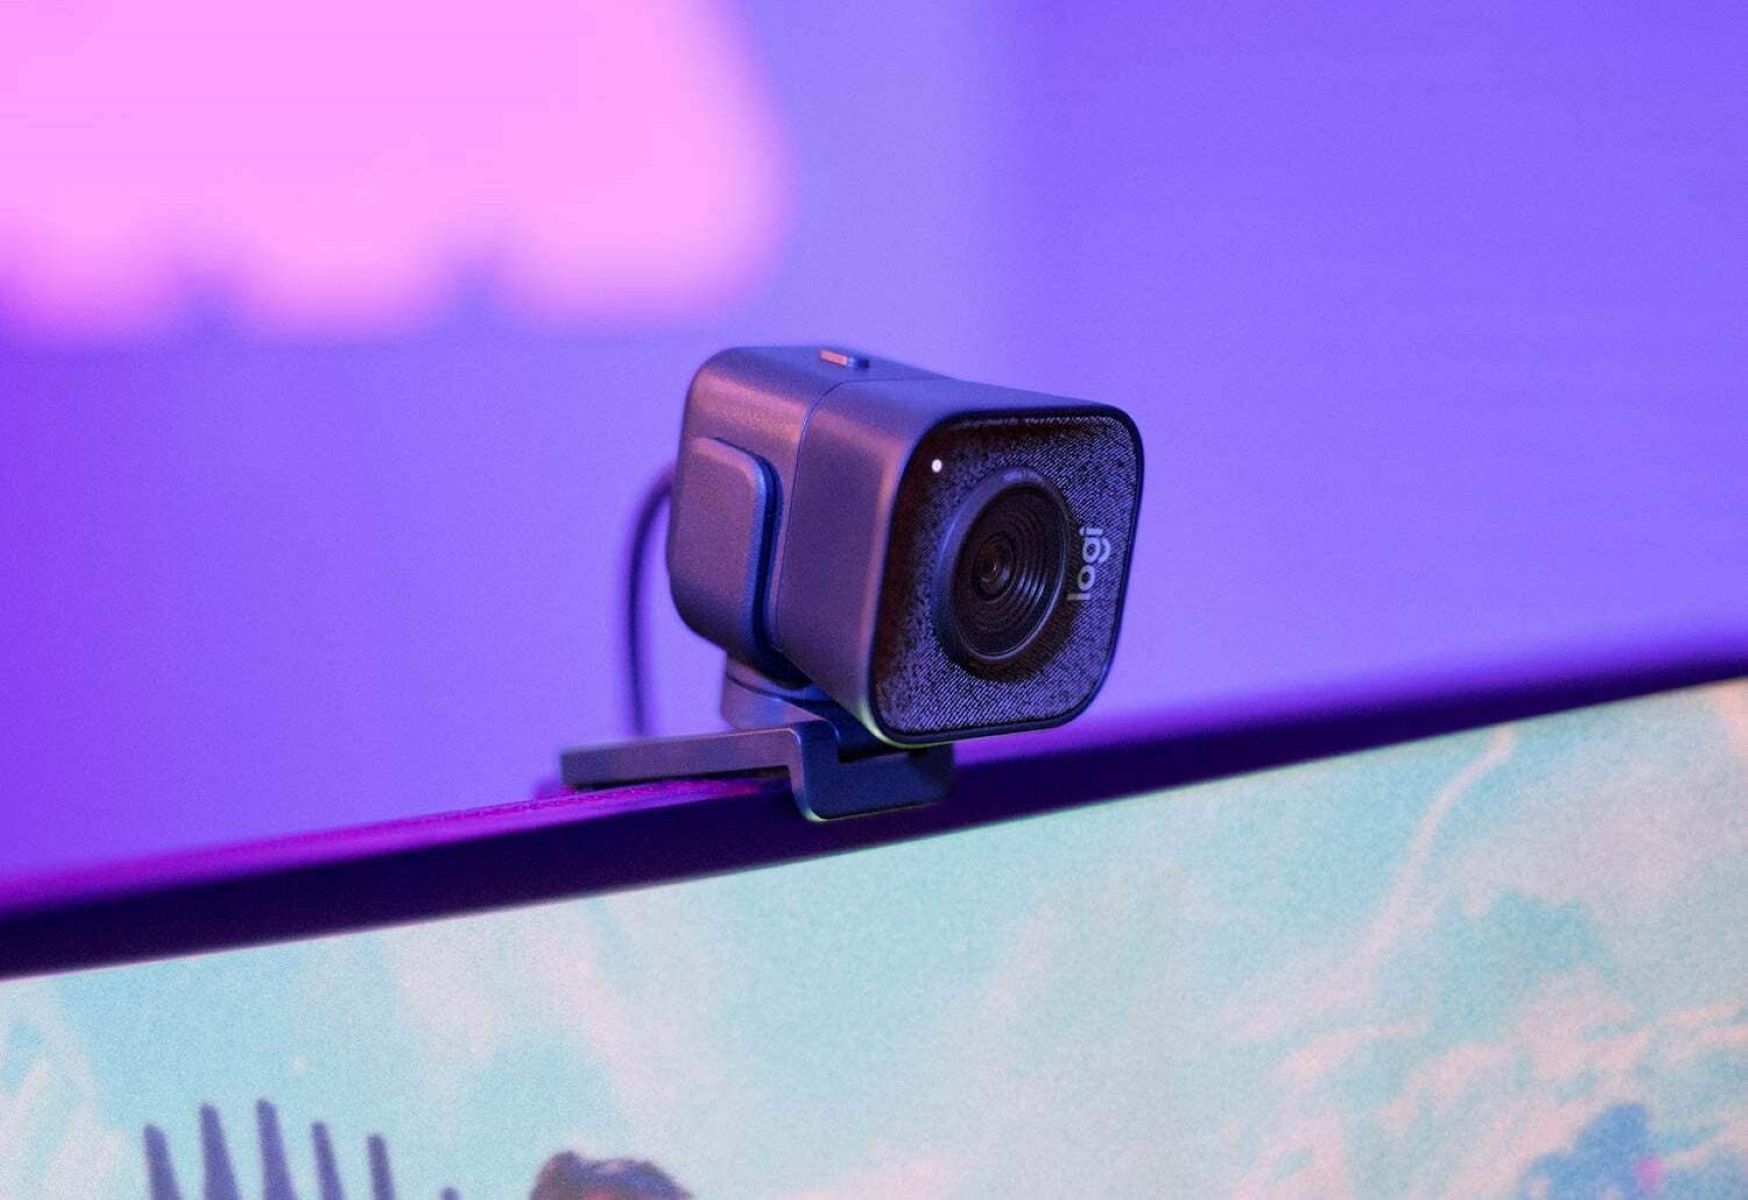
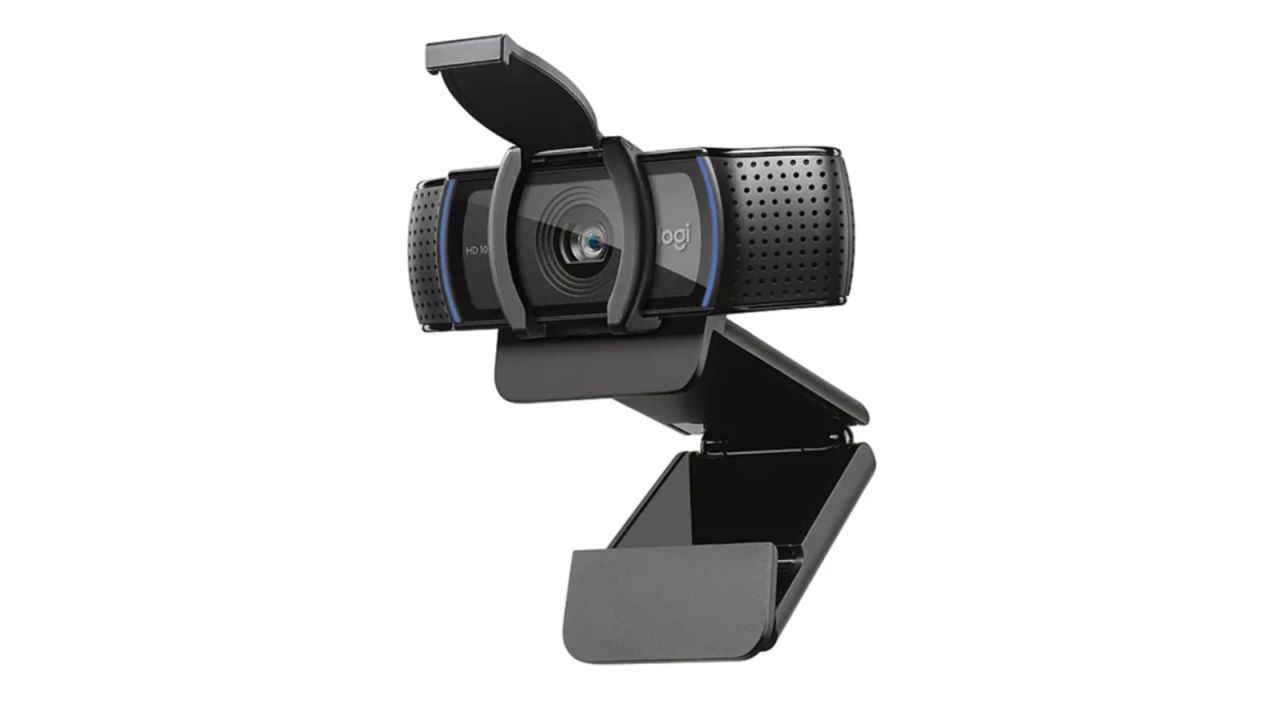
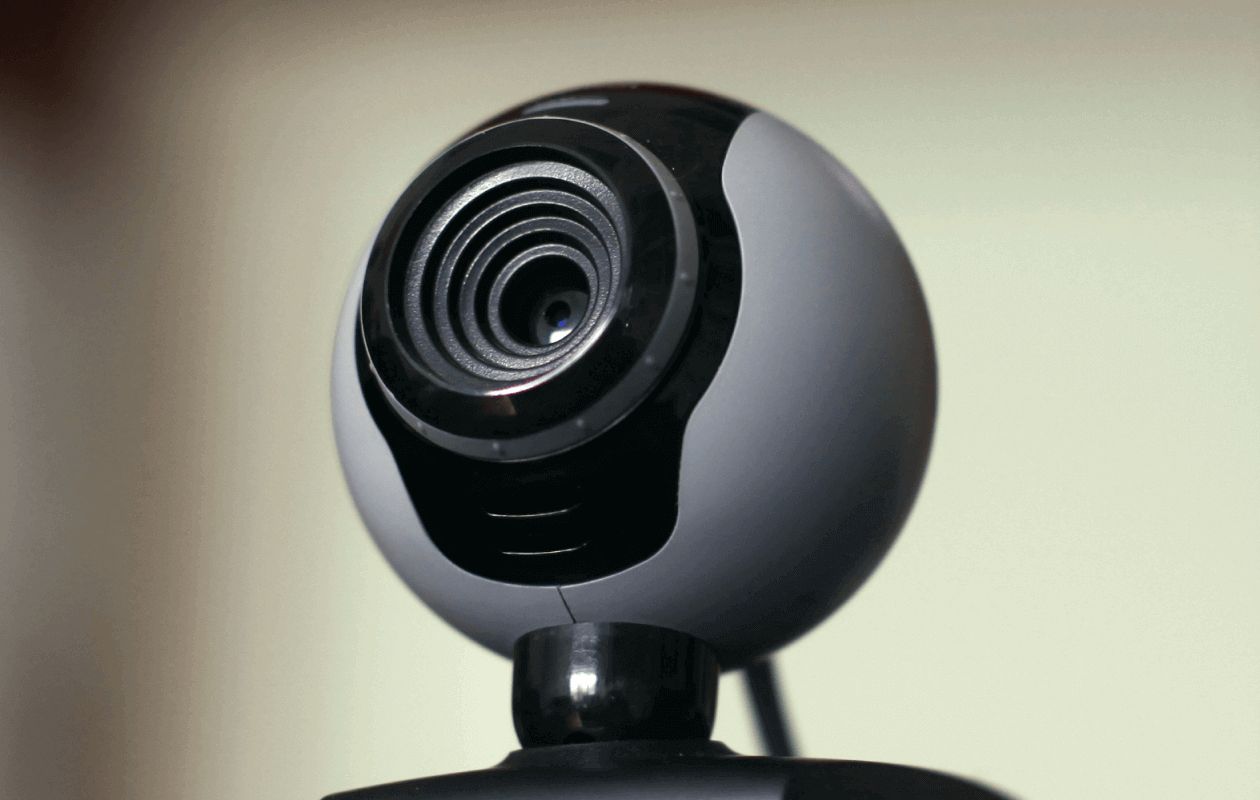
USB microphones are external audio devices that connect to your computer via a USB port. Unlike built-in microphones, which are integrated into your device’s hardware, USB microphones offer several advantages in terms of audio quality and versatility.
One of the key benefits of USB microphones is their superior sound quality. These microphones are designed with advanced audio technologies and high-quality components, allowing for clearer and more accurate recordings or voice inputs. Whether you’re recording vocals, instruments, podcasts, or voiceovers, USB microphones can deliver professional-level audio results.
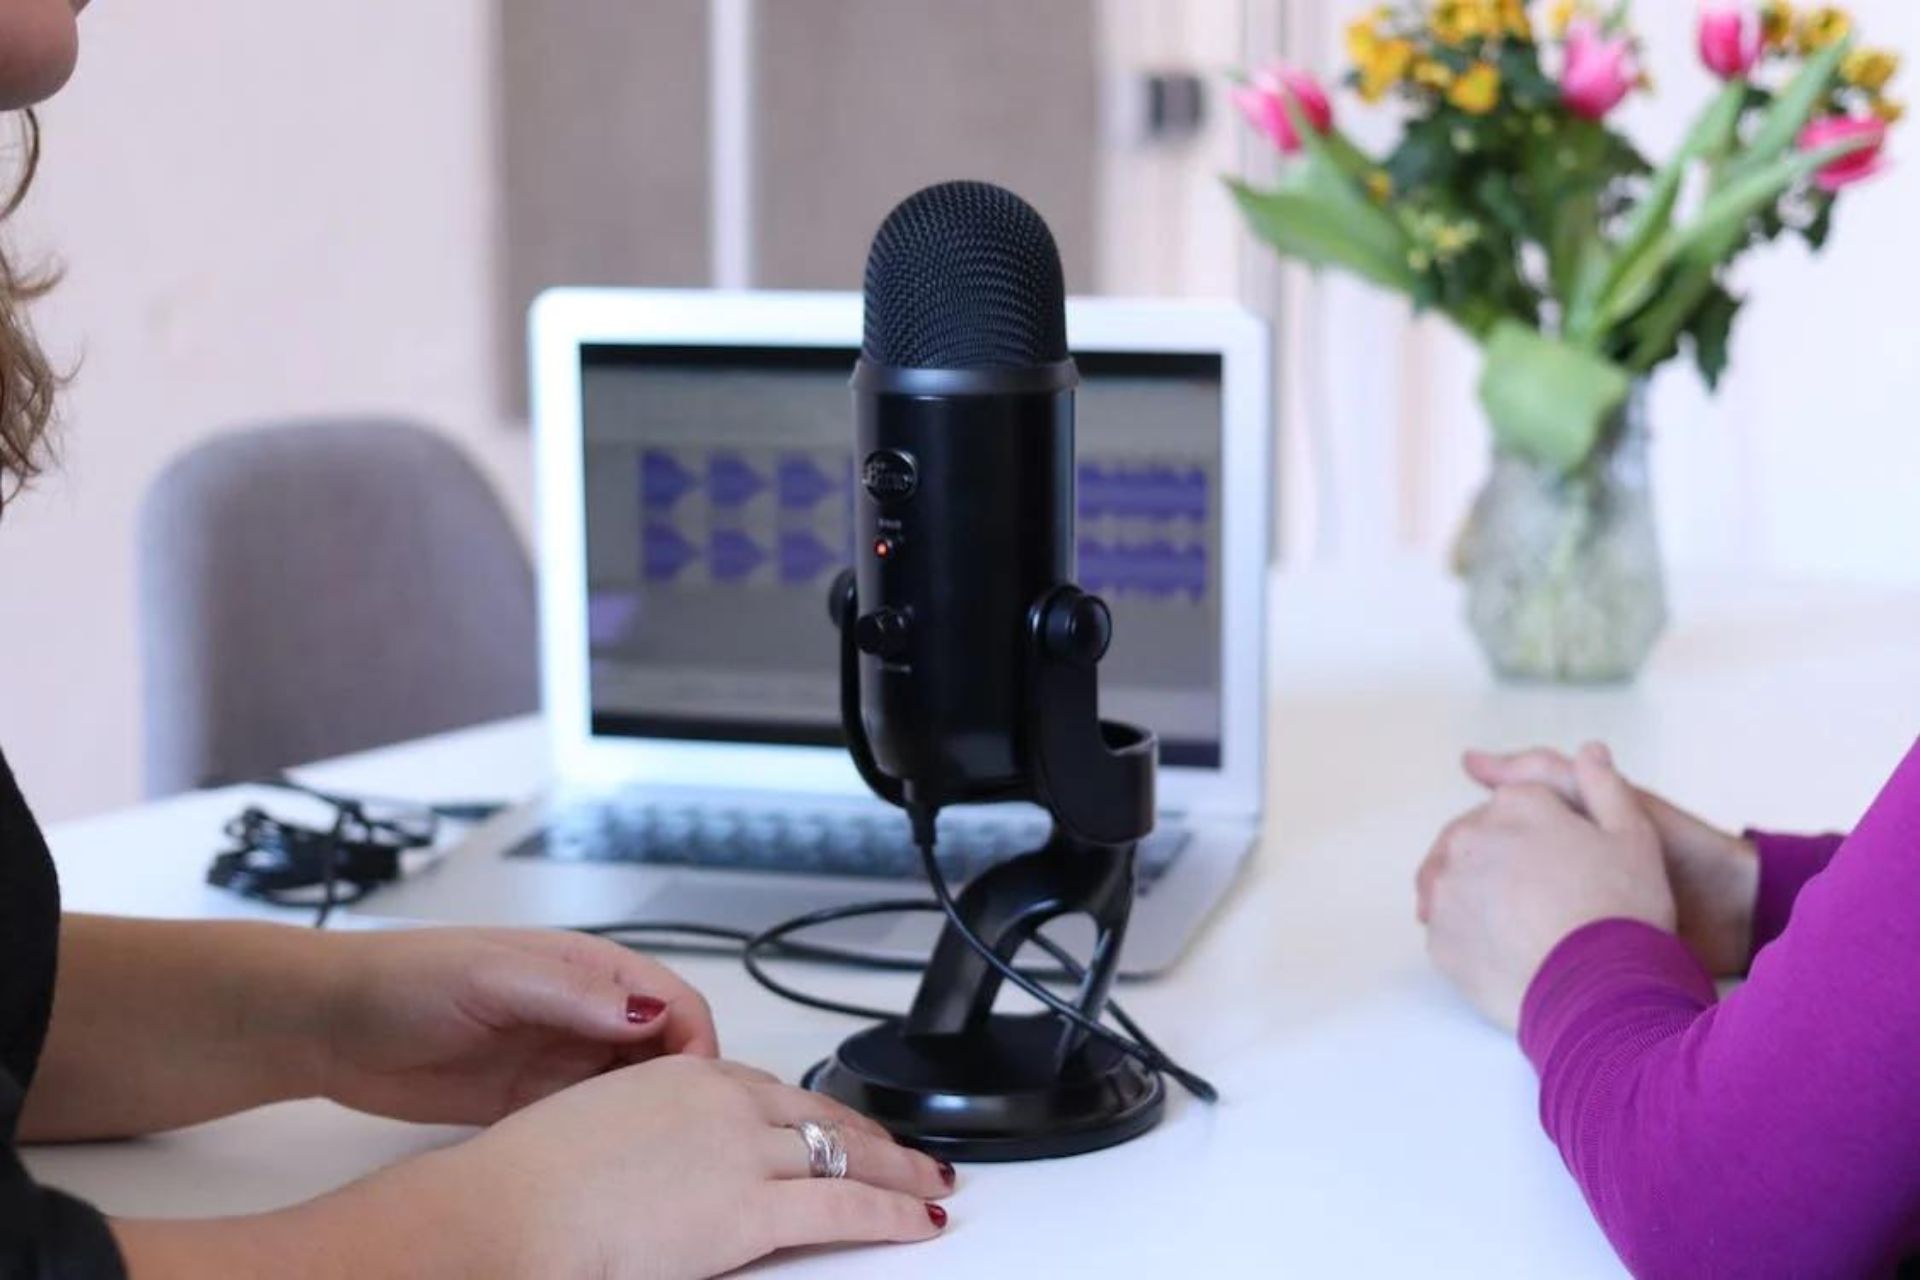
USB microphones also offer convenience and ease of use. Unlike traditional microphones that require additional audio interfaces or mixers, USB microphones have built-in analog-to-digital converters and preamps. This means you can simply plug the microphone into your Chromebook’s USB port and start recording or using it for various audio applications.
Furthermore, USB microphones are versatile and compatible with a wide range of devices. Whether you’re using a Chromebook, Windows laptop, Mac, or even a tablet, USB microphones can be easily connected and used without the need for specialized drivers or software installations. This makes them ideal for individuals who need a portable and flexible audio solution.
USB microphones come in various designs and types to suit different needs. Some popular types include dynamic microphones, condenser microphones, and shotgun microphones. Each type has its own characteristics and best suited for specific use cases. It’s essential to choose a USB microphone that aligns with your intended purpose and desired audio quality.
With USB microphones, you can elevate your audio recordings, voiceovers, online meetings, and any other audio-related activities on your Chromebook to a professional level. Let’s move on to the next section to check the compatibility of USB microphones with Chromebooks.
Checking Compatibility with Chromebook
Before you start using a USB microphone on your Chromebook, it’s important to ensure compatibility between the two. While most USB microphones are compatible with Chromebooks, it’s always a good idea to double-check to avoid any compatibility issues.
First, check the specifications of your Chromebook. Look for the presence of a USB port, preferably USB 2.0 or higher. This is the port you will use to connect the USB microphone. Most modern Chromebooks come with USB ports, but it’s worth verifying just to be sure.
Next, consider the USB microphone’s compatibility requirements. Some USB microphones may have specific compatibility considerations. Check the manufacturer’s website or product documentation to see if the microphone explicitly mentions compatibility with Chromebooks. If not, you can still try connecting the microphone and see if it works, as most USB microphones are plug-and-play devices.
Another important factor to consider is the operating system version of your Chromebook. USB microphones are generally compatible with Chrome OS, the operating system that powers Chromebooks. However, it’s recommended to keep your Chromebook’s software up to date by installing any available updates. Updating your Chromebook ensures that you have the latest drivers and software support, which can improve compatibility with USB microphones.
If you find that your USB microphone is not functioning correctly or is not compatible with your Chromebook, there are a few troubleshooting steps you can try. First, try connecting the USB microphone to another USB port on your Chromebook, as some ports may have better compatibility than others. Additionally, you can try connecting the USB microphone to another device, such as a Windows or Mac computer, to see if it works there. If it does, the issue may be specific to your Chromebook.
It’s worth noting that in some cases, you may need to install additional software or drivers to ensure full compatibility with your USB microphone. Check the manufacturer’s website or support documentation for any downloads or instructions specific to Chromebook compatibility.
Now that you’ve checked the compatibility of your USB microphone with your Chromebook, it’s time to move on to the next section to learn how to connect the USB microphone.
Connecting USB Microphone to Chromebook
Connecting a USB microphone to your Chromebook is a straightforward process. Follow the steps below to get started:
- Start by locating an available USB port on your Chromebook. Most Chromebooks have multiple USB ports, usually located on the sides of the device.
- Take your USB microphone and insert the USB connector into the USB port on your Chromebook. Make sure the connection is secure.
- Once the USB microphone is connected, your Chromebook may display a notification confirming the connection. You may also see a pop-up menu with audio input options. Select the USB microphone as your desired input source.
- If you don’t see any notification or pop-up menu, don’t worry. Your Chromebook should automatically recognize the USB microphone as the default audio input device.
- To verify that the USB microphone is working correctly, you can open a voice recording or audio application on your Chromebook and test the microphone. Speak into the microphone, and you should see the audio levels moving or hear the sound playback.
That’s it! Your USB microphone is now successfully connected to your Chromebook. You can start using it for various audio-related tasks, such as voice recording, video conferencing, podcasting, or any other application that requires high-quality audio input.
If you encounter any issues with the USB microphone not being recognized or working properly, make sure to check the following:
- Ensure that the USB connection is secure. Try disconnecting and reconnecting the USB microphone to ensure a proper connection.
- Double-check that your Chromebook’s audio settings are configured correctly. You can access the audio settings by clicking on the system tray in the bottom-right corner of the screen, selecting the gear icon for settings, and then going to the “Sound” section.
- Try restarting your Chromebook. Sometimes, a simple restart can resolve any temporary glitches or software issues.
- If none of the above steps work, refer to the troubleshooting section later in this guide for additional solutions to common USB microphone issues.
Now that your USB microphone is connected and set up on your Chromebook, let’s explore how to configure the audio settings to optimize your recording experience.
Configuring Audio Settings on Chromebook
After connecting your USB microphone to your Chromebook, it’s essential to configure the audio settings to ensure optimal performance. Chromebook provides simple and straightforward options to adjust and customize your audio settings. Follow the steps below to configure the audio settings:
- Click on the system tray in the bottom-right corner of your Chromebook’s screen to open the status area.
- Select the gear icon to access the settings menu.
- In the settings menu, scroll down and click on the “Sound” section.
- Under the “Input” section, you will see the available audio input devices, including the USB microphone that you connected. Select your USB microphone as the default input device.
- Chromebook provides additional options to adjust the microphone sensitivity and volume. You can use the slider under the “Input volume” section to increase or decrease the microphone sensitivity, depending on your preference. Adjusting the sensitivity can help optimize audio quality and reduce background noise.
- You can also adjust the microphone volume by using the volume slider under the “Input volume” section. Increase or decrease the volume based on your specific needs.
- Below the microphone settings, you will find a “Test your microphone” option. Click on this option to test your USB microphone. Speak or make a sound into the microphone, and you should see the audio levels moving. If you don’t see any movement, double-check your connections and ensure that the microphone is properly set as the default input device.
- Once you’re satisfied with the audio settings, you can close the settings menu, and your USB microphone is now configured and ready to use.
Remember that different applications may have their own audio settings that can further optimize your recording or voice input experience. Explore the settings within the specific application you’re using, such as a voice recording app or video conferencing platform, to customize additional audio preferences as needed.
Now that you have properly configured the audio settings on your Chromebook, you can fine-tune the microphone sensitivity and volume to suit your preferences. In the next section, we will delve into troubleshooting common USB microphone issues that you may encounter while using your Chromebook.
Adjusting Mic Sensitivity and Volume
One of the key advantages of using a USB microphone on your Chromebook is the ability to customize microphone sensitivity and volume settings. Adjusting these settings can help optimize audio quality and ensure that your recordings or voice inputs are clear and balanced.
Here’s how you can adjust the mic sensitivity and volume on your Chromebook:
- Click on the system tray in the bottom-right corner of your Chromebook’s screen to open the status area.
- Select the gear icon to access the settings menu.
- In the settings menu, scroll down and click on the “Sound” section.
- Under the “Input” section, you will find the microphone settings.
- Use the slider under the “Input volume” section to adjust the microphone sensitivity. Moving the slider to the right increases the sensitivity, making the microphone more receptive to sound. Moving it to the left decreases the sensitivity, reducing the pickup of background noise.
- Next, use the volume slider under the “Input volume” section to adjust the microphone volume. Increasing the volume slider amplifies the input signal, while decreasing it lowers the output level.
- As you adjust the sensitivity and volume, you can use the “Test your microphone” option below to ensure that the audio levels are suitable for your needs. Speak or make a sound into the microphone, and you should see the audio levels moving accordingly.
It’s important to note that the optimal mic sensitivity and volume settings may vary depending on your specific microphone and recording environment. Experiment with different settings to find the sweet spot that provides clear audio without distortion or excessive background noise.
If you’re using specific applications for voice recording or video conferencing, you may also find additional settings within those applications to fine-tune the microphone sensitivity and volume. Explore the settings options within the respective applications to further customize your audio preferences.
With the ability to adjust mic sensitivity and volume settings, you can ensure that your USB microphone captures your voice or recordings accurately, delivering the desired audio quality for your specific purpose.
In the next section, we will address some common USB microphone issues that you may encounter on your Chromebook and provide troubleshooting tips to resolve them.
Troubleshooting Common USB Microphone Issues on Chromebook
While using a USB microphone on your Chromebook is usually a smooth experience, there can be instances where you encounter issues. Here are some common USB microphone issues you may face on your Chromebook and troubleshooting tips to resolve them:
No Sound or Low Volume:
If you’re not getting any sound or experiencing very low volume from your USB microphone, try the following:
- Ensure that the microphone is securely connected to the USB port on your Chromebook.
- Check the input volume settings on your Chromebook. Increase the volume slider under the “Input volume” section in the sound settings.
- Test your USB microphone on another device to verify if the issue is specific to your Chromebook. If it works on another device, the problem may lie with your Chromebook’s settings or hardware.
- Restart your Chromebook, as this can help resolve temporary software glitches.
Distorted or Crackling Sound:
If you’re hearing distorted or crackling sound from your USB microphone, try the following troubleshooting steps:
- Make sure that the USB connection is secure. Disconnect and reconnect the USB microphone to ensure a proper connection.
- Try using a different USB port on your Chromebook. Some ports may have better compatibility or power delivery for the USB microphone.
- Check if there are any physical obstructions or interference near your microphone that could be causing the distortion. Move away from any electronic devices or sources of electromagnetic interference.
- Test the USB microphone on another computer or device to check if the issue persists. If it does, the problem could be with the microphone itself.
Mic Not Recognized:
If your USB microphone is not being recognized by your Chromebook, you can try the following troubleshooting steps:
- Ensure that the USB microphone is compatible with your Chromebook. Check the manufacturer’s documentation or website for any specific compatibility requirements or any necessary software/drivers.
- Try connecting the USB microphone to a different USB port on your Chromebook. Some ports may have better compatibility or power delivery.
- Check for any available system updates for your Chromebook. Updating the Chrome OS may provide better compatibility for the USB microphone.
- If possible, test the USB microphone on another computer or device to verify if it is recognized. If not, the issue may be with the microphone itself.
If you have tried the troubleshooting steps above and are still experiencing issues with your USB microphone on your Chromebook, it may be helpful to reach out to the manufacturer’s support team or consult Chromebook-specific forums or communities for further assistance.
Remember, every USB microphone may have slightly different troubleshooting steps, so it’s always a good idea to refer to the manufacturer’s documentation or support resources for specific guidance.
With these troubleshooting tips, you can overcome common USB microphone issues and enjoy seamless audio recording or voice input on your Chromebook.
Conclusion
Congratulations! You now have a solid understanding of how to use a USB microphone on your Chromebook. By following the steps outlined in this guide, you can enjoy high-quality audio recordings, clear voice input, and enhanced audio experiences on your Chromebook.
We started by understanding the benefits of USB microphones compared to built-in microphones and how they offer superior sound quality and versatility. We then explored the importance of checking compatibility between your USB microphone and Chromebook by verifying the presence of a USB port and considering the operating system version.
Next, we walked through the process of connecting your USB microphone to your Chromebook, including ensuring a secure connection and selecting the microphone as the default audio input device. We then delved into configuring the audio settings on your Chromebook, allowing you to adjust mic sensitivity and volume for optimal recording or voice input conditions.
Additionally, we addressed common USB microphone issues and provided troubleshooting tips to help you overcome any challenges you may encounter while using a USB microphone on your Chromebook. These troubleshooting steps, such as checking connections, adjusting settings, and testing on other devices, can save you time and frustration in resolving technical difficulties.
Now that you have the knowledge and tools to utilize a USB microphone on your Chromebook, you can confidently engage in various audio-related activities, such as recording podcasts, conducting online meetings, or enjoying enhanced sound during multimedia playback.
If you’re a content creator, remote worker, or simply a Chromebook user who values high-quality audio, a USB microphone is an invaluable tool to elevate your audio experiences. So, go ahead and unleash your creativity or enhance your productivity with the power of a USB microphone on your Chromebook!